
How to Build an Awesome Garage Studio
Full disclosure: This is my pitch: I've had an amazing month and a pretty terrible month in one fell swoop. My first feature film was completed and went up on iTunes and on that same day, my filmmaking equipment and camera gear was stolen when my house was broken into and burglarized. So I'm euphoric while being deeply saddened. A strange emotional state.
That being said, if you find this post helpful or inspiring, I ask that you please consider supporting my work by buying my film here on iTunes. To chart on iTunes by May 16th before my micro-budget indie sinks below the hundreds of other films, I have to sell at least 2,000 copies. I'm 10% there. I promise you it's a good time and I would be very grateful for you to get a pre-sale purchase and deeply appreciate every positive comment more than you can imagine. Ok. Let's get to it.
HOW TO BUILD AN AWESOME PERSONAL STUDIO
Blog article by Darius Stevens Wilhere
So maybe you are a musician or a composer or an editor or a color correction artist, or heck, maybe you just want the ultimate gaming cave and don't know where to start. Whichever, this blog post should get you pointed in the right direction.
Back when I was just a young pup I got a lot of experience doing scenic work on films and construction/carpentry work on studios and various other building sites. I've used the skills learned from these experiences frequently when doing my own art direction on no budget productions I've shot and also doing my own home projects like this one:
I had a new project I finished for a friend several months ago and thought it would be cool to share as I know there are a lot of creatives out there who often look for inspiration for their own studio spaces. I know I do. This project isn't as impressive as my backyard video, but hopefully it still helps give people ideas on what they can do for their music/studio rooms. So here you go:
OVERVIEW
Pretty much any creative in the world wants to have a nice home studio they can create from without distractions. Many people choose their garage so the noise is a bit away from the house, family isn’t disturbed, family doesn’t disturb, etc…
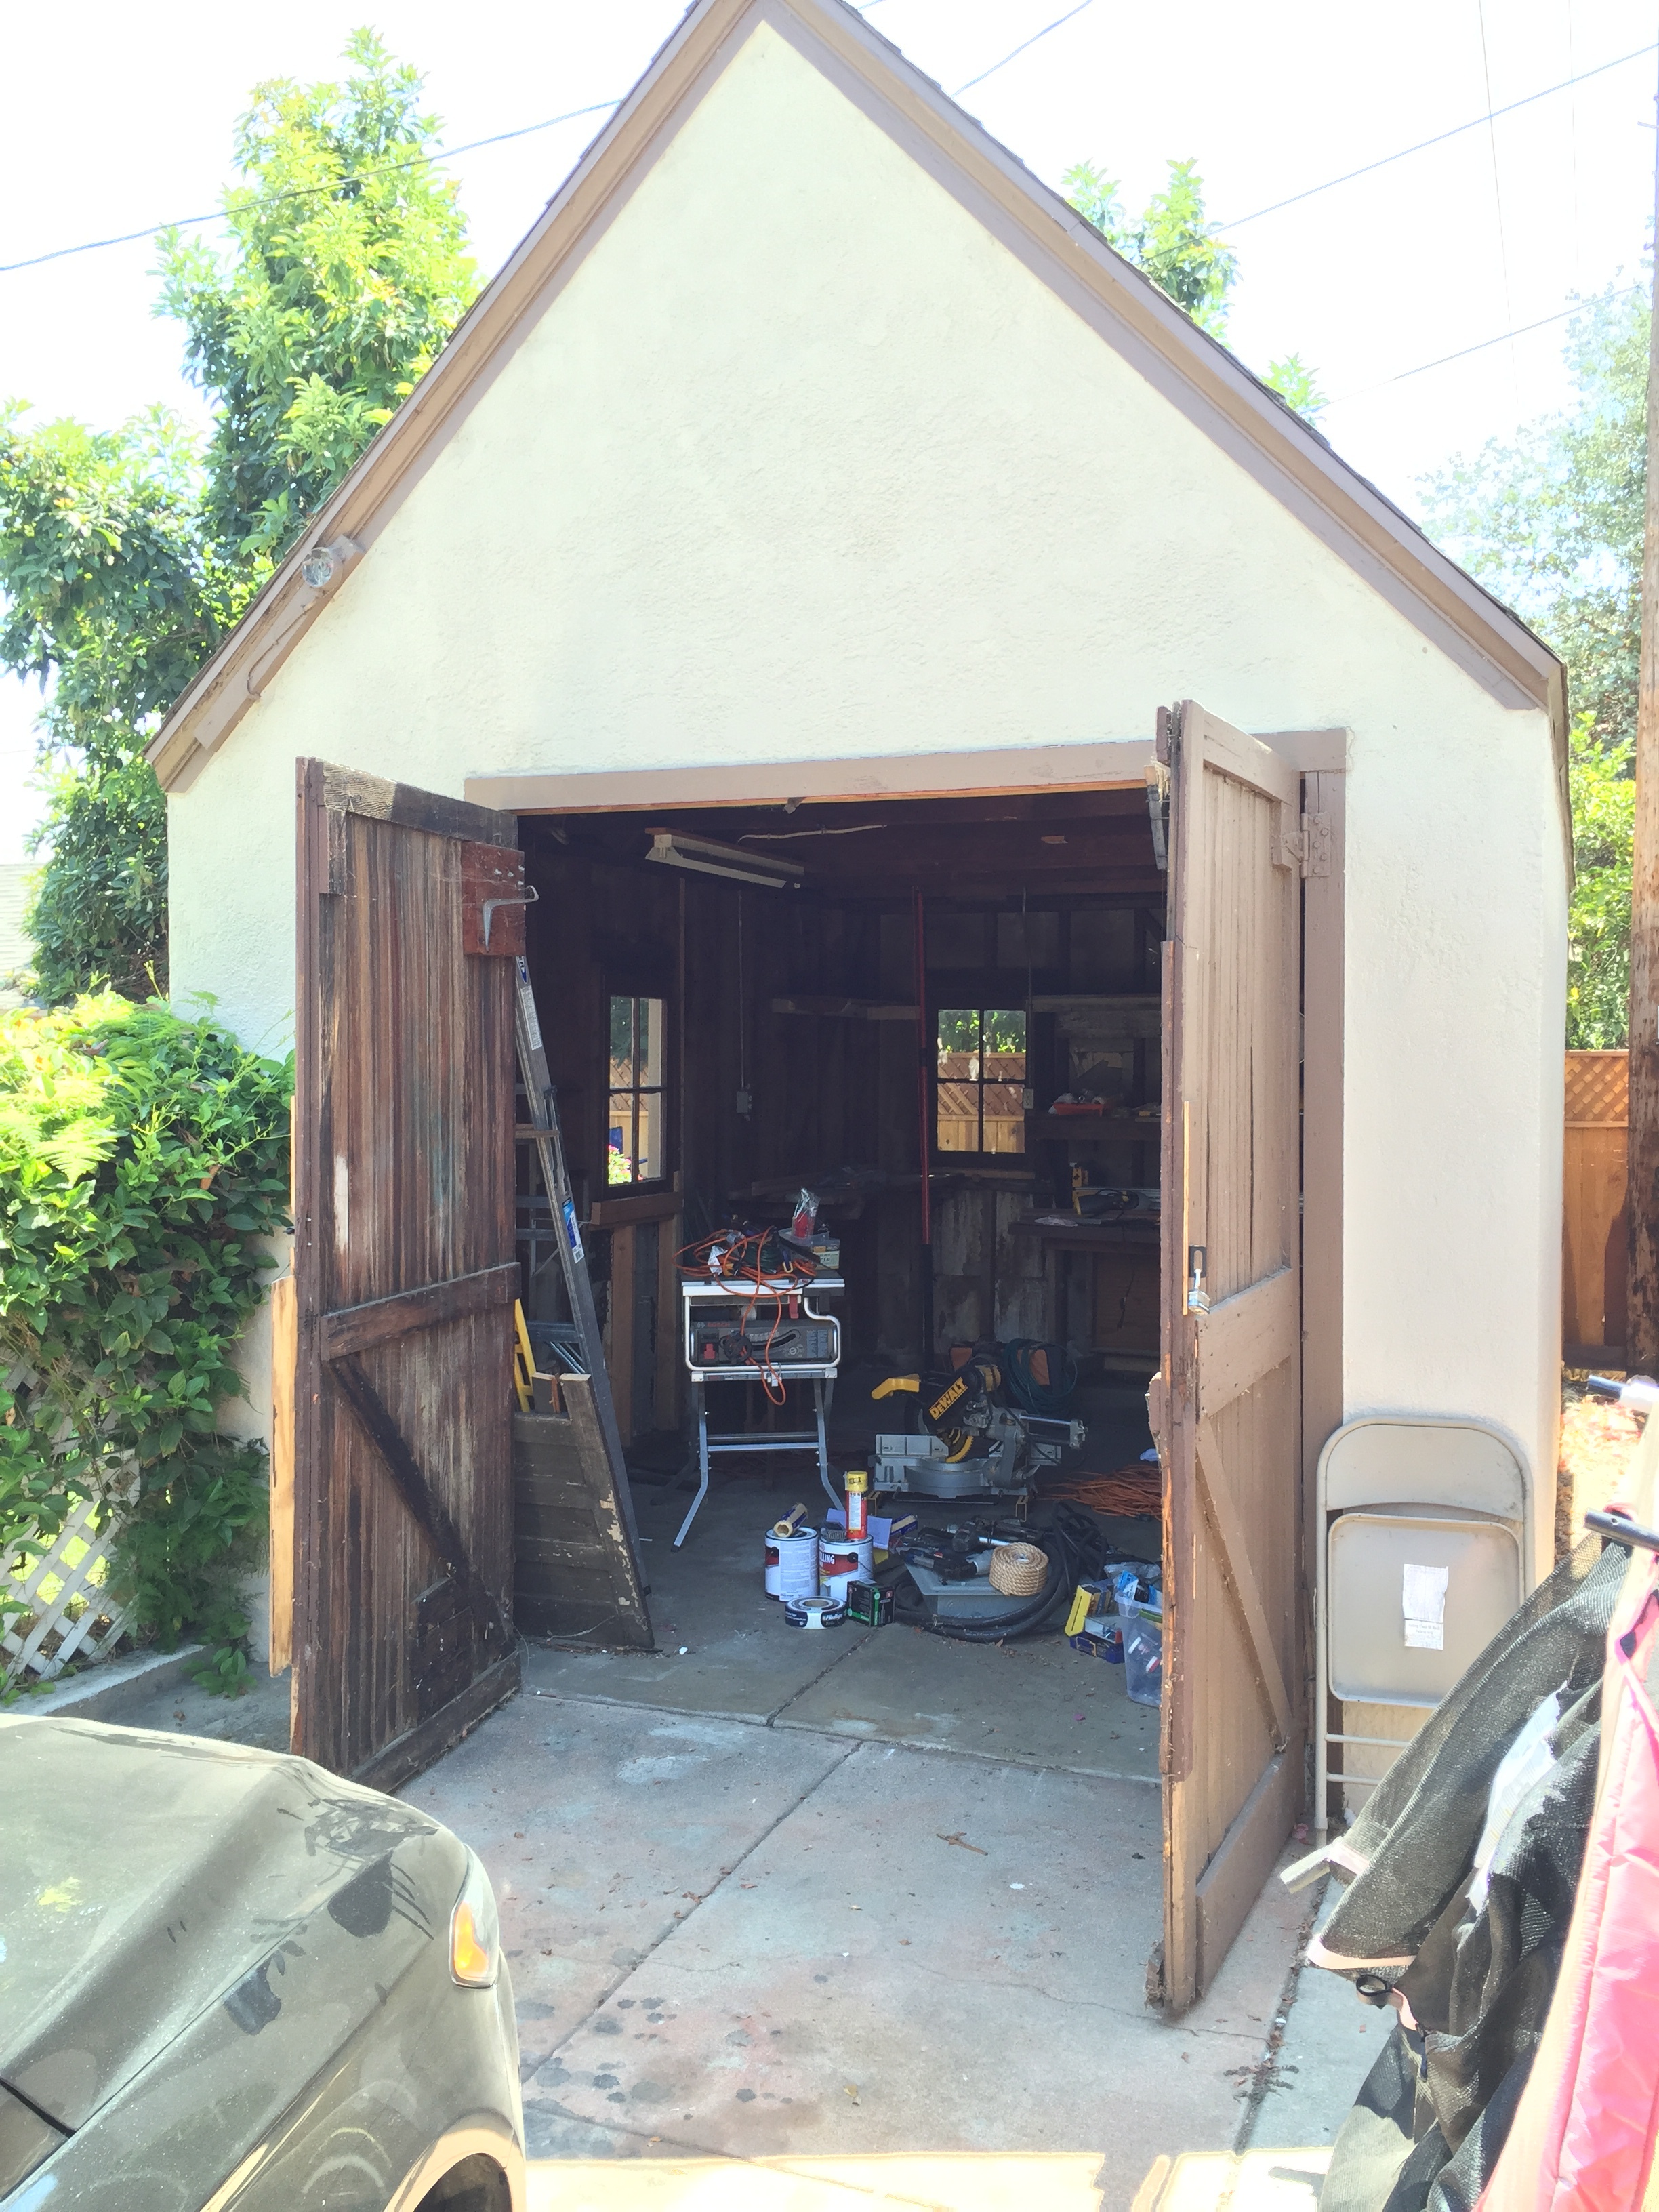
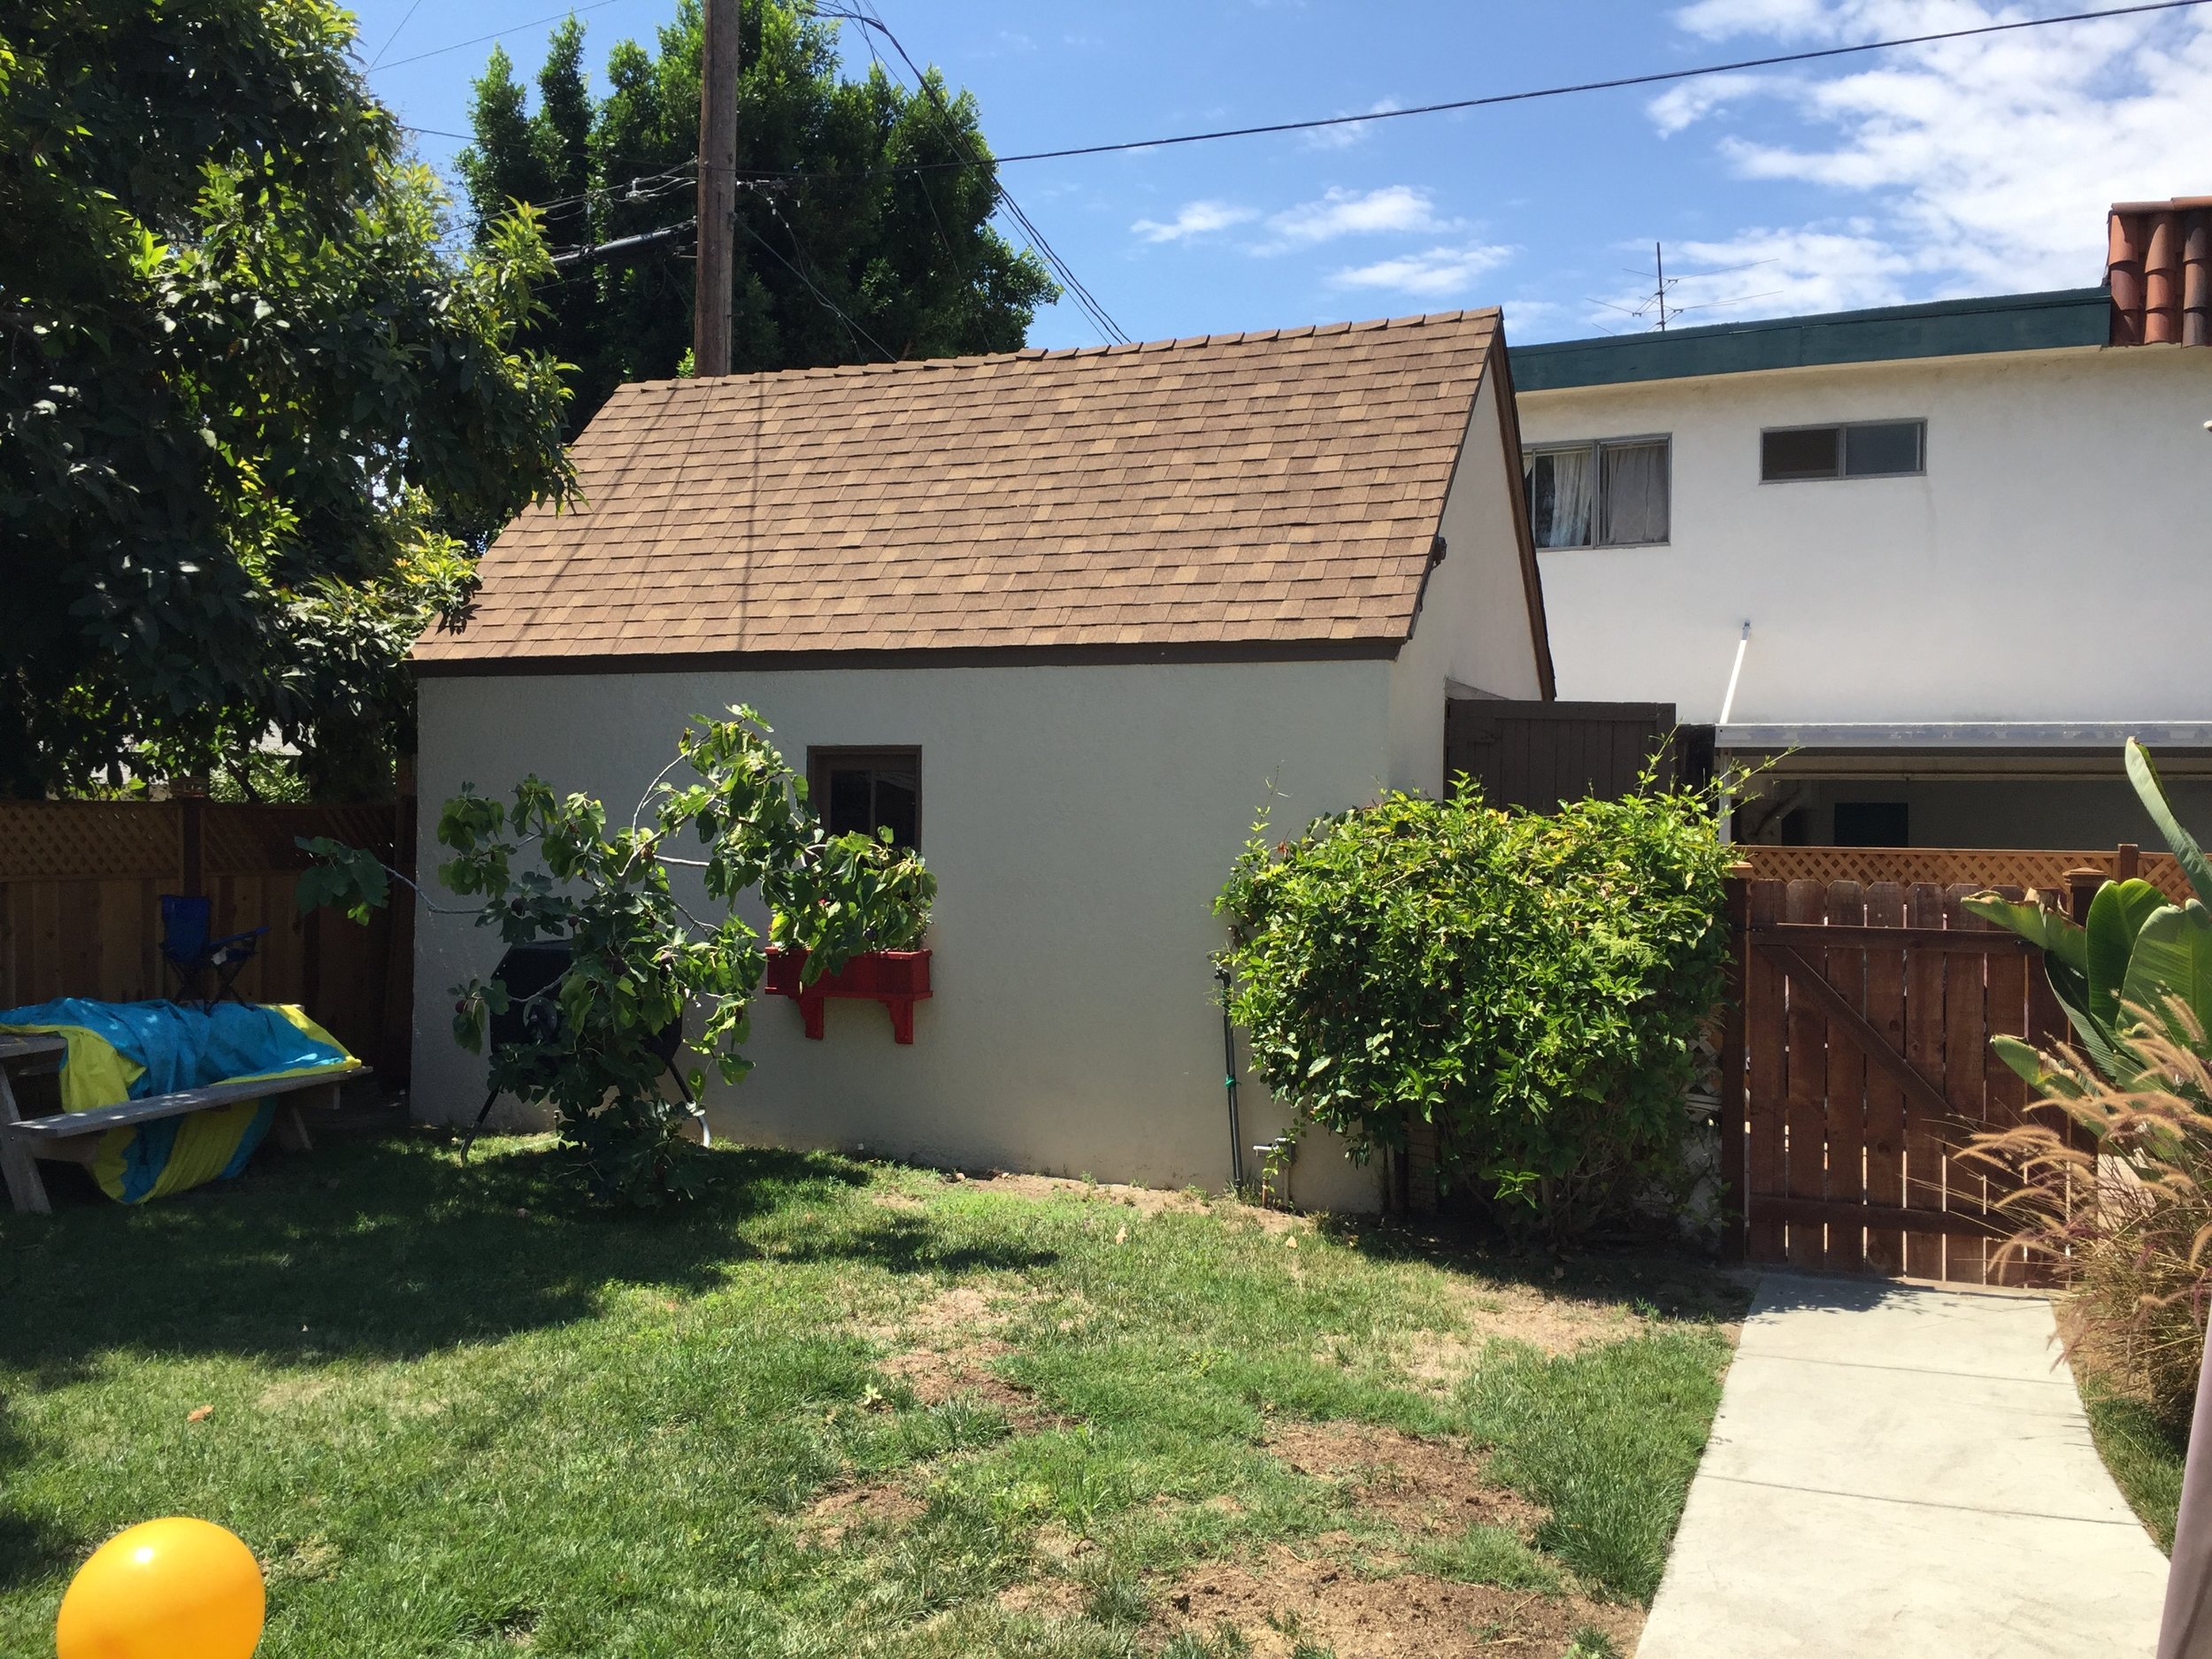
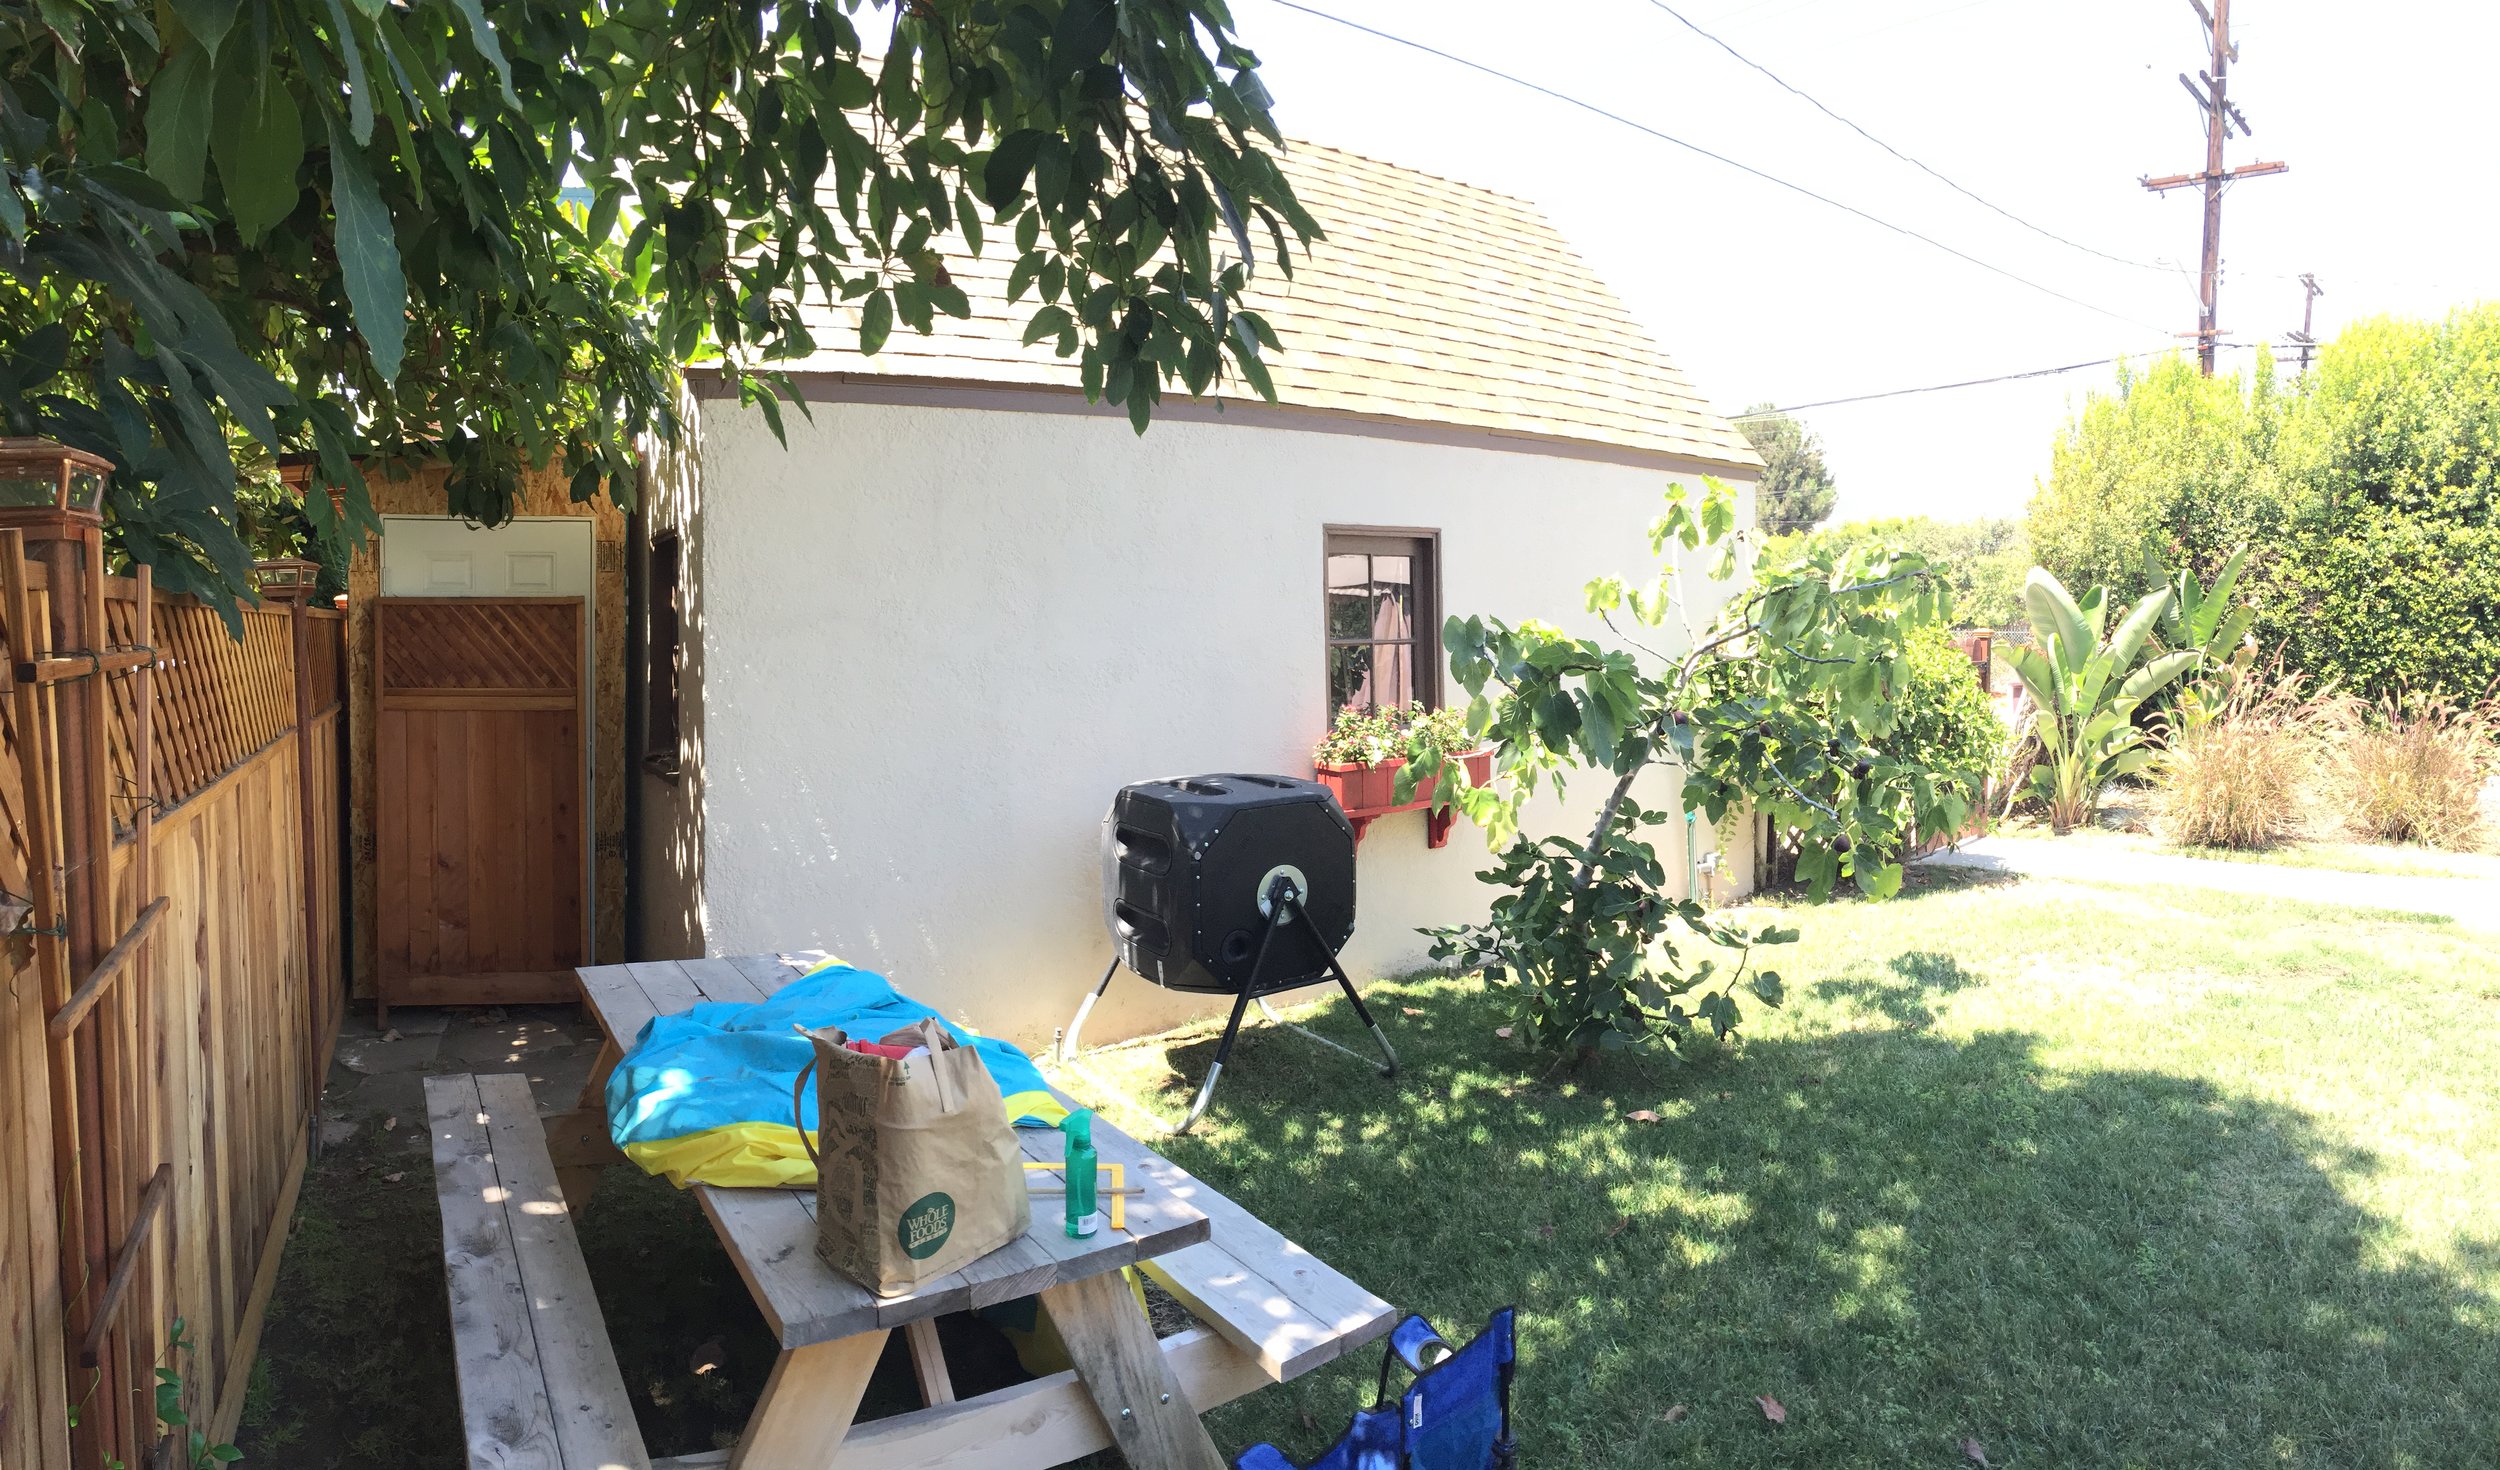
My musician friend had an 80 year old single car garage he wanted to convert into a music studio to compose in and I wanted to show you how I did this and hopefully inspire people to make their own cool little studios. And realize this garage was about 80 damn years old. Newer garages are already insulated with electrical and sometimes air conditioning, so this is a worst case scenario. Much easier project to do on newer garages.
The TL:DR version:
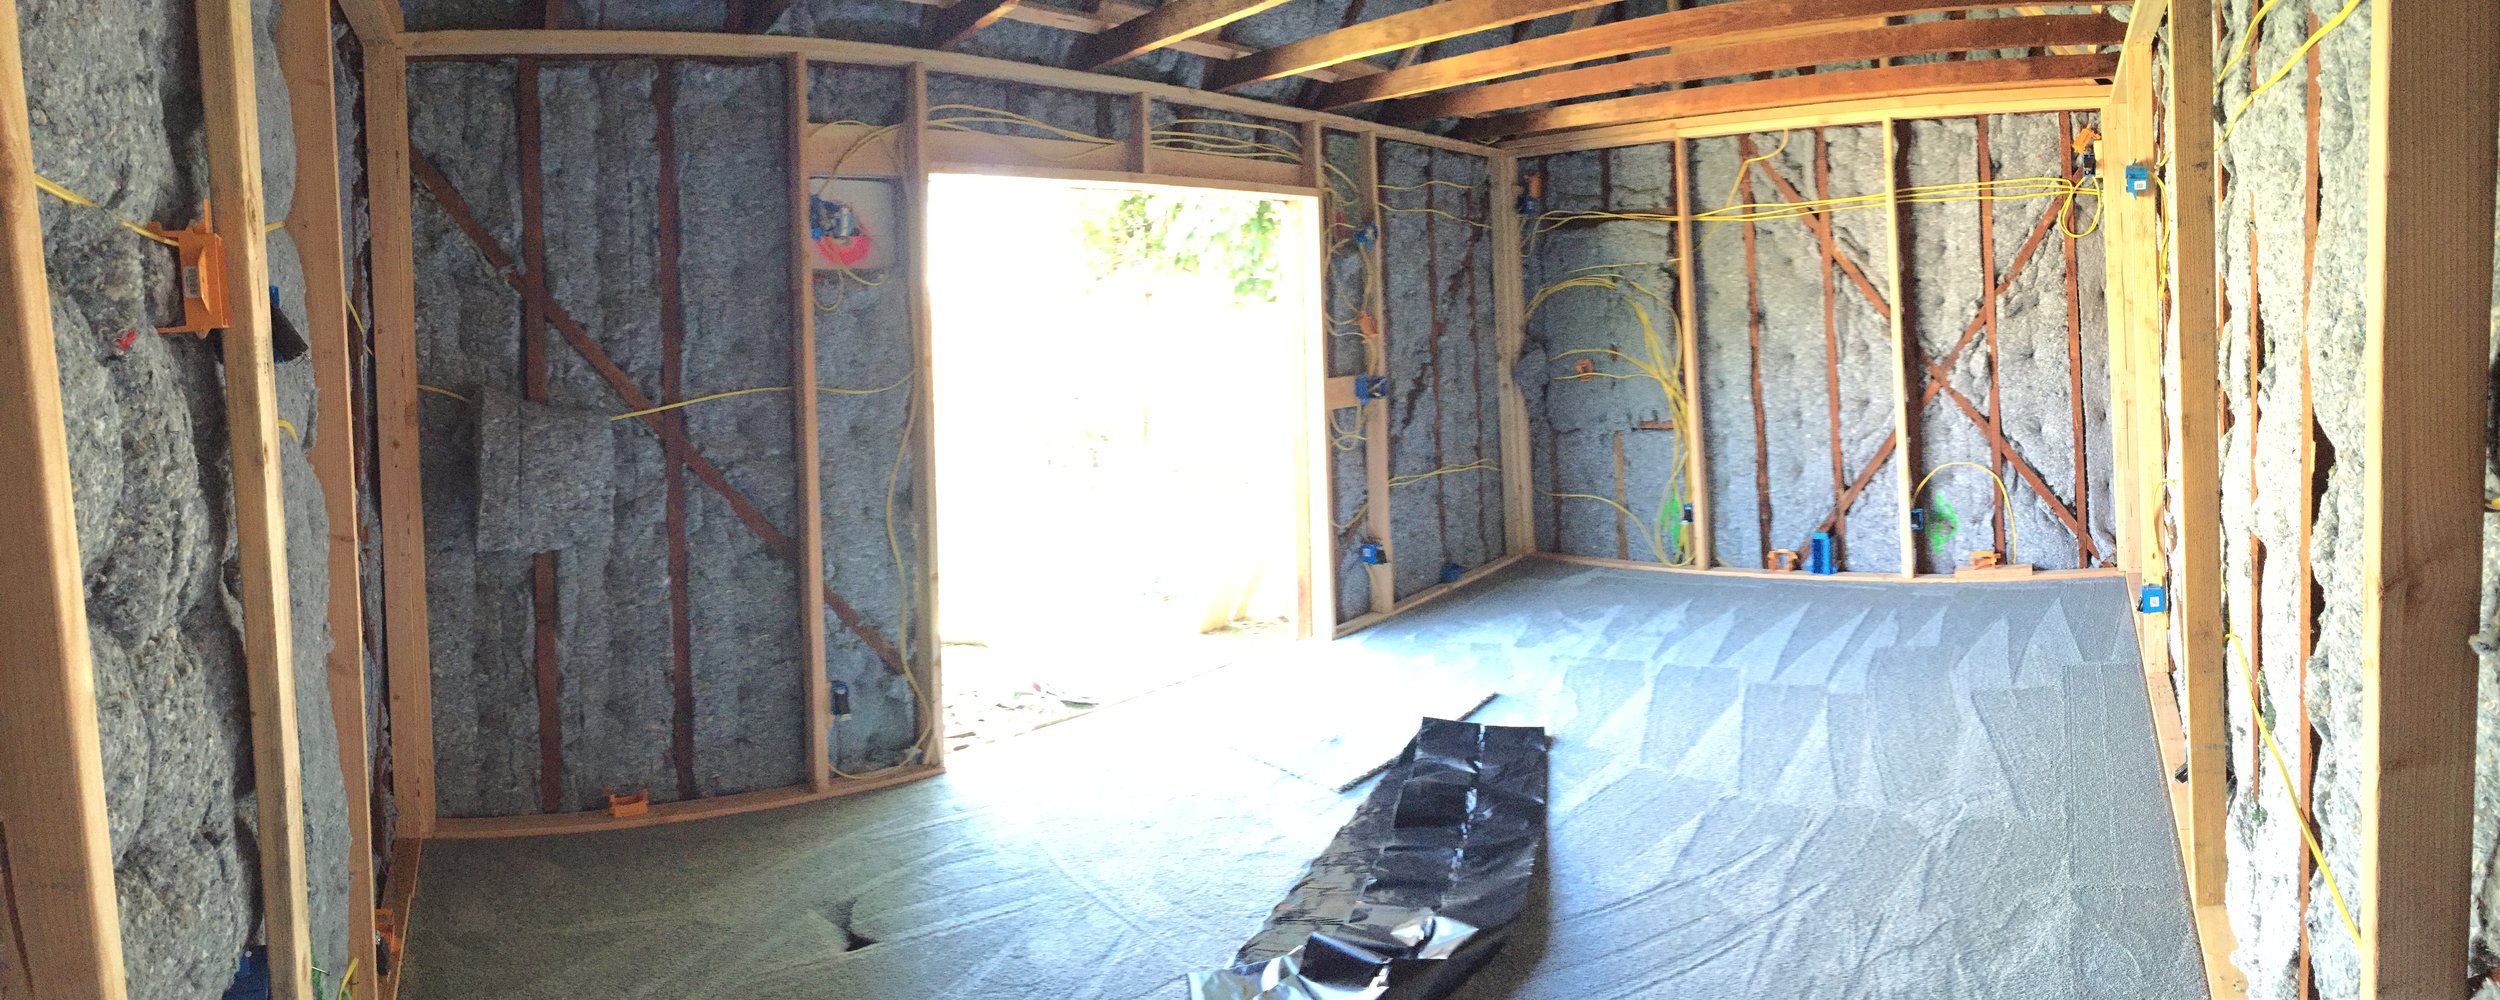
I got a huge favor on the score for my first feature, the Hollywouldn’ts (www.thehollywouldnts.com), and as part of rOVERVIEWeturning the favor I built the composers a pretty decent garage studio. So if you look at the initial photos, it doesn’t look like much.

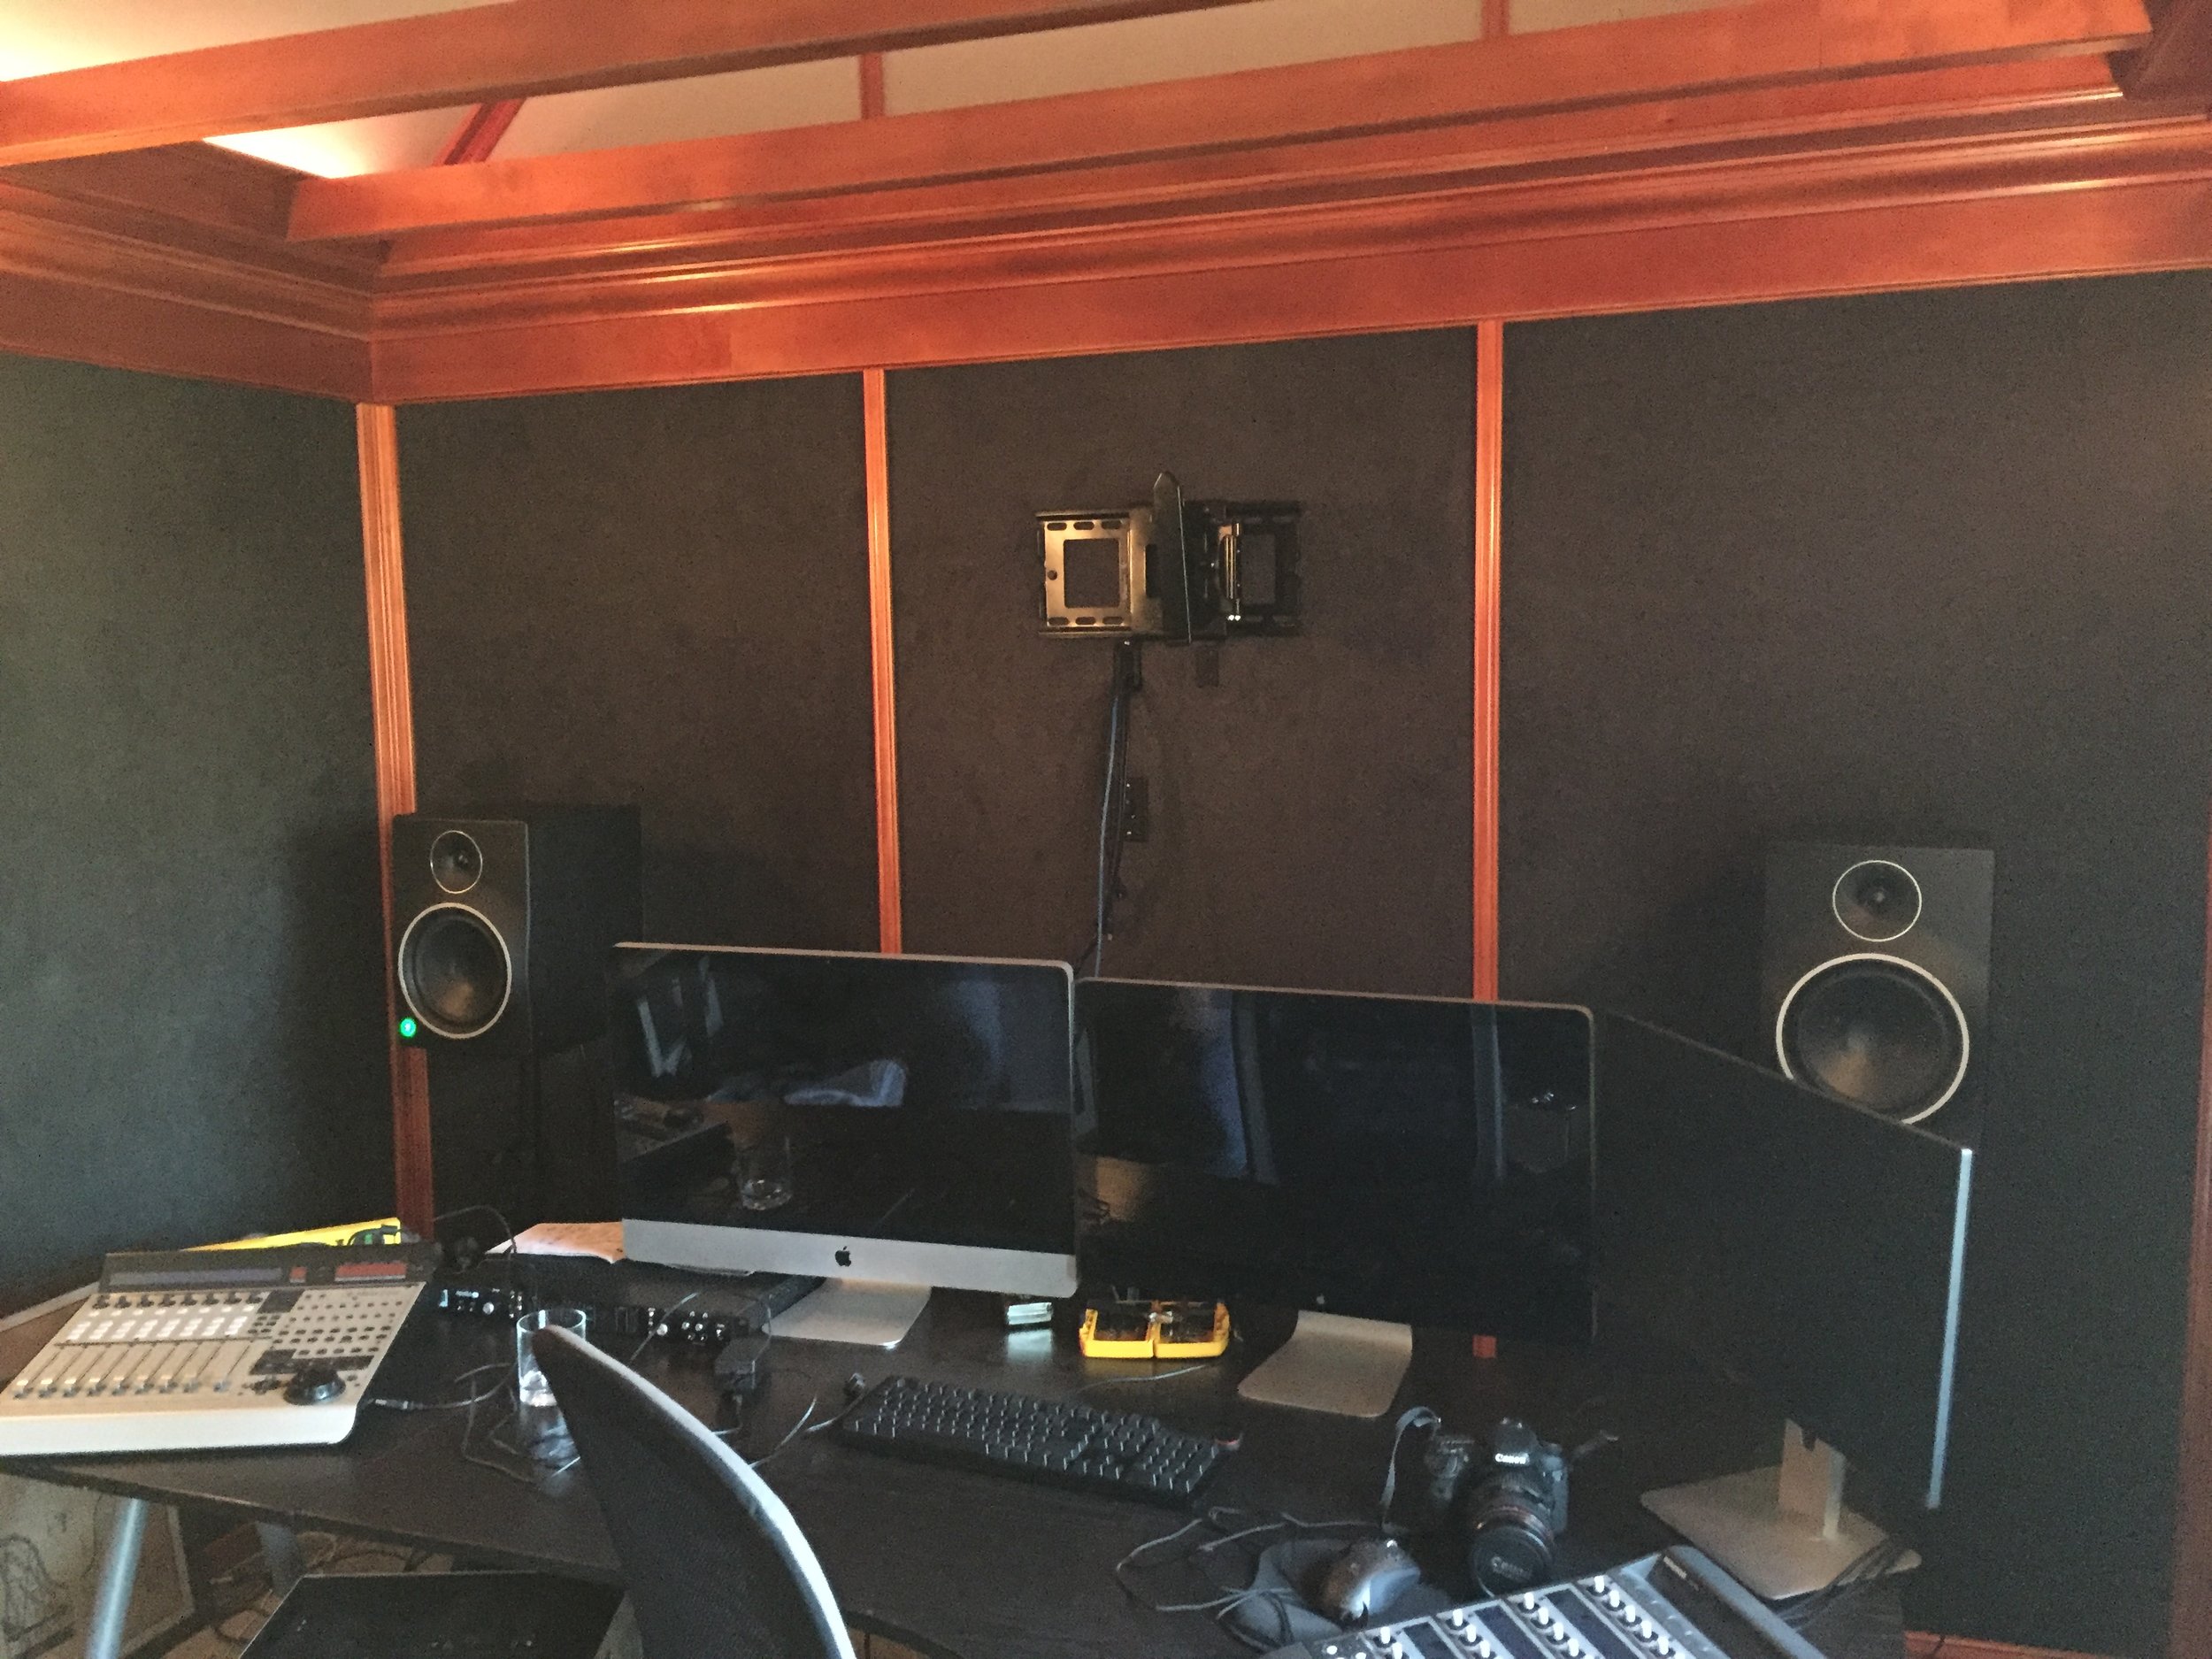
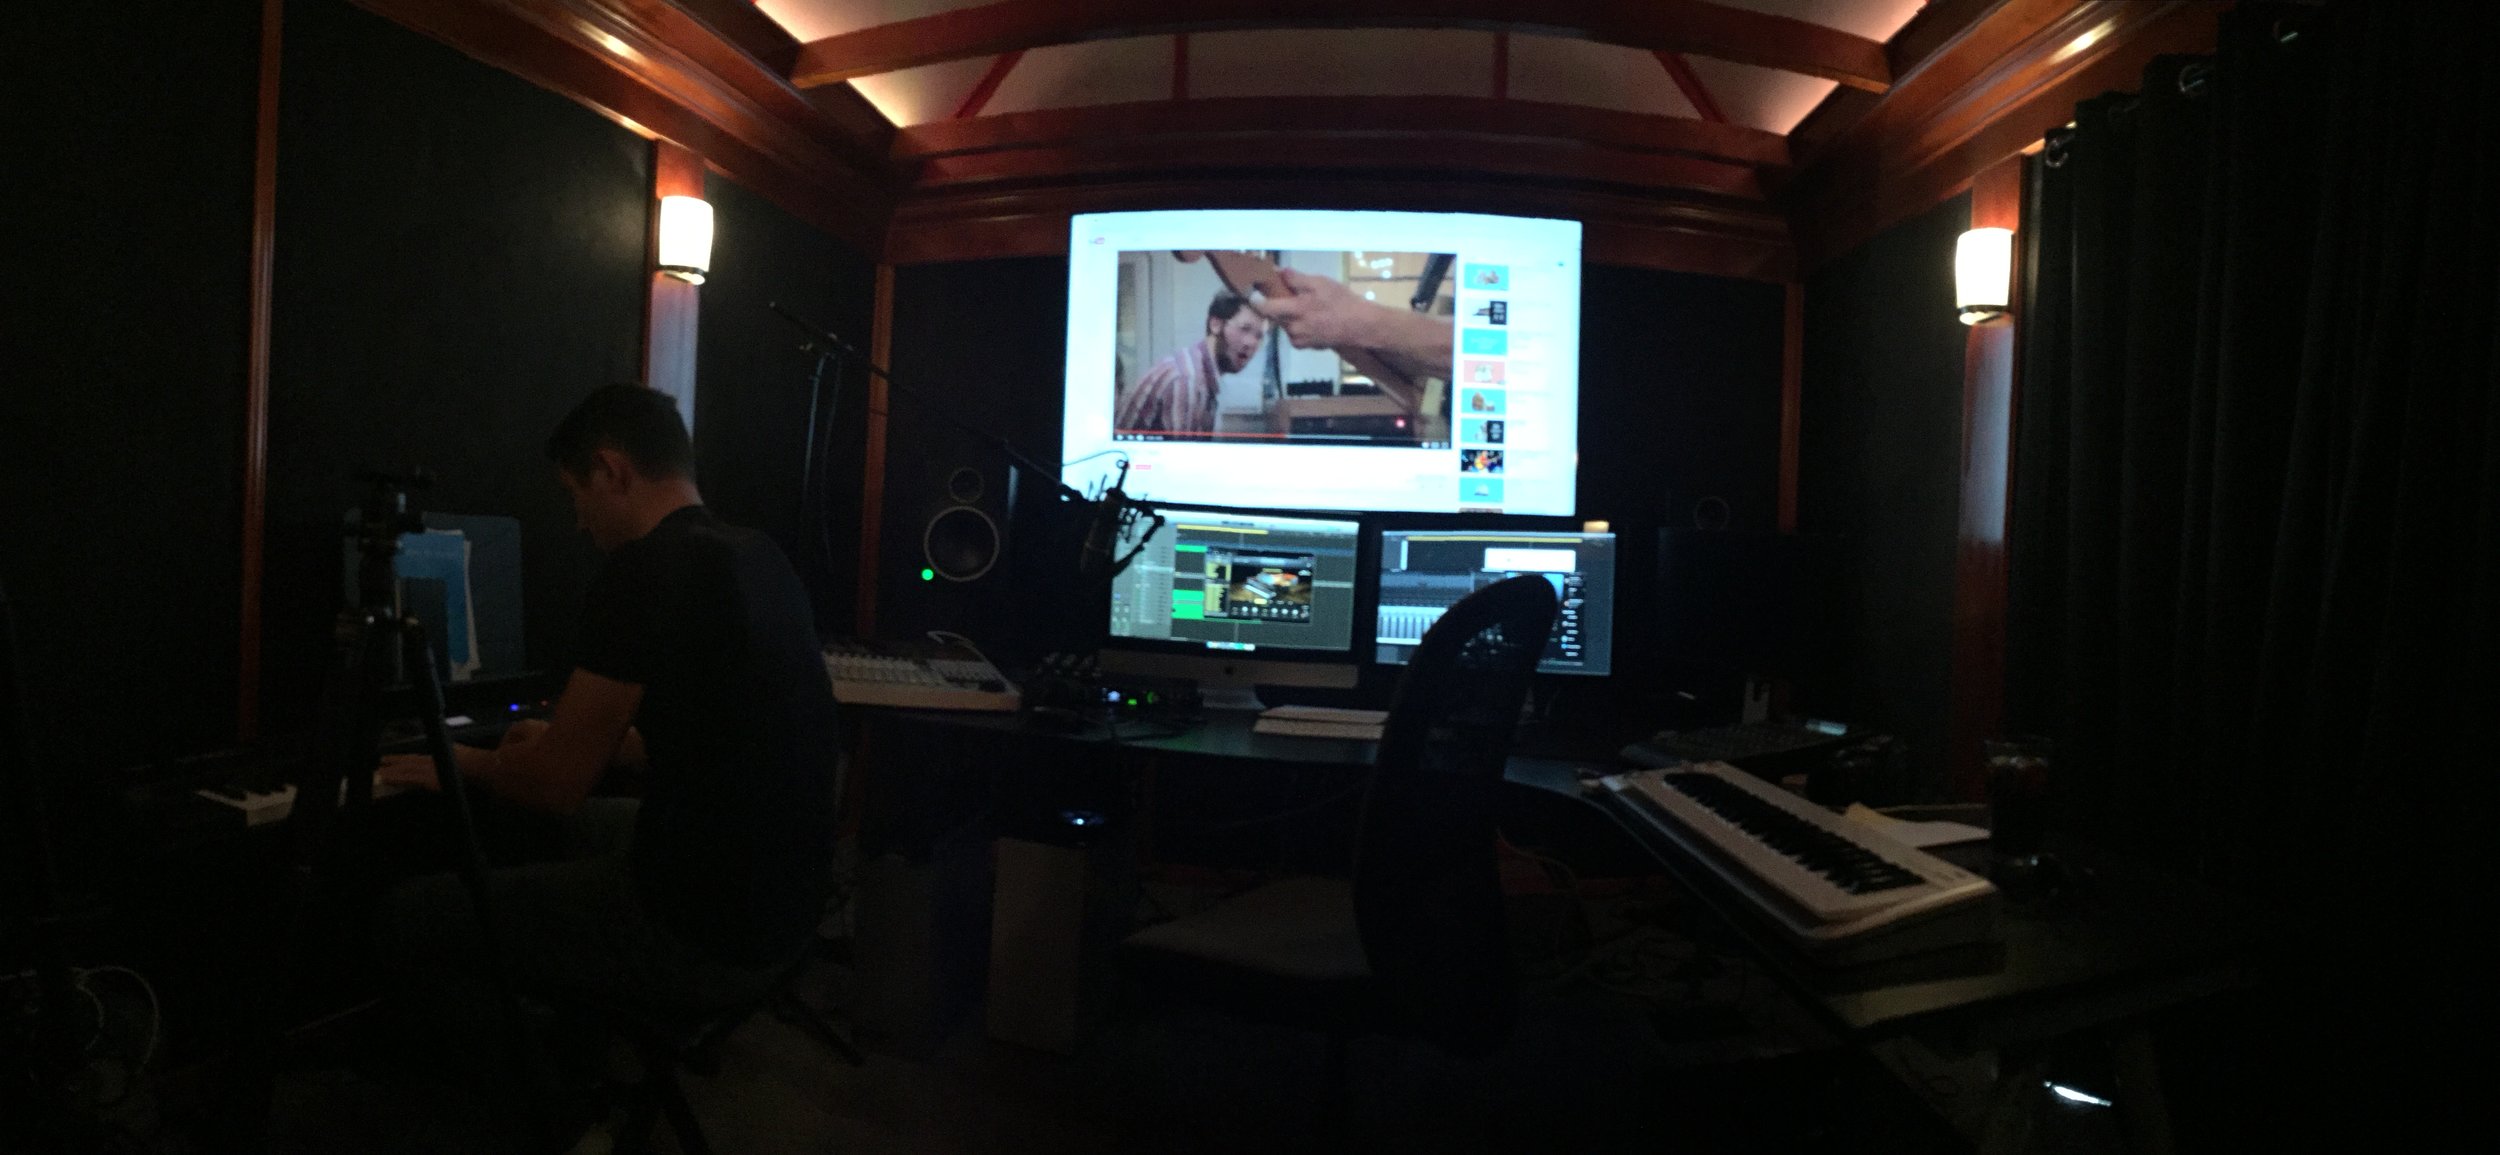
But here’s the after.

That's the TL;DR. For the DIY’ers who want more info, here is the breakdown and a video showing the same basic information, but you know, with moving pictures.
WARNINGS/CAVEATS:
1. Remodelling can always be dangerous. Especially when power tools are involved. Don’t do things which can potentially get you hurt. Hire a professional. I know how to do electrical okay, but I know that electrical being done wrong can get people killed so I always hire licensed electricians.
2. This doesn’t cover the permit process, but if your project is more than a light remodelling check your local codes to see what permits are required in your living area.
3. This is a studio built to taste acoustically. It isn’t Dolby Certified, etc… just done for the budget that was had and making something that worked.
THE OVERVIEW
Here is the bird’s eye view of what I did:
- PLANNED
- DEMOLISHED
- SOUNDPROOFED
- NEW FLOOR
- ELECTRICAL AND SOUND CABLING INSTALLED
- FRAMING FOR NEW FABRIC WALLS INSTALLED
- NEW CARPET INSTALLED
- NEW FABRIC CEILING INSTALLED
- NEW FABRIC WALLS INSTALLED
- DOOR INSTALLED
- FINISH CARPENTRY DONE
- INTERIOR FINISHES DONE
This breaks down as follows.
MEASURING AND LAYOUT:
This is part of planning. You have to know the size of the space to know how to plan it. And you have to make sure you really know what has to fit in there. It sucks when you finish a space to find out that it doesn’t fit what needs to go inside.
Start by finding the space you want to use and measuring it fully and then drawing it out on a piece of paper or in the computer. It can be crude or it can be done in a program like AutoCAD, Illustrator or Sketch-up (free).

This single car garage was about 18 feet long by 11 feet wide and about 8 feet tall to the ceiling beams and 16 feet to the top of the roof.
Hint: Measure out everything you want to go in the room and then use masking tape to lay it out on the floor. You can also use cardboard boxes to simulate furniture so you get a feel for how tight the space will be. Doing this you can ensure everything fits and how much space you will have left. It’s a little work to save a lot of frustration. Do it.
PLANNING:
The first and most important step of every remodeling project is planning. I’ve done so many projects where someone has rushed into building something and they end up spending way more money and time than if the planning had just been done right to begin.
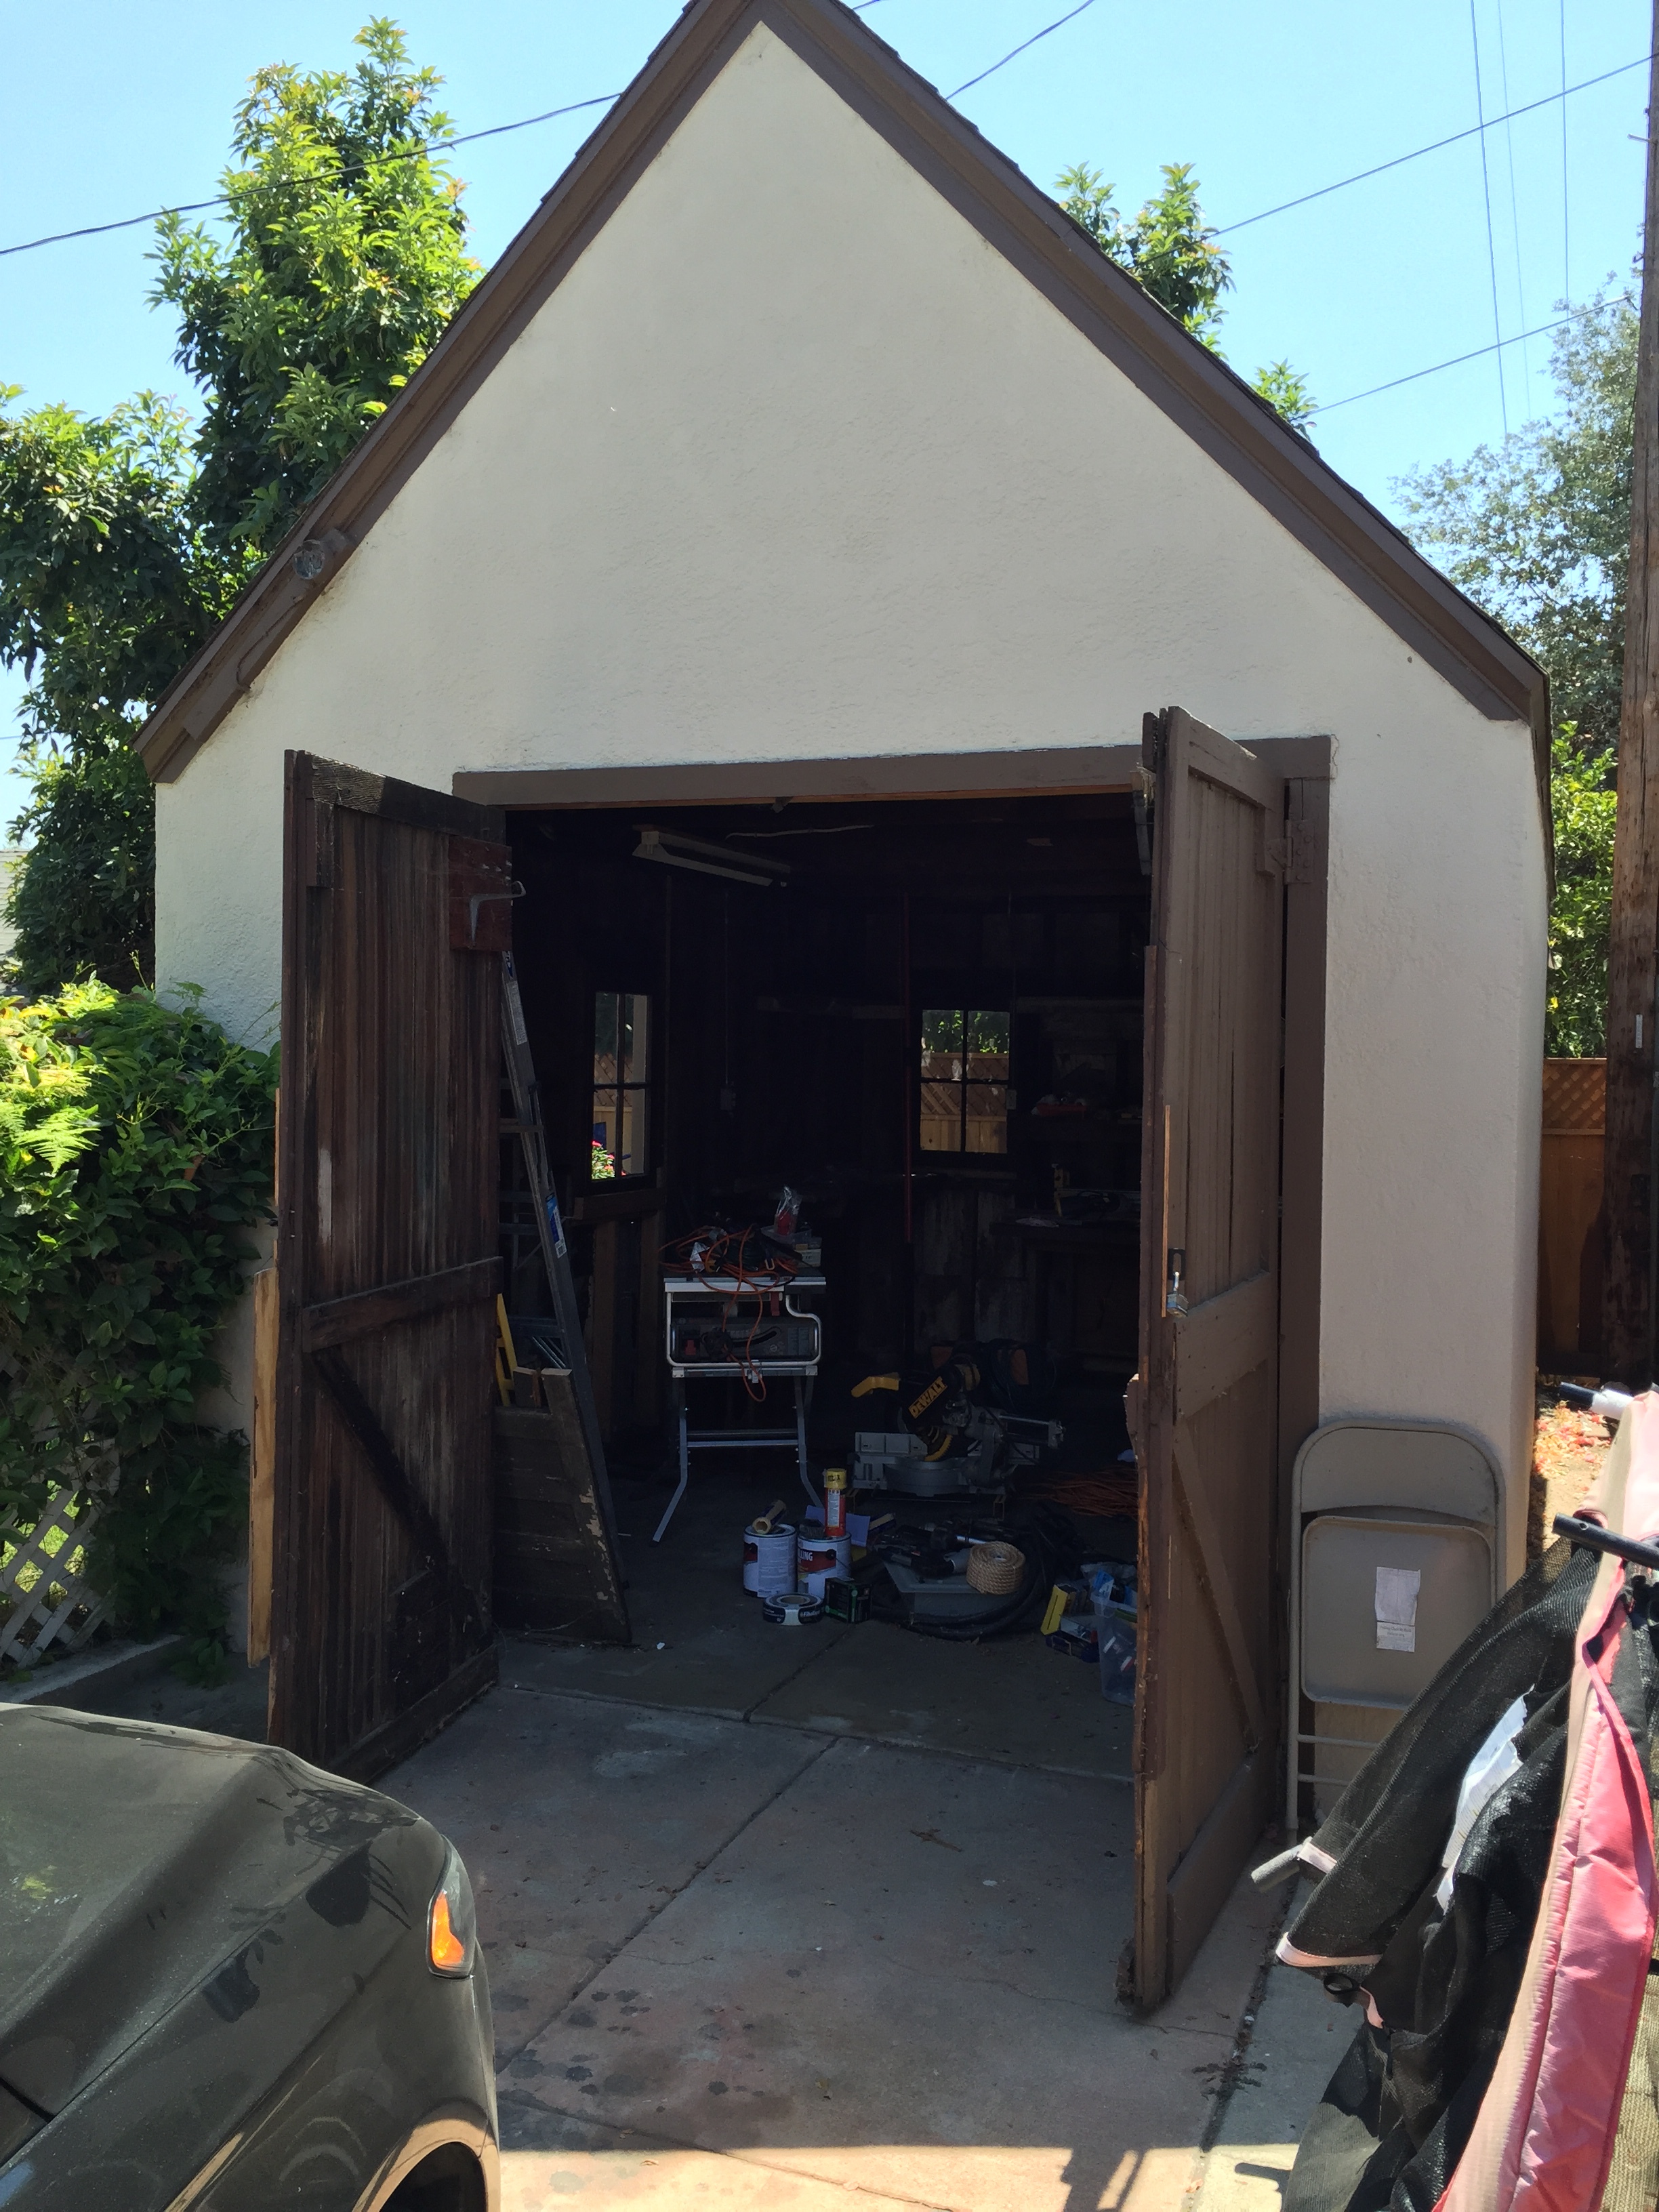
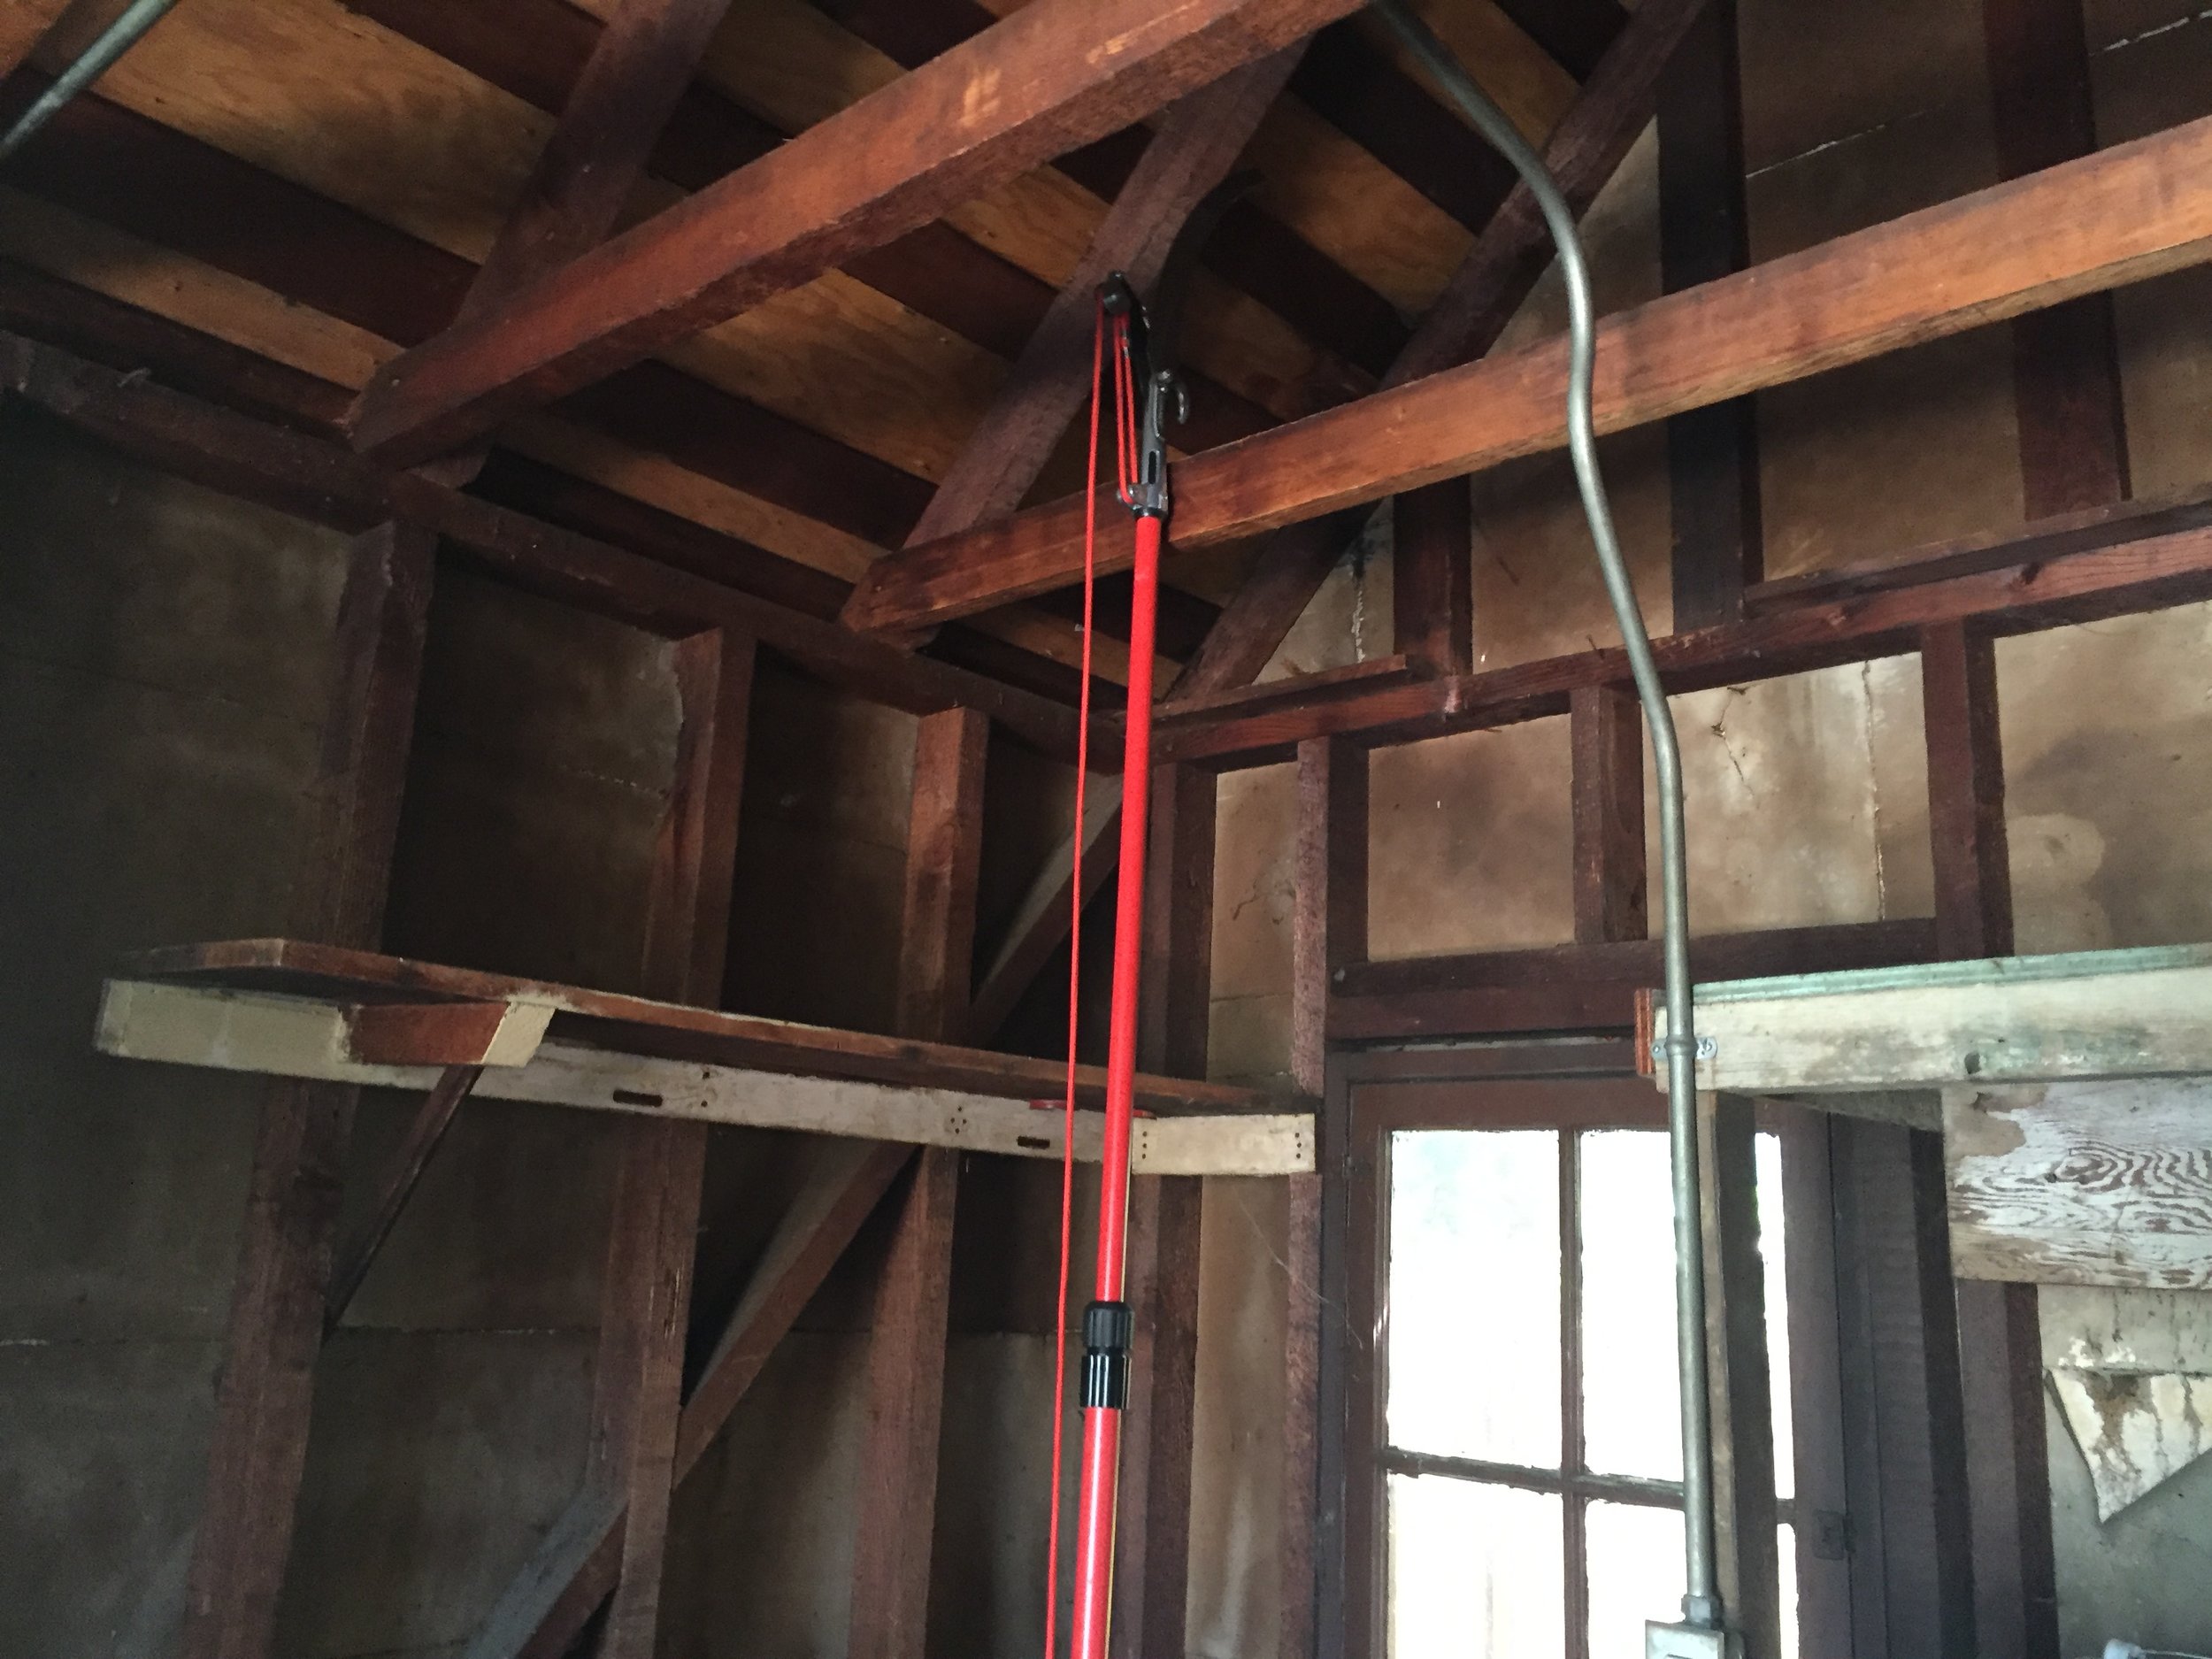
This is a pretty rough starting point.
A director friend of mine once paraphrased “The Right Stuff” saying you can tell who’s got the right stuff: let’s say you have seven seconds to live in a jet that is tail-spinning, those without the right stuff panic trying everything for seven seconds and either lose the plane or they lose the plane and die. Those with the right stuff take six of those seconds to plan and figure out what to do and in the last second do the right thing.
For whatever reason, that made an impression on me. I guess because when I was young and inexperienced I always wanted to jump right into it without taking a moment to figure out the best way to do it. Pain has taught me to be wiser.
Some of the most important aspects of the planning phase are:
- Figuring out everything that has to be in the space.
- Figuring out the exact sequence it has to be done in.
- Being able to visualize what it will be when finished.
If you don’t know what you need, you can’t get it. Simple.
And sequence is hyper important, you have no idea how many walls I’ve seen drywalled without the electrical and plumbing inside them = rip down the drywall and do it again = 2x time and 2x cost. You get it.
Planning your garage studio begins with asking these questions:
- What does the space need to be able to do? (Might be different for a video editor than a rock band)
- Is the space big enough to do a version of 1? If not, find a different space or revise 1.
- What equipment needs to be in there and what are the electrical and low-voltage (internet, sound cabling) requirements?
- Does it need to be soundproof?
- Does it need to be insulated from weather?
- What kind of finishes and furniture do you want in the space?
- How much money do you have to do the project?
- How much time do you have to do the project?
Okay? That will help you visualize what you want to do and what you can do. It’s important to understand what is essential and what is frivolous. You may really want that diamond covered mic stand, but don’t buy that before you pay for the electrical cabling.
Budgeting:

Every remodeling project costs something. Two things you have to know:
- How much is each item going to cost?
- What items are going to take longer to arrive? (It sucks to have a finished room waiting for the air conditioner that doesn’t arrive for 3-4 weeks).
I recommend creating a google sheet for a budget which has the following items in it:
- Demolition removal
- Wood for framing
- Doors
- Soundproofing materials
- Flooring materials
- Electrical materials
- Paint and Finishing Materials
- Sound cabling
- Air Conditioning
I wanted to finish the remodel within a couple weeks of part time work so I had to order the door and AC unit right away because I didn’t want to pay top price for the off the shelf units I found at the local stores. The door in Lowes was almost $1500 and I found a builder on craigslist who got me the same quality door for $600.
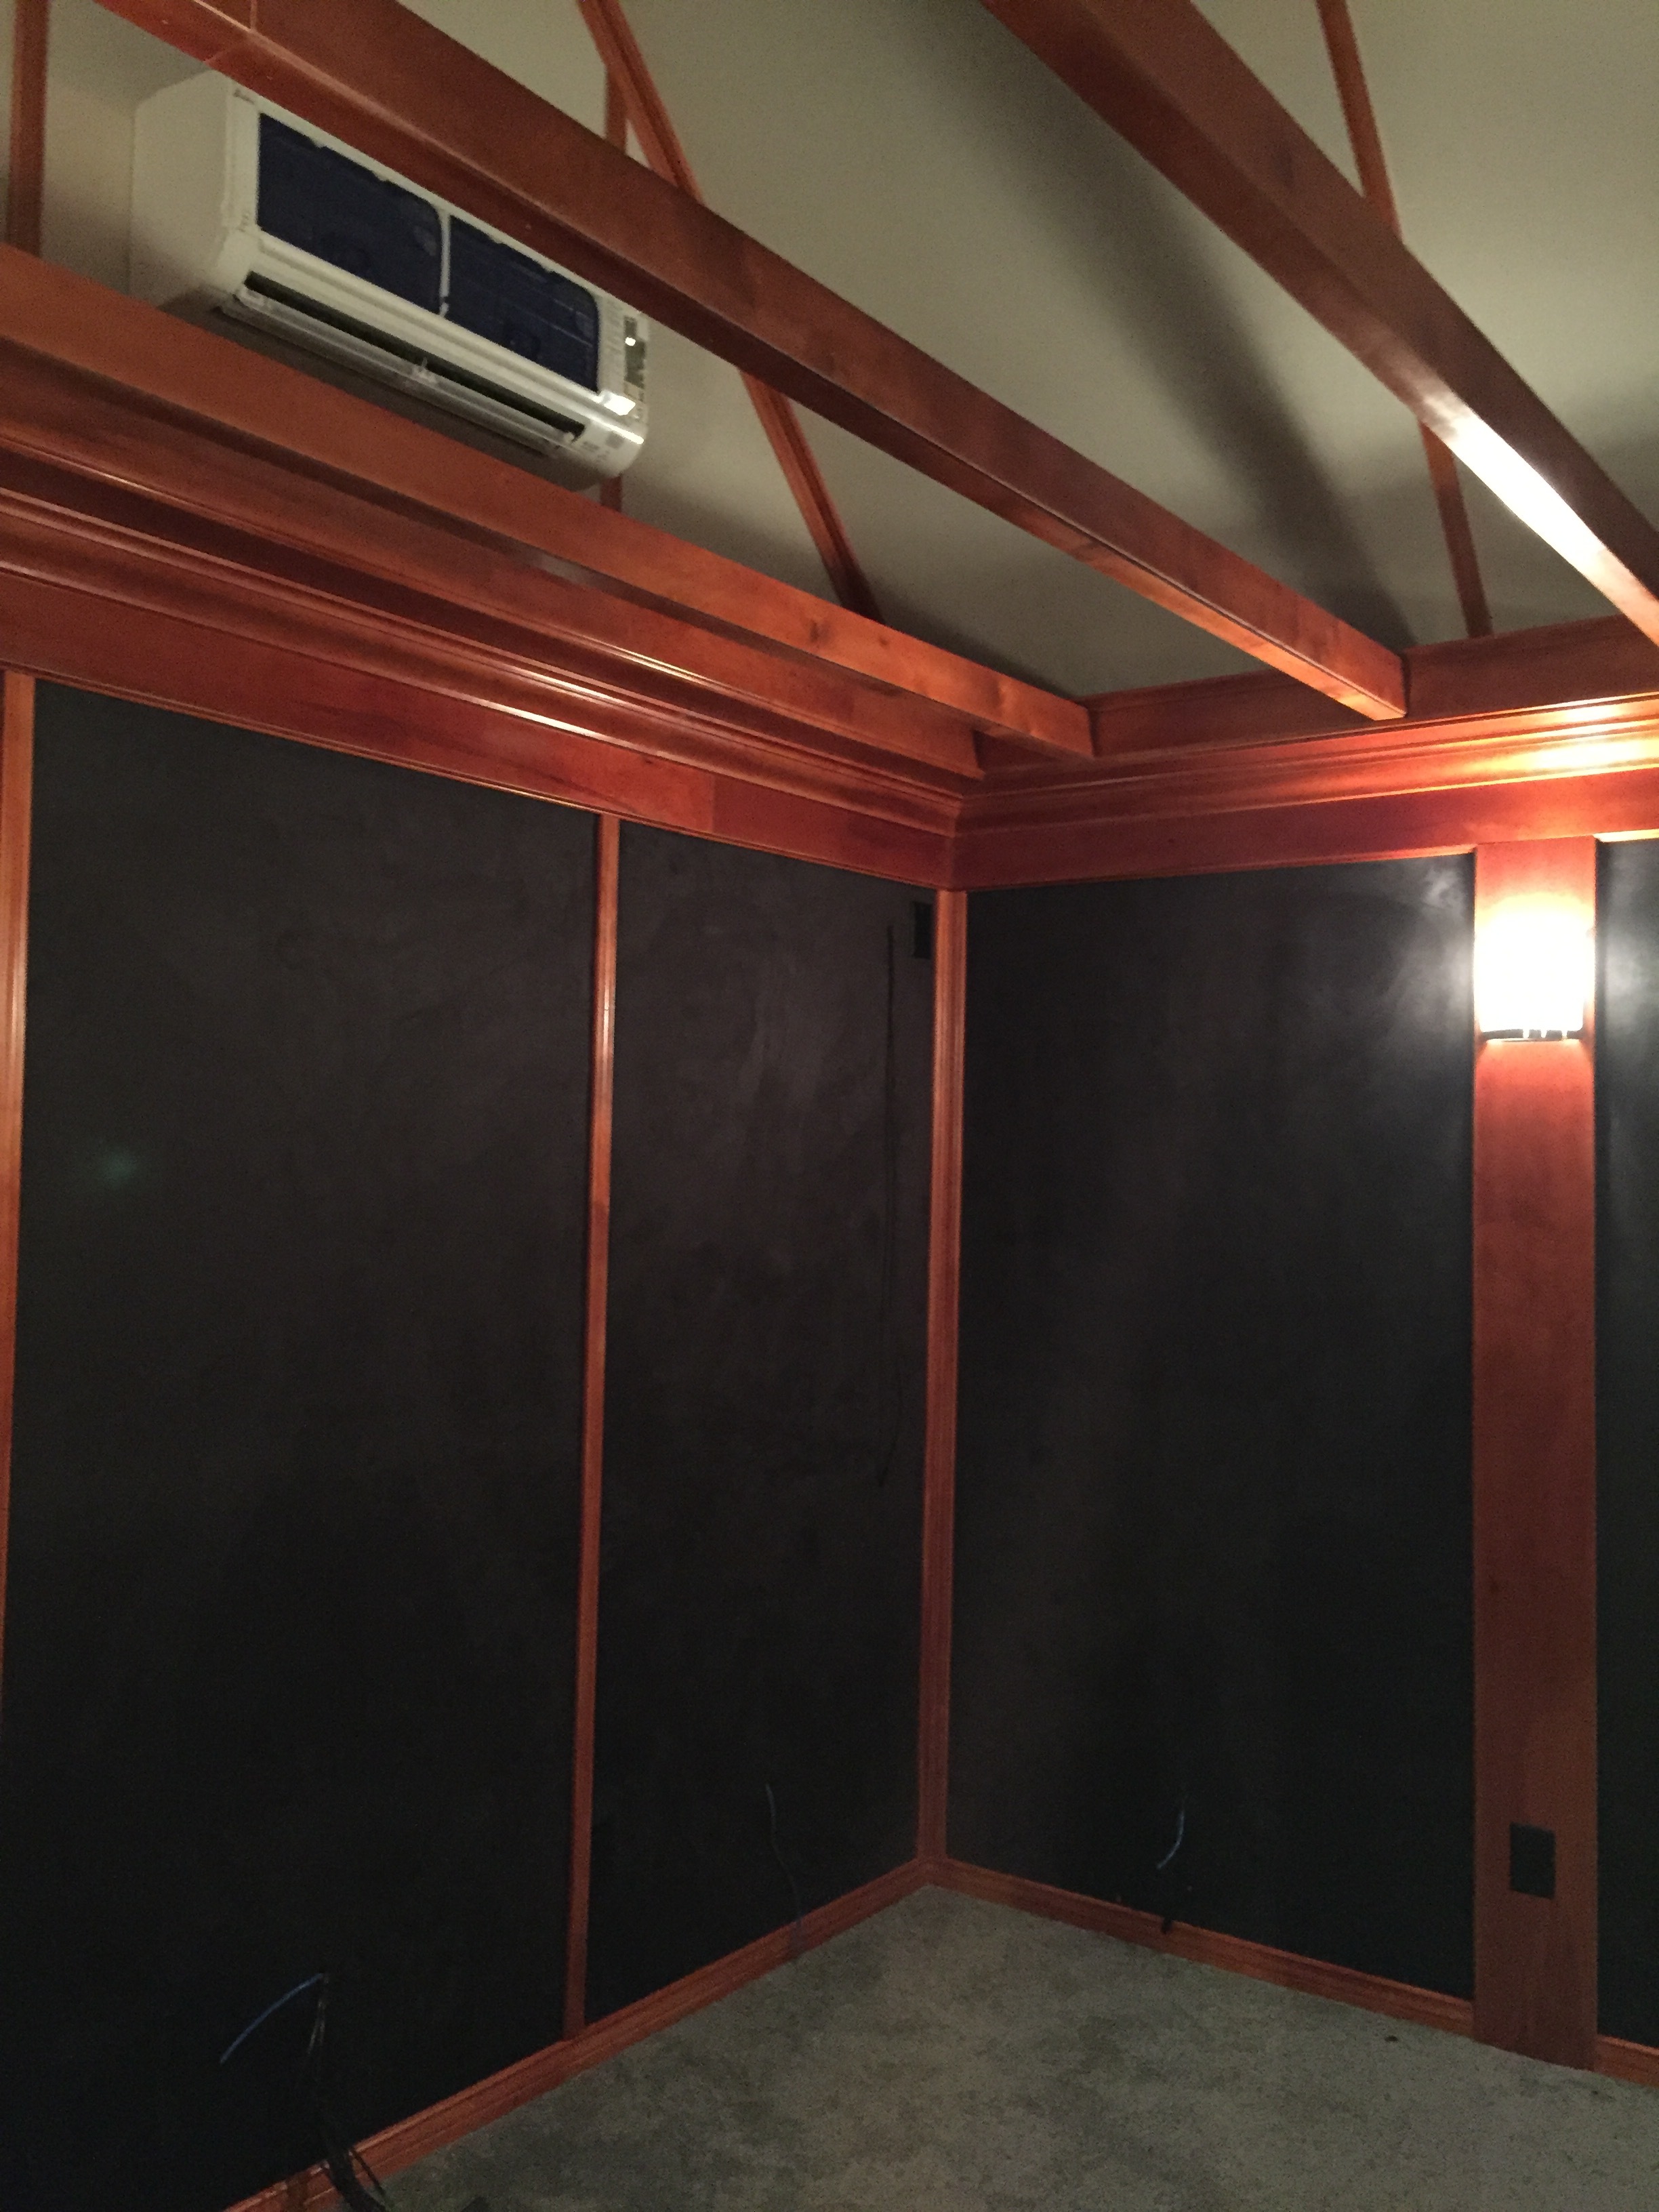
Because it was a sound space we wanted the quietest AC unit possible. All the
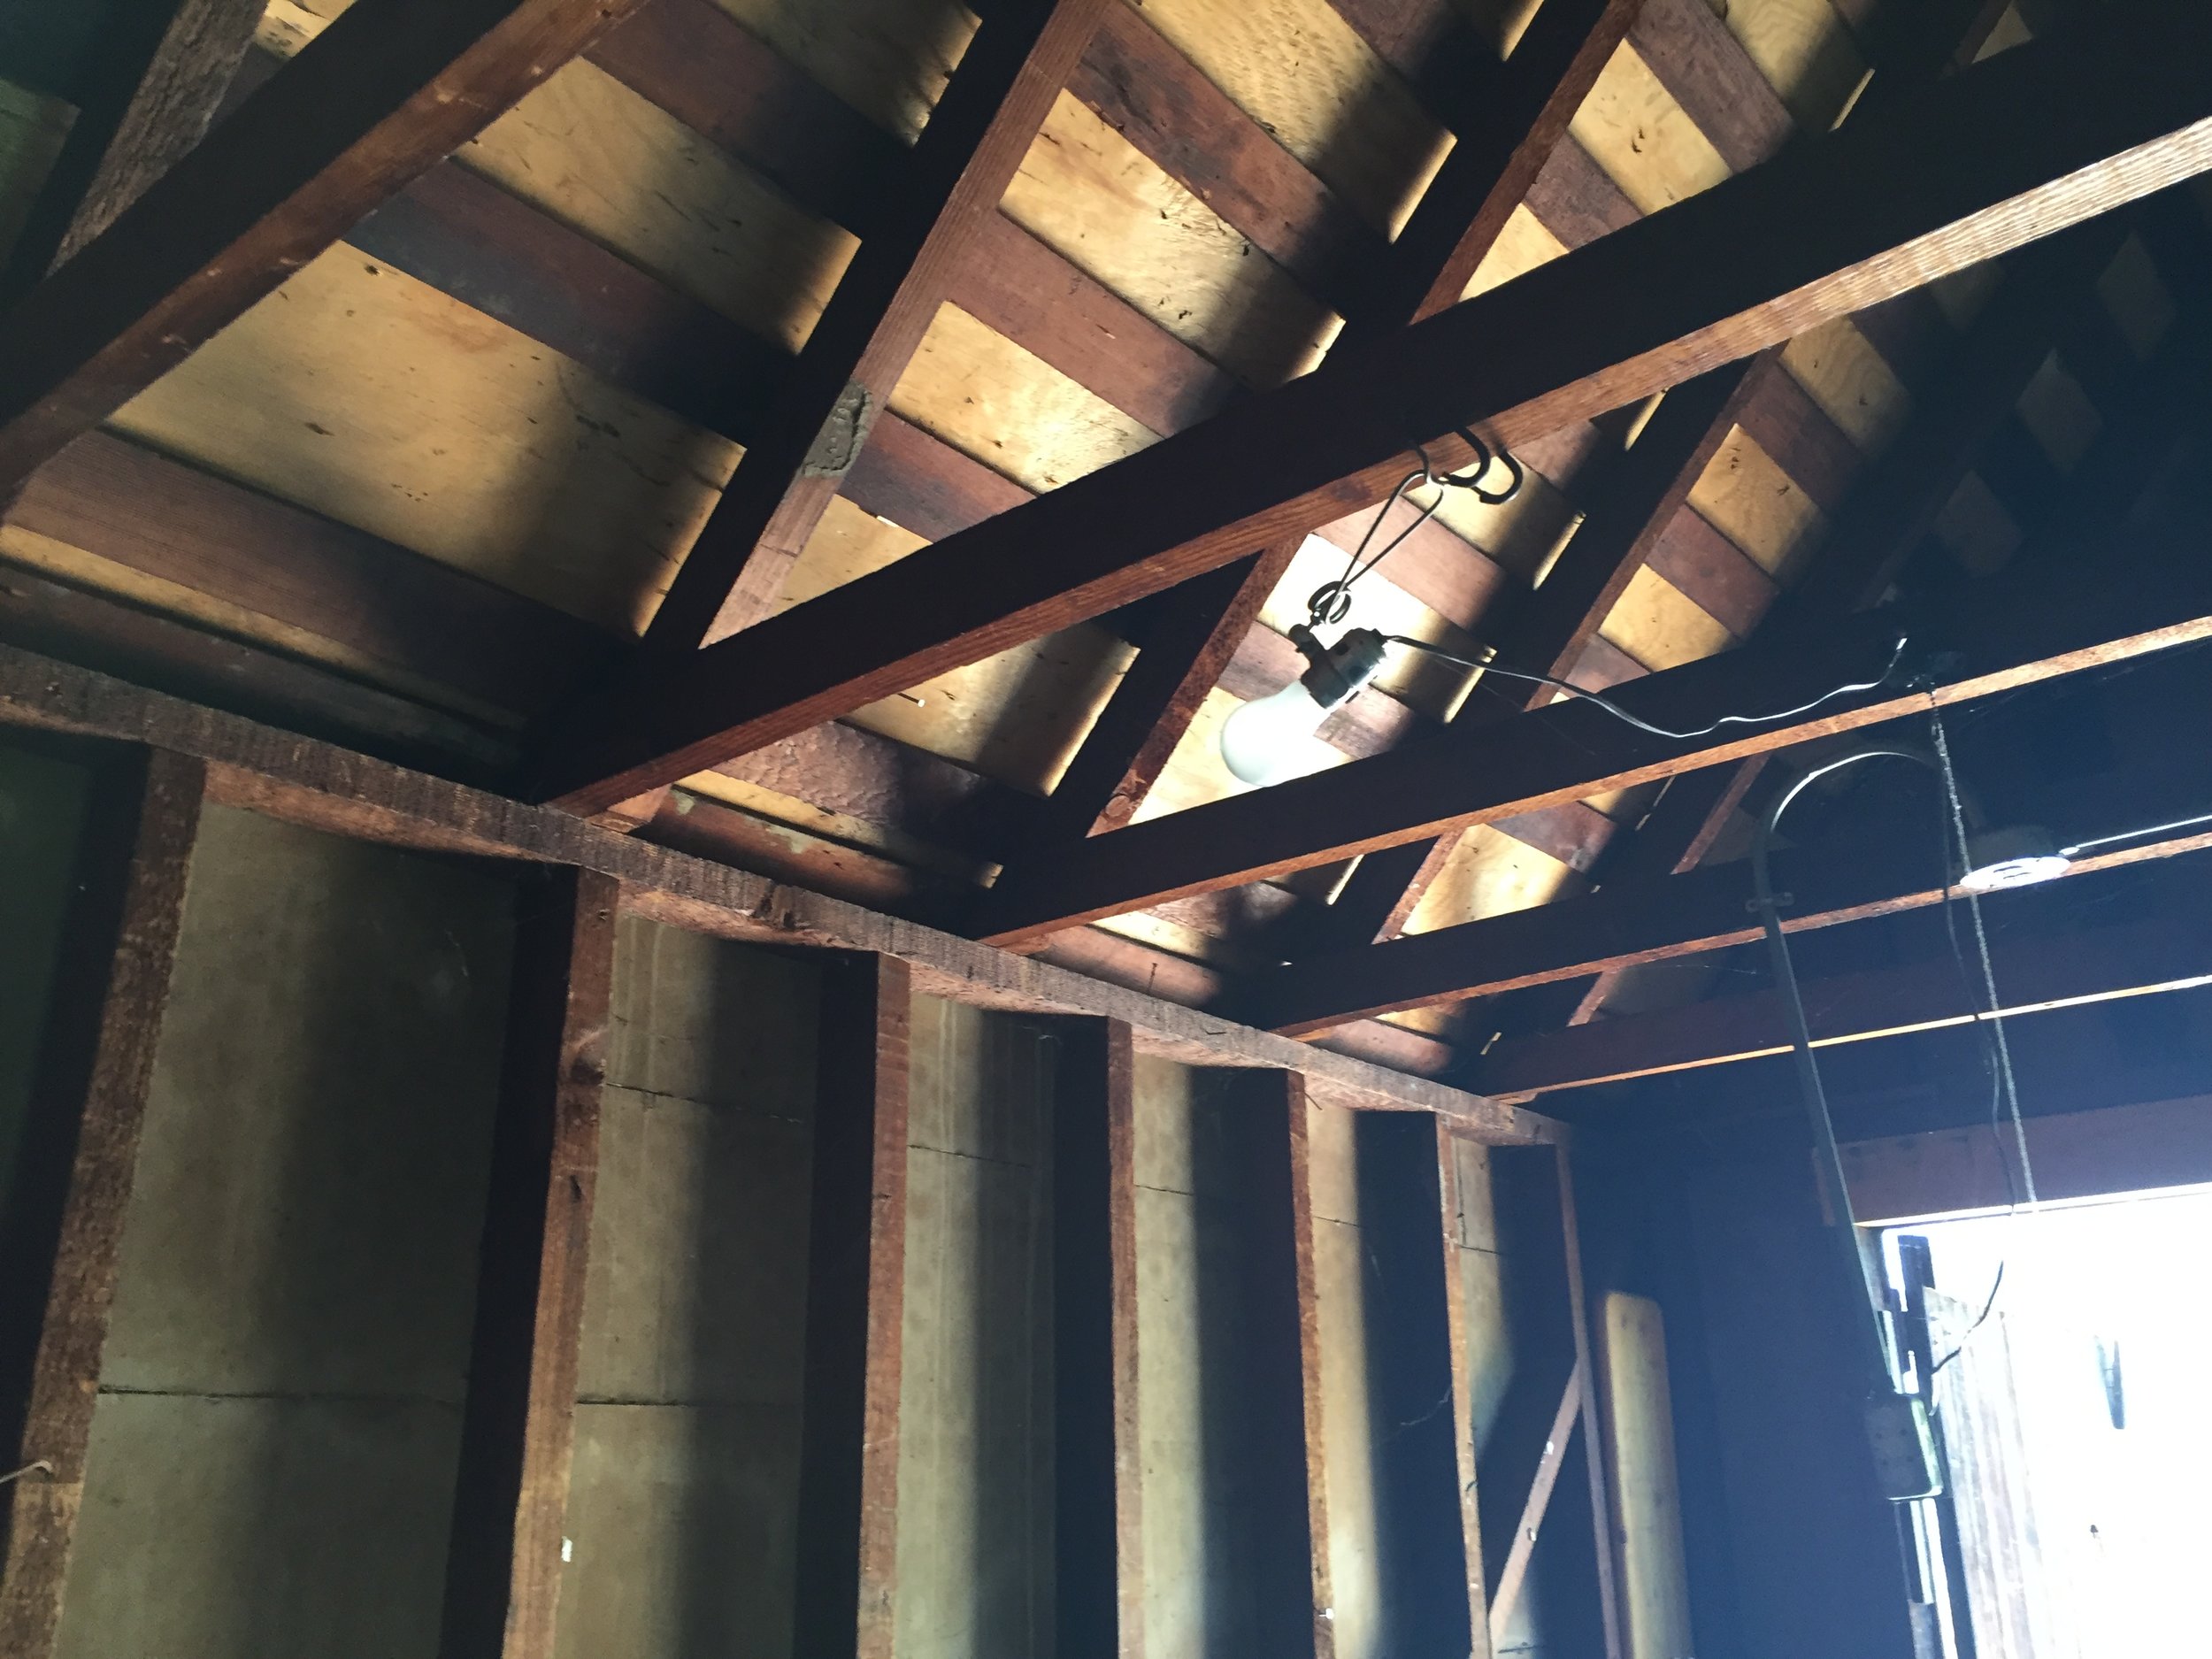
DEMOLITION:

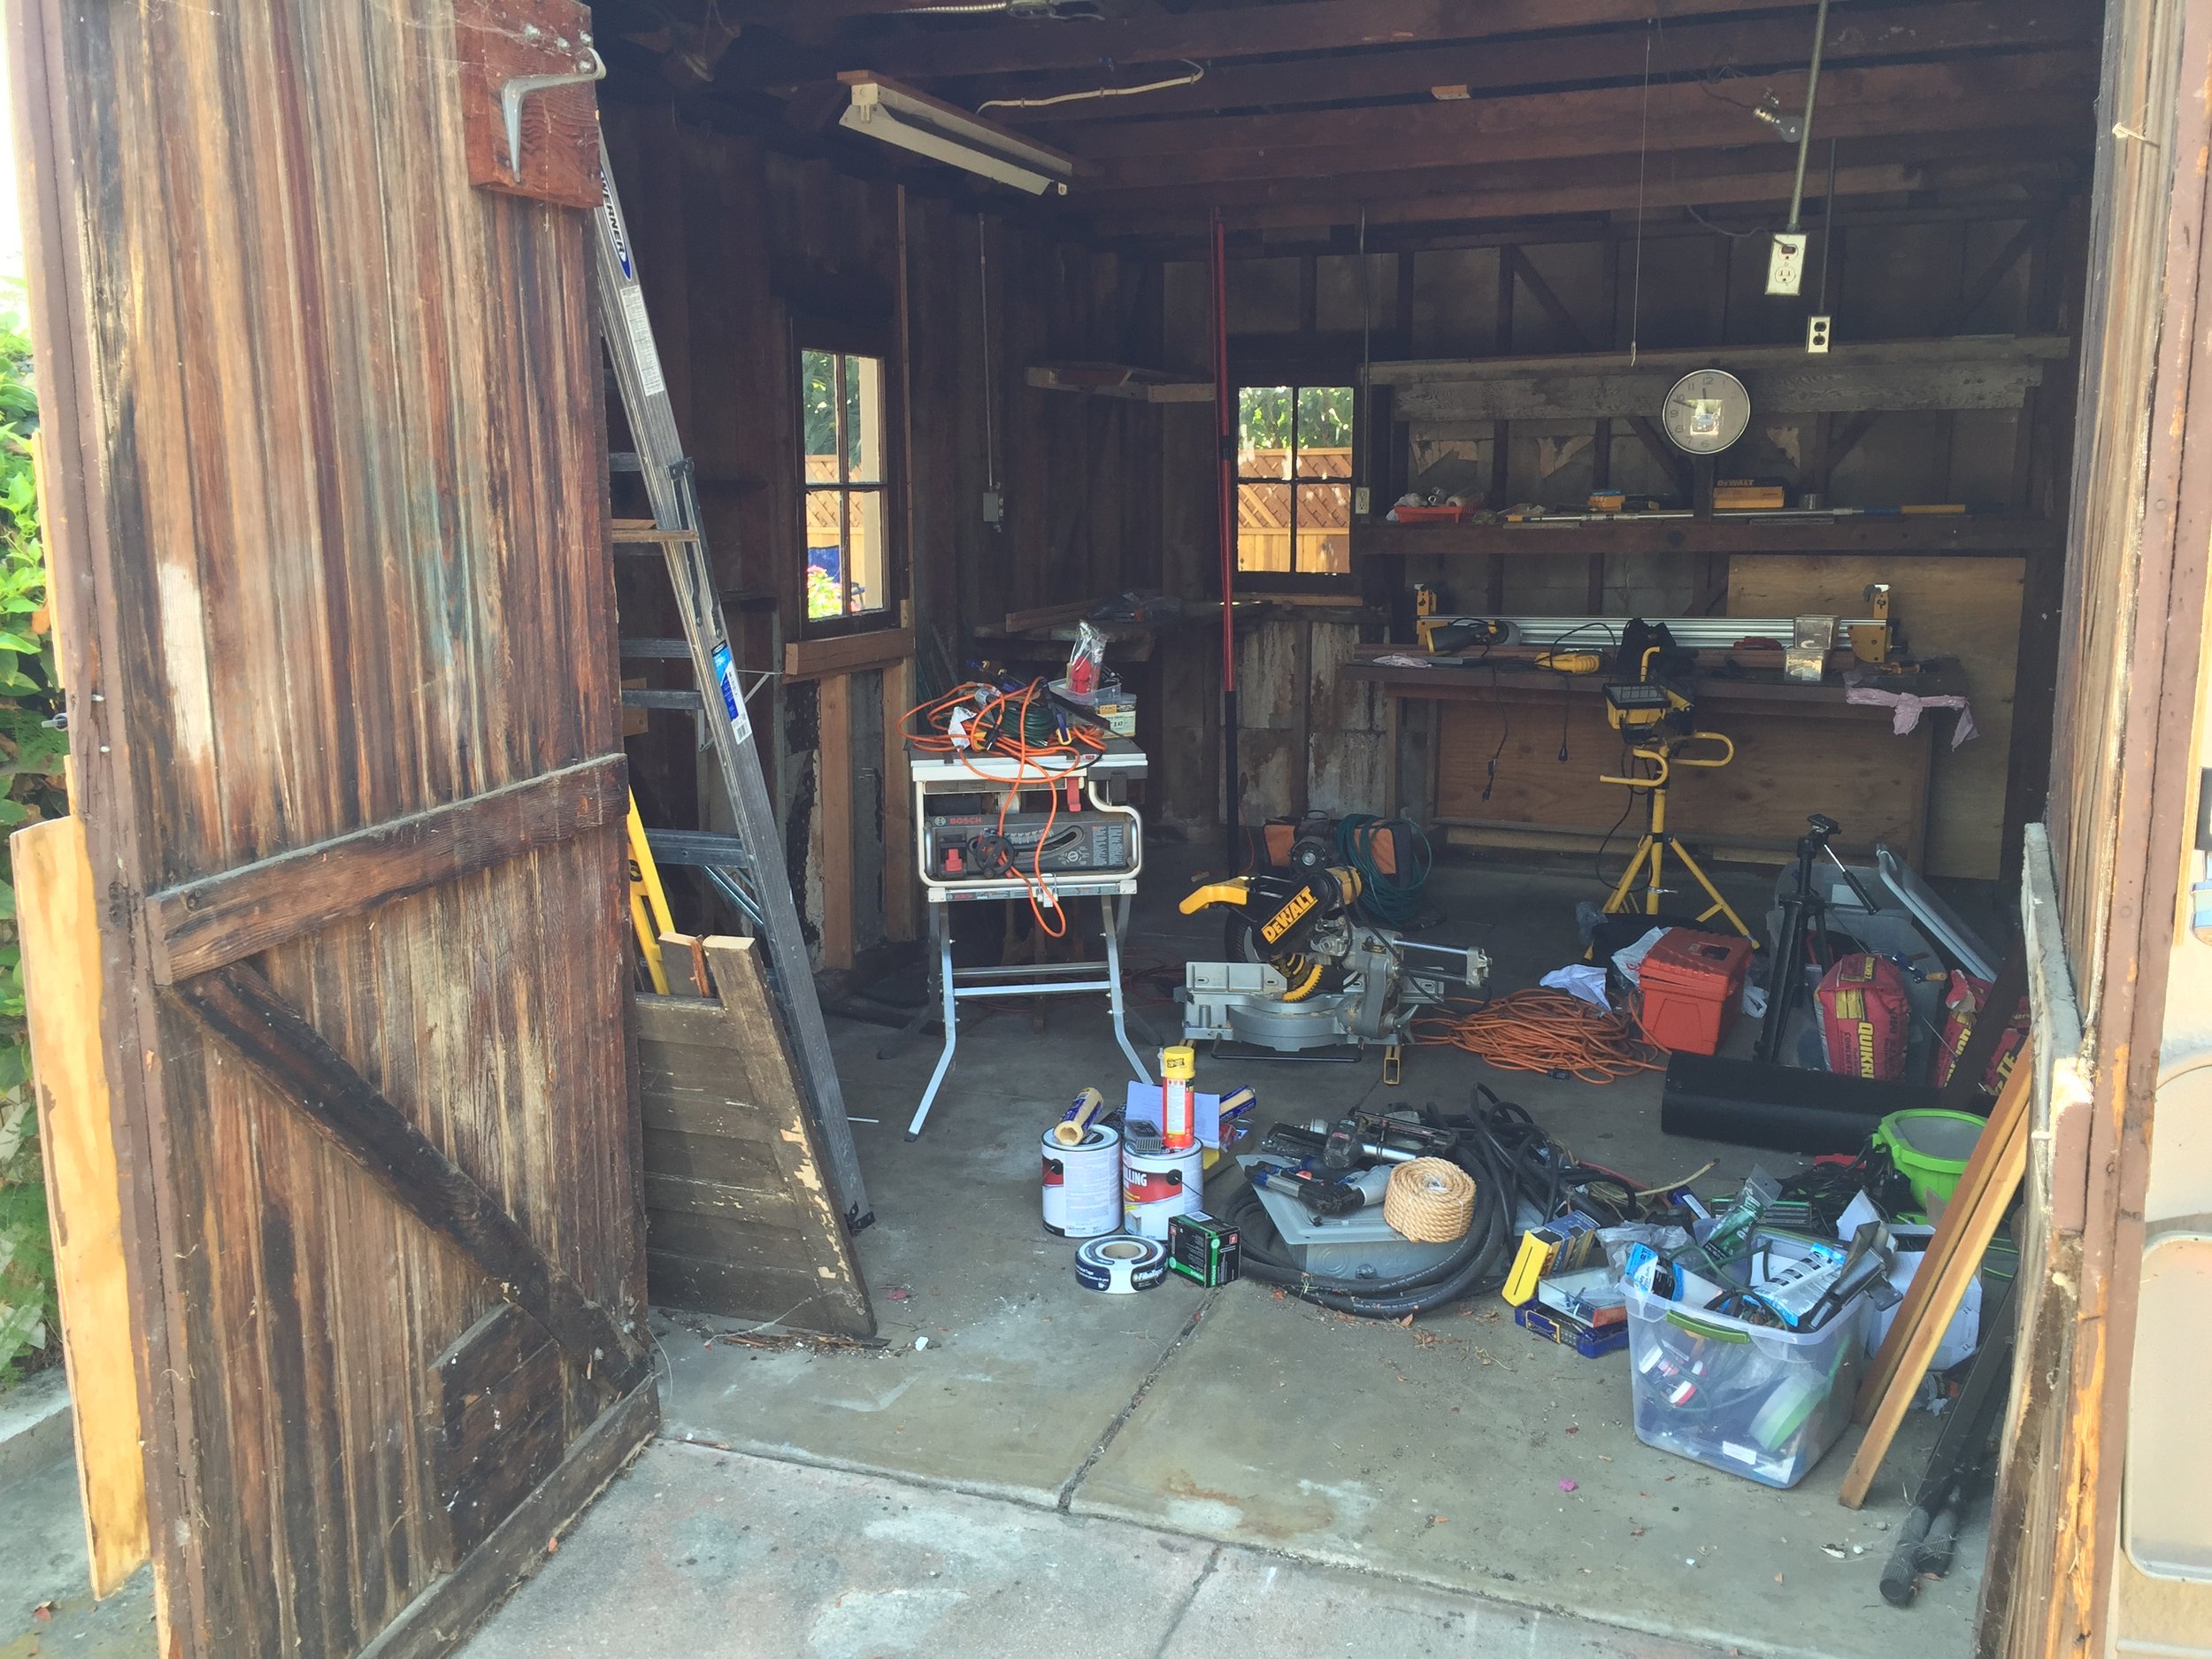
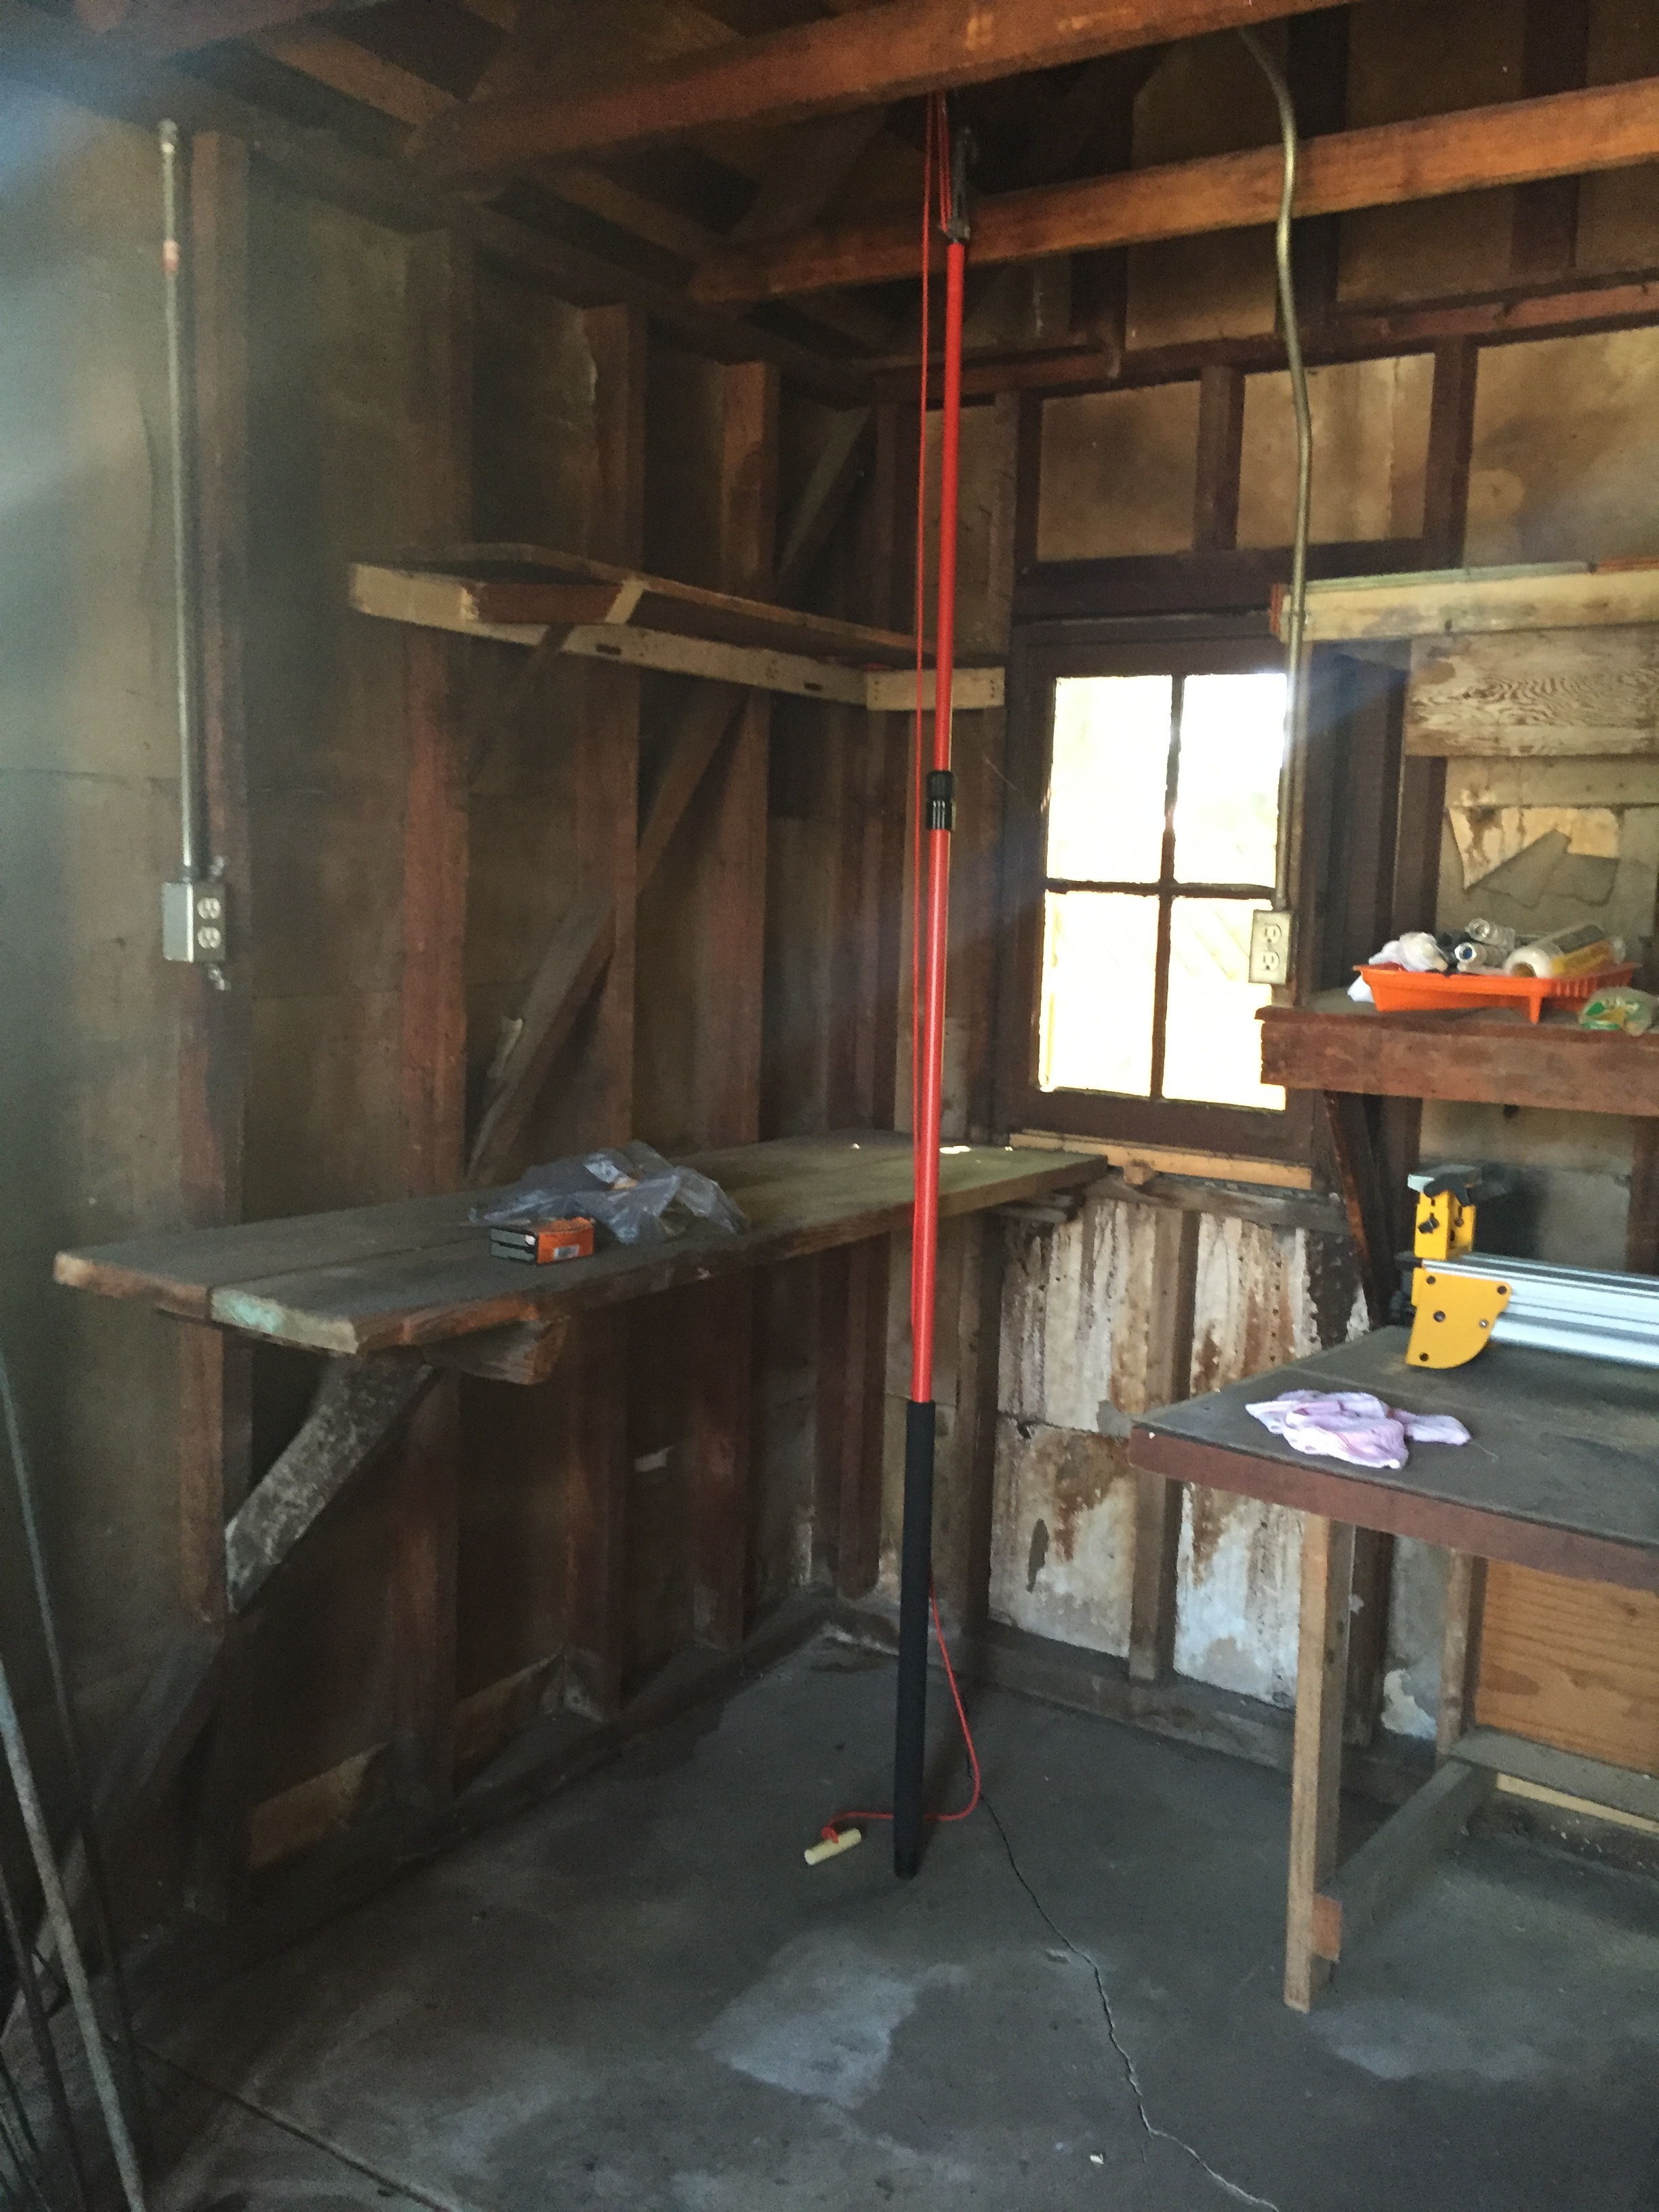
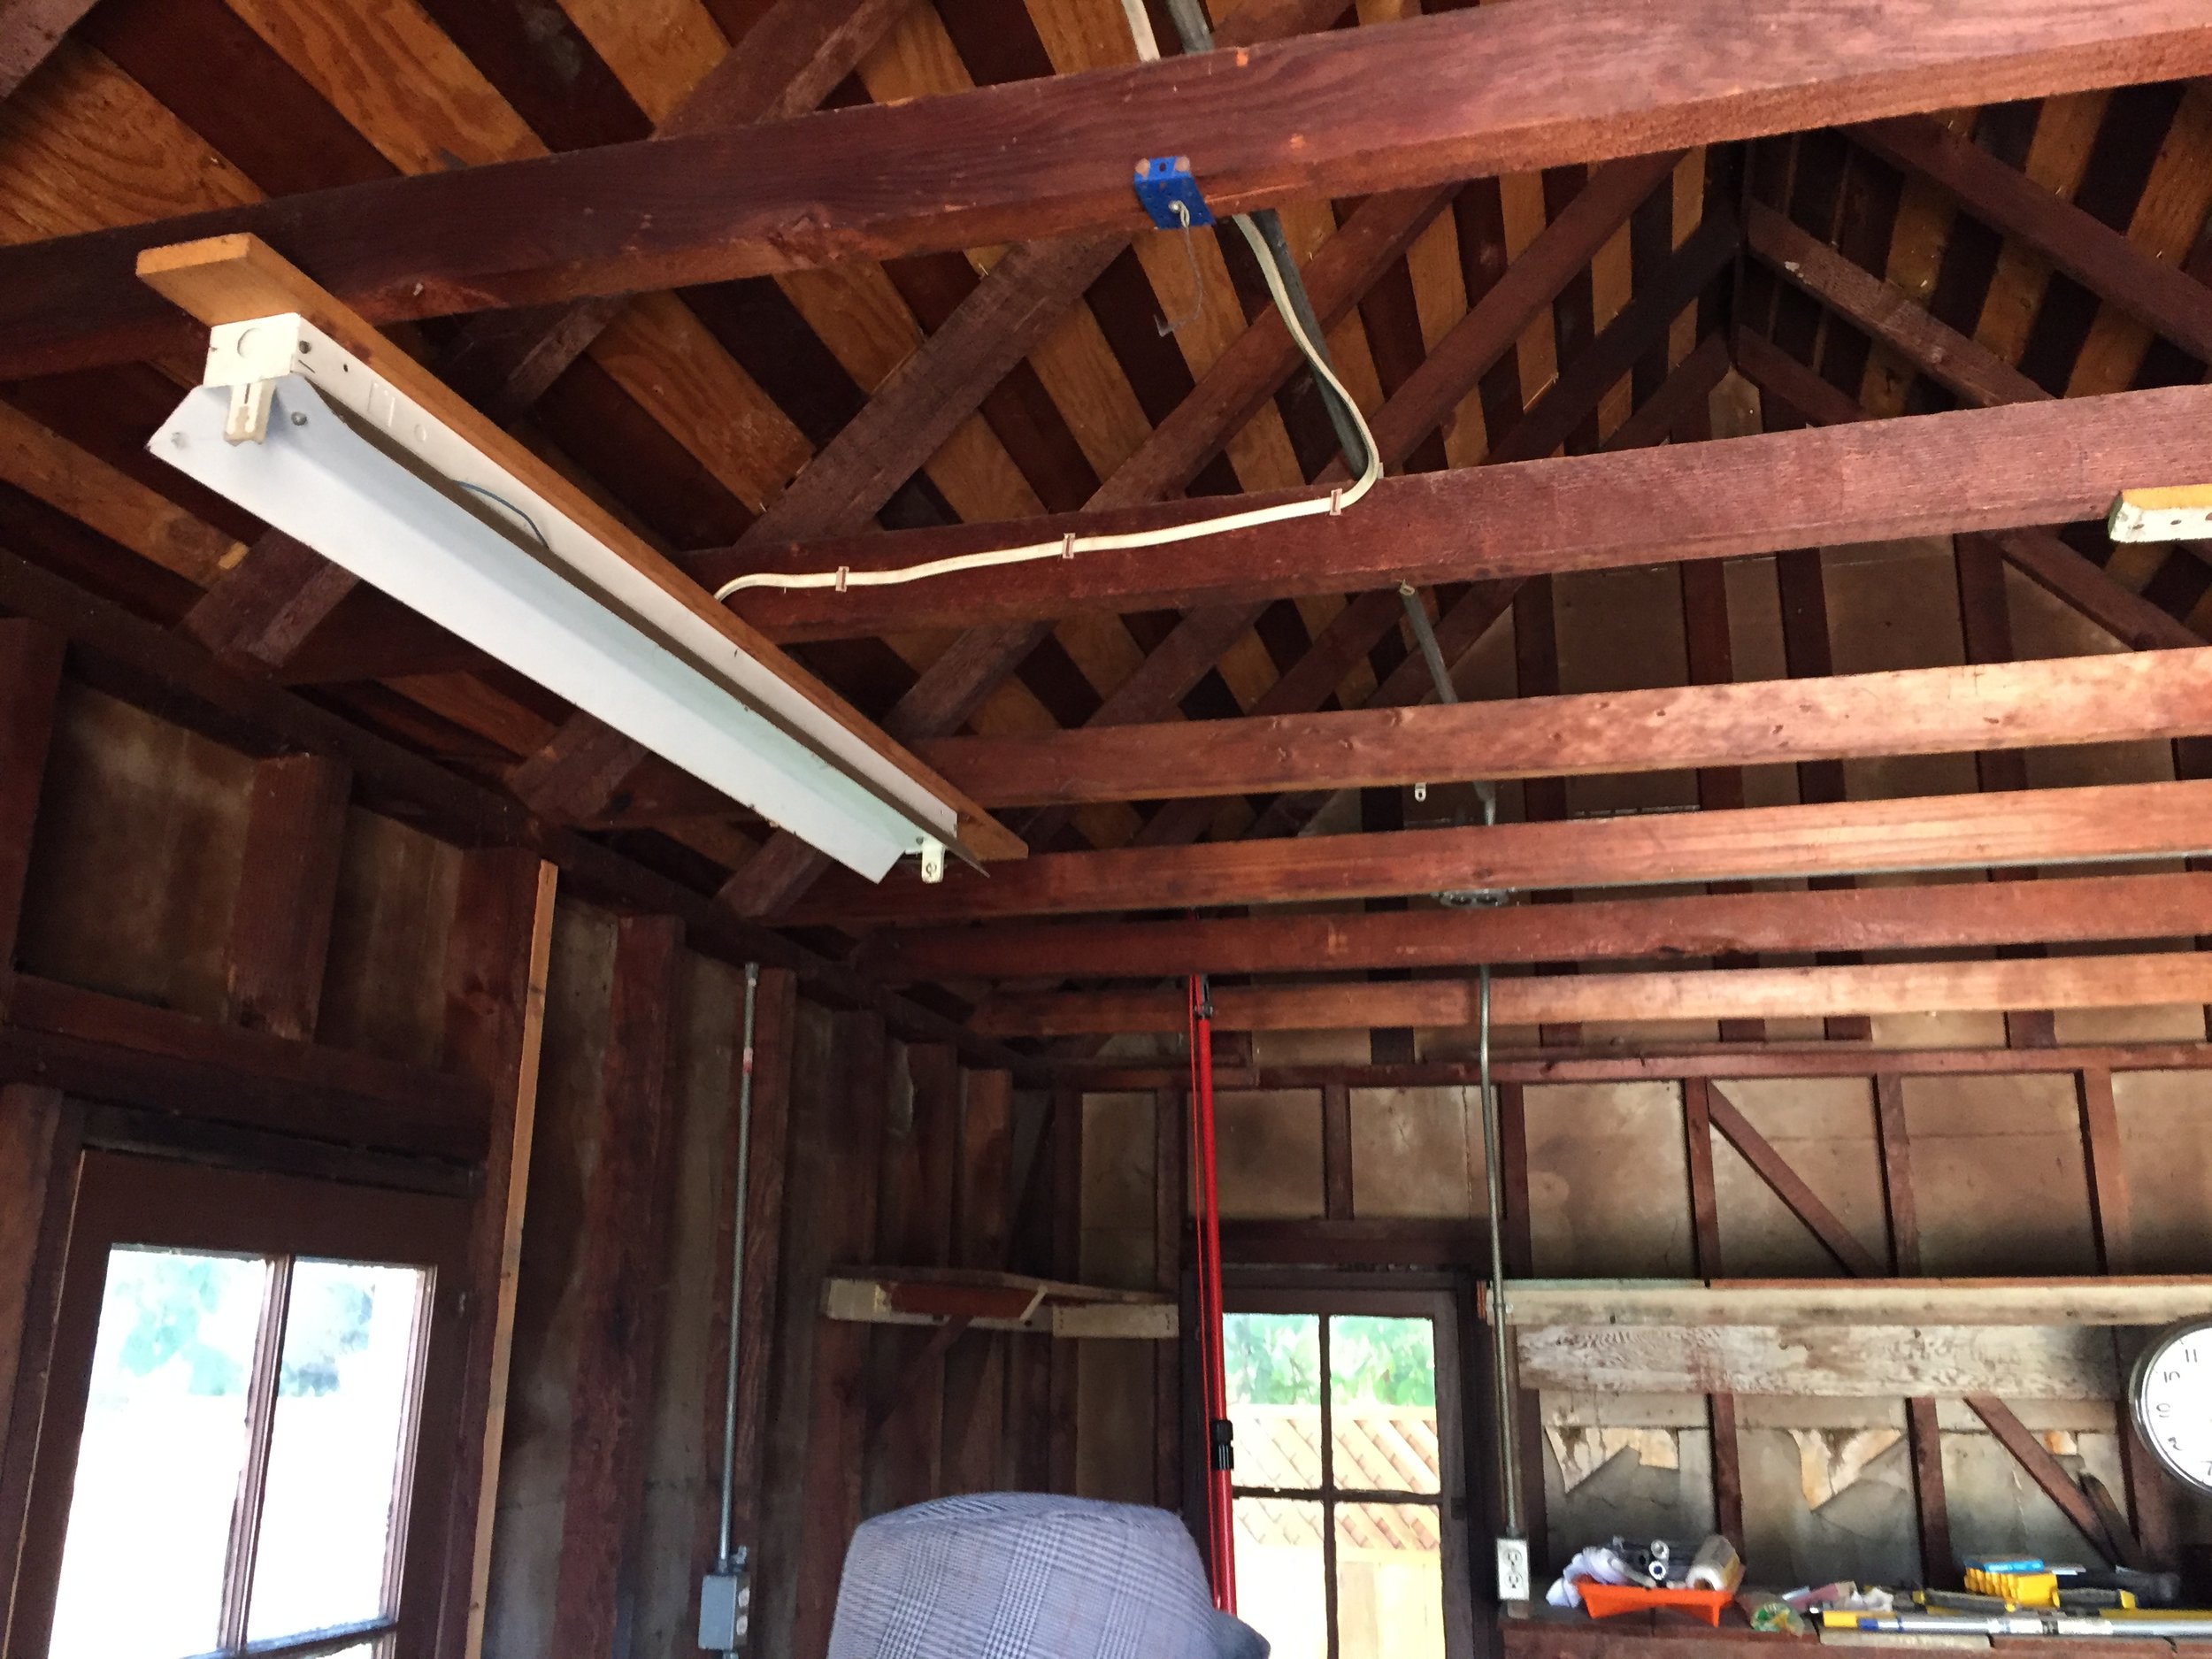
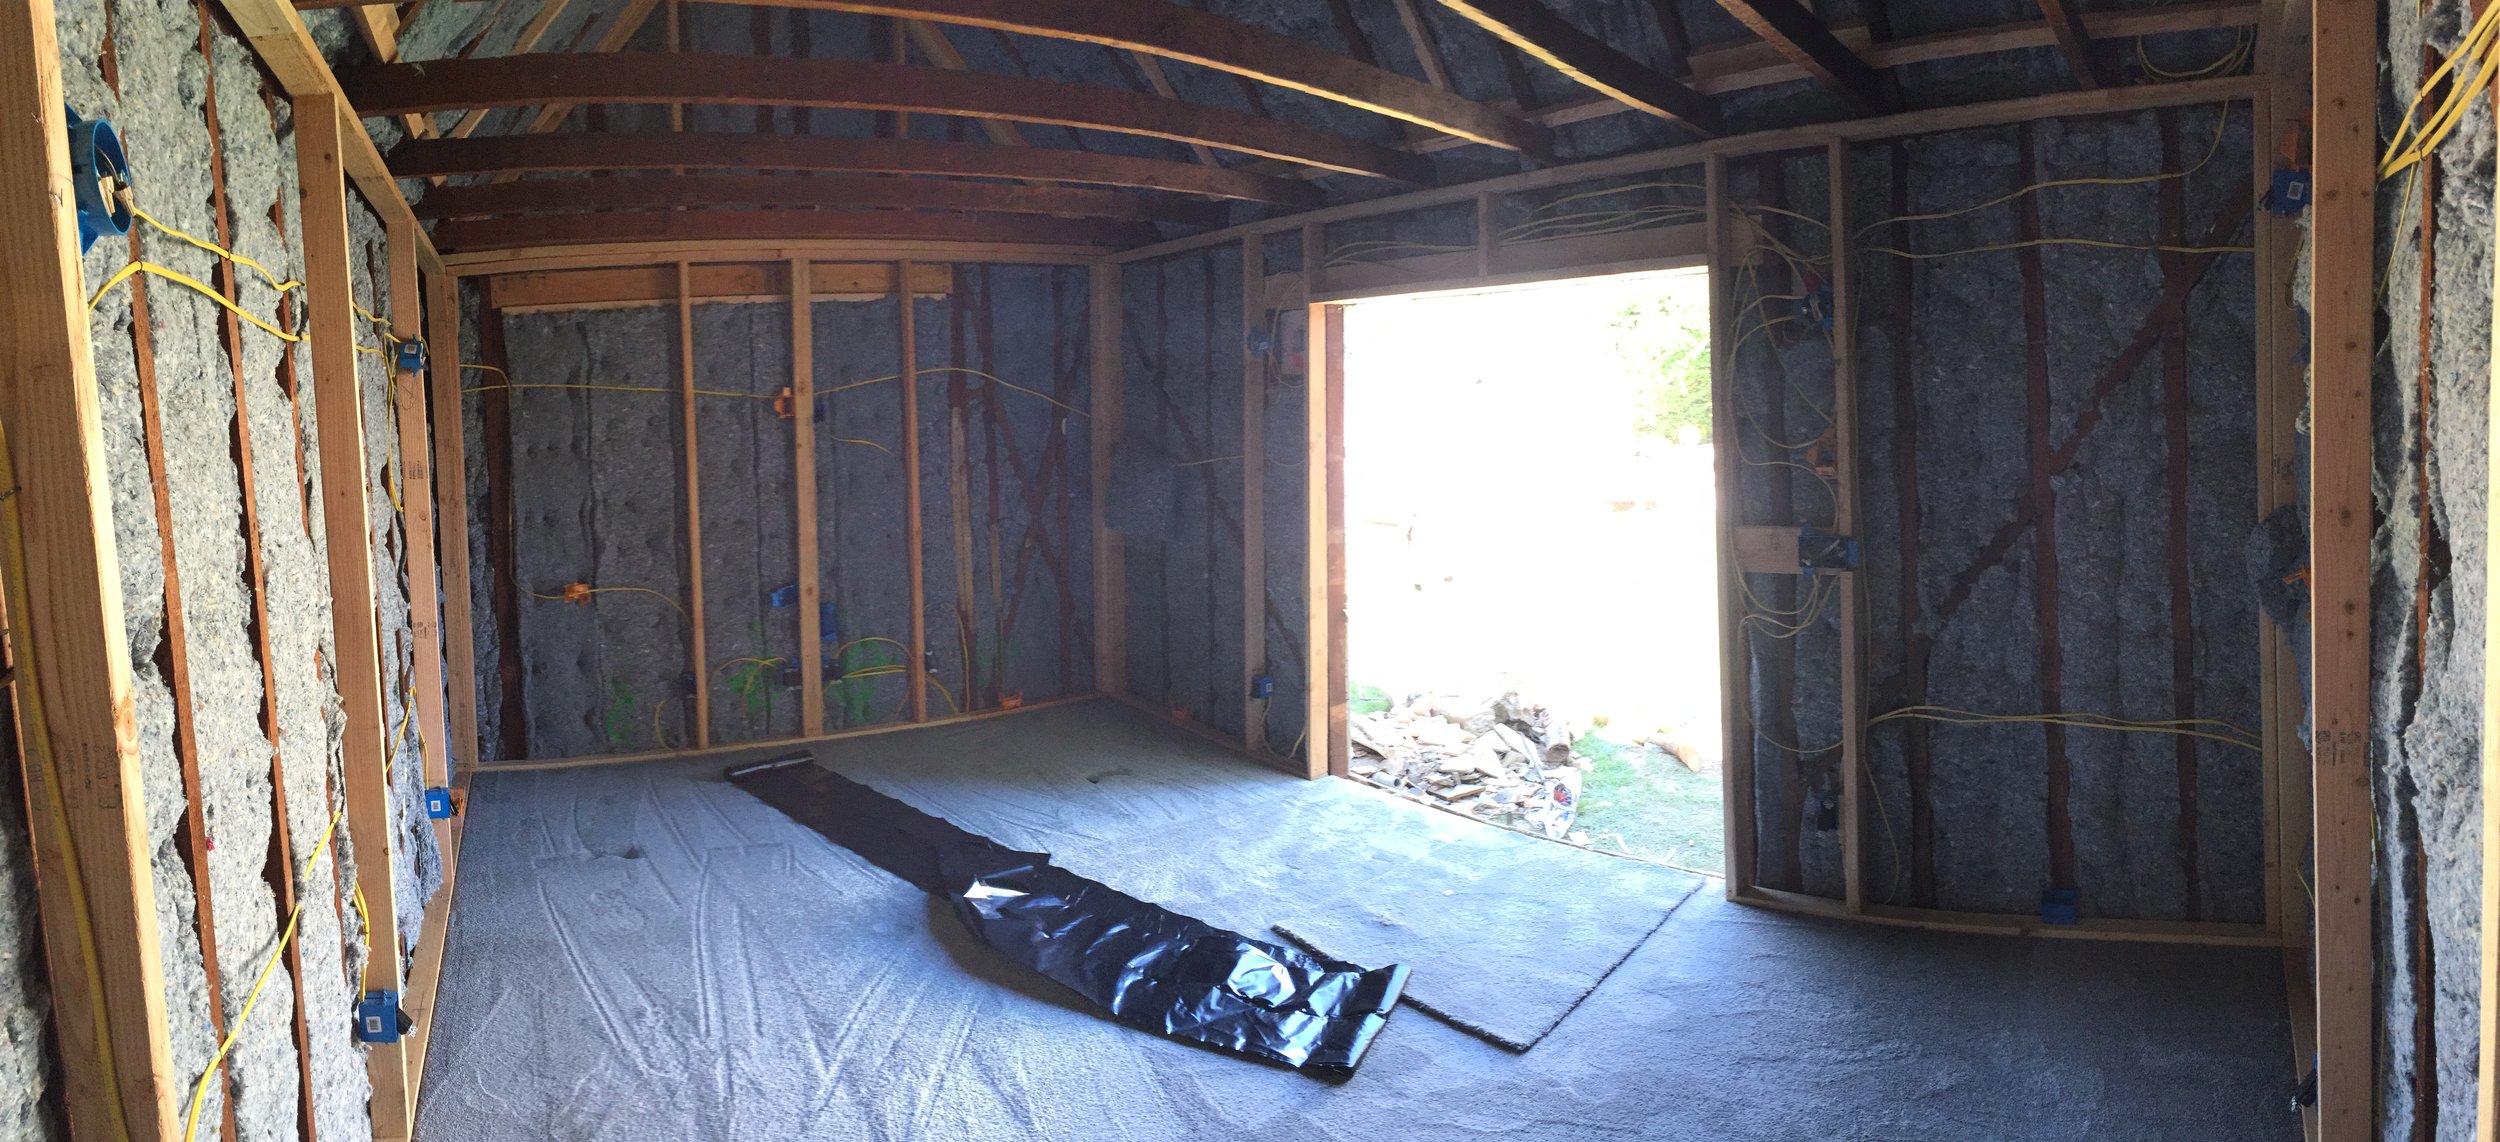
In this garage there was a lot of old shelving and stuff that needed to go, so I ripped all that out to leave only the bare walls.
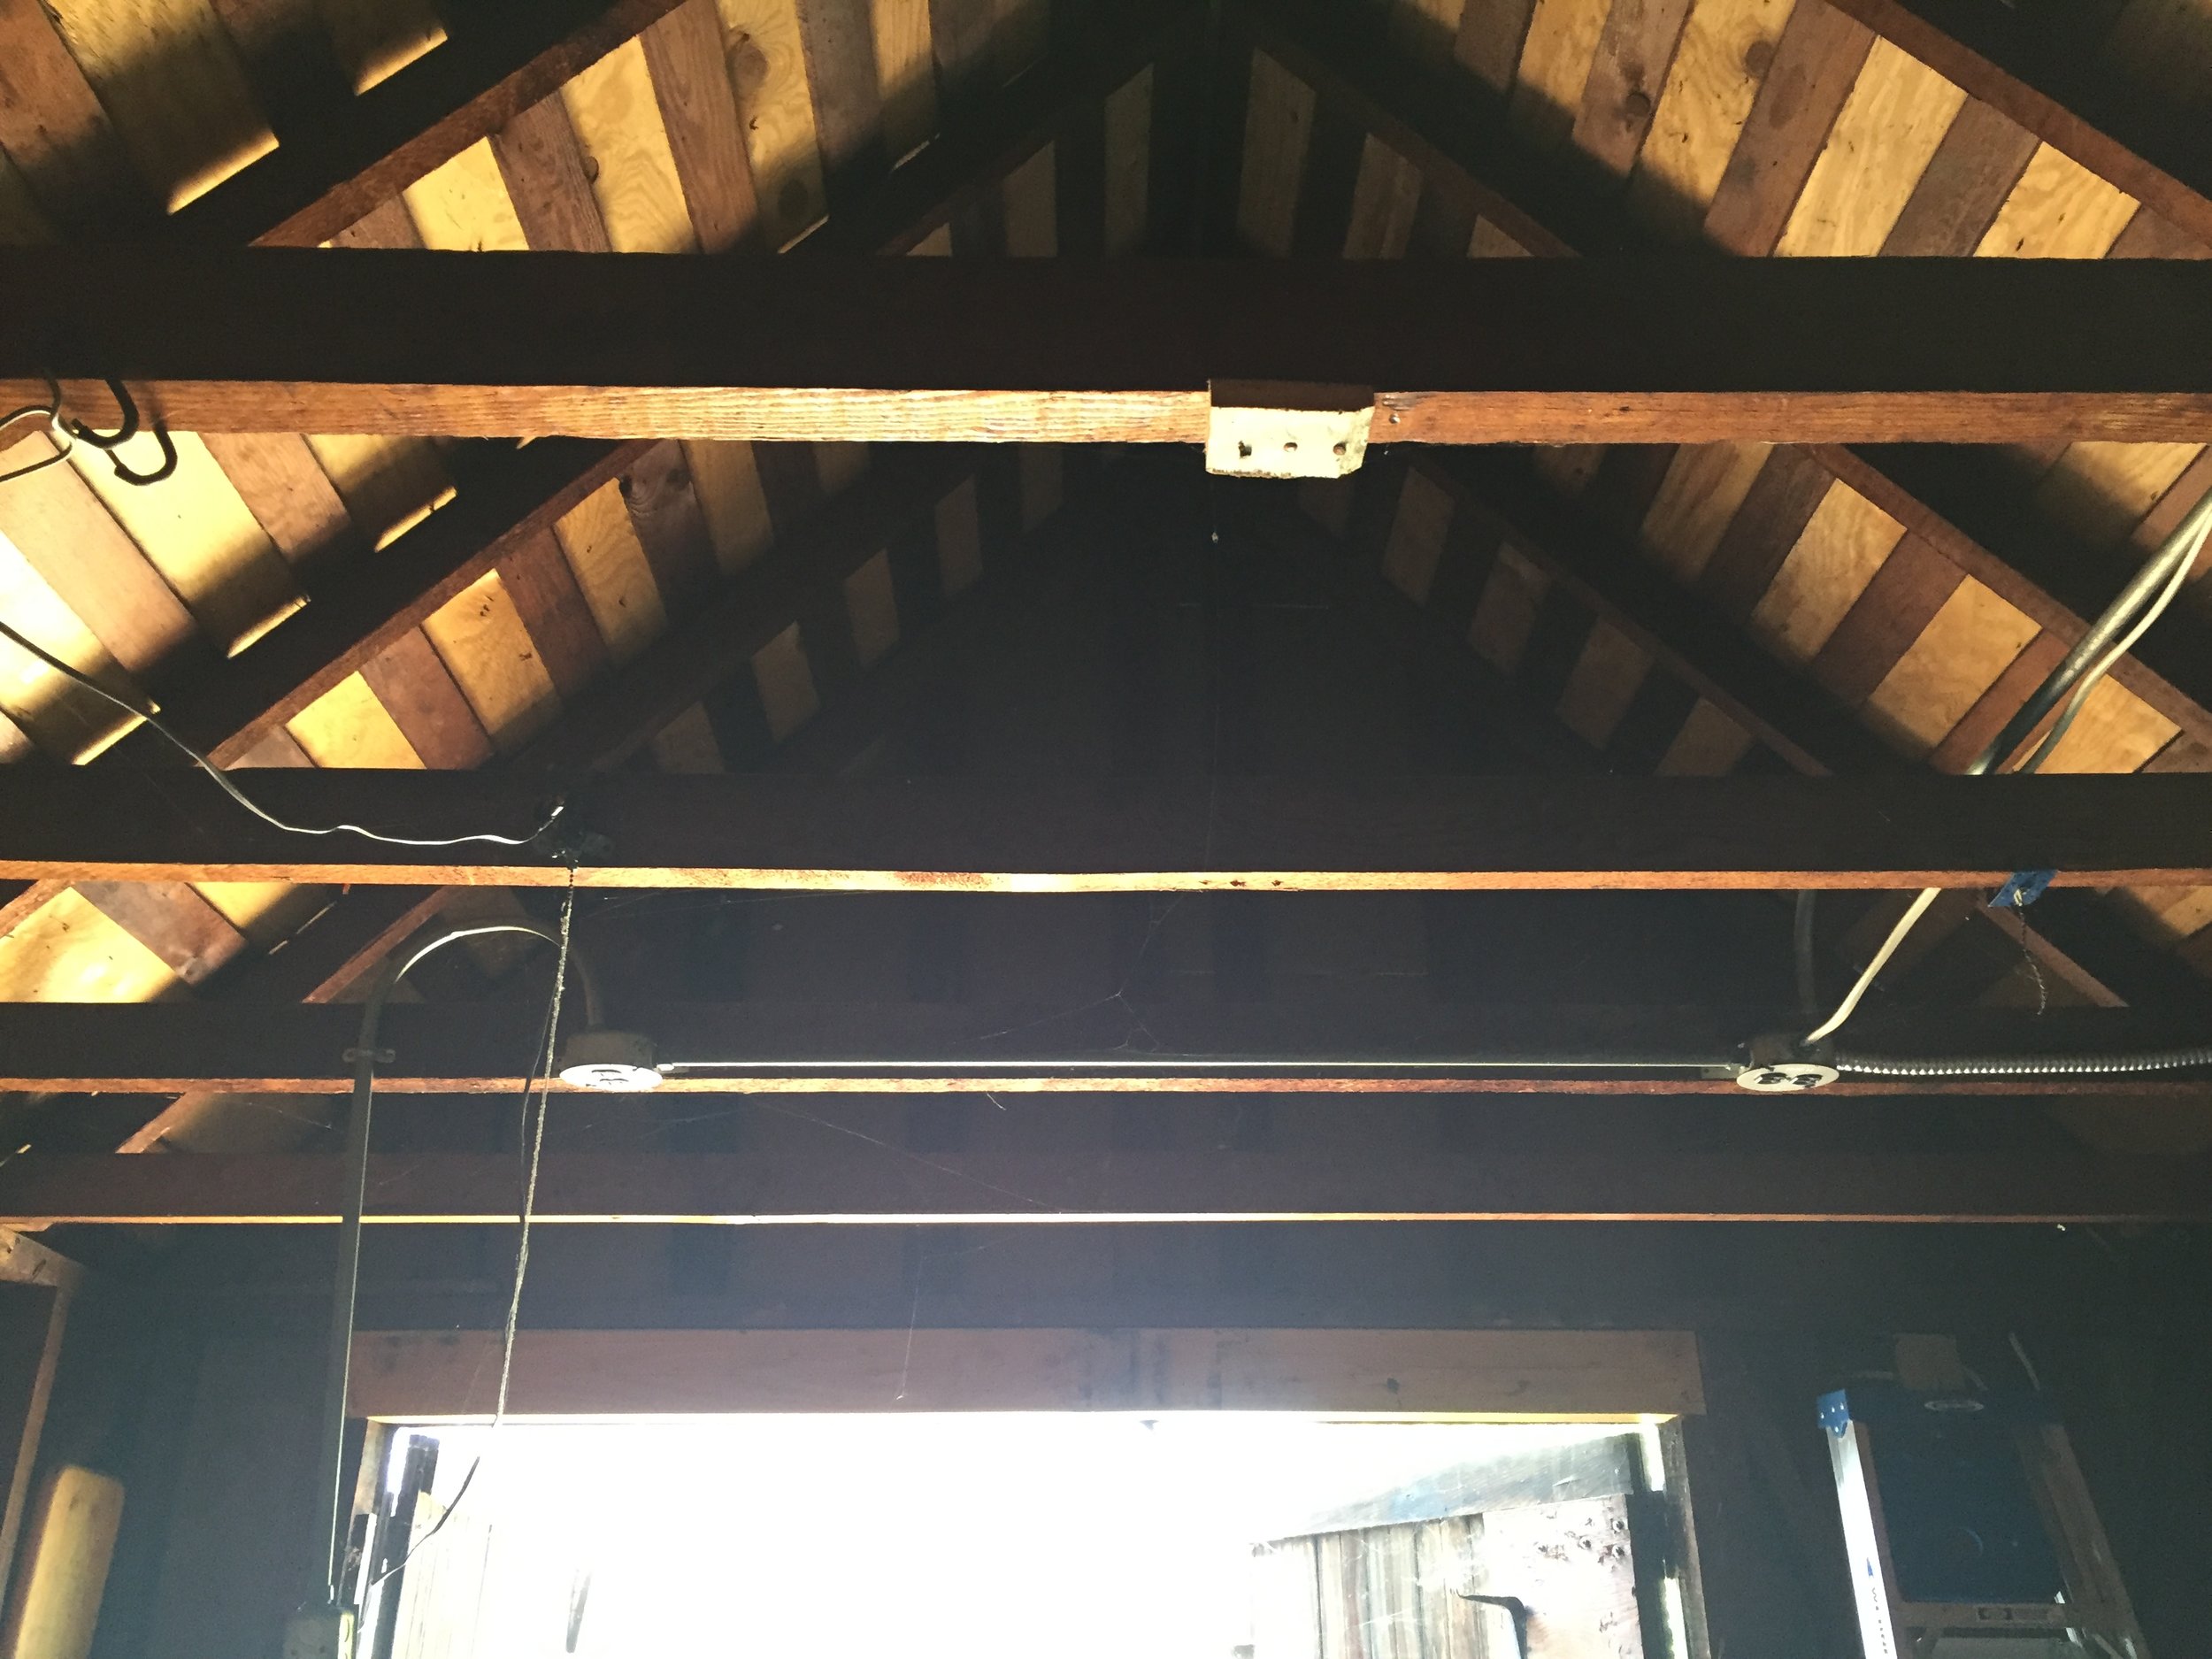
There were ceiling beams, those are structural, didn’t have the money to do a massive structural reworking of the space so just left those alone and knew I had would have to do something about how ugly they were later.

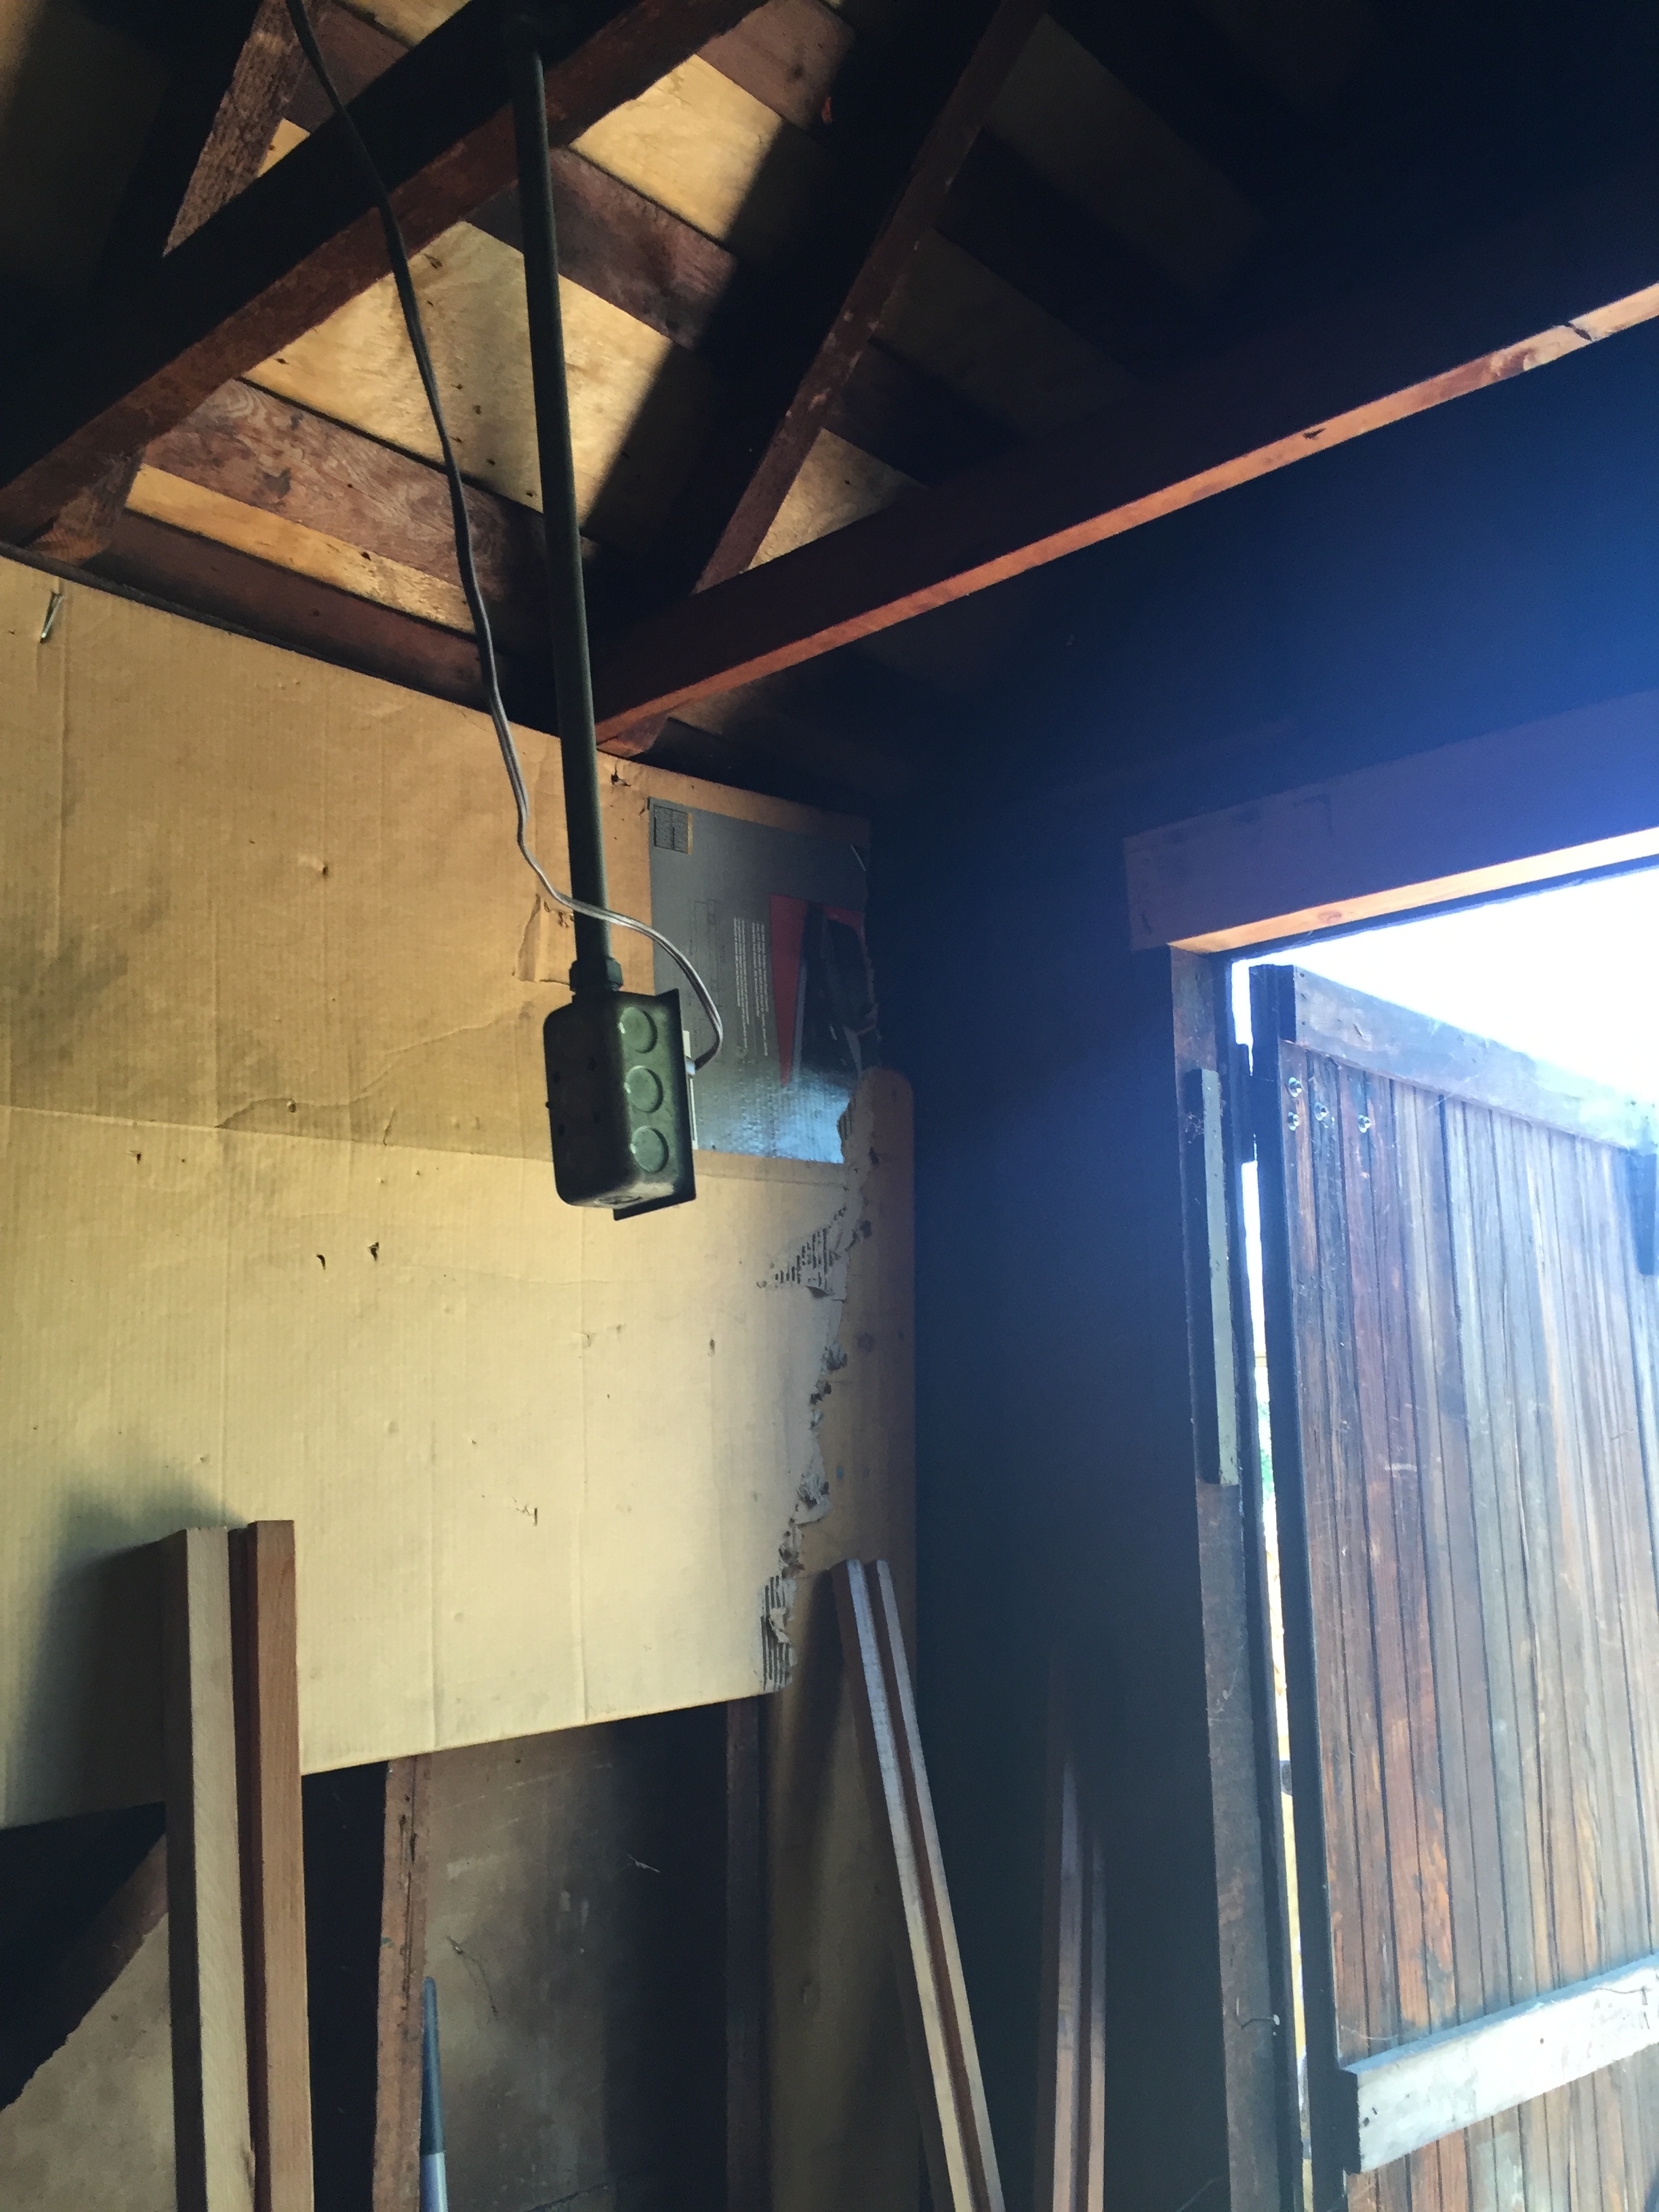
Before cutting the new doorway.
We knew that we wanted to seal off the front doors that open to the street (and where a car would pull in). But the owner wanted to leave the doors there in case at some point in the future it would get turned back into a garage. So he wanted a set of doors that opened towards the house in his backyard for easy access.

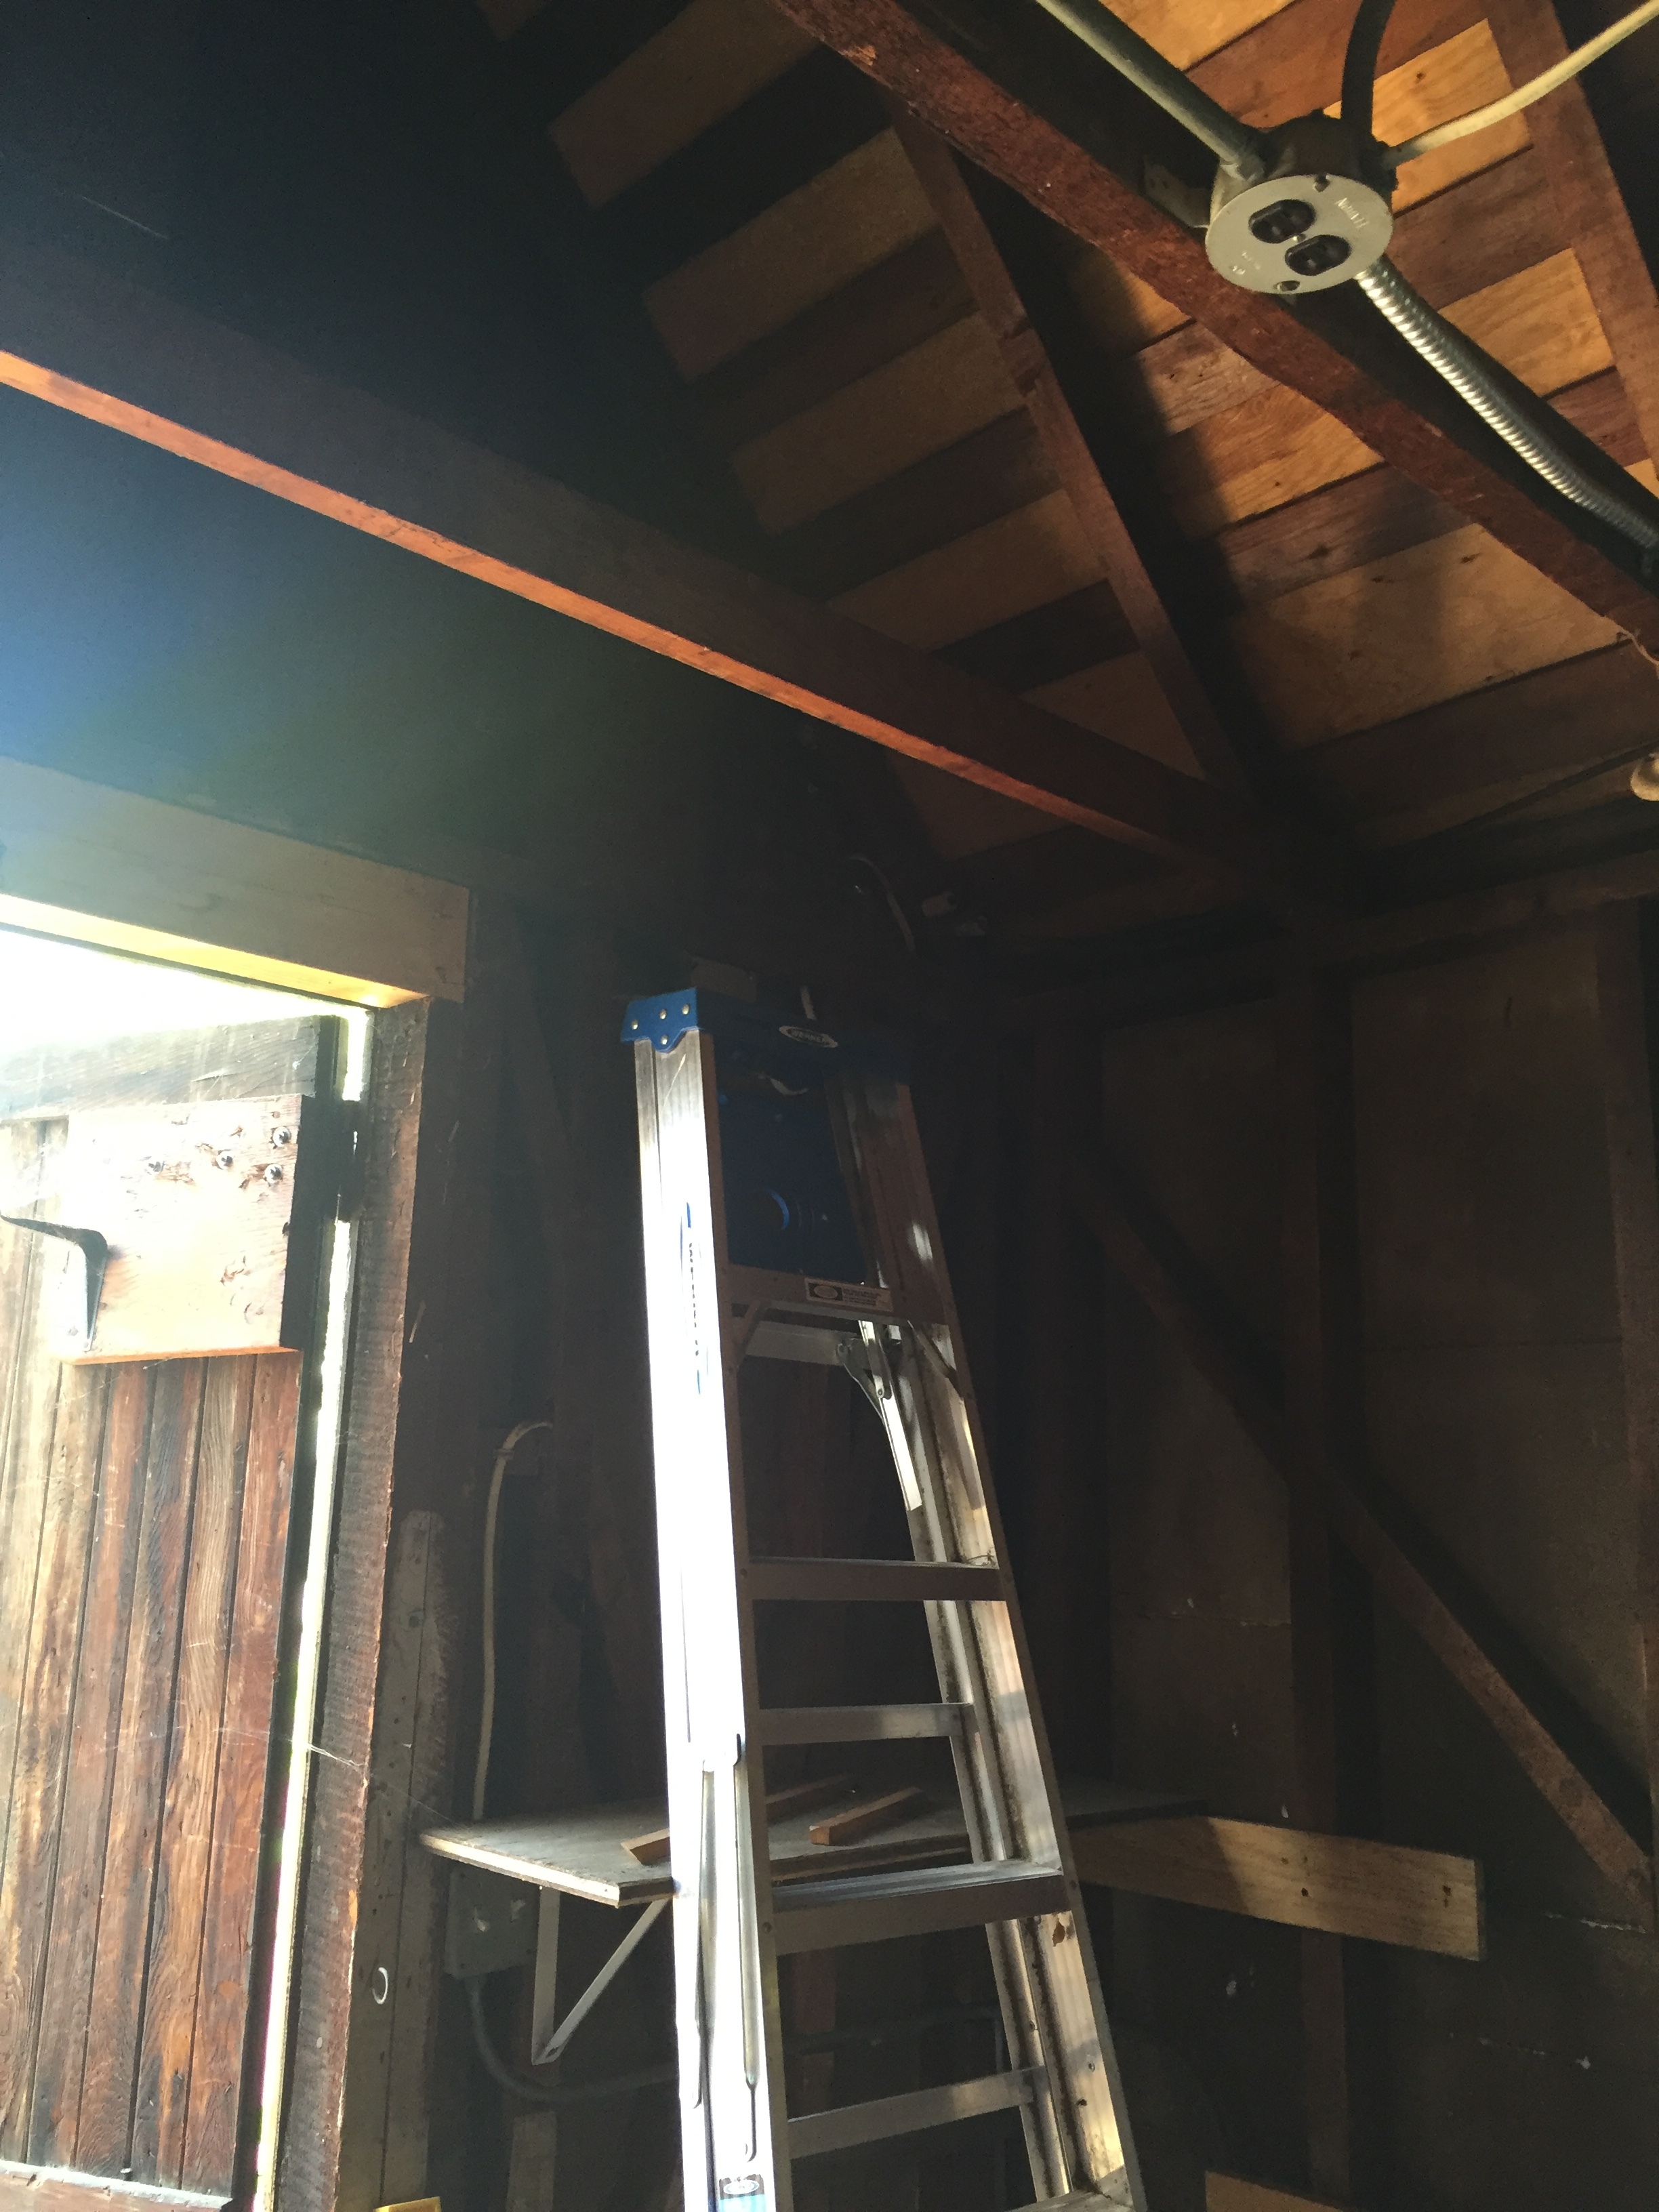
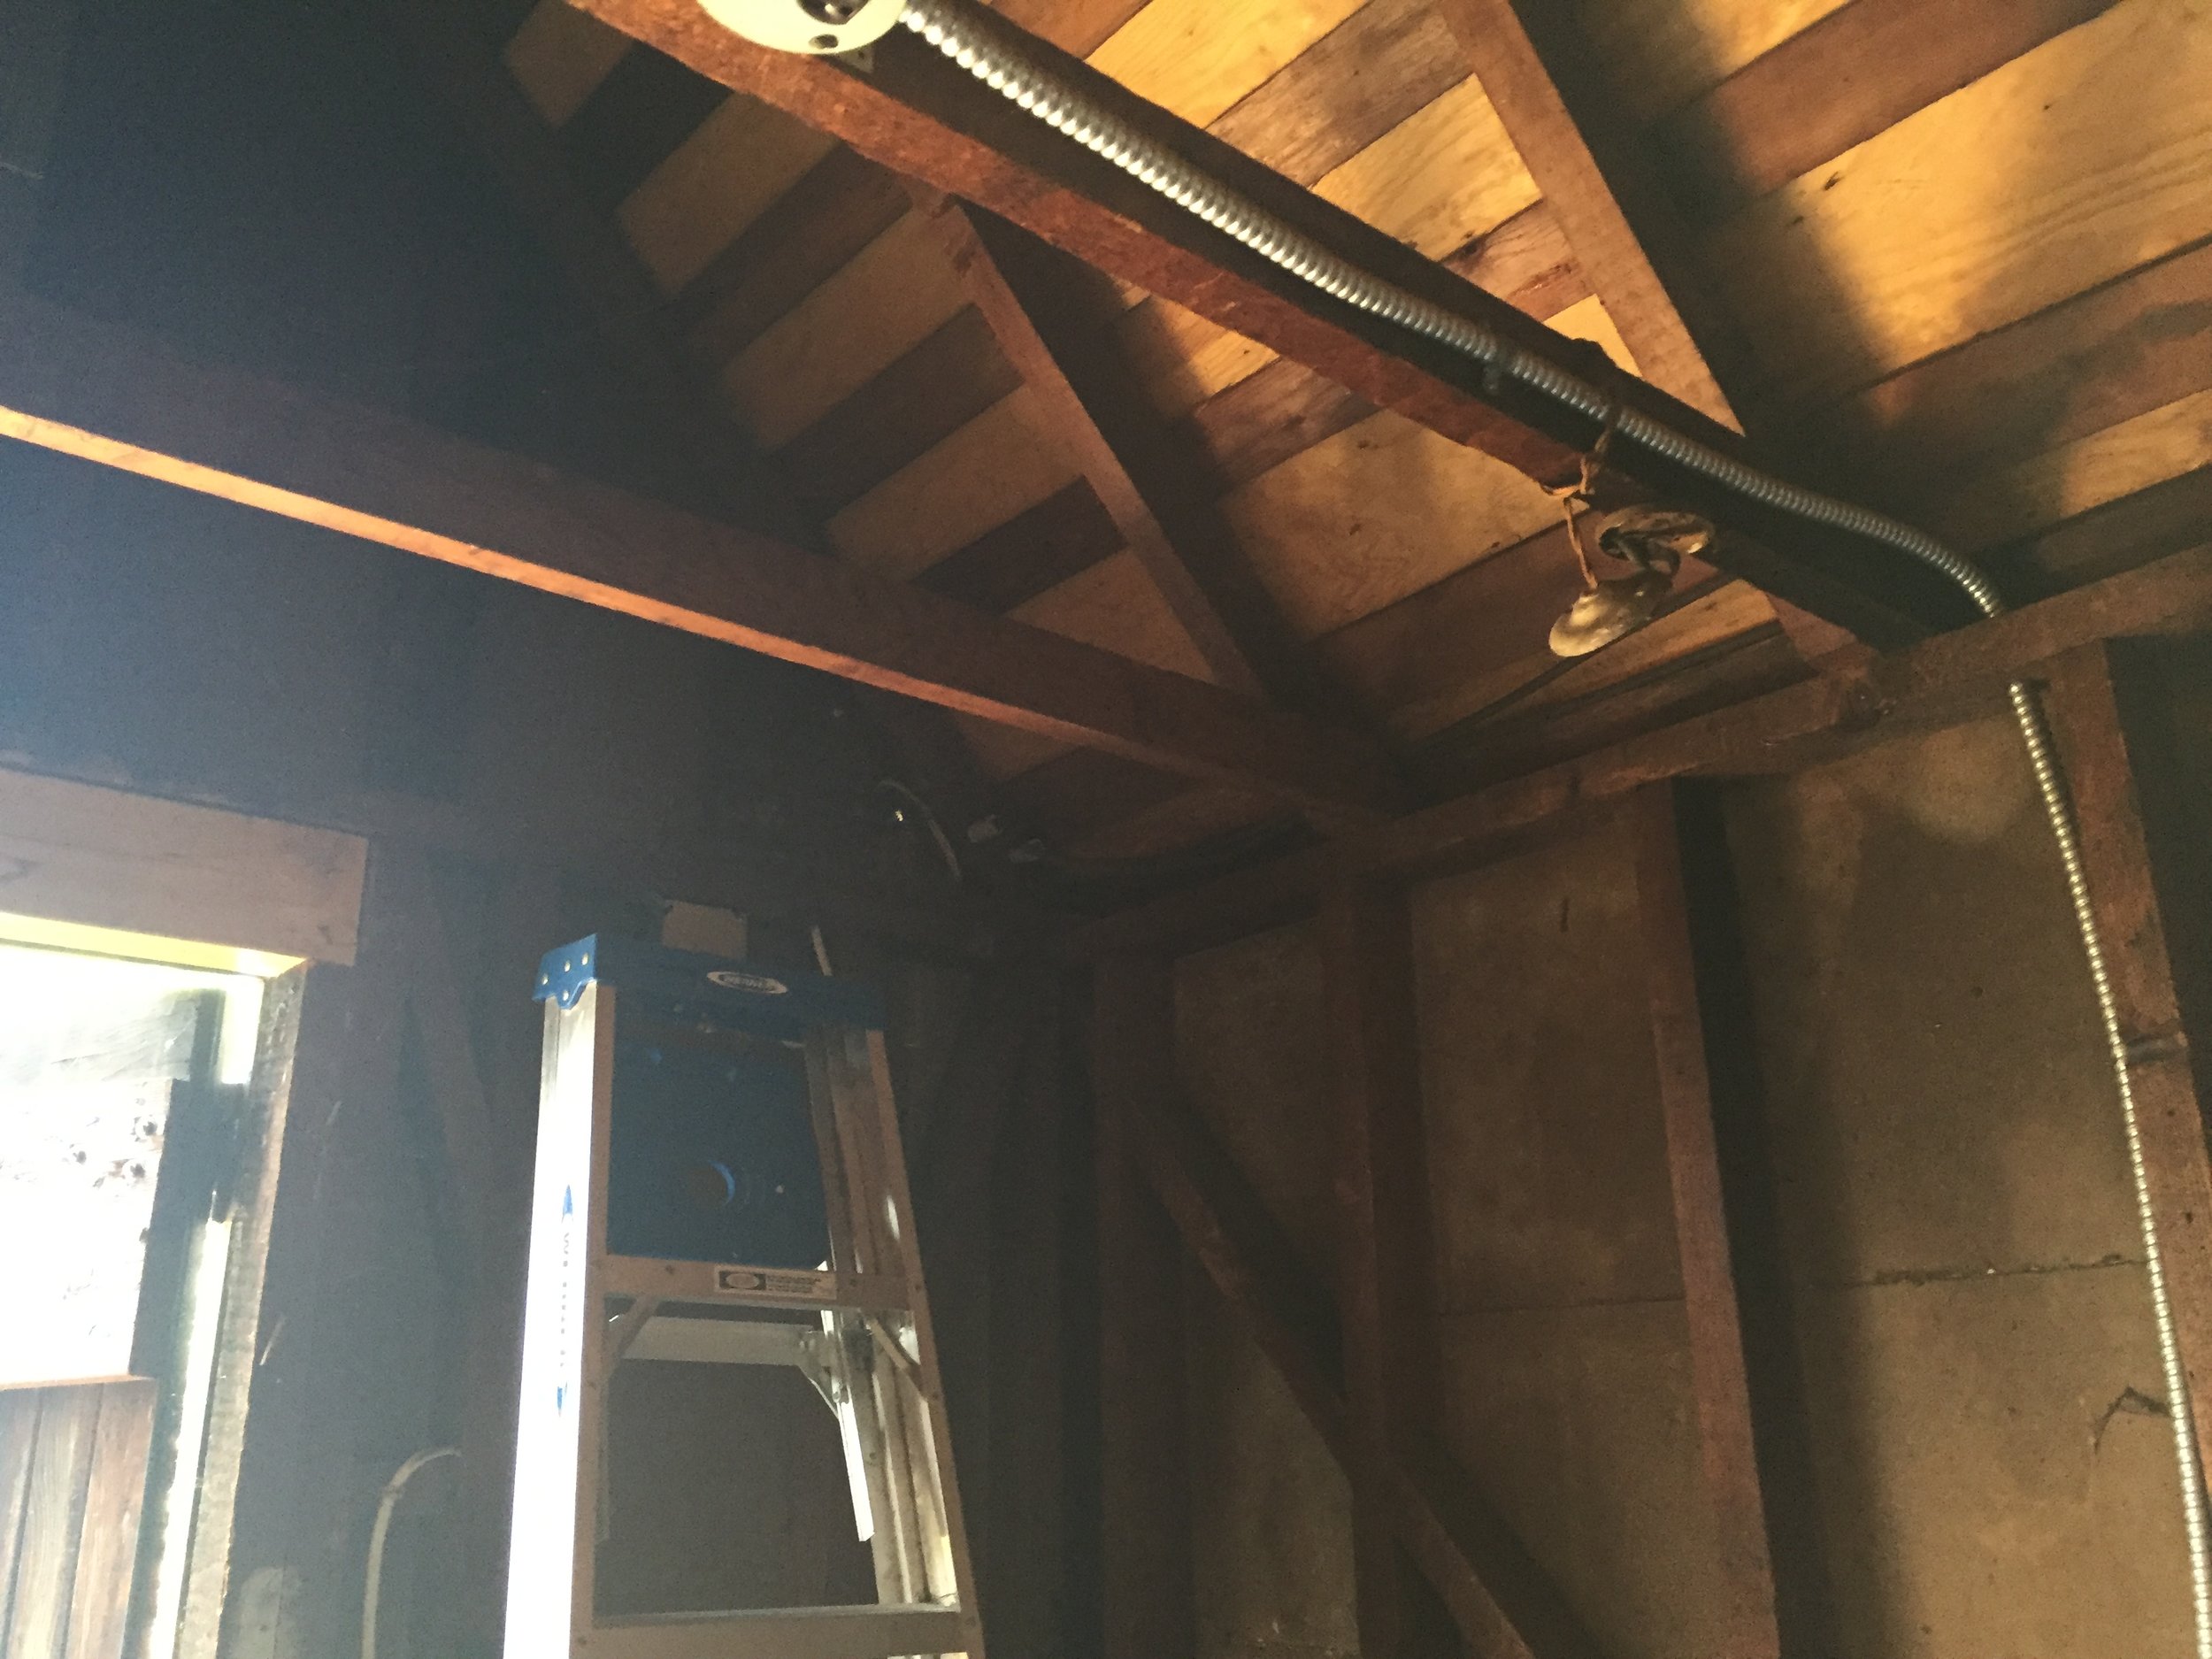
After cutting out the new doorway
I had already opened the door so I knew what the exact size the opening needed to be was. I also knew I was going to build a raised floor so I cut the opening 7” off the ground to ensure that it was flush with what the final floor height would be.
This means I needed to cut open the wall and then reframe this structurally to ensure that this wouldn’t weaken the structure. I temporarily used a 4x4 to brace up the ceiling beams and then cut open the wall and framed a 4x8 over the top of the opening and supporting pieces of wood on the sides. My point: when you make openings in walls for windows or doors, you have to make sure that they don’t weaken the structure.


Demolitions completed and new doorway framed in.
SOUNDPROOFING:
As a primary step of correct acoustics, soundproofing has two main functions:
- To keep excessive noise from disturbing family and neighbors
- To ensure recordings and work aren’t interrupted by unwanted exterior noise.
When I was a teen, I used to do a lot of building and had the good fortune to end up working on a couple music studio remodels where the acoustical engineer designing the space was the same guy who had redesigned the acoustics for a Carnegie Hall remodel. Amazing guy, but basically a mad scientist for sound. I learned a lot but a couple big things I keep in mind when doing studios are:
- Sound easily moves through air. Anytime there is a hole (like the edges of a door) sound will pass through it.
- Sound needs to be absorbed to truly sound proof and this is best done by multiple layers of different density materials with air spaces between them.
- When designing a sound space it’s best to begin with it as “dead” as possible. Meaning that sounds are being absorbed and not bouncing around. Then with a dead space use acoustical elements to help raise specific frequencies.
Anyways, acoustics gets crazy. It really is a science to itself and crazy acoustics weren’t necessary for this space but I knew I wanted it as soundproof and “dead” as possible. It was also really damn small so I couldn’t do what I normally would do which is to build double walls.
My biggest problems were:
- That it was an old garage with concrete stucco exterior and that was it. No insulation except an old crumbling backer board with some mold damage. Yuck. No double sided and insulated sheetrock walls like new garages. This was old school.
- And also the two doors in the front were really old, dysfunctional, flimsy wood doors from the original construction that stopped no sound whatsoever.
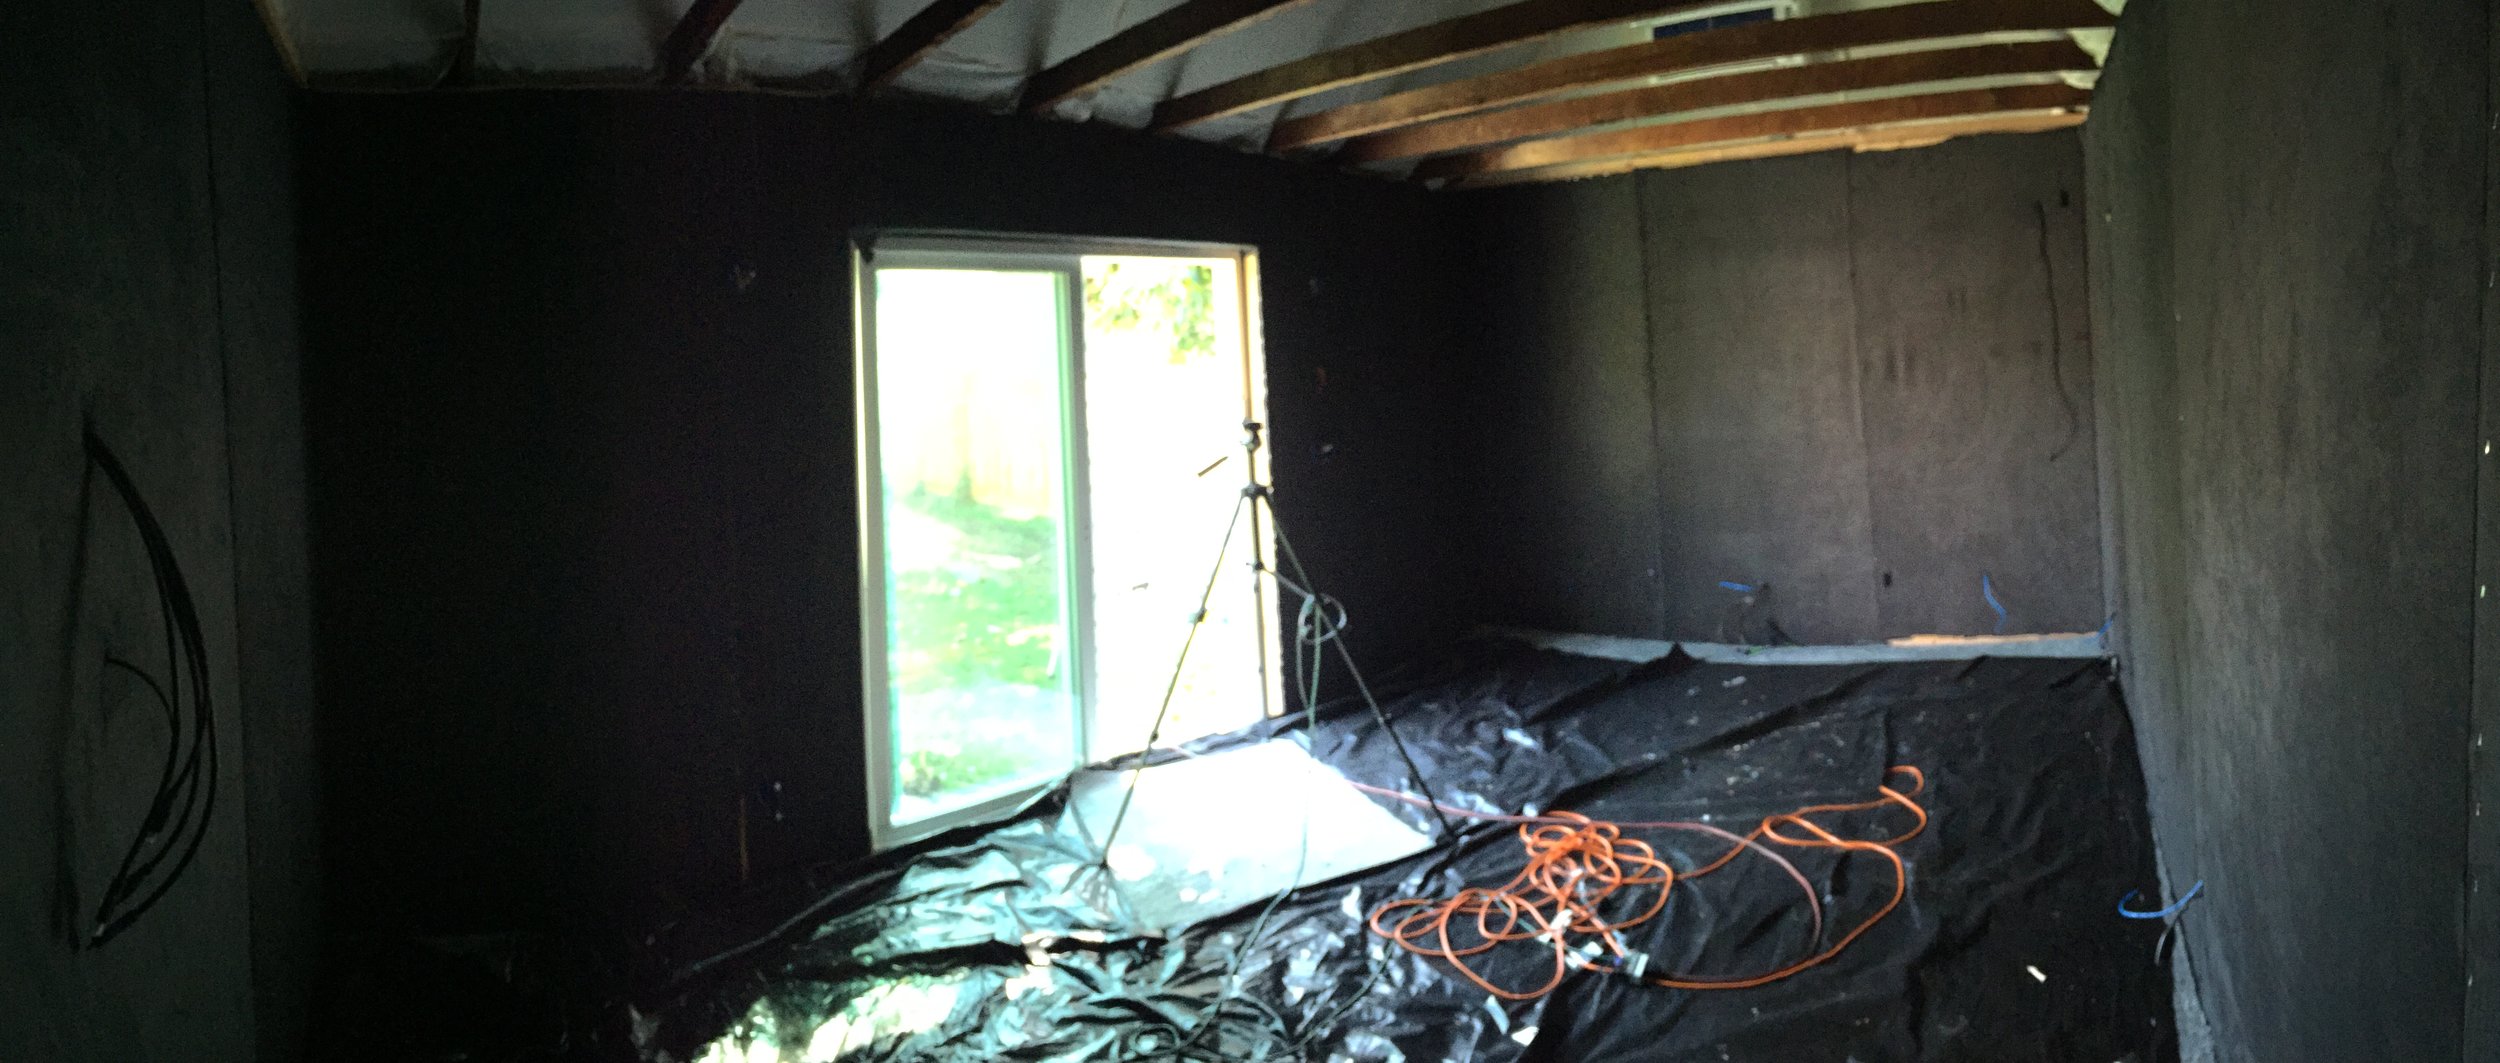
- There was an old window in the back that needed to be closed.
My main materials for cheap soundproofing is carpet pad, denim insulation, soundboard (kinda like 1/2" cork board) and drywall. A lot of people use fiberglass because it's cheap and really decent at soundproofing. DON’T USE IT. That stuff is horrible. Only use it if it is going to be enclosed in a wall that is sheetrocked over and never opened. If it is going to be exposed you will have cough issues and itchy skin forever. Think about this: to install fiberglass you have to wear a full body suit, eye protection, breathing protection and hand protection. Doesn't sound really healthy does it?
Here’s what I did:
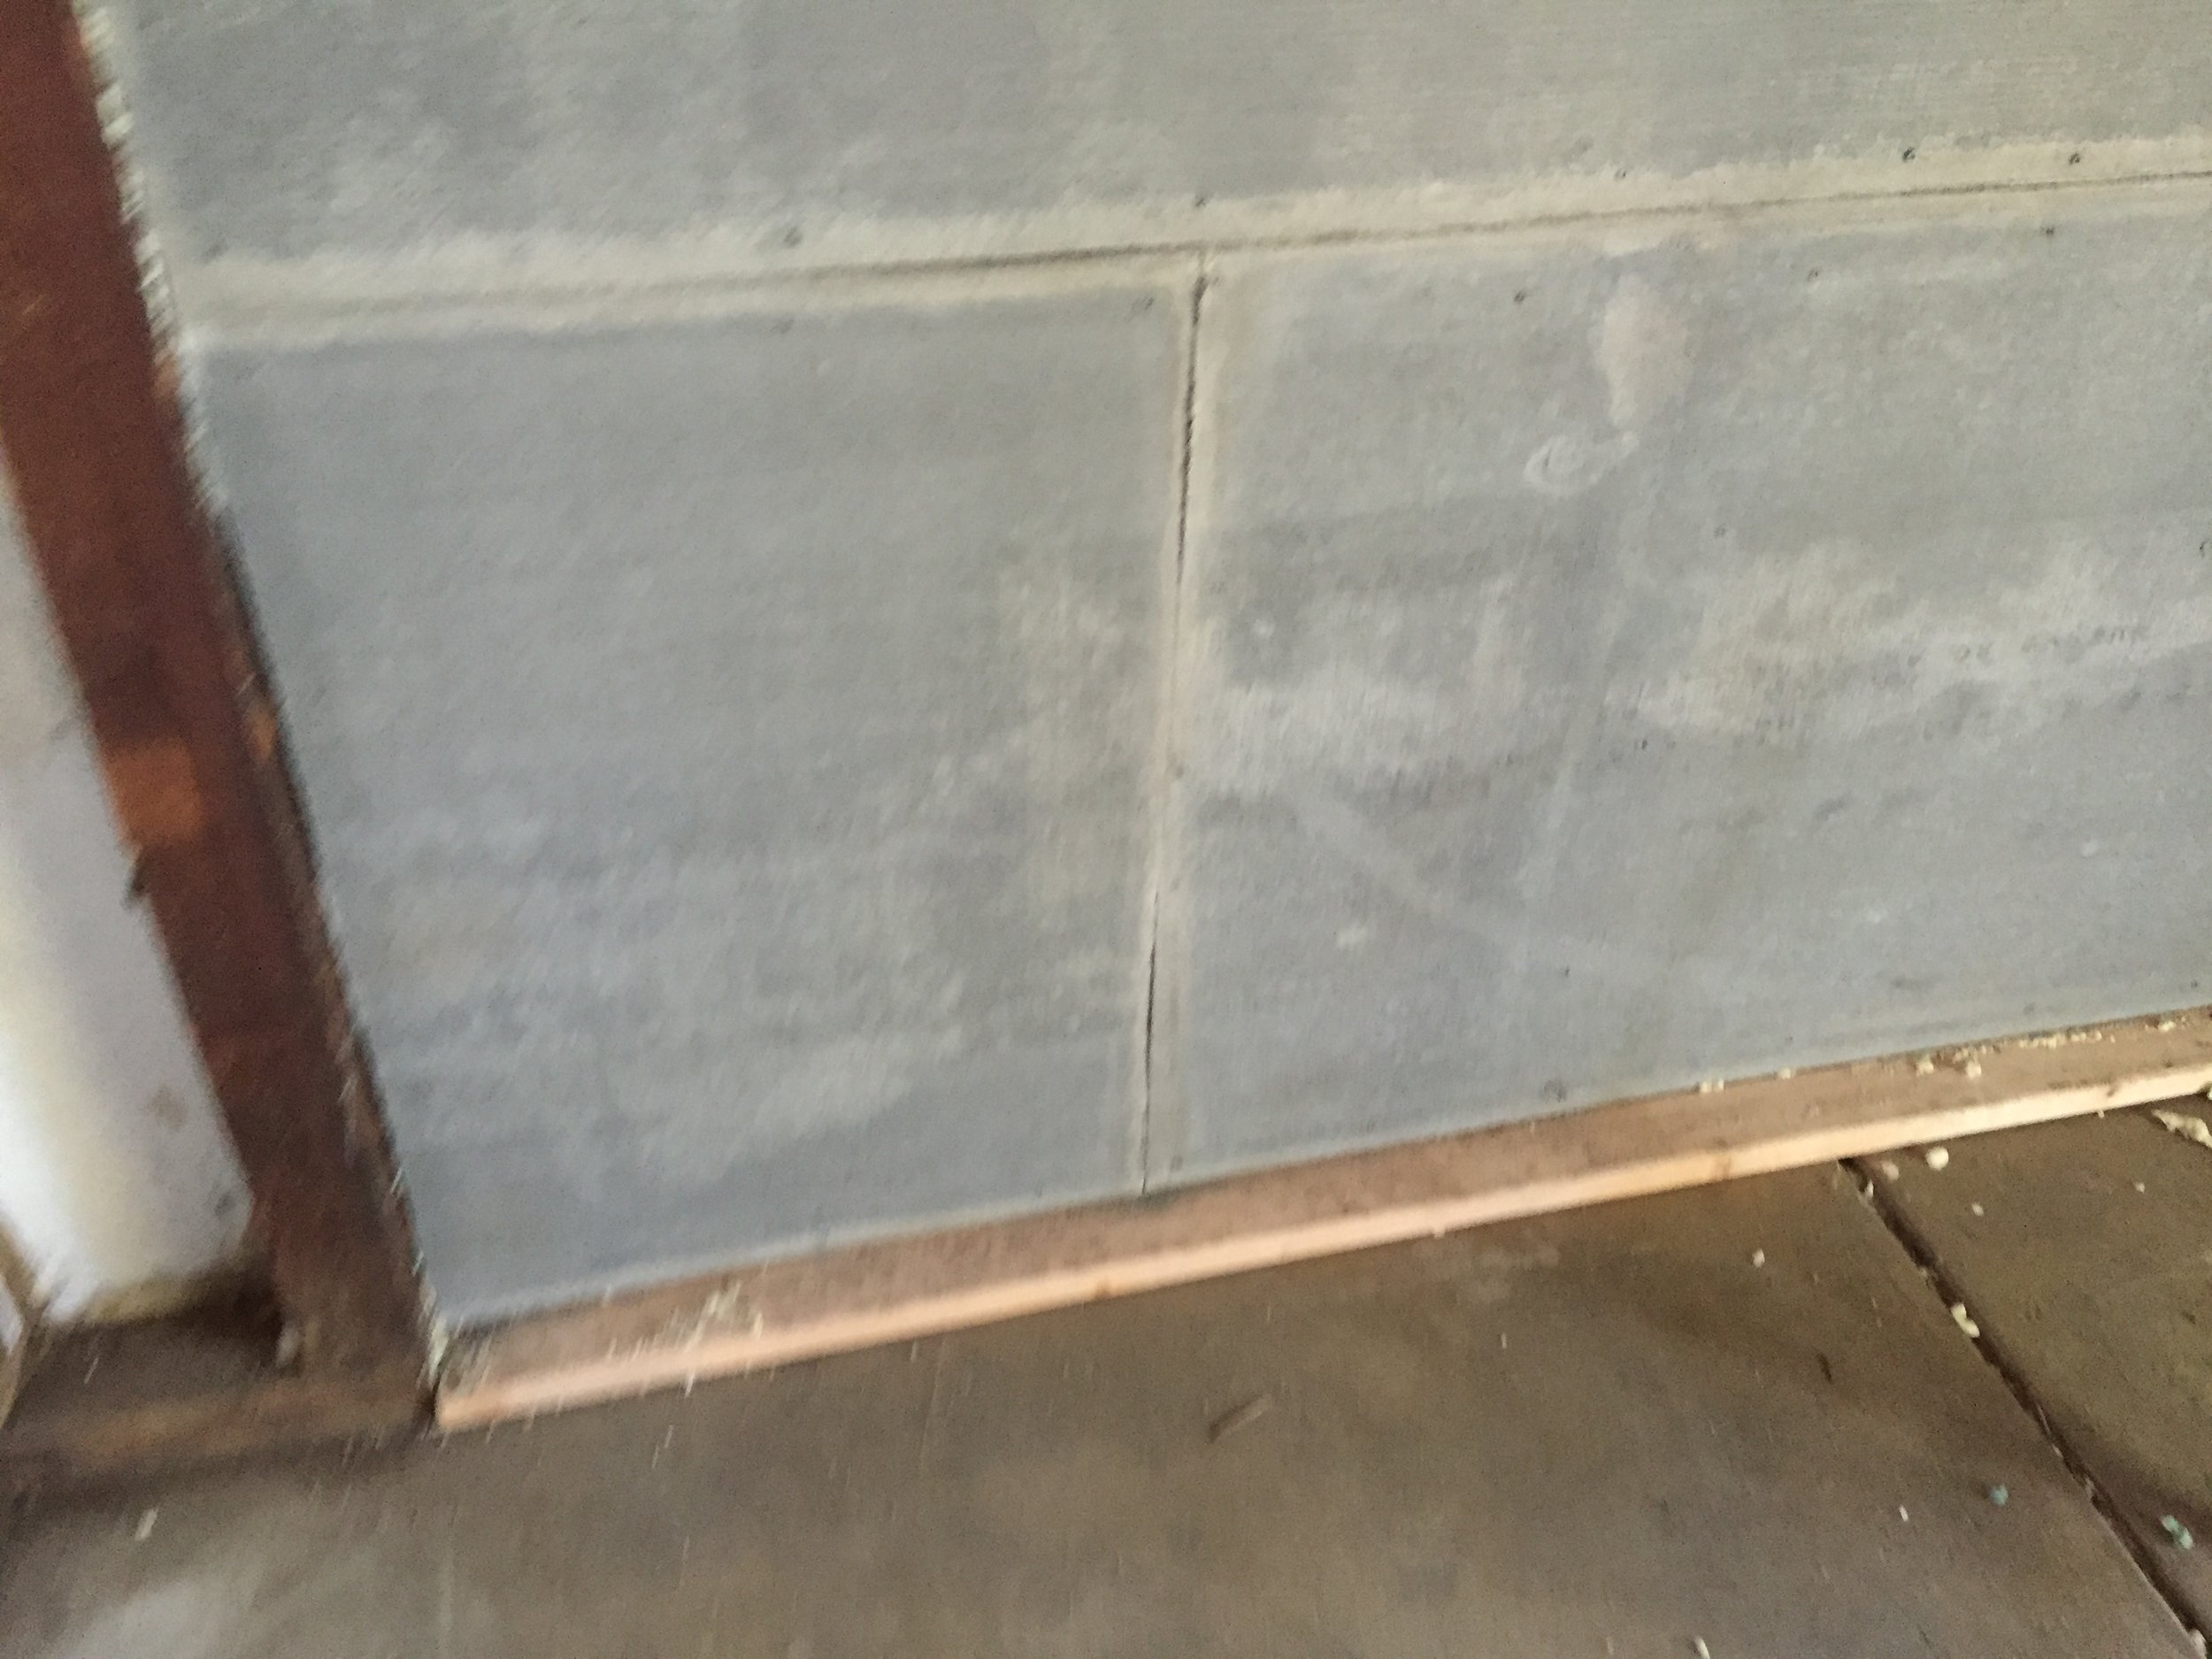
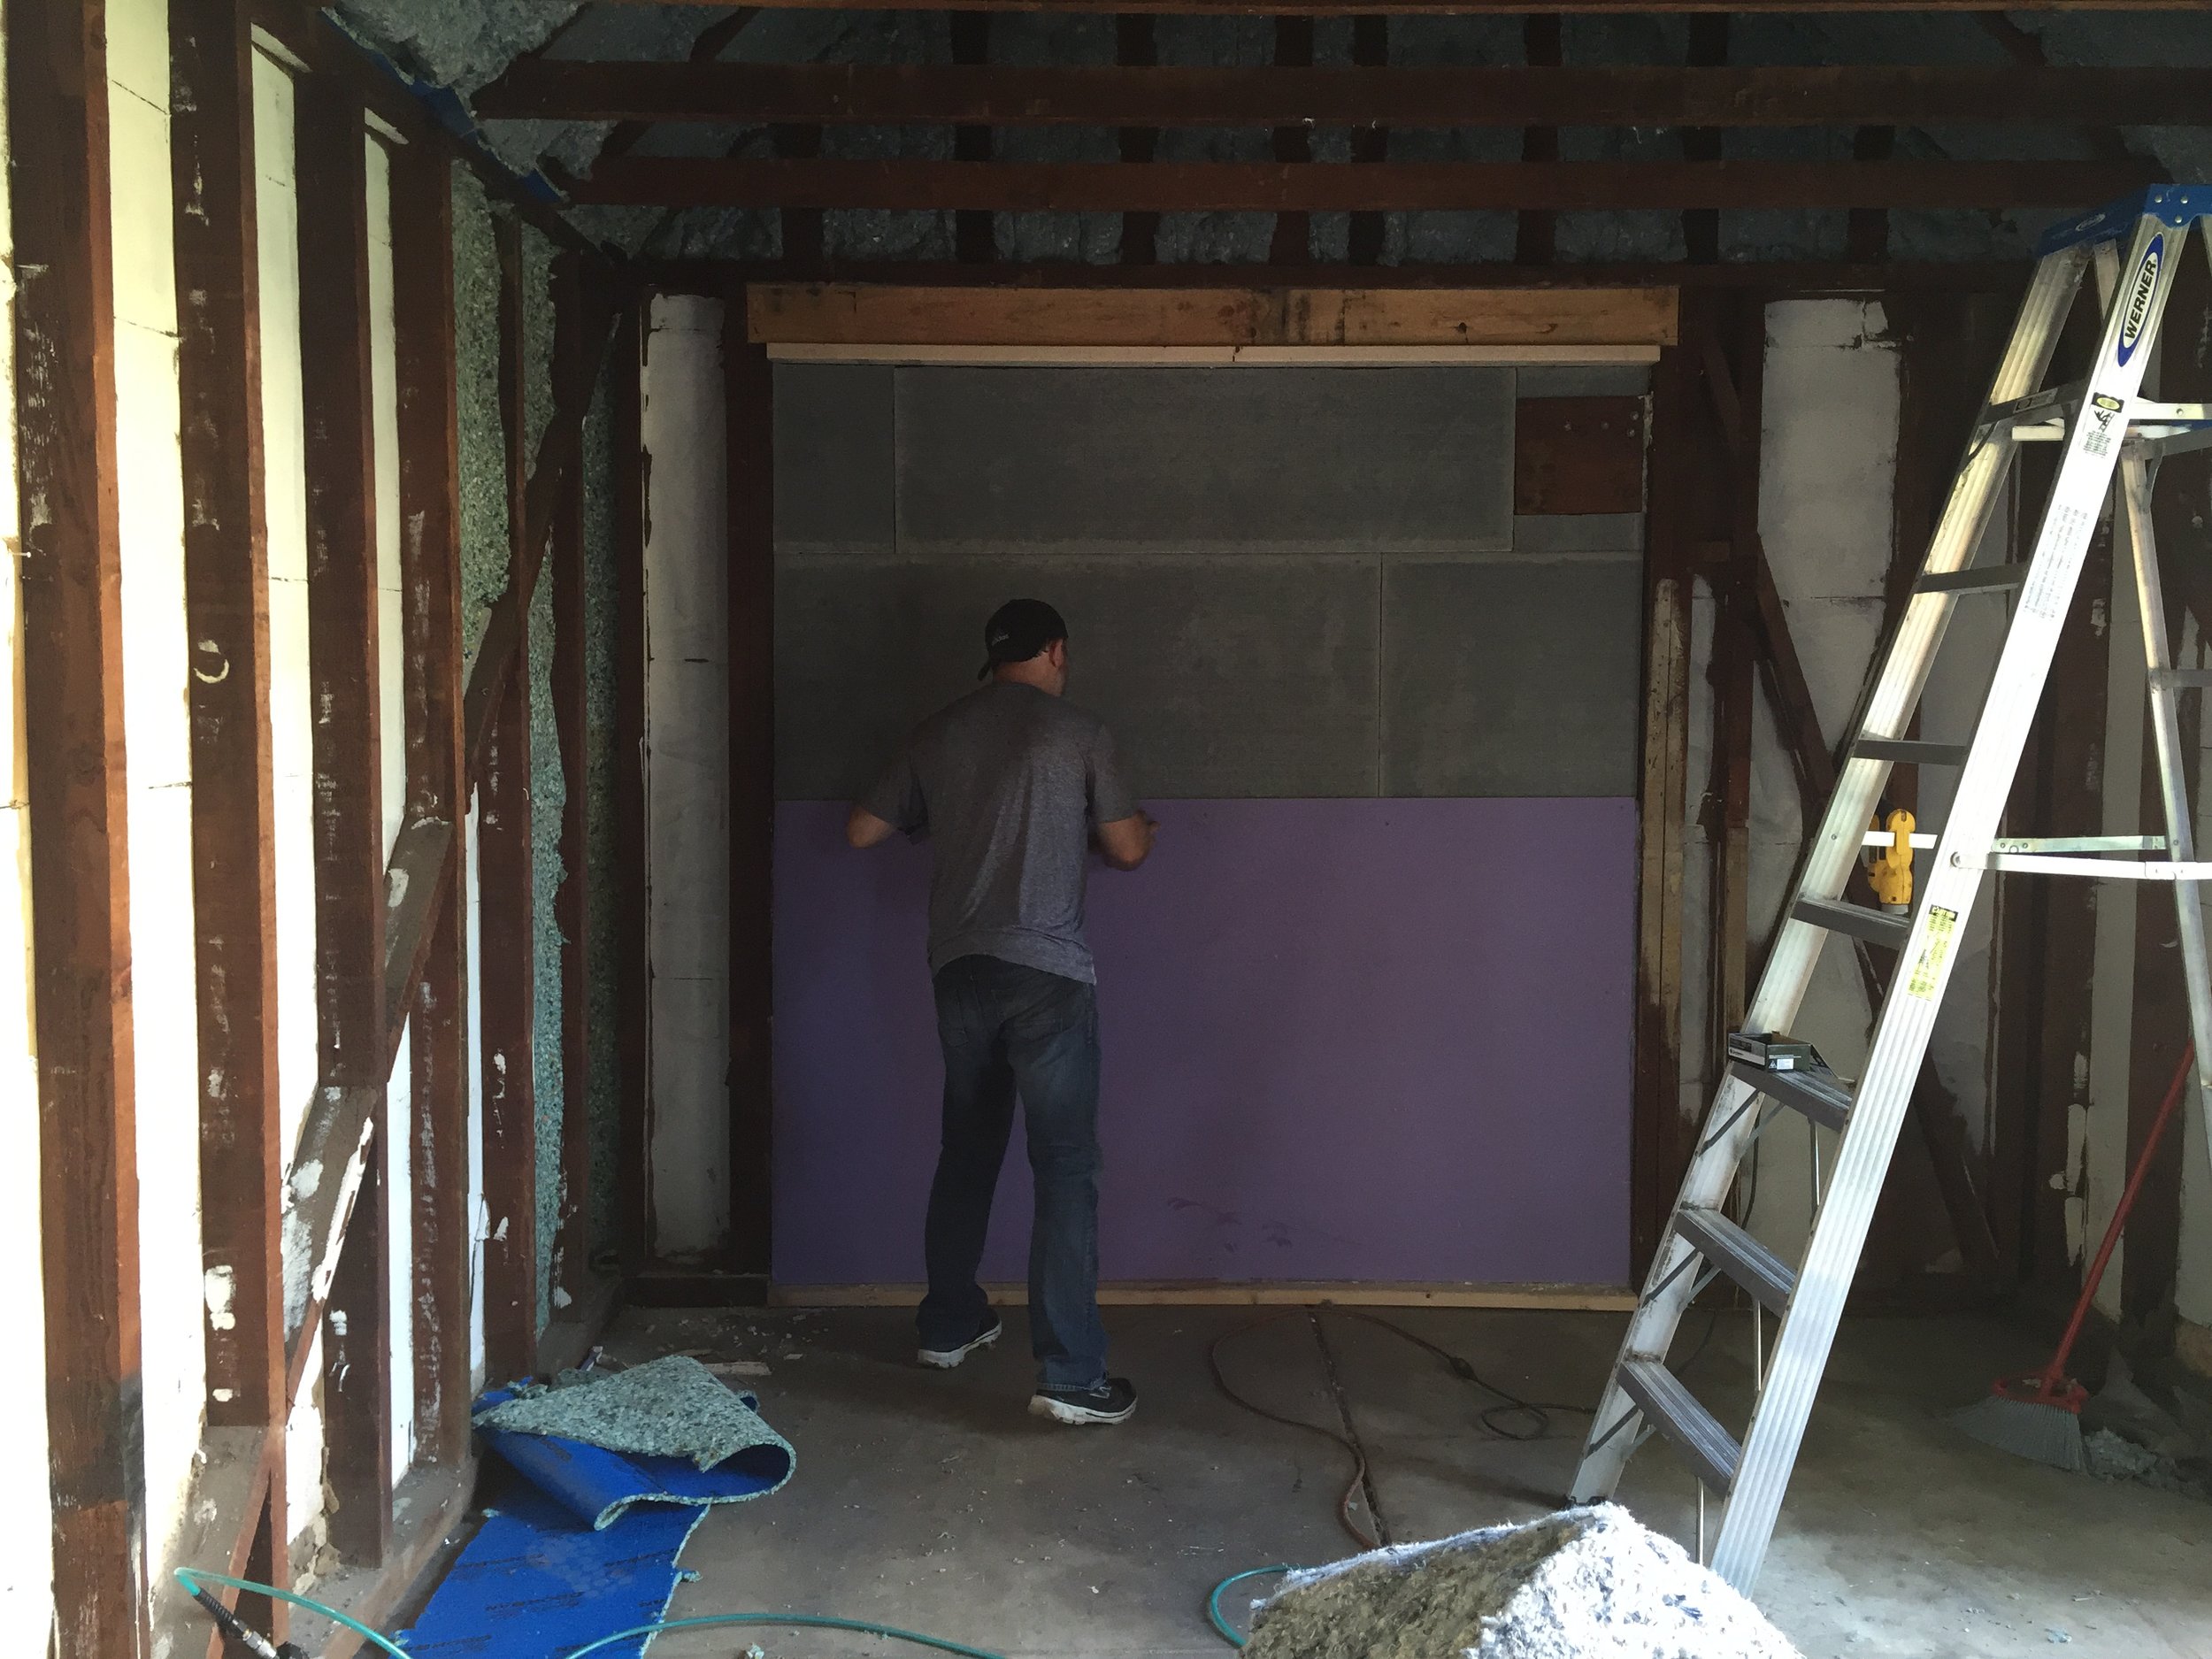
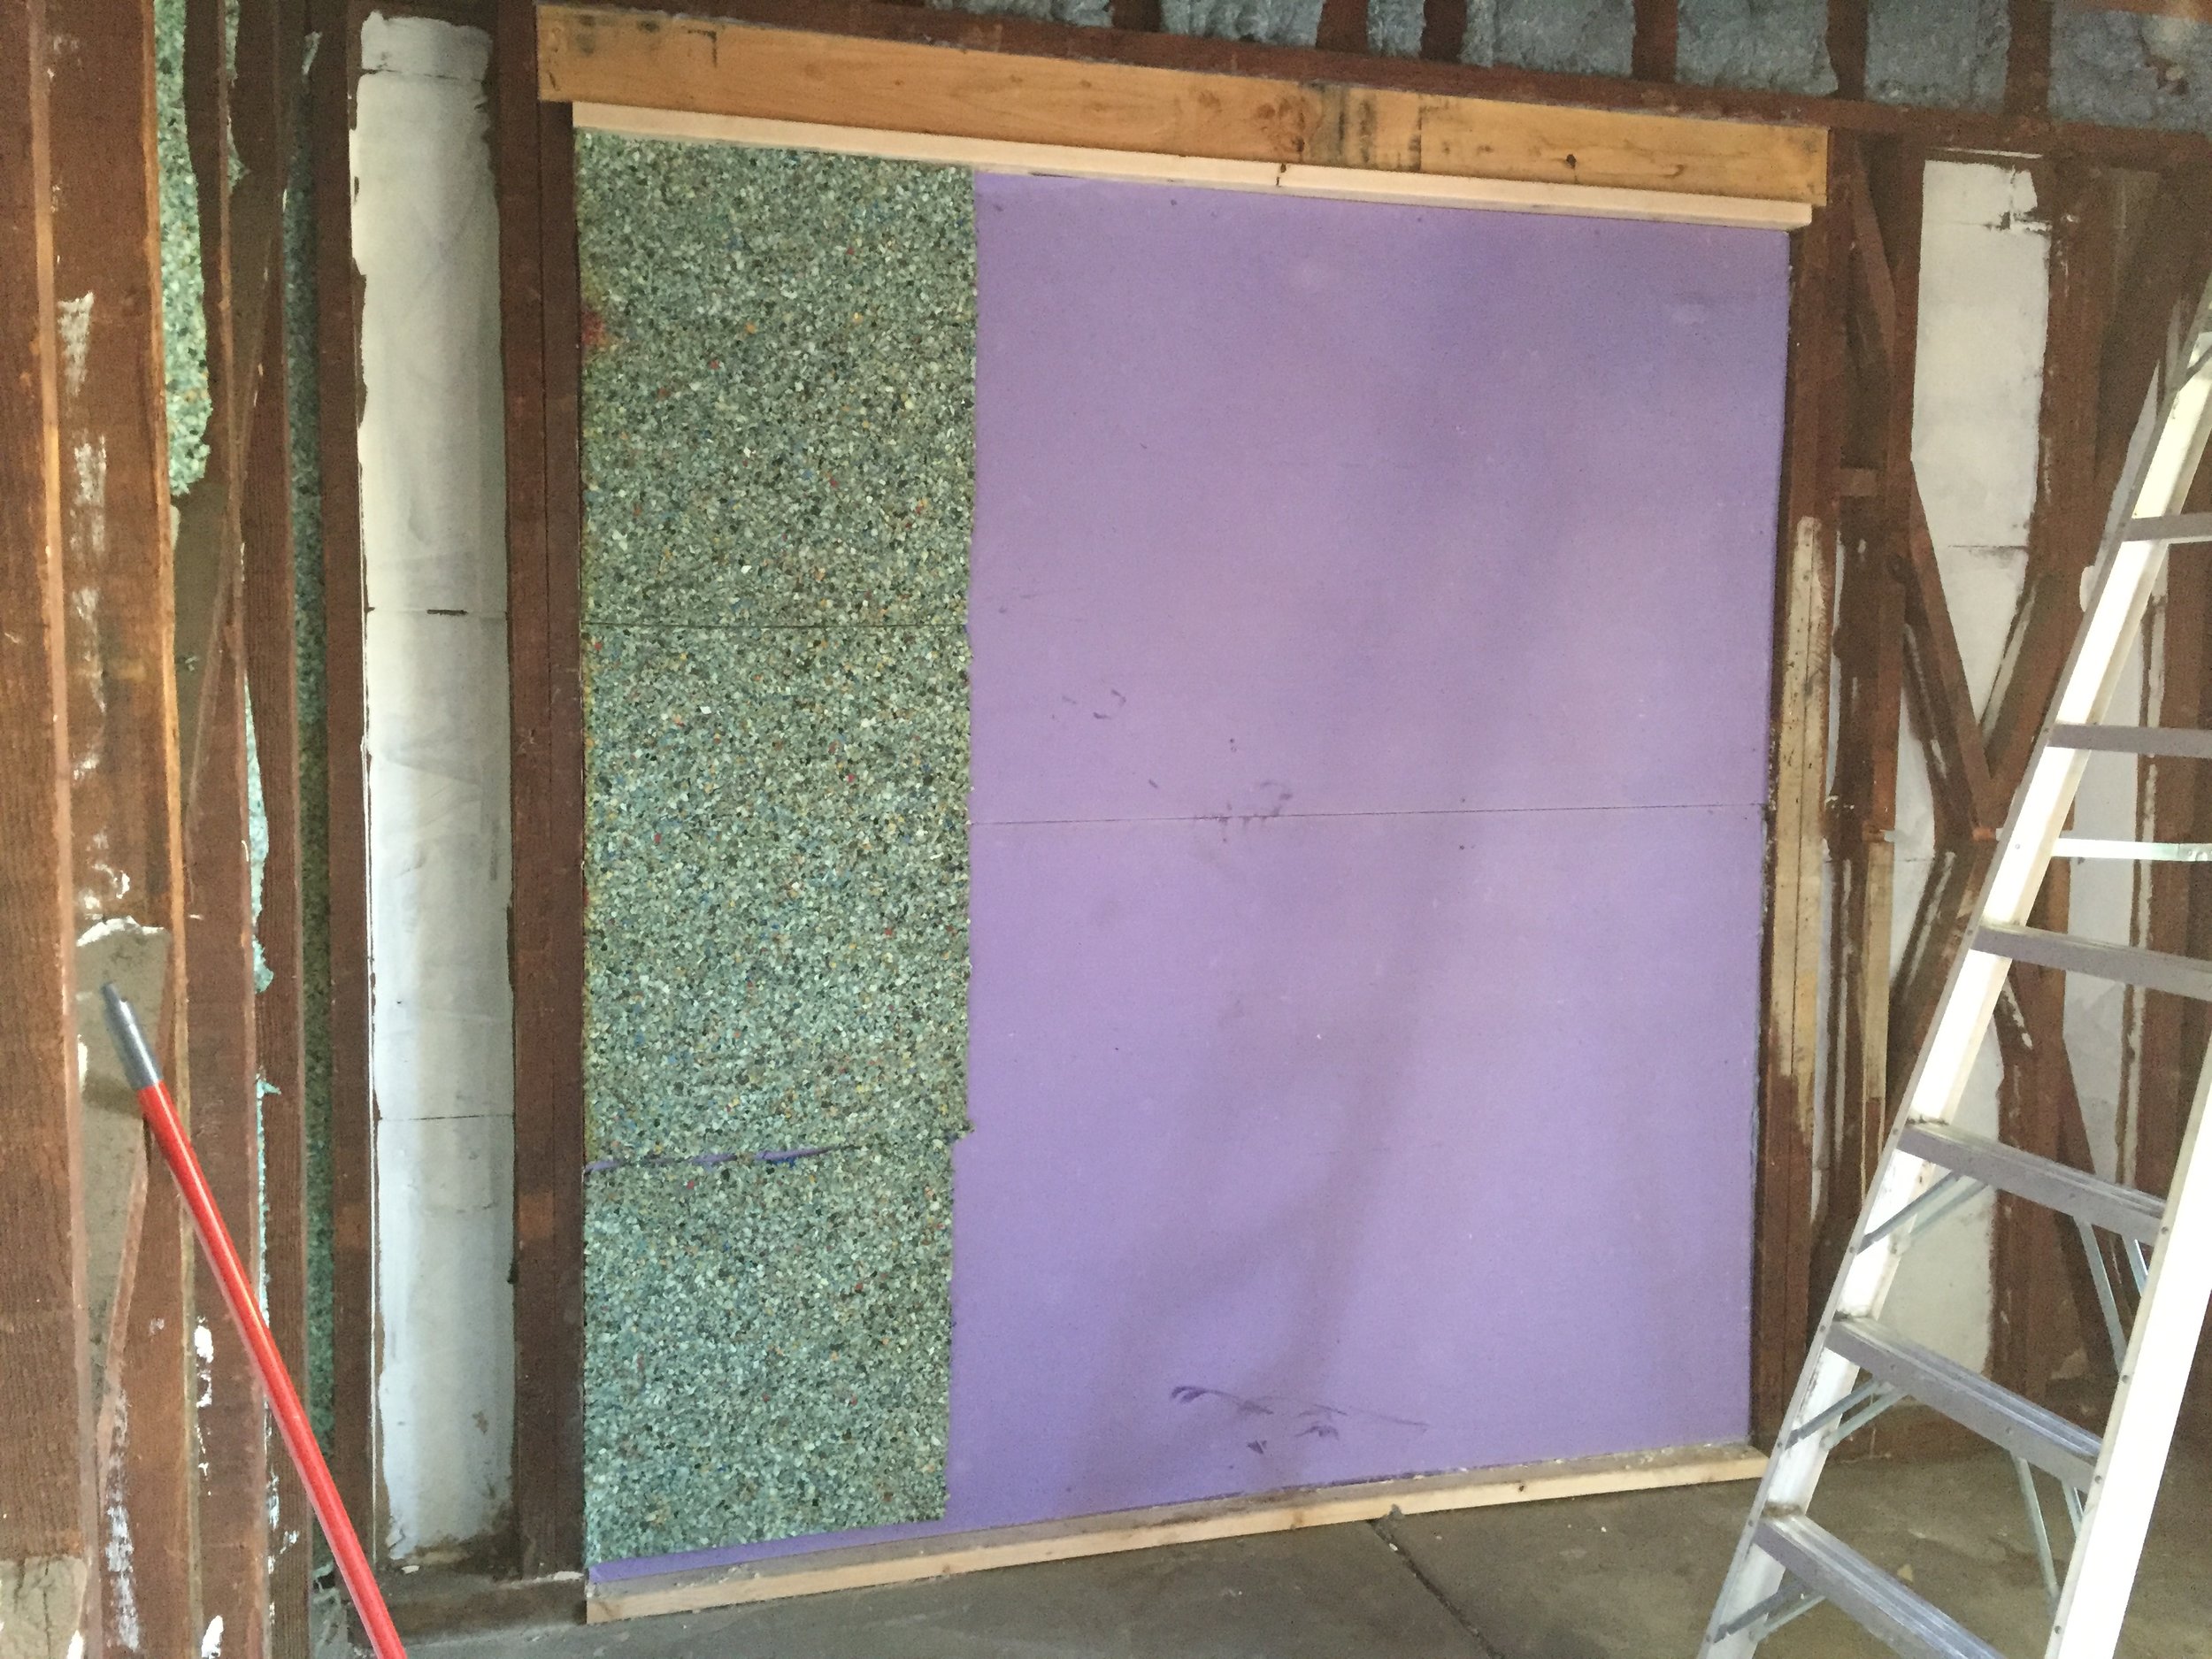
I painted the entire interior with a mold killing primer as directly on the other side of the stucco was the outside world.

For the old doorway and window I installed a layer of concrete backing board, then moisture proof sheetrock, then carpet pad, then another layer of sheetrock, then denim.
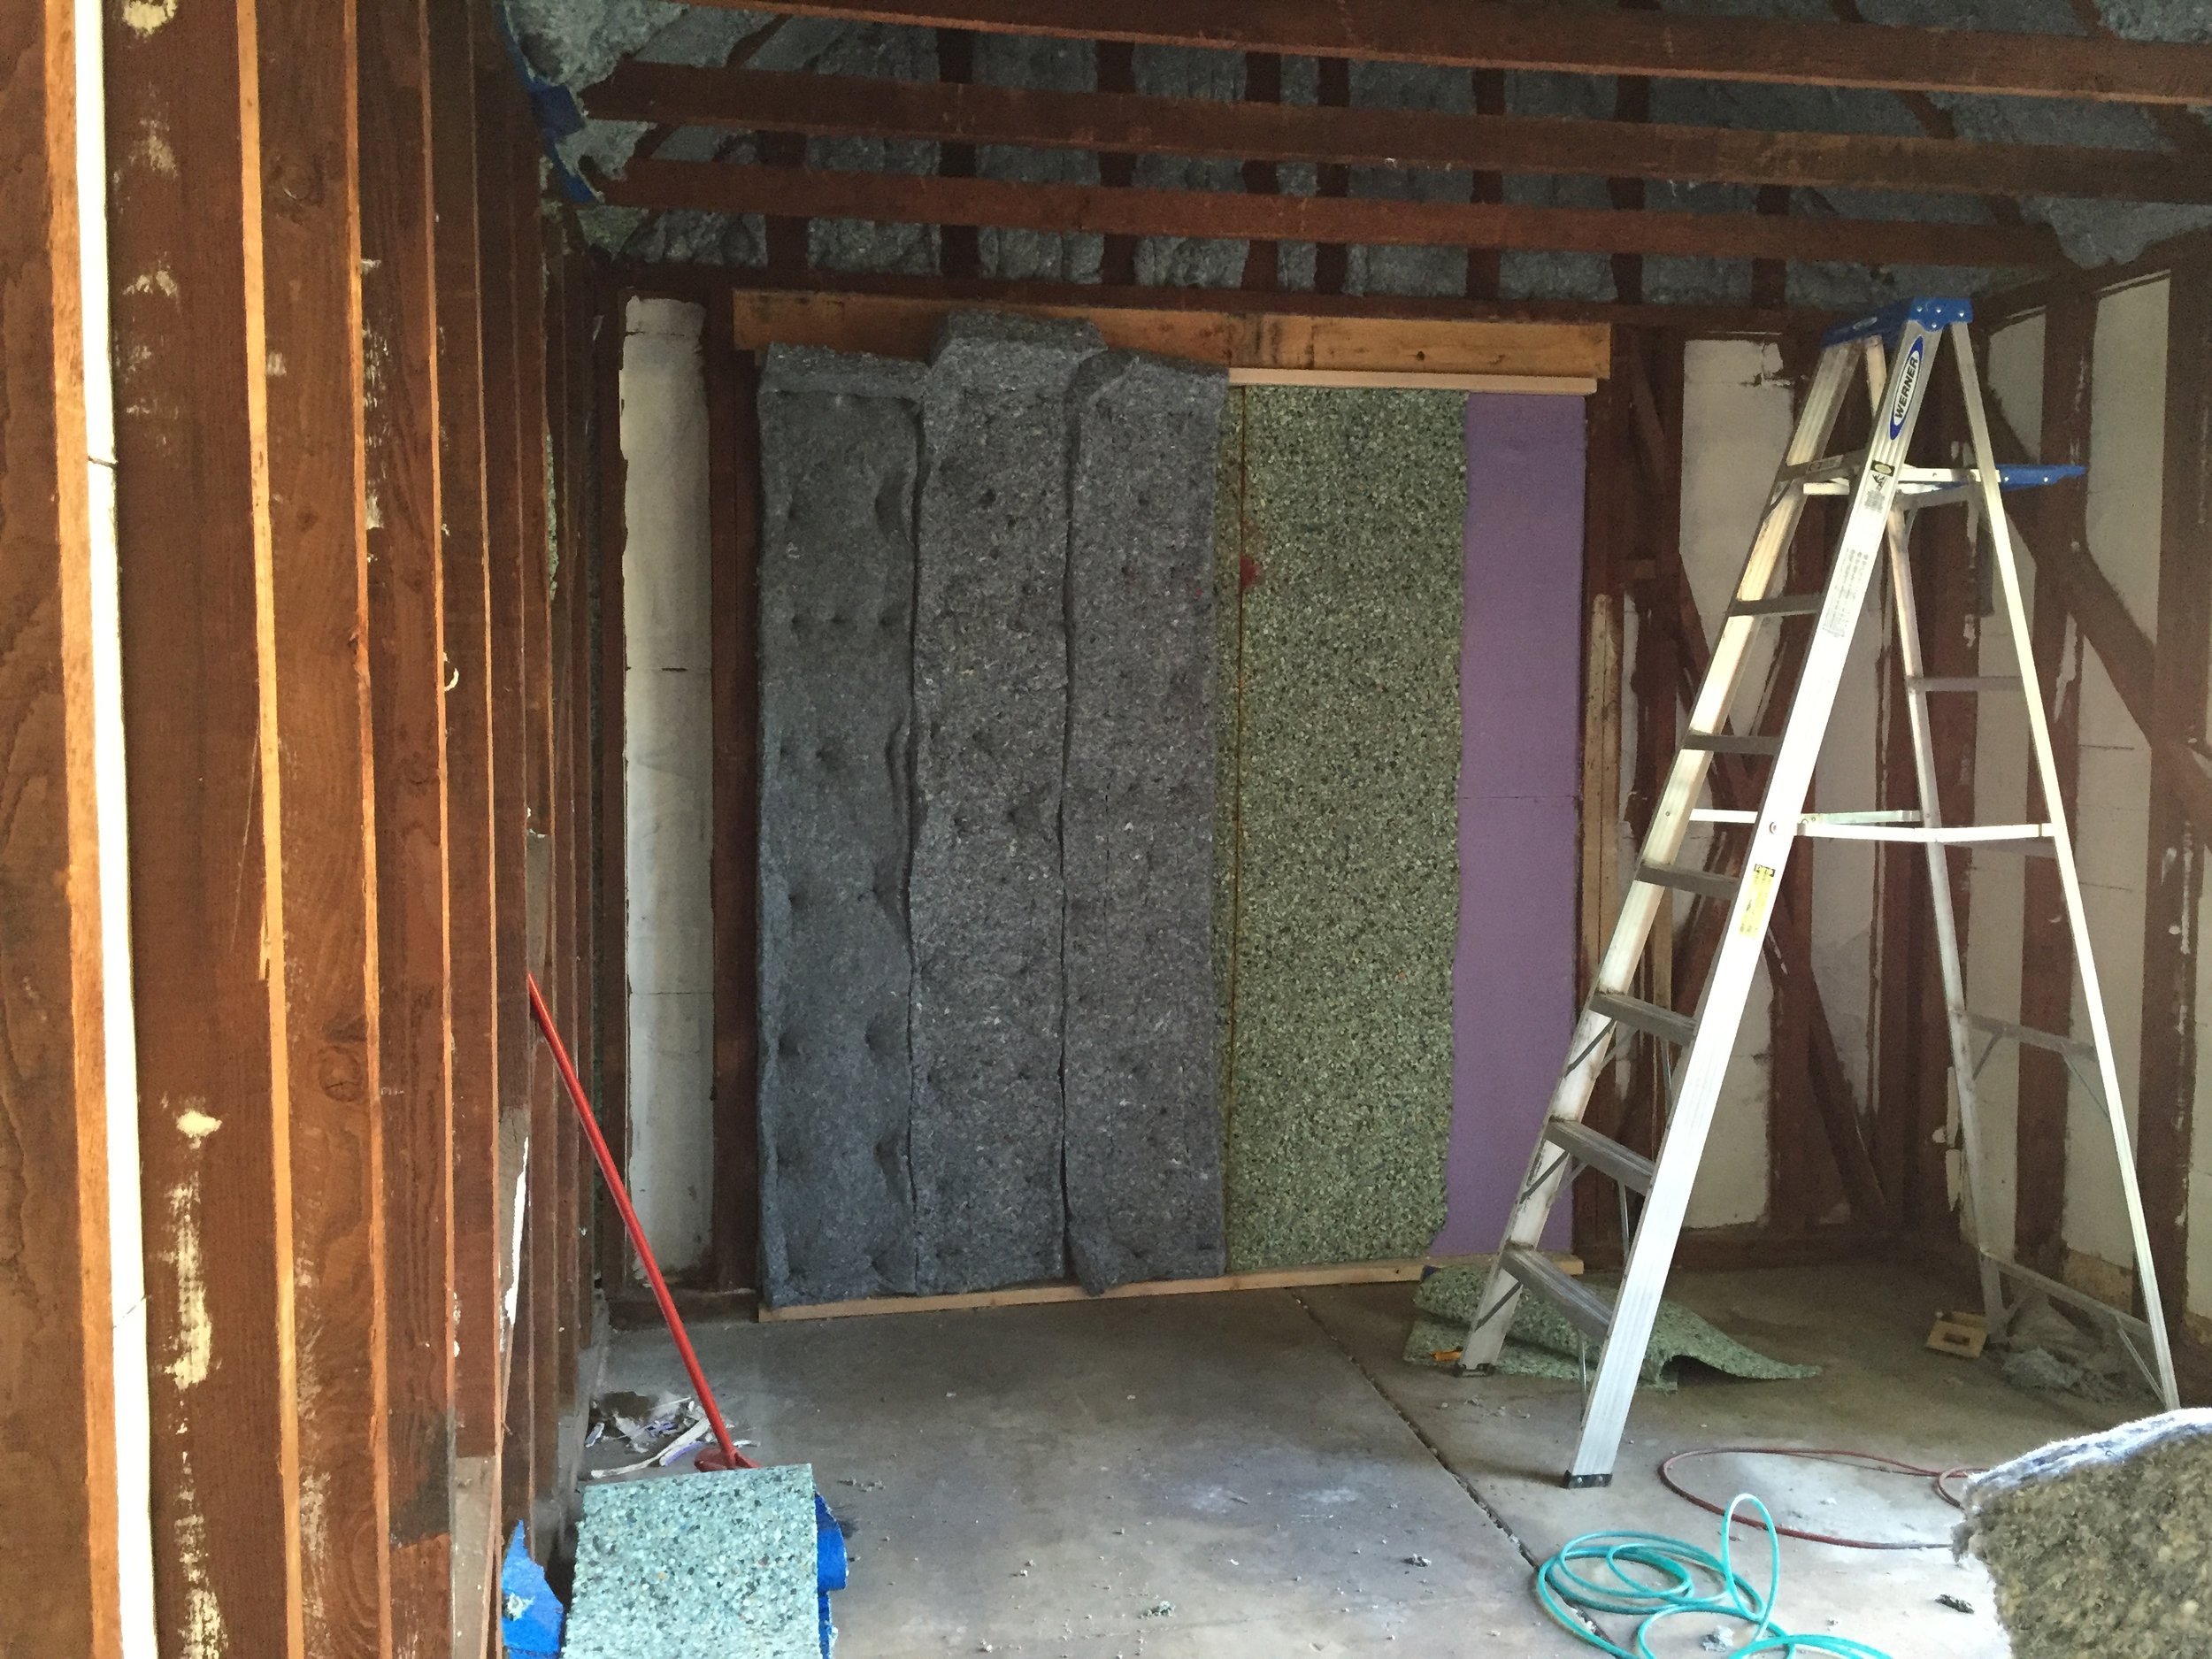
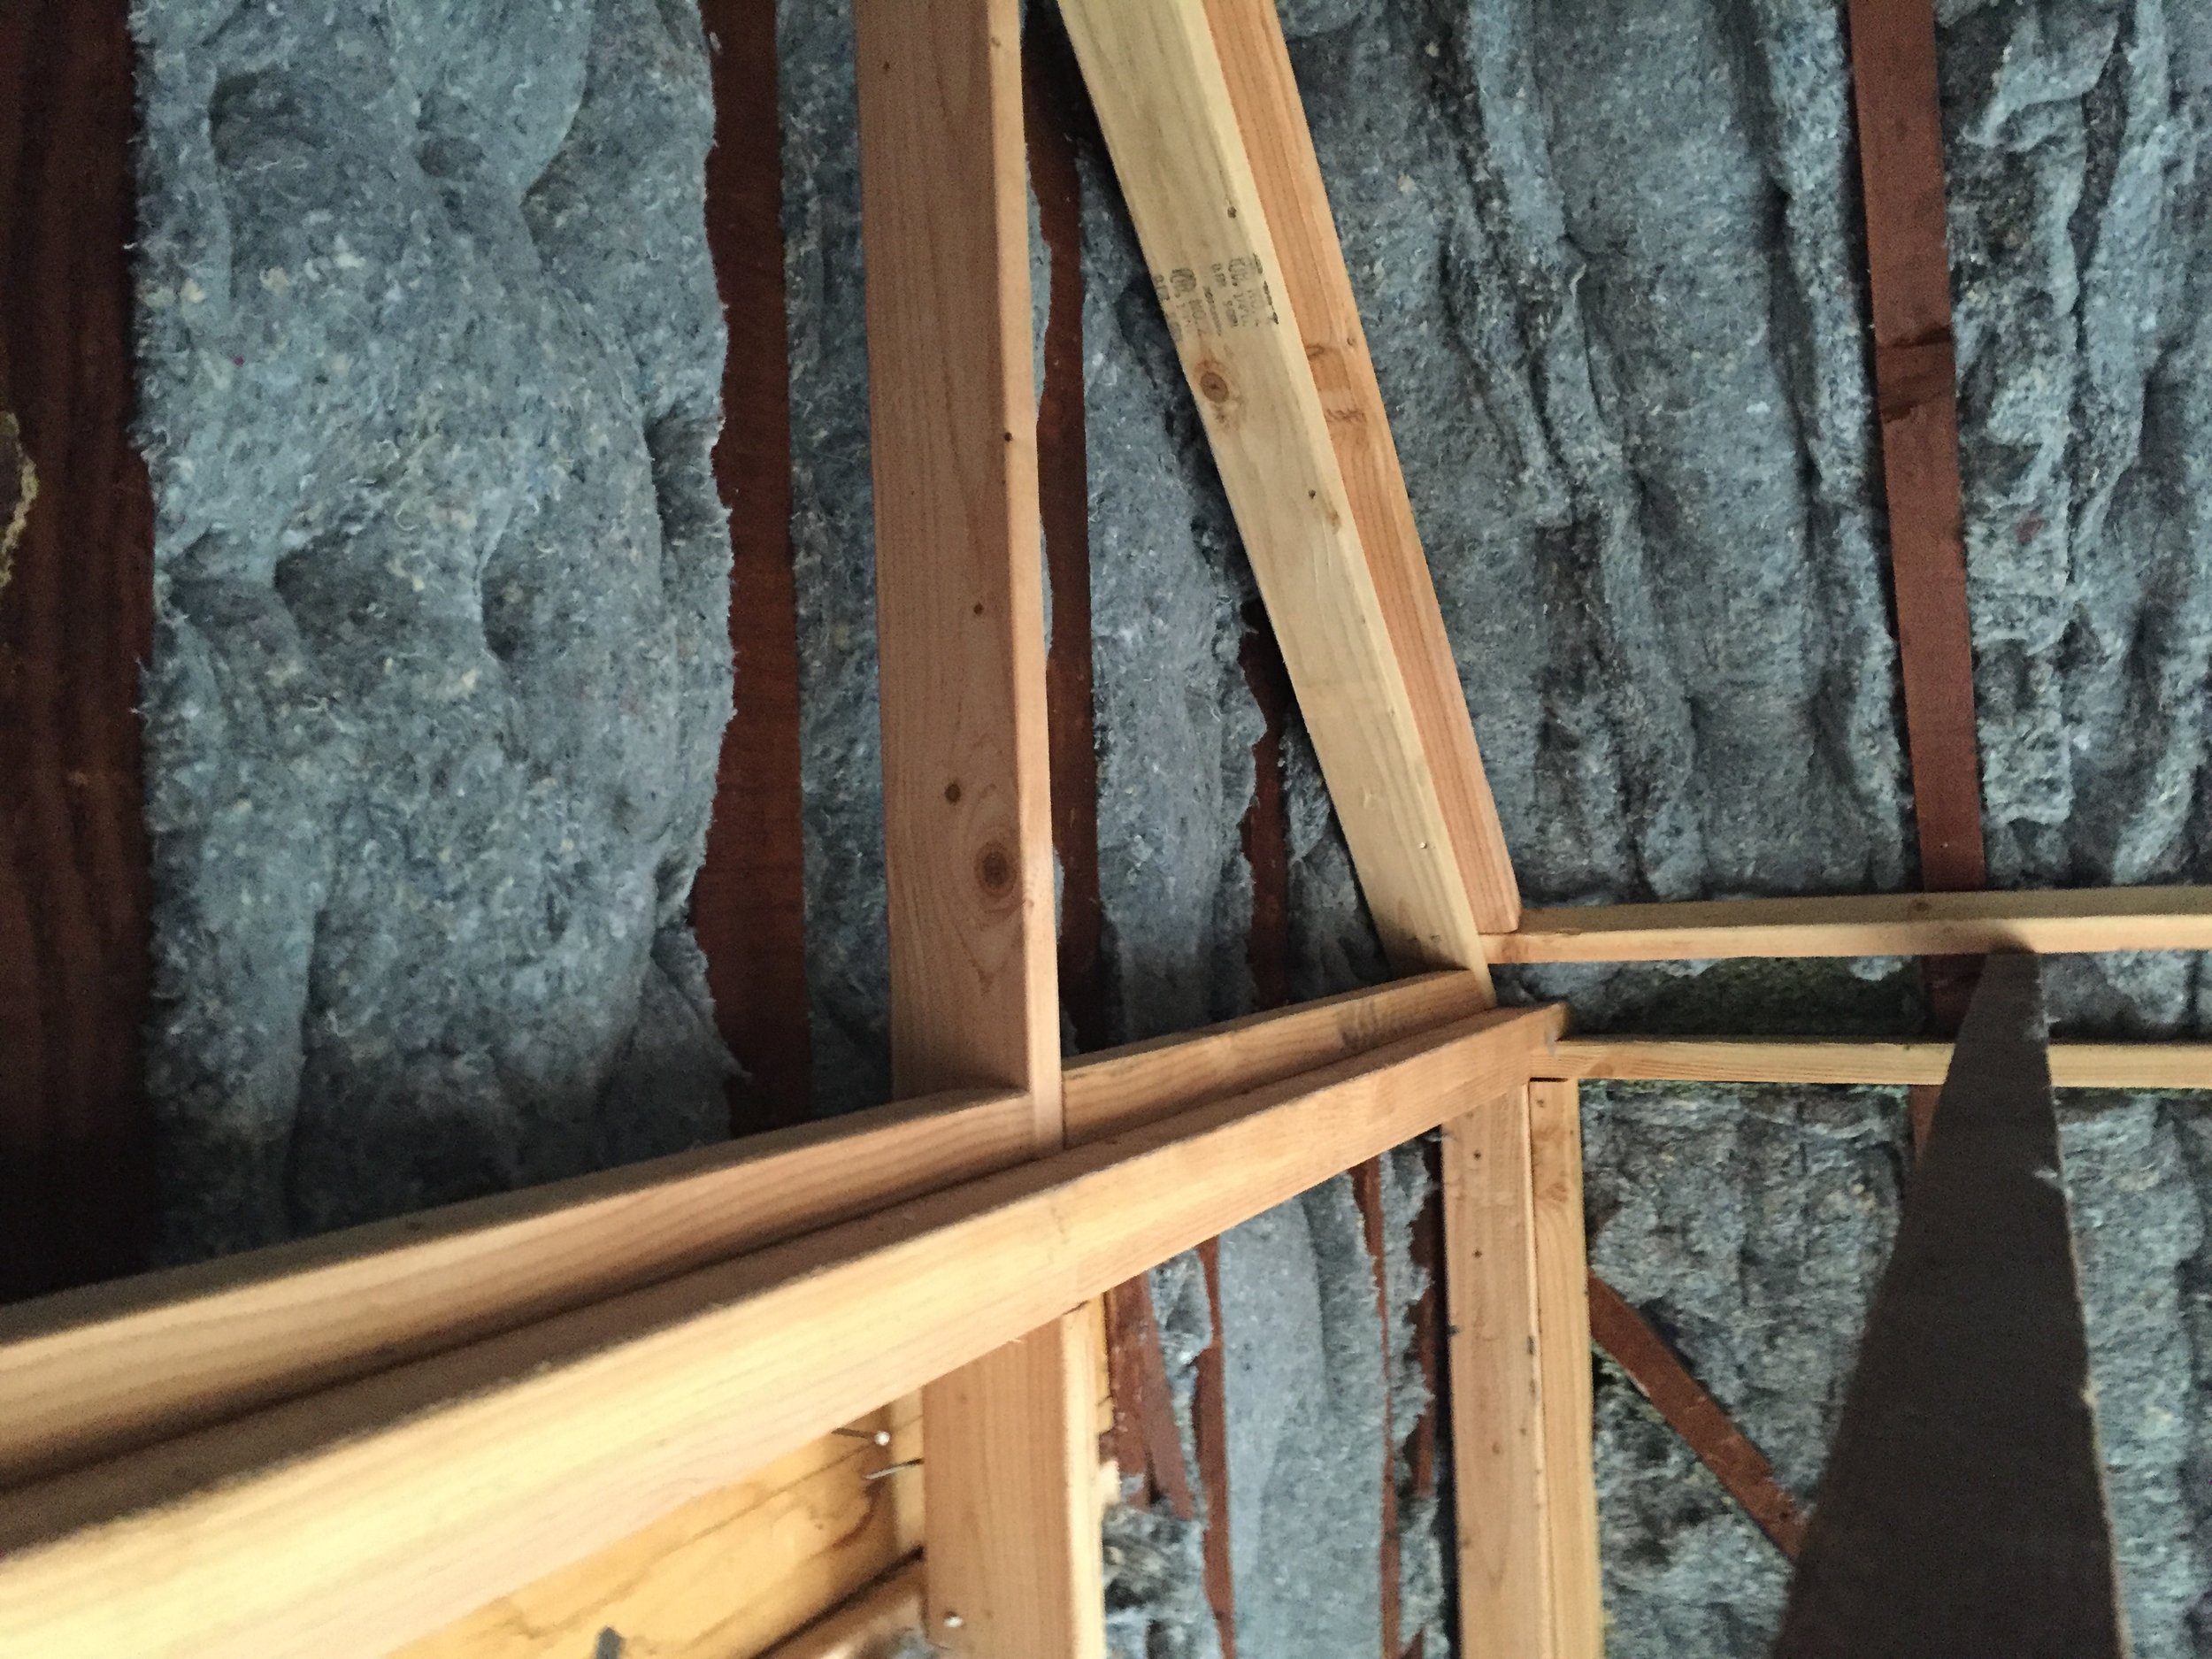
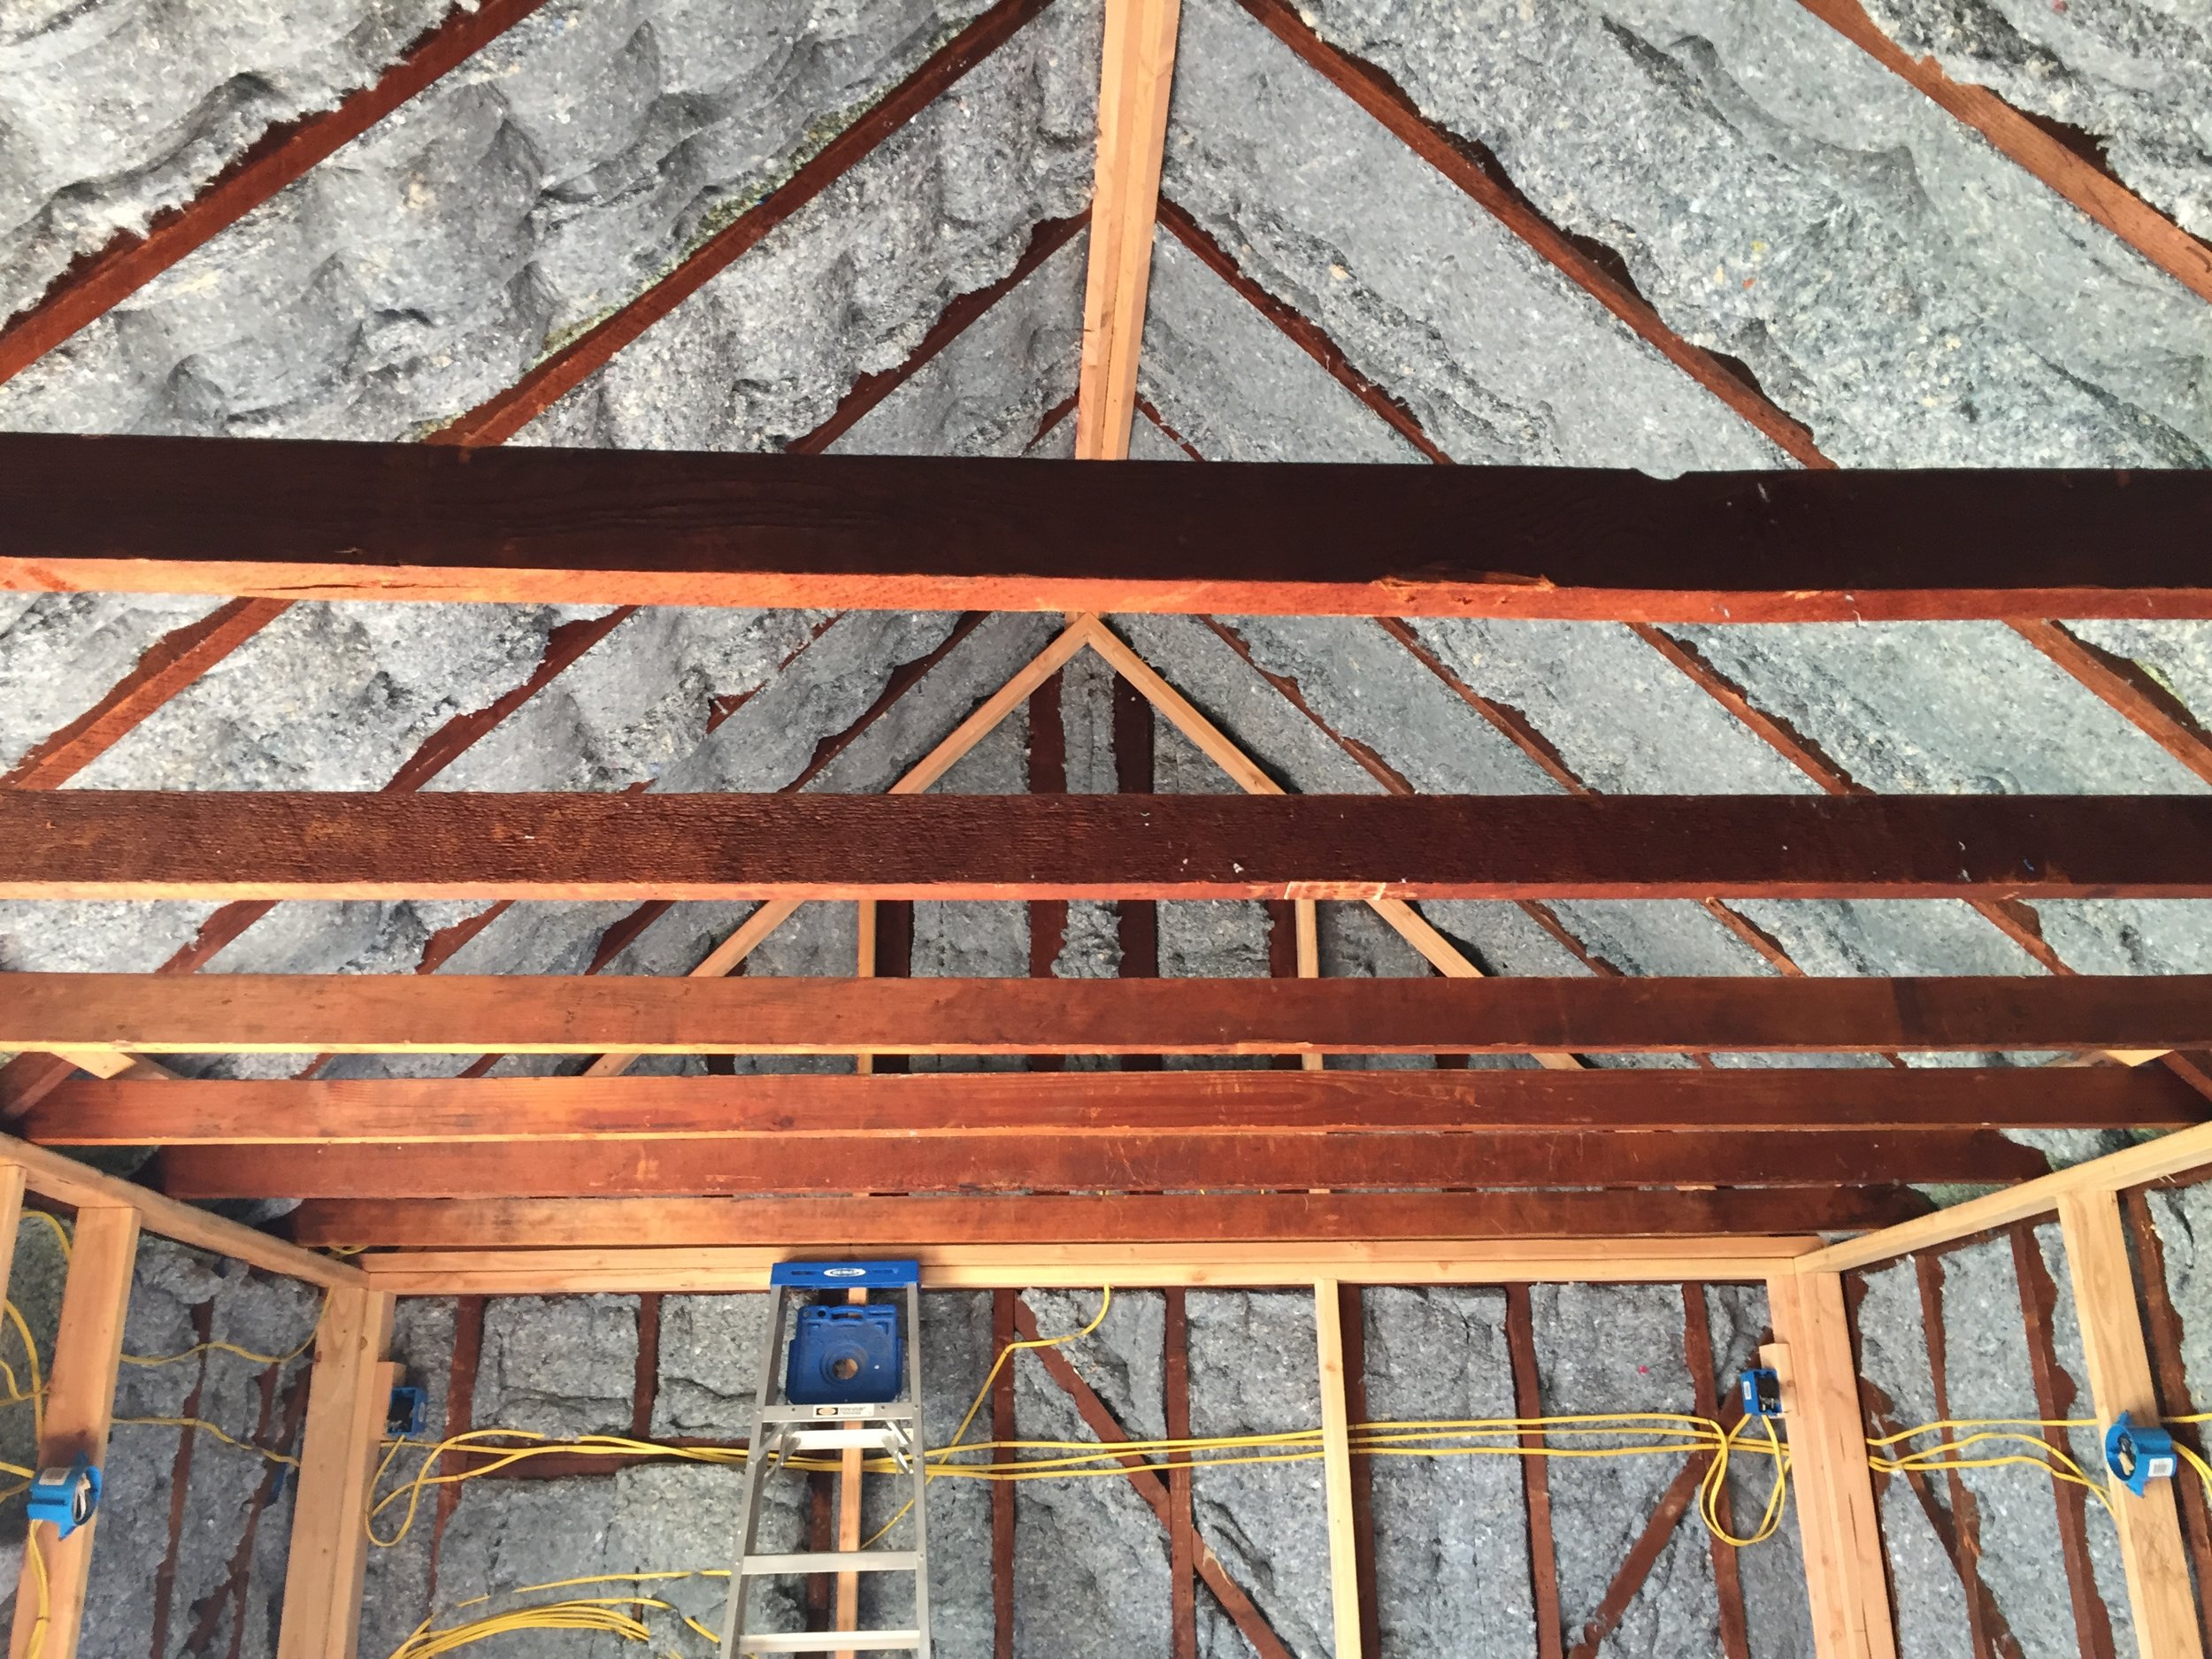
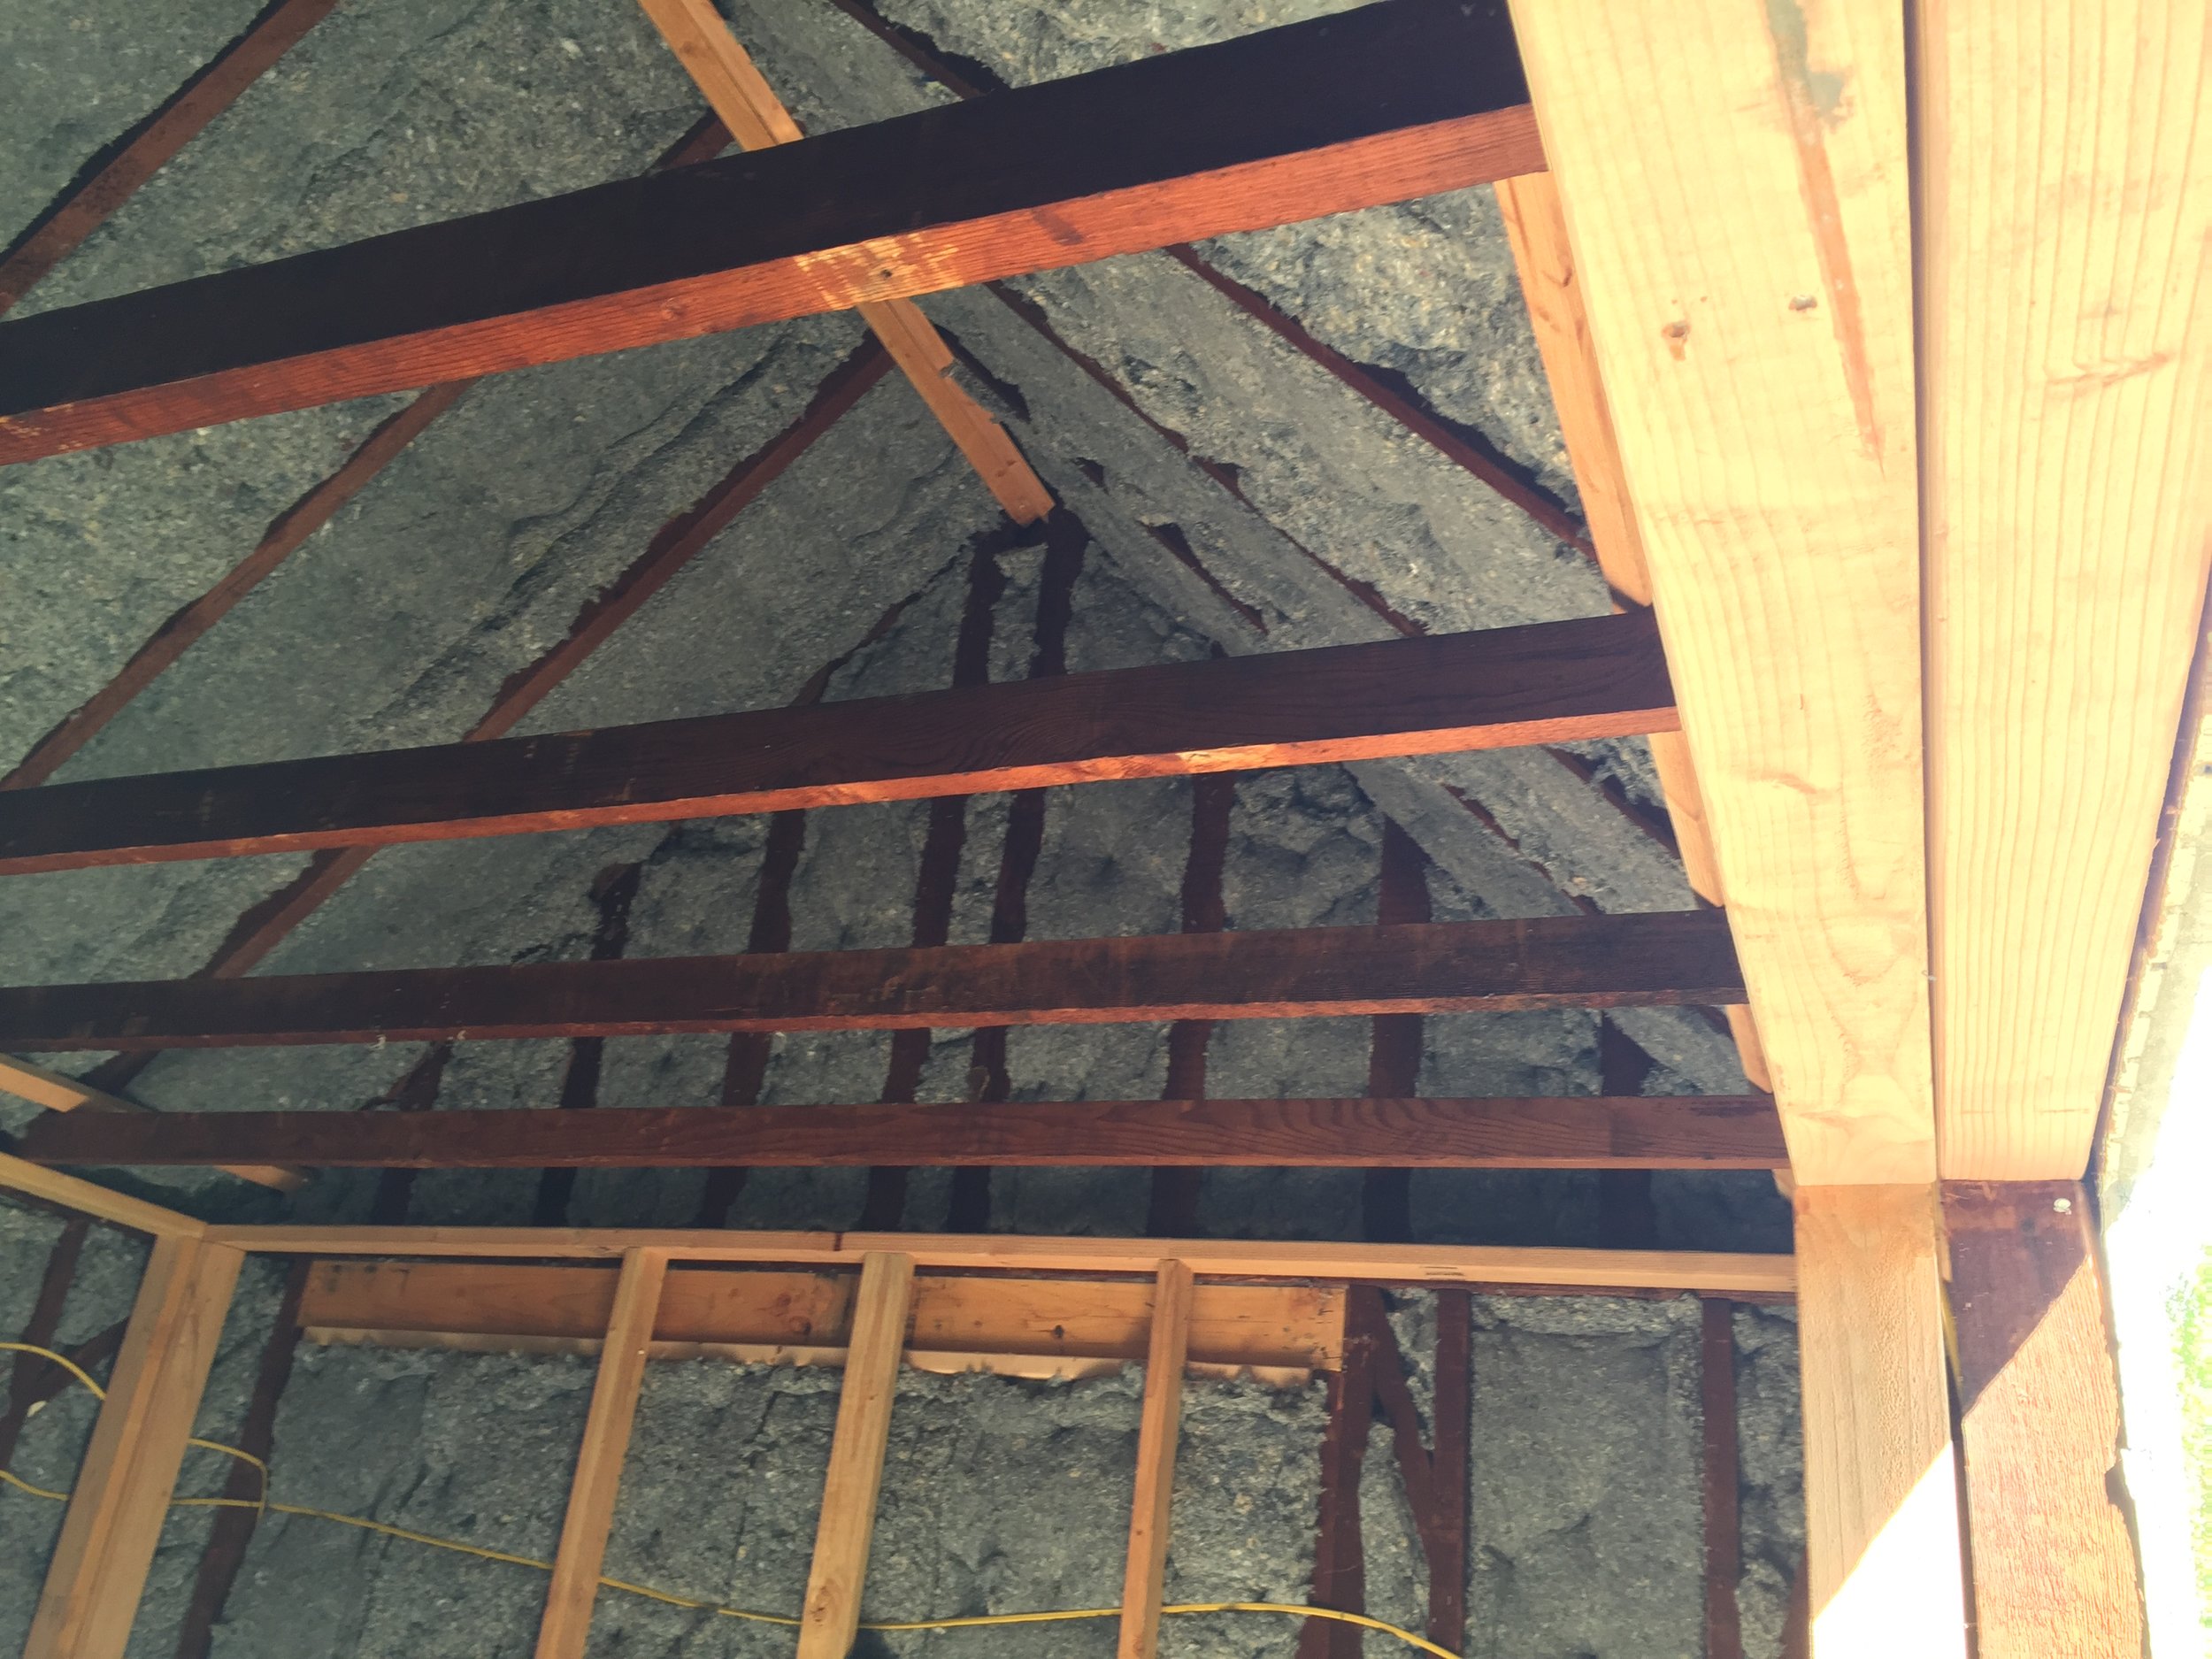
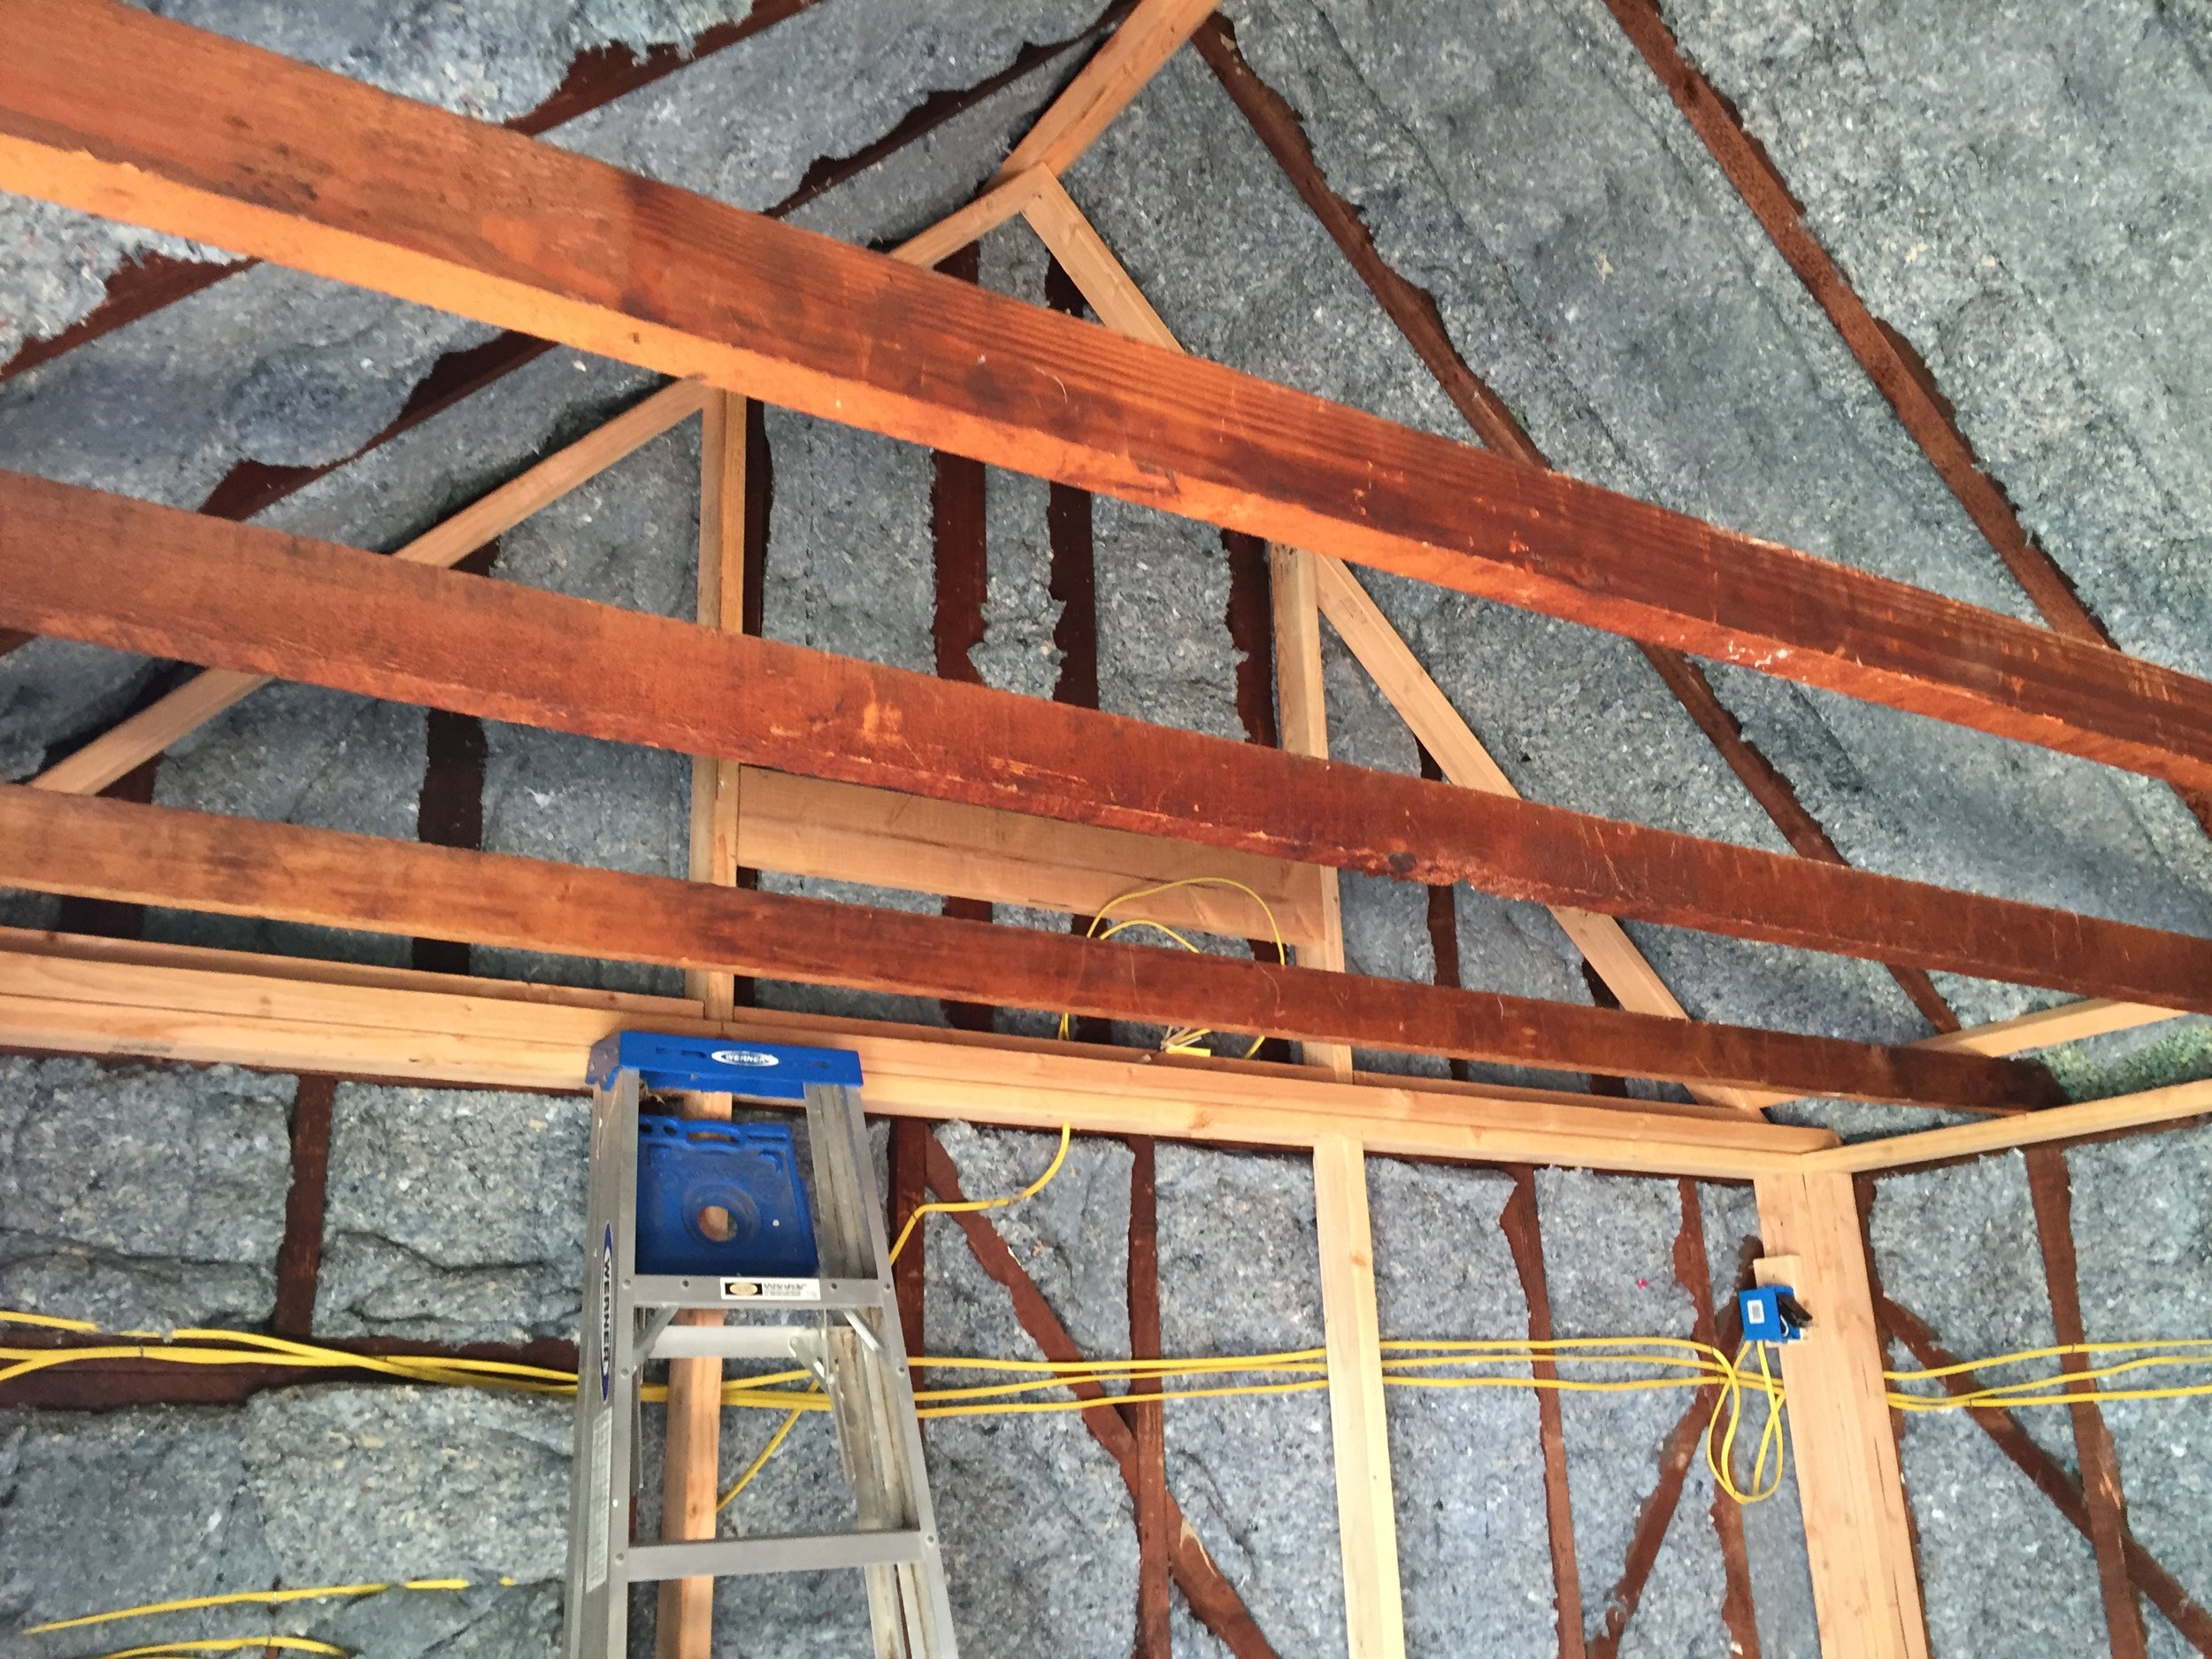
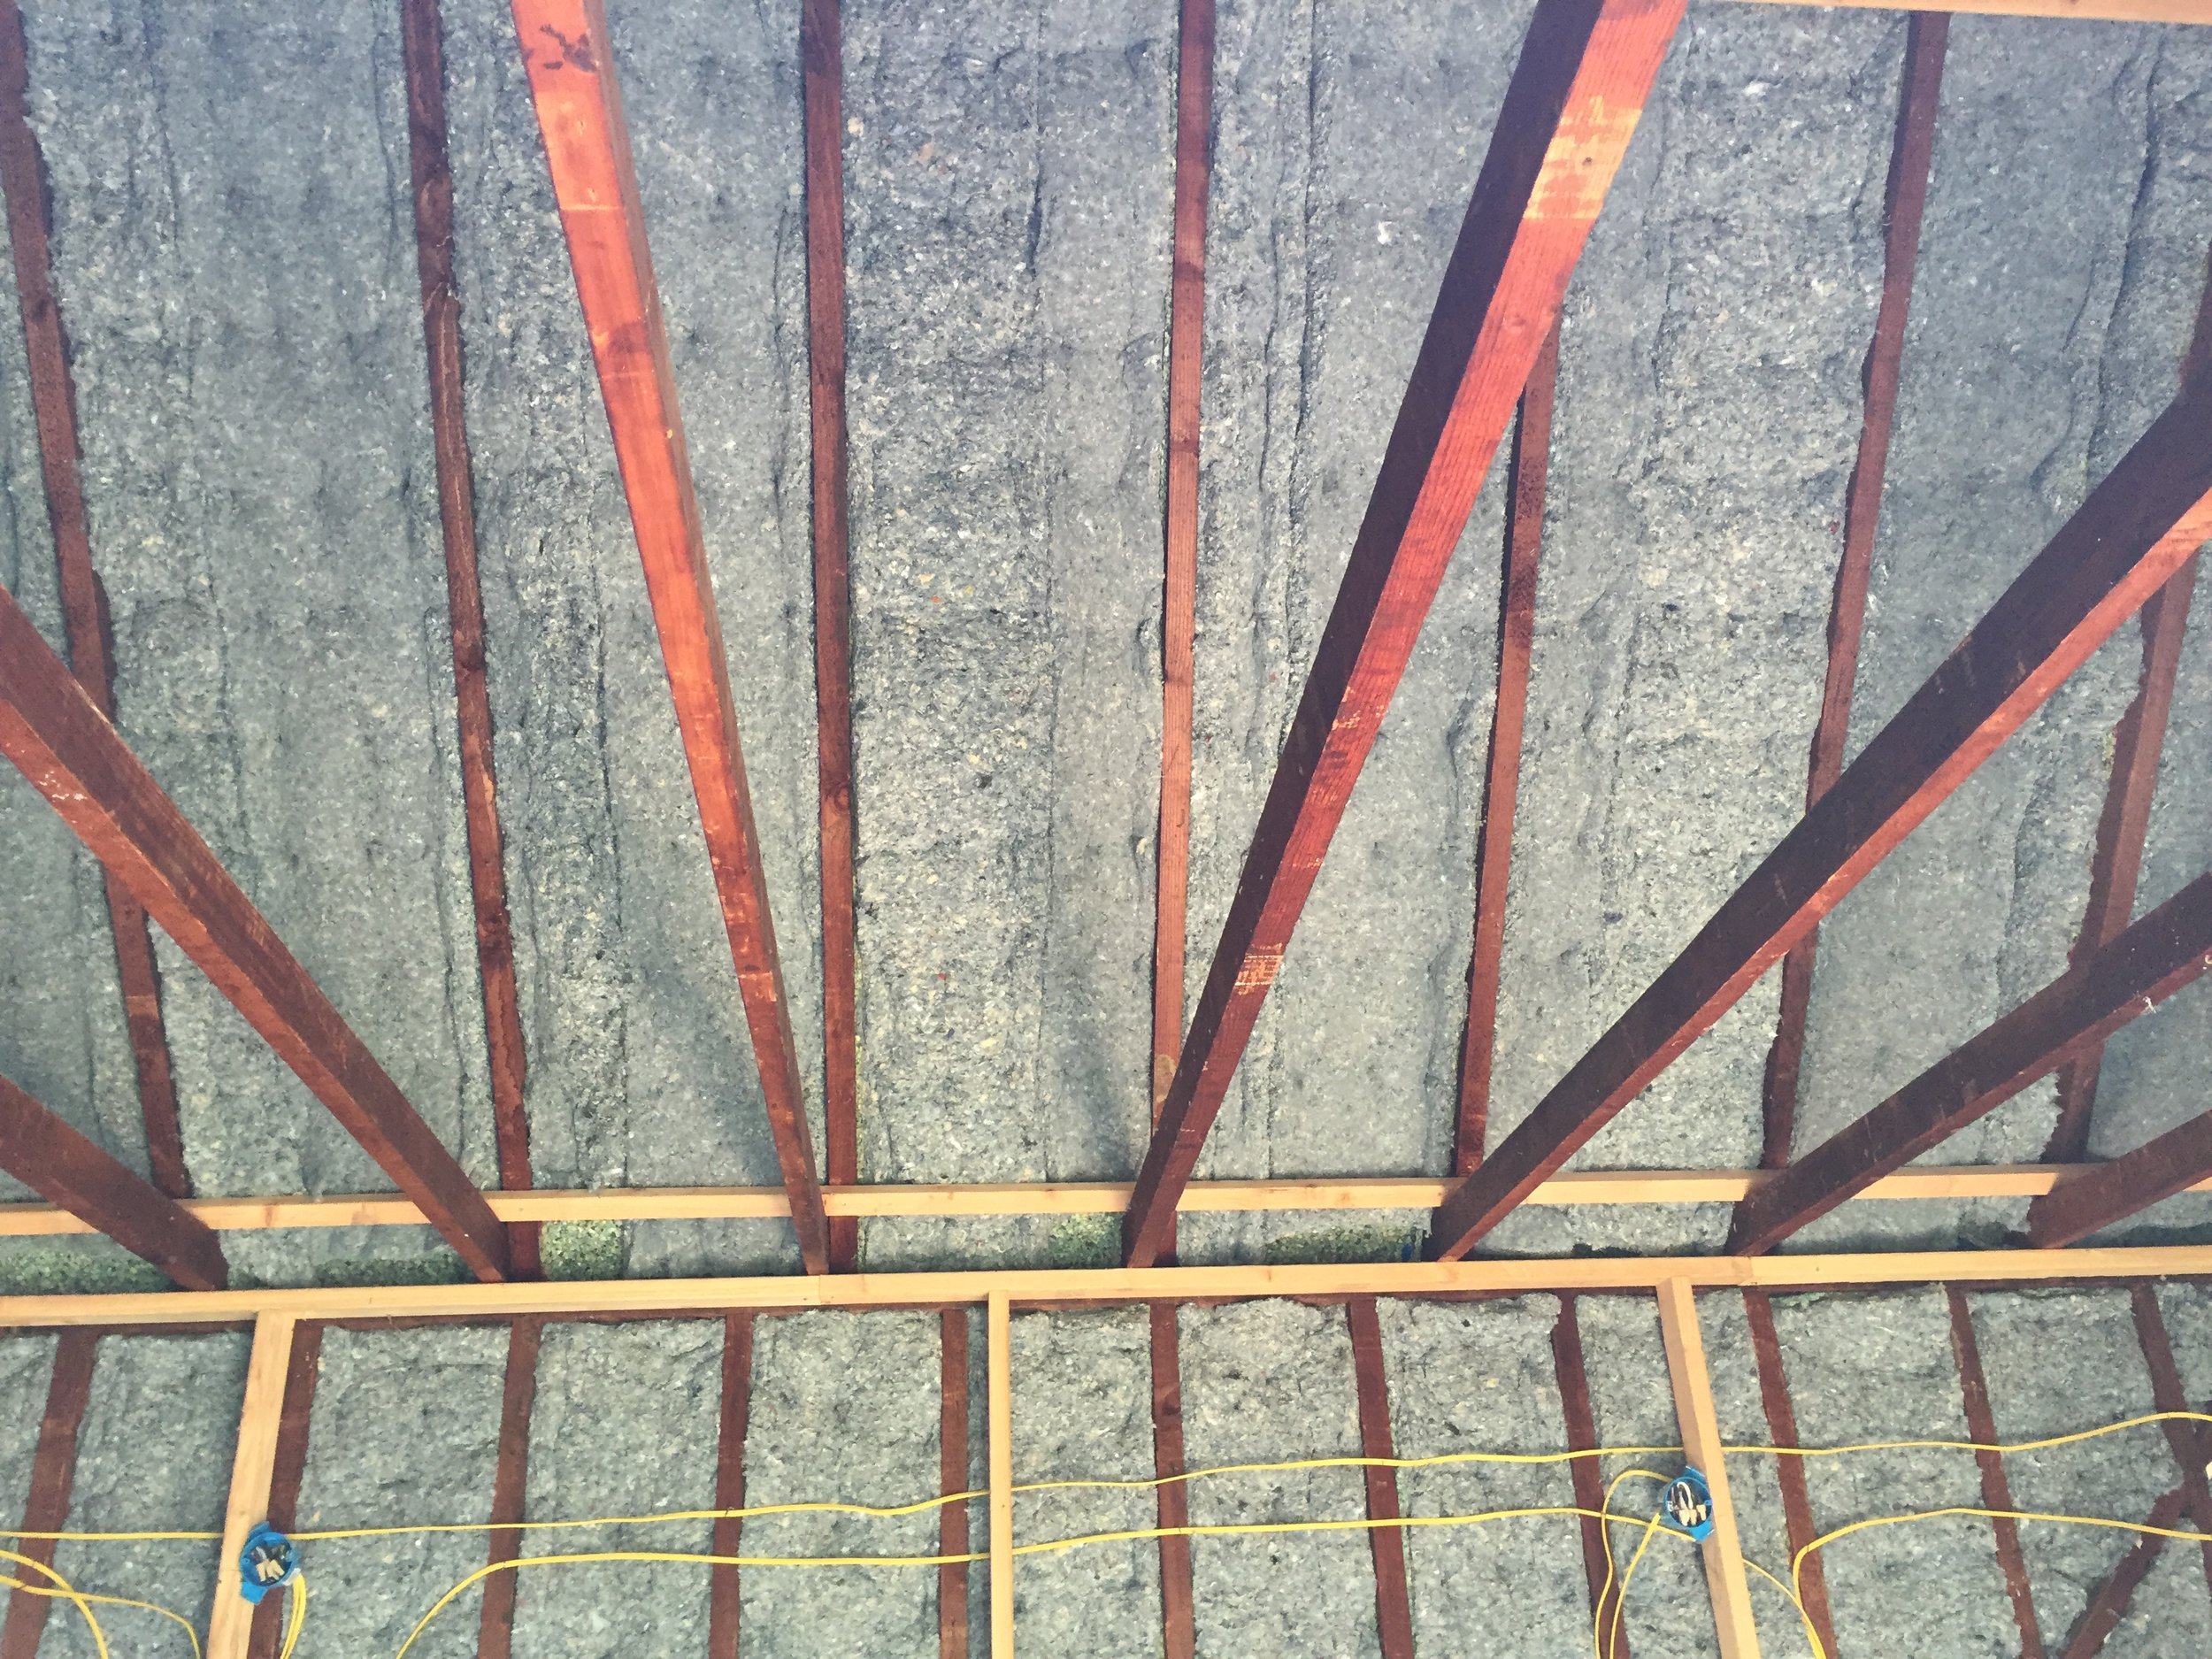
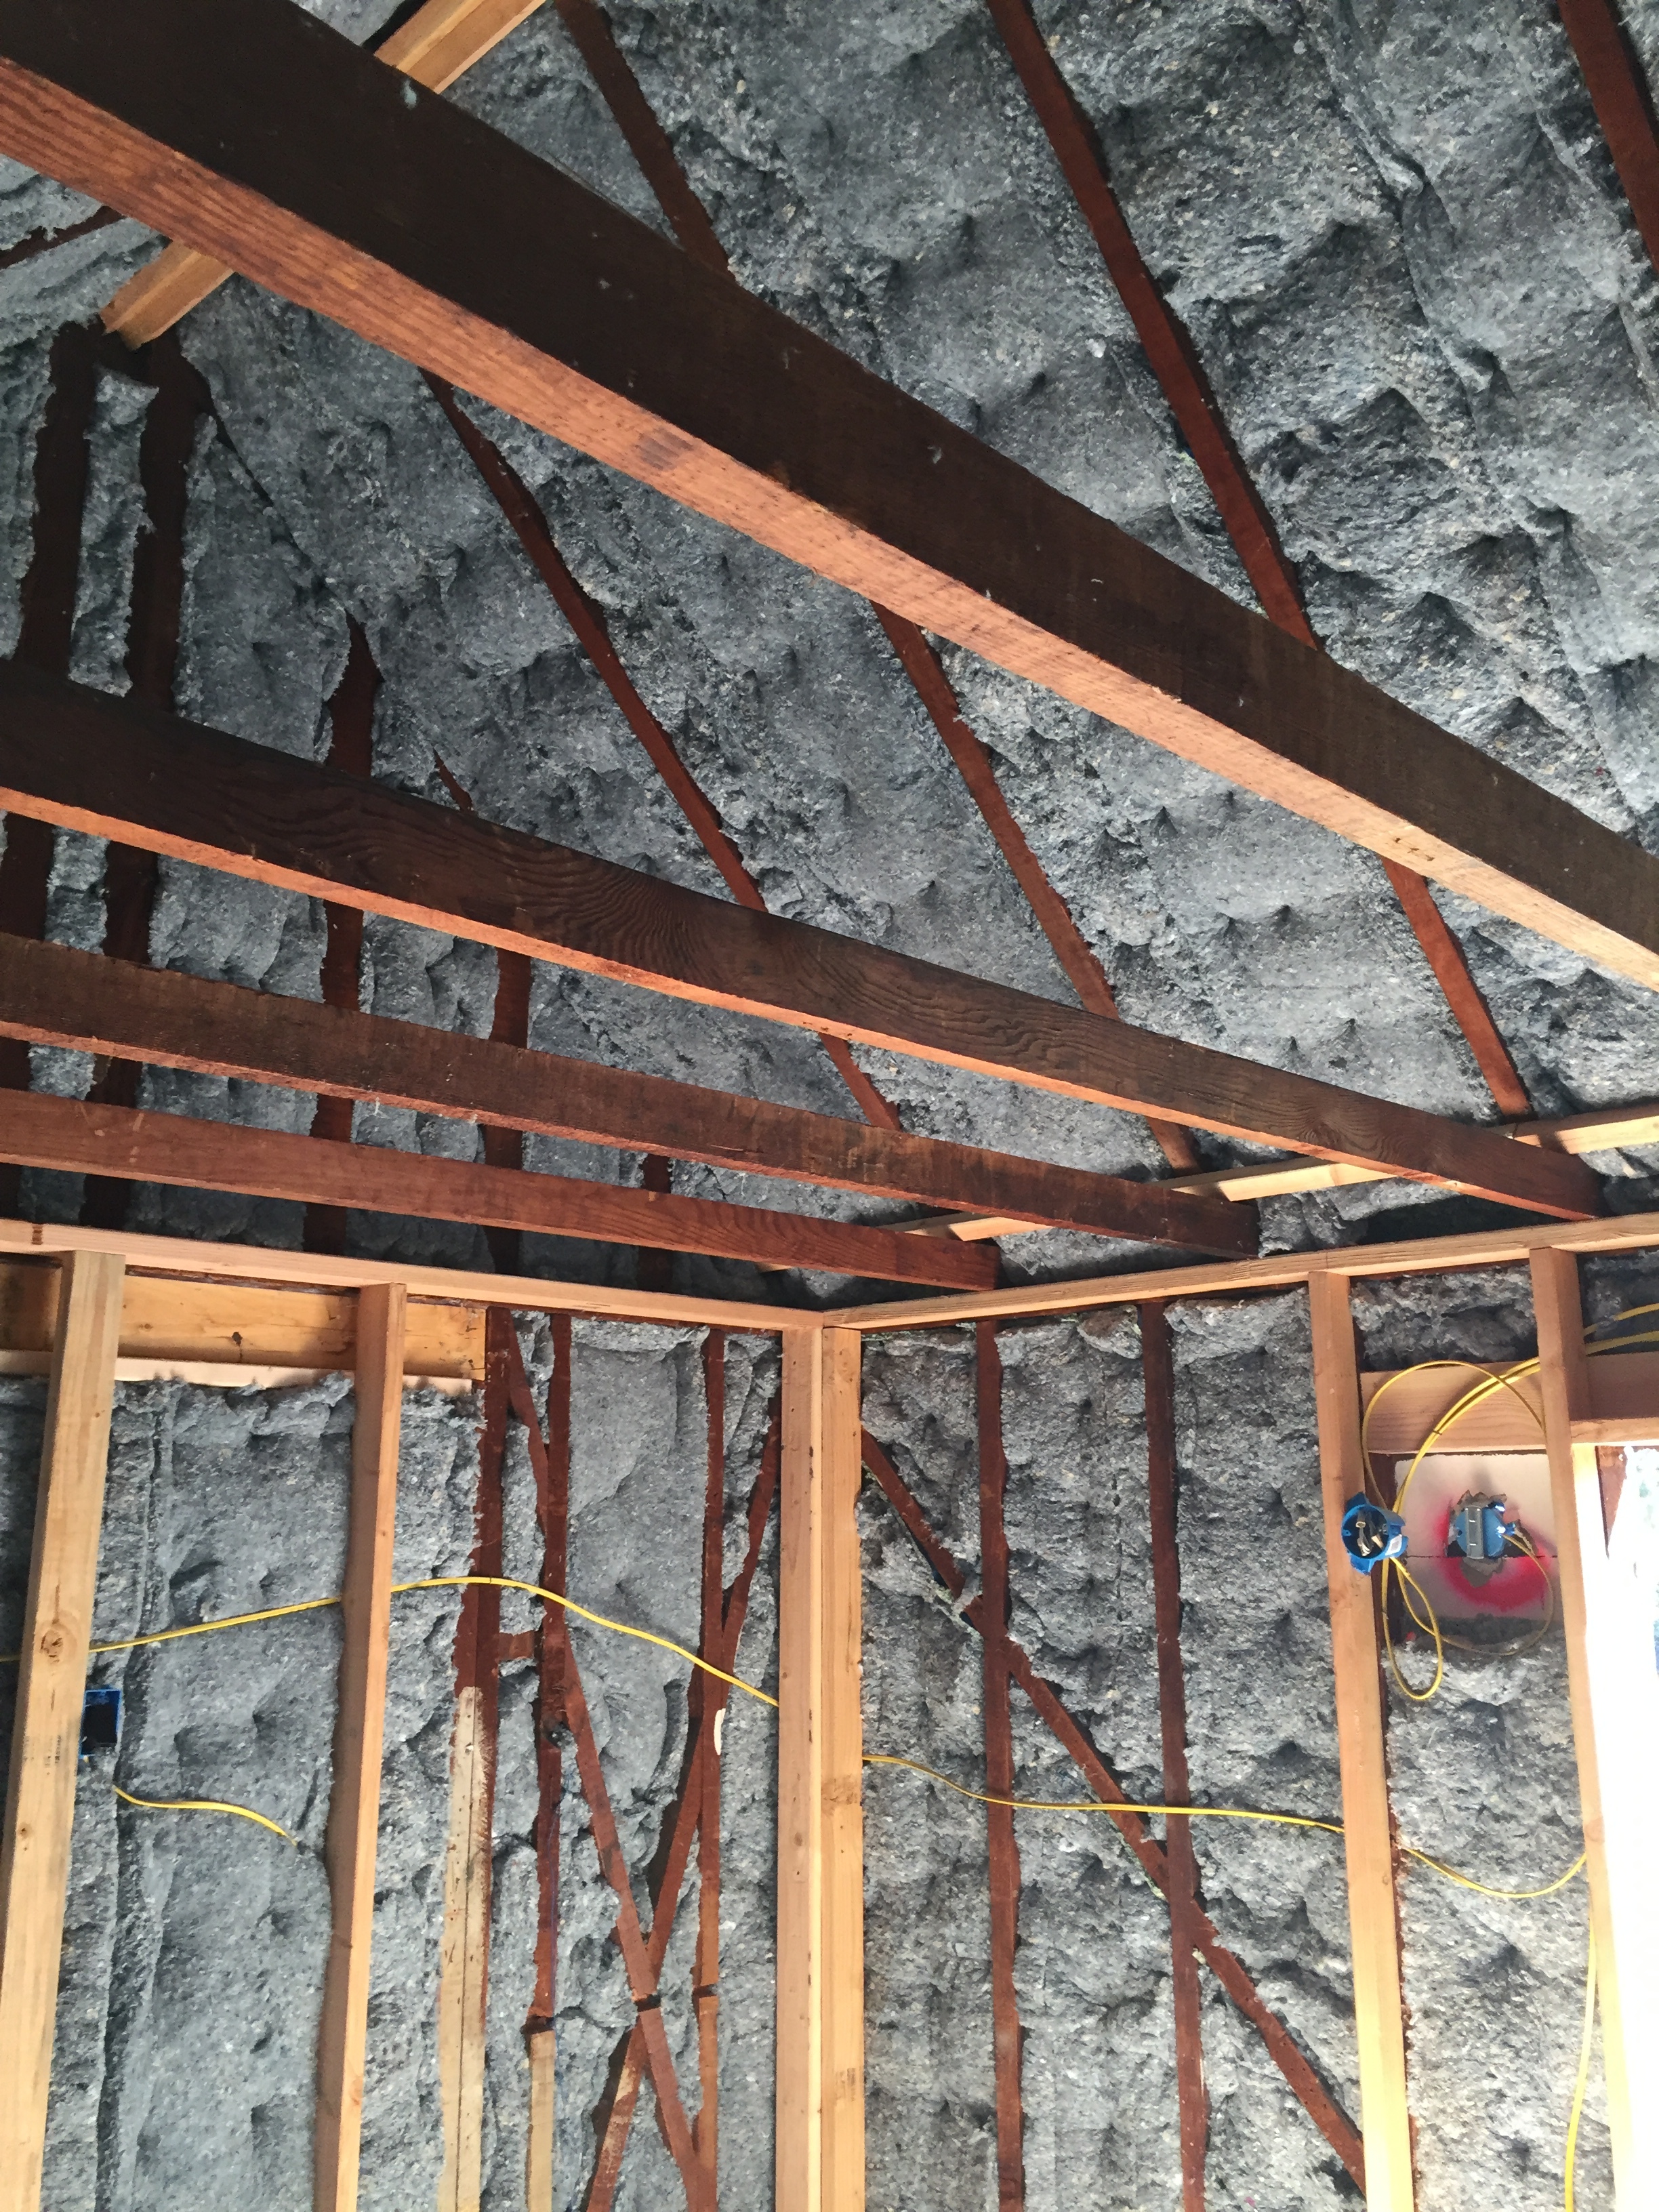
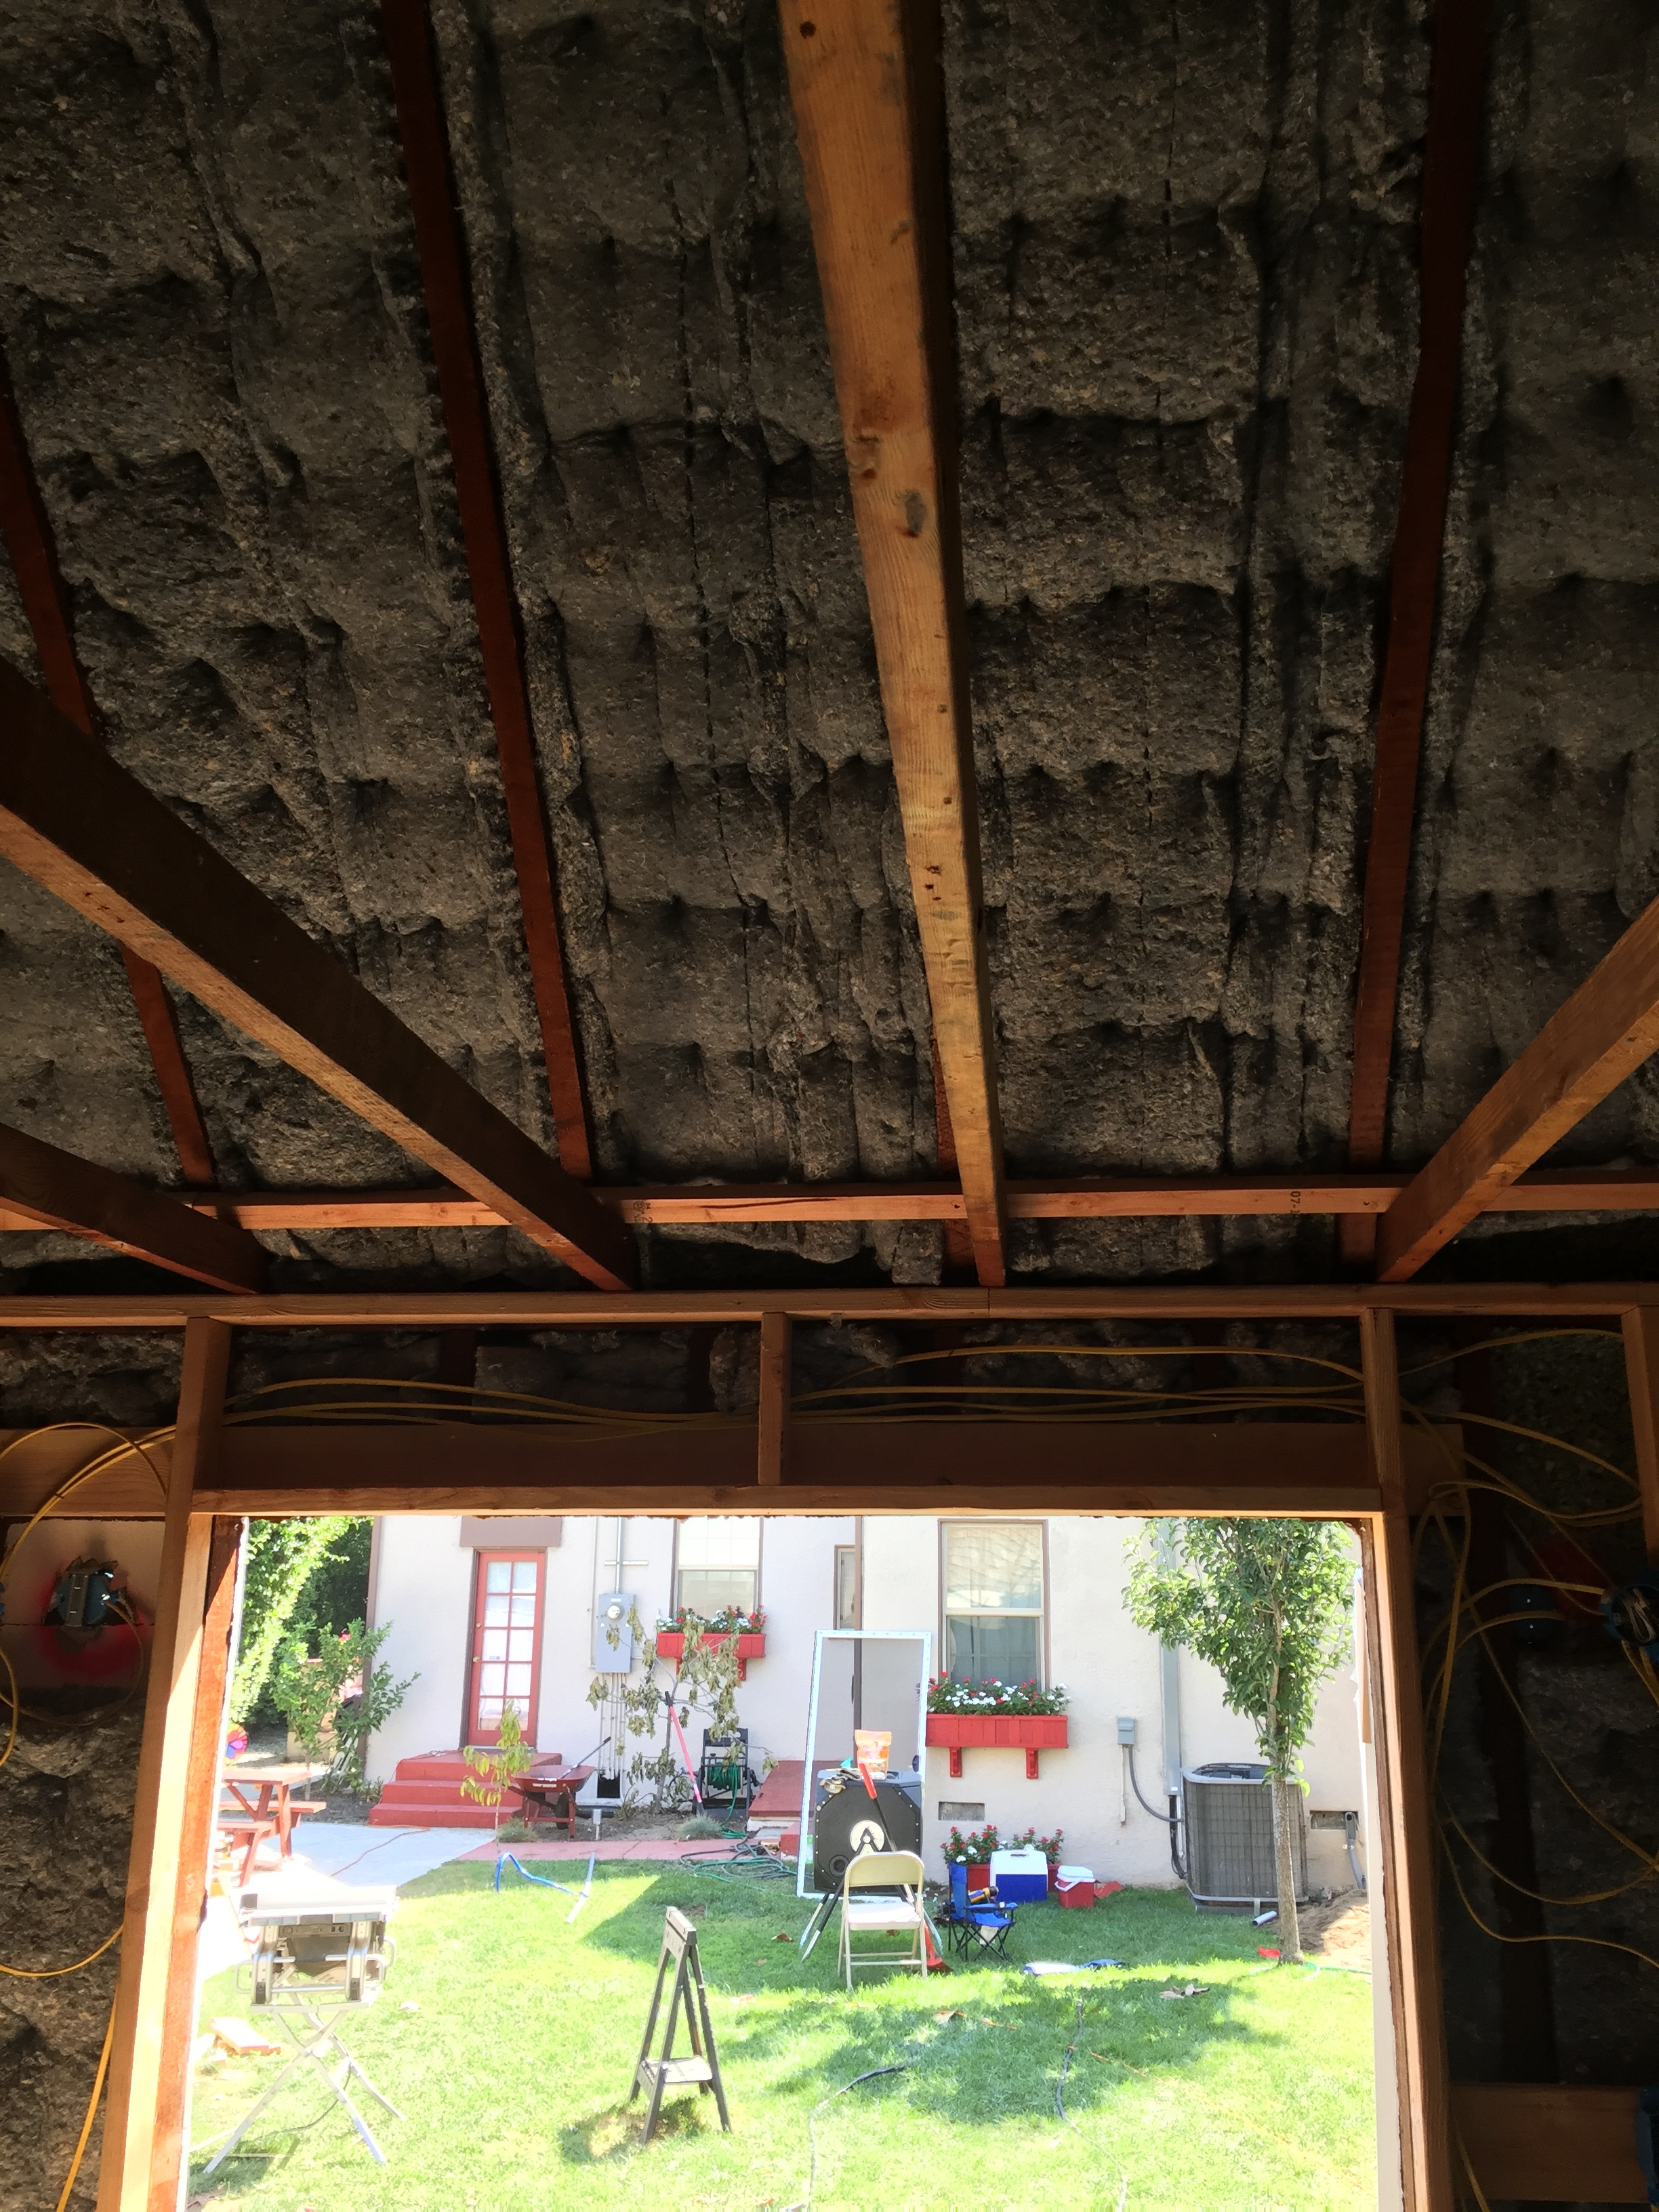
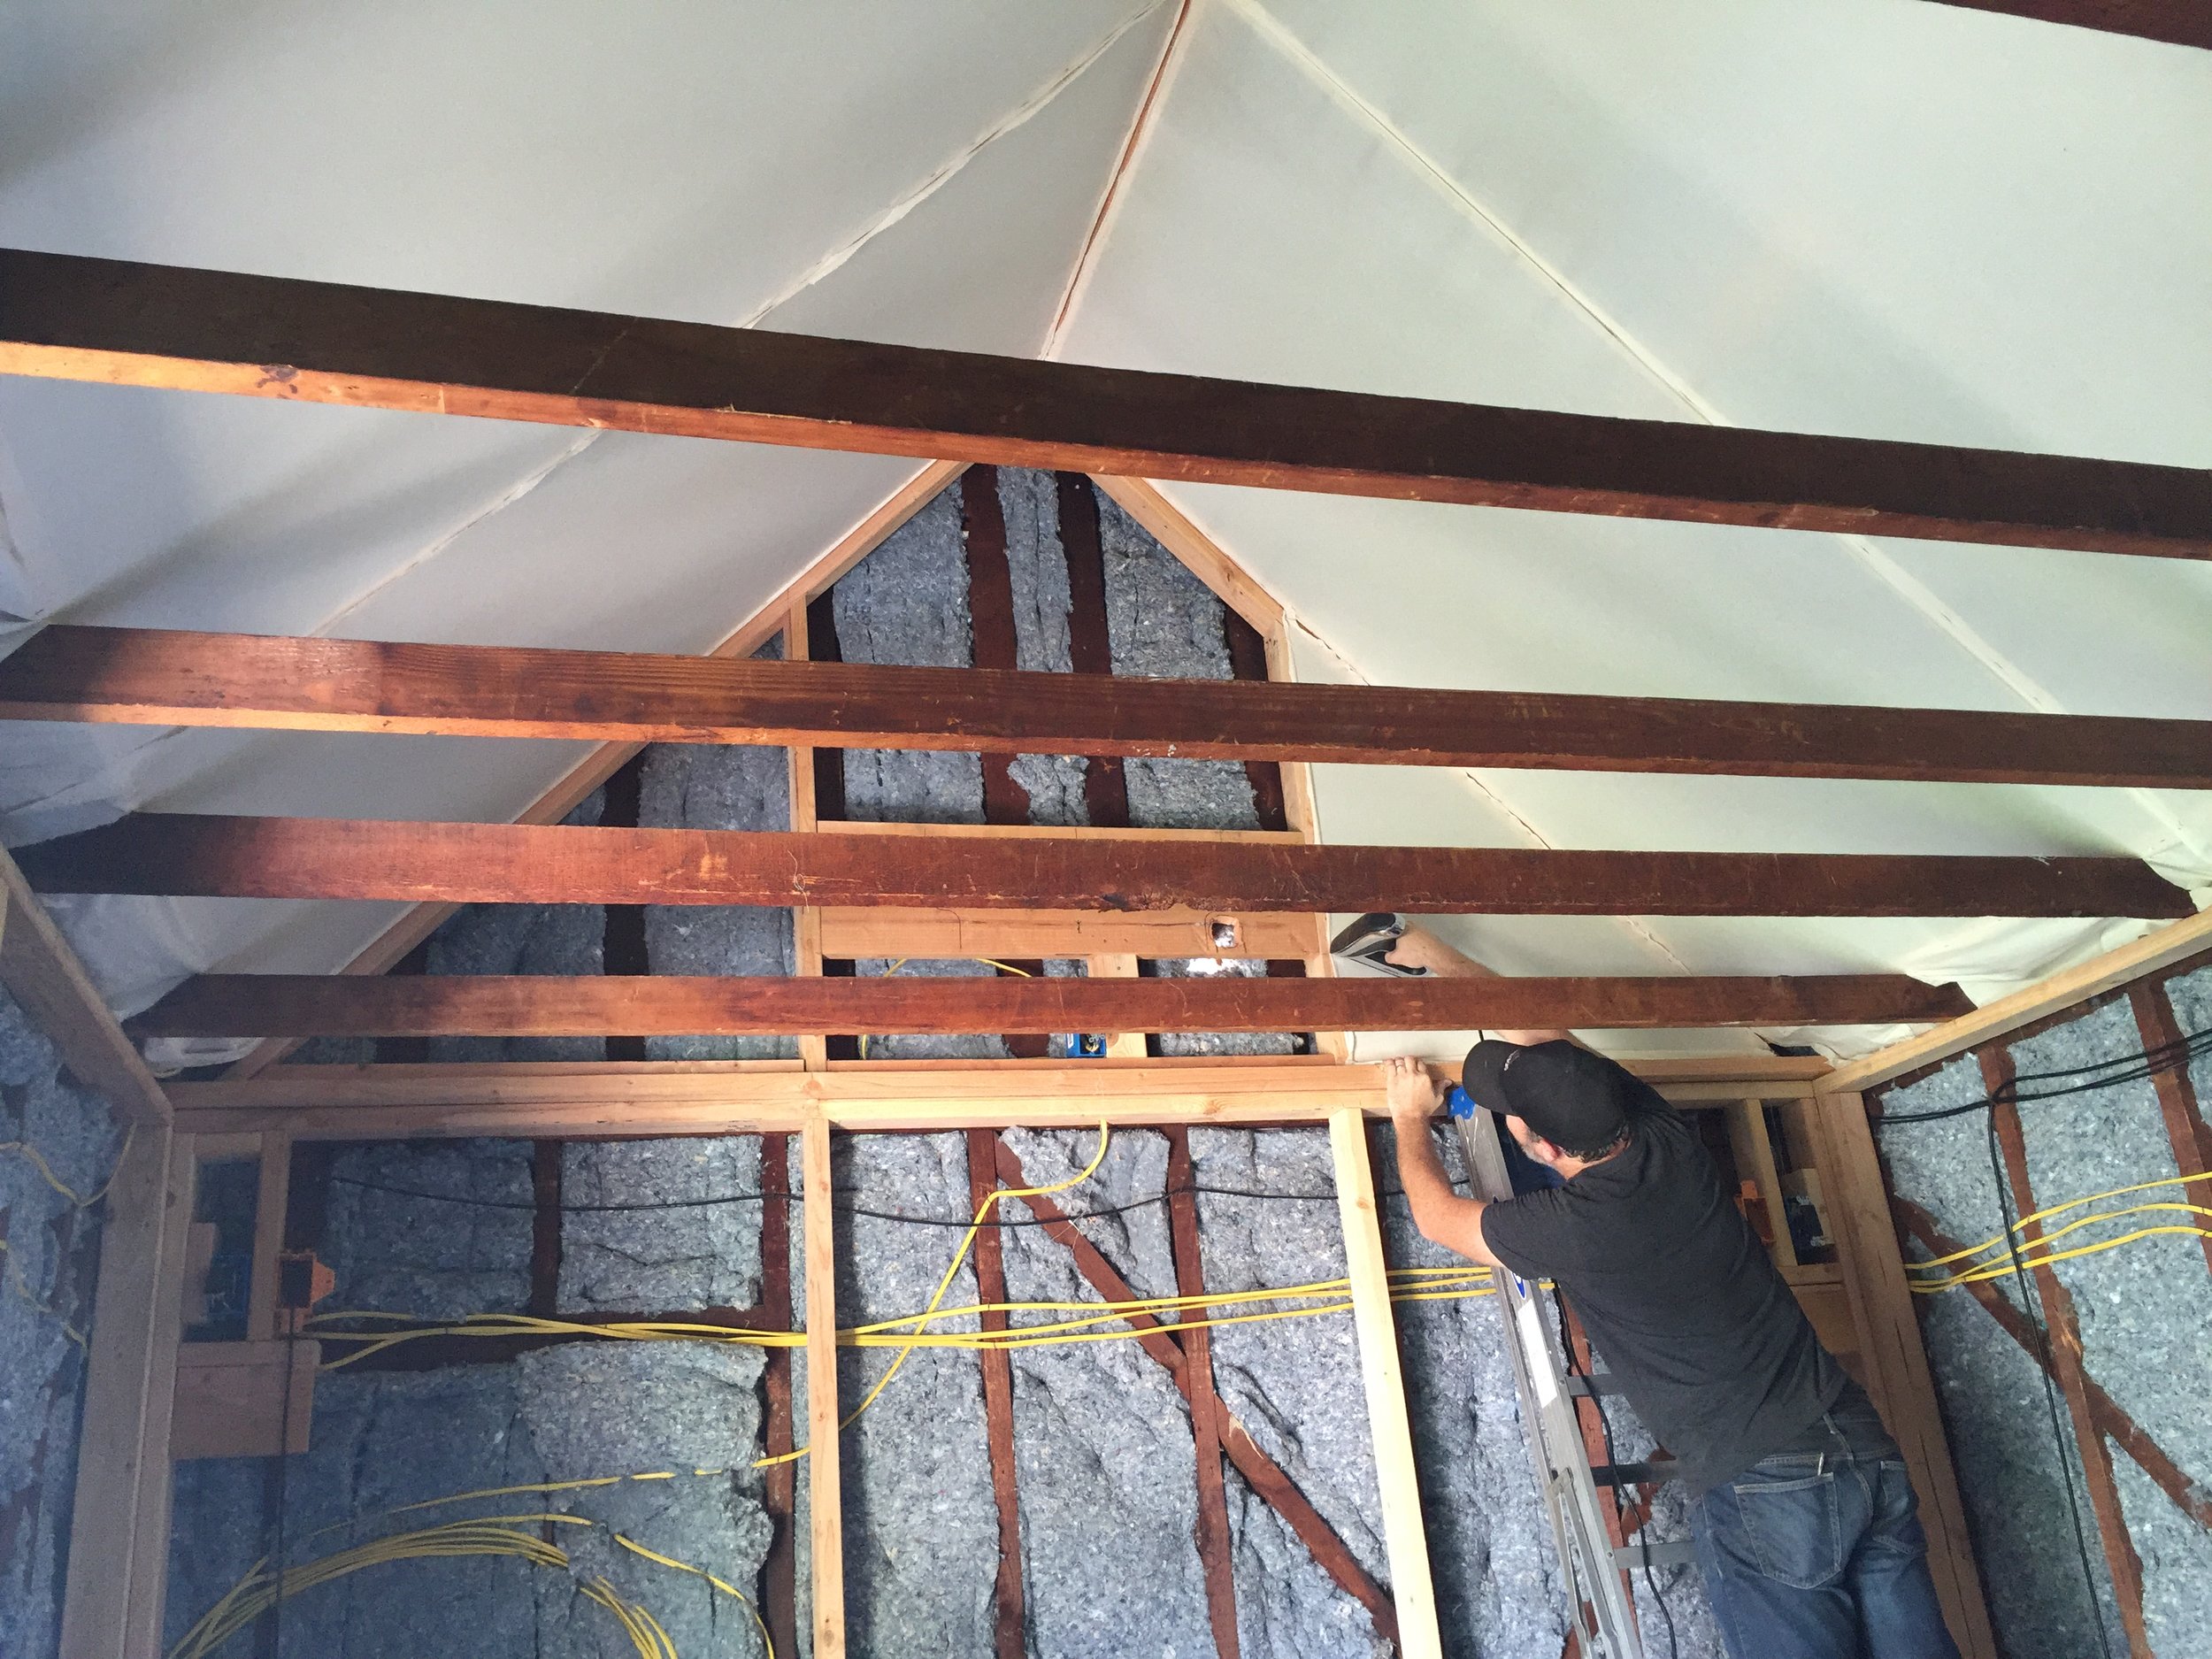
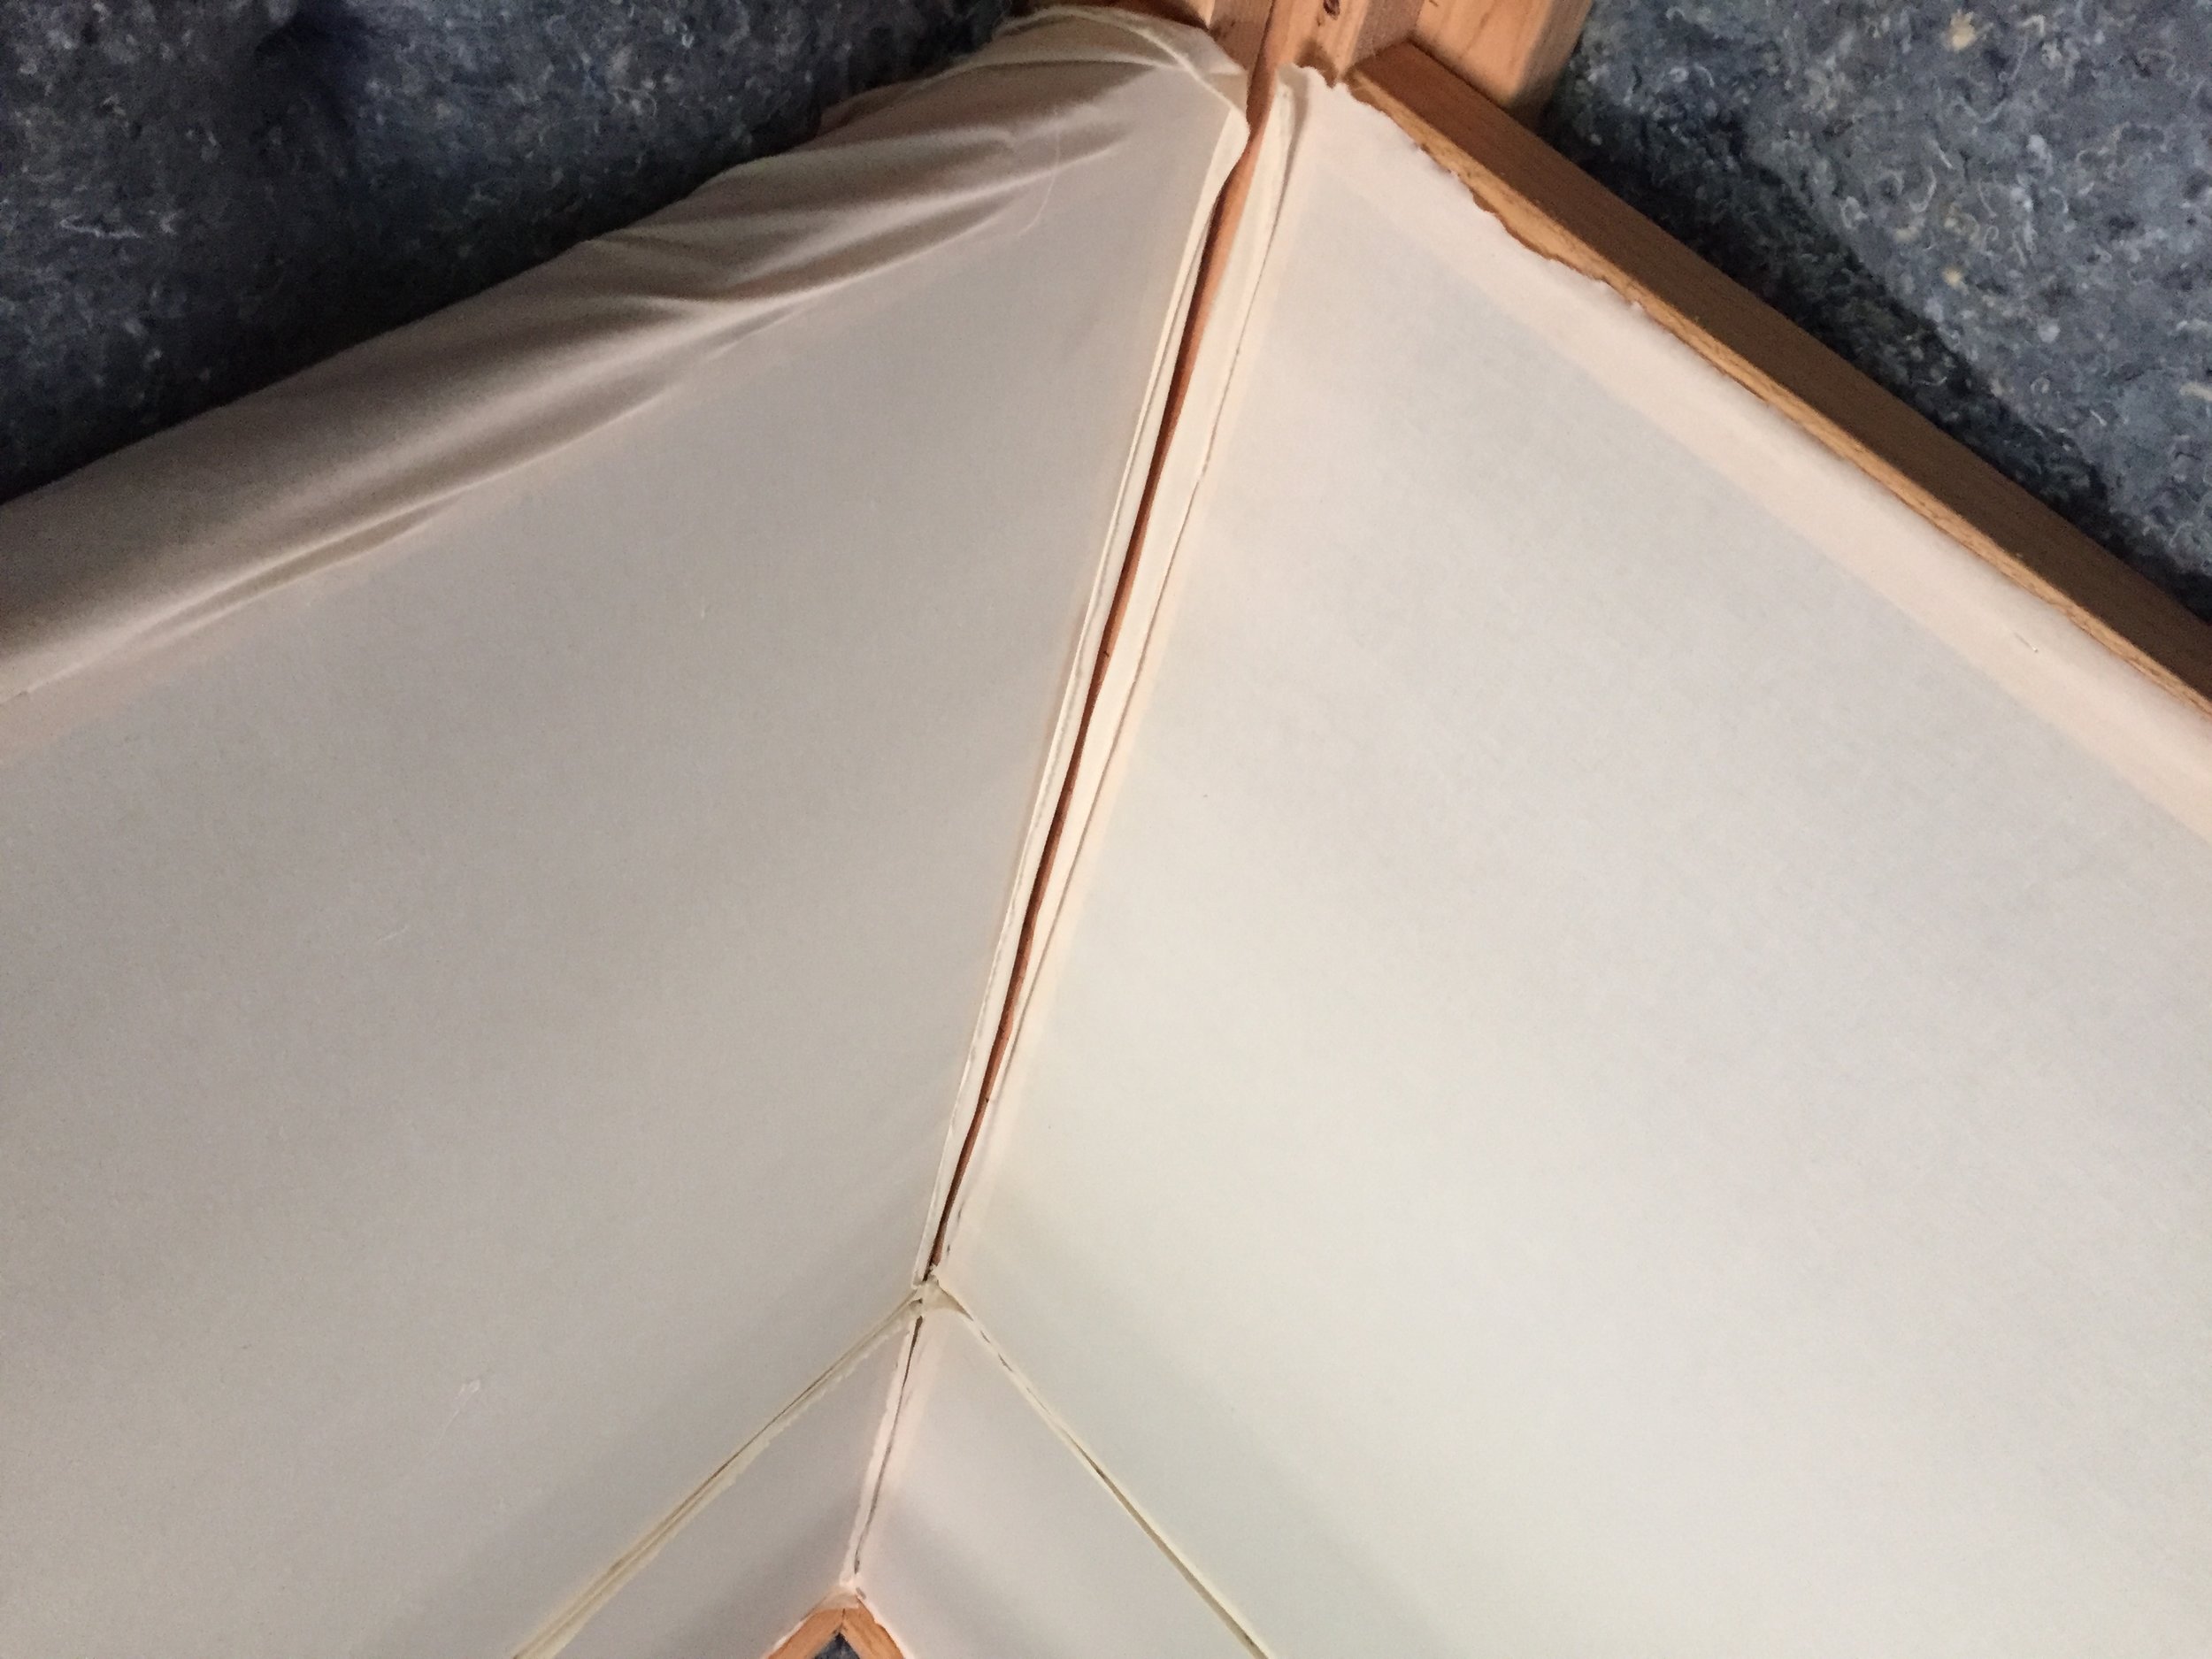
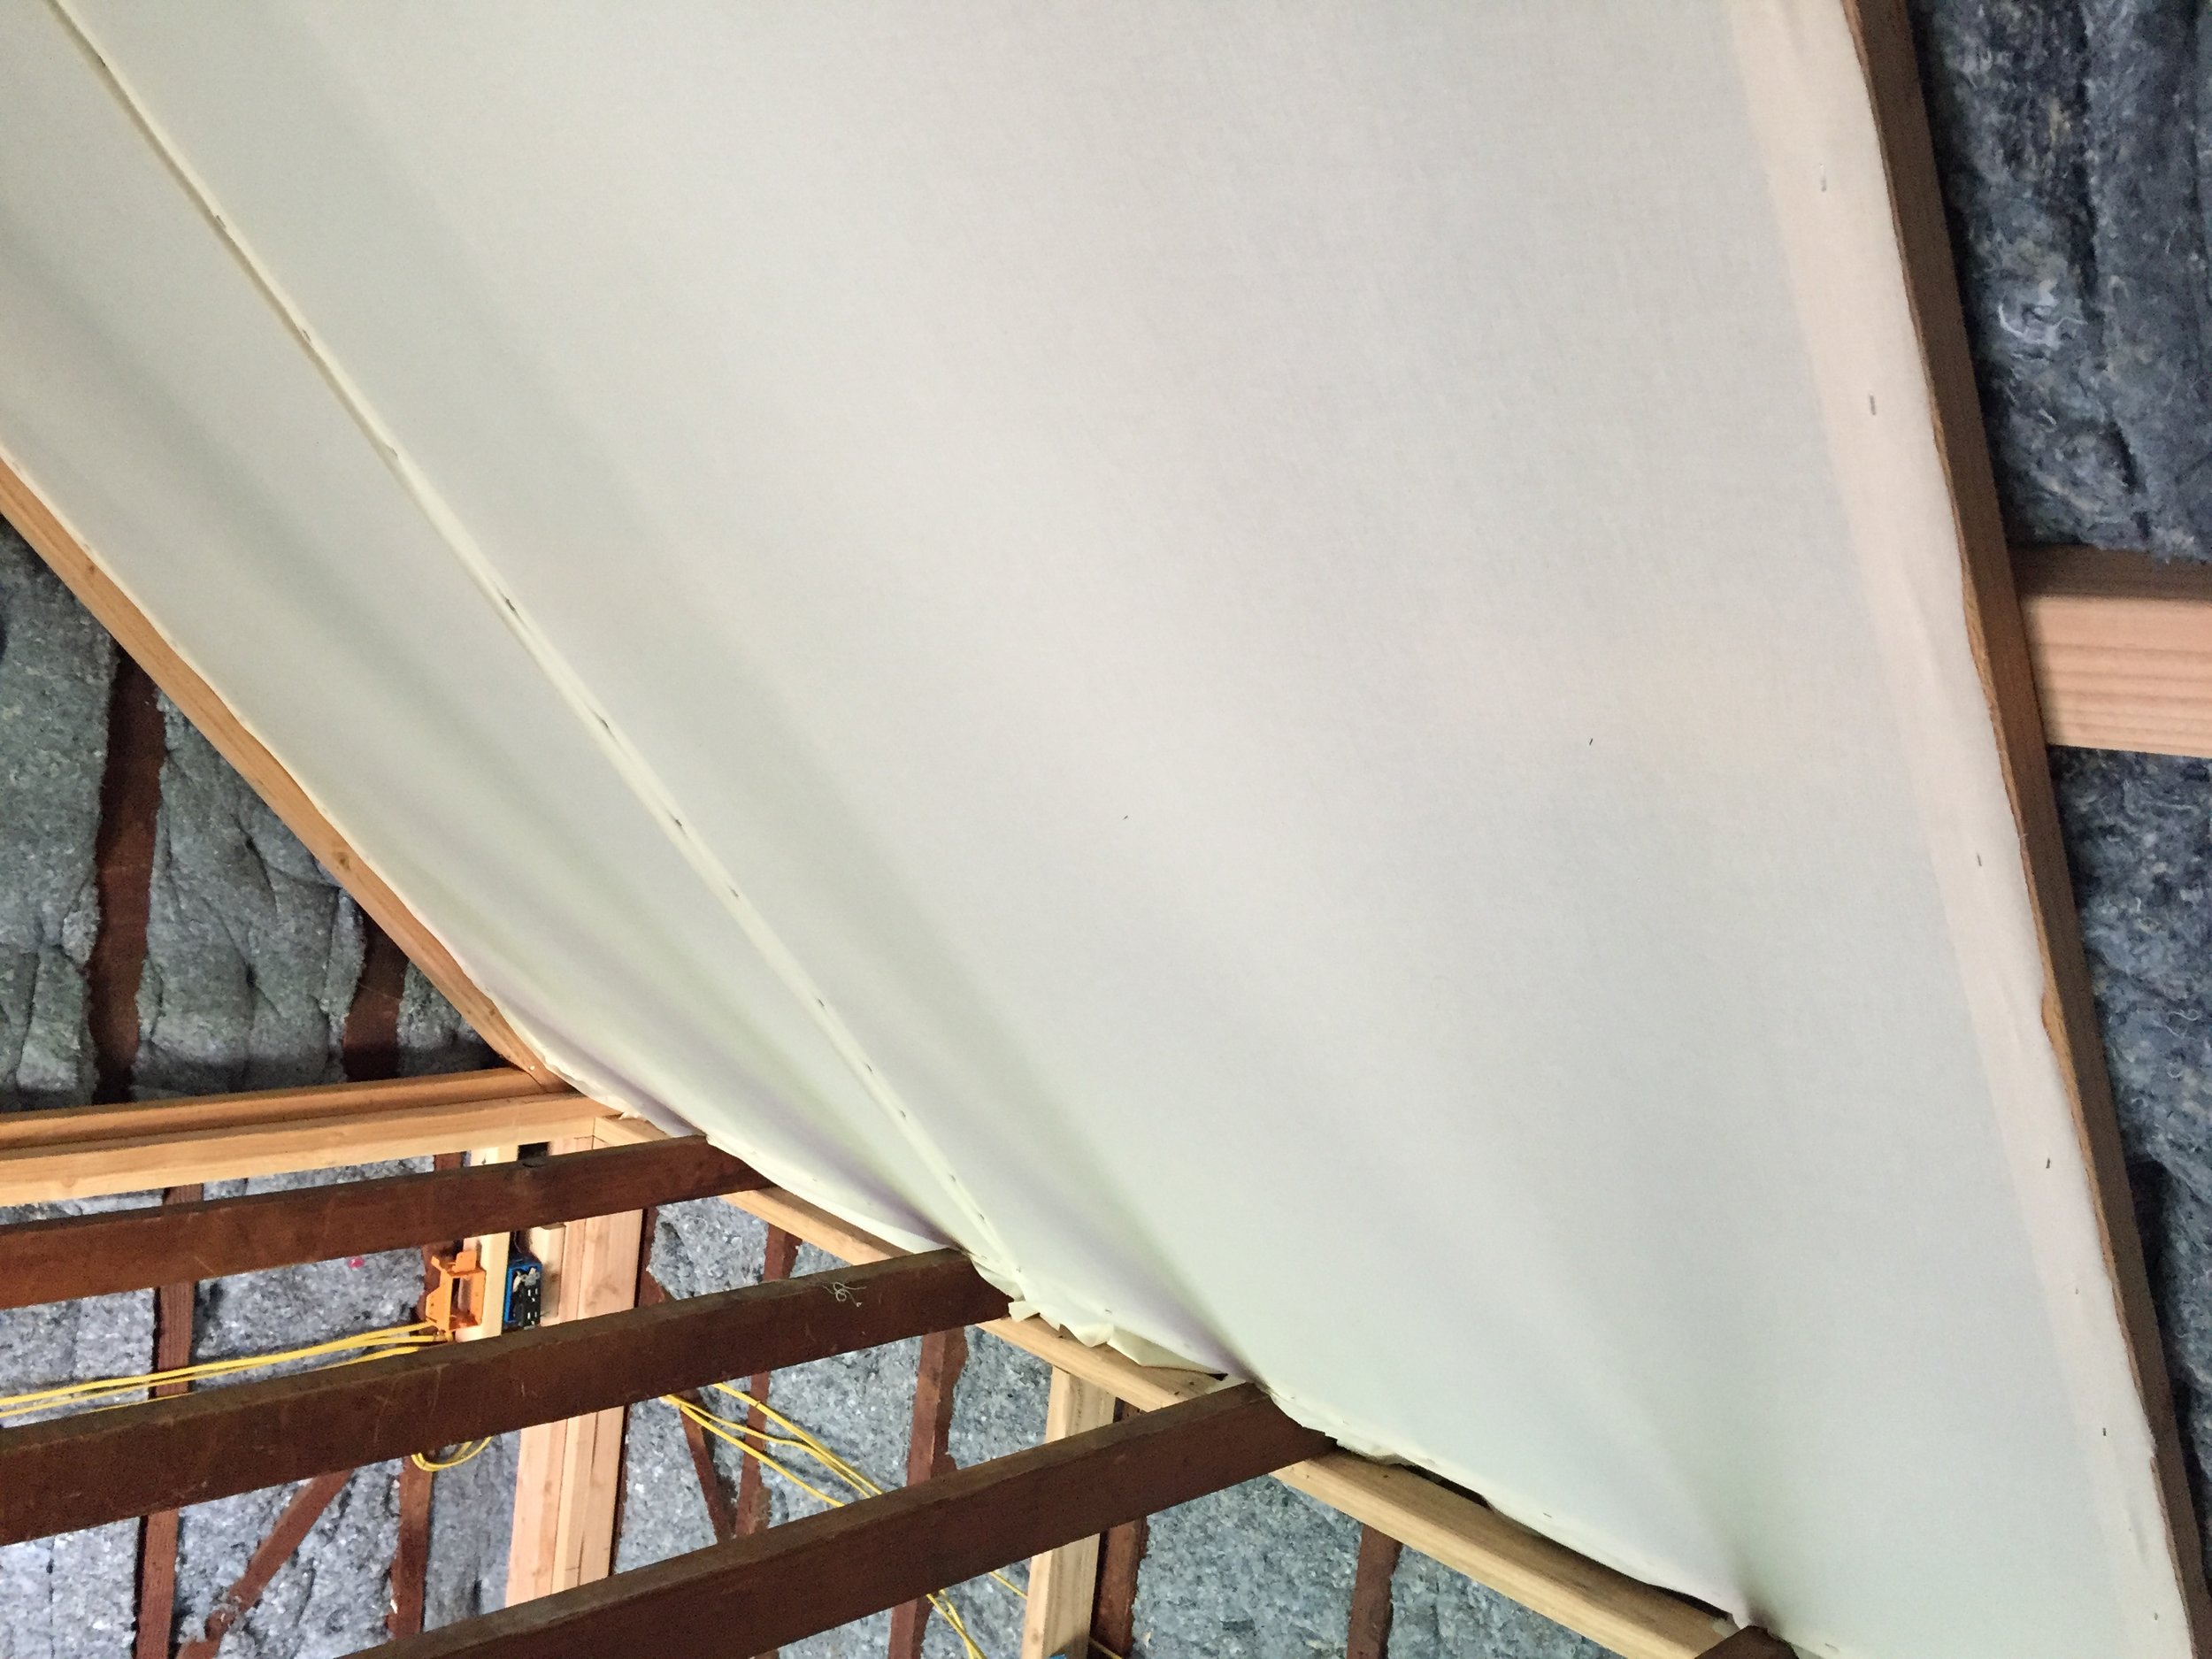
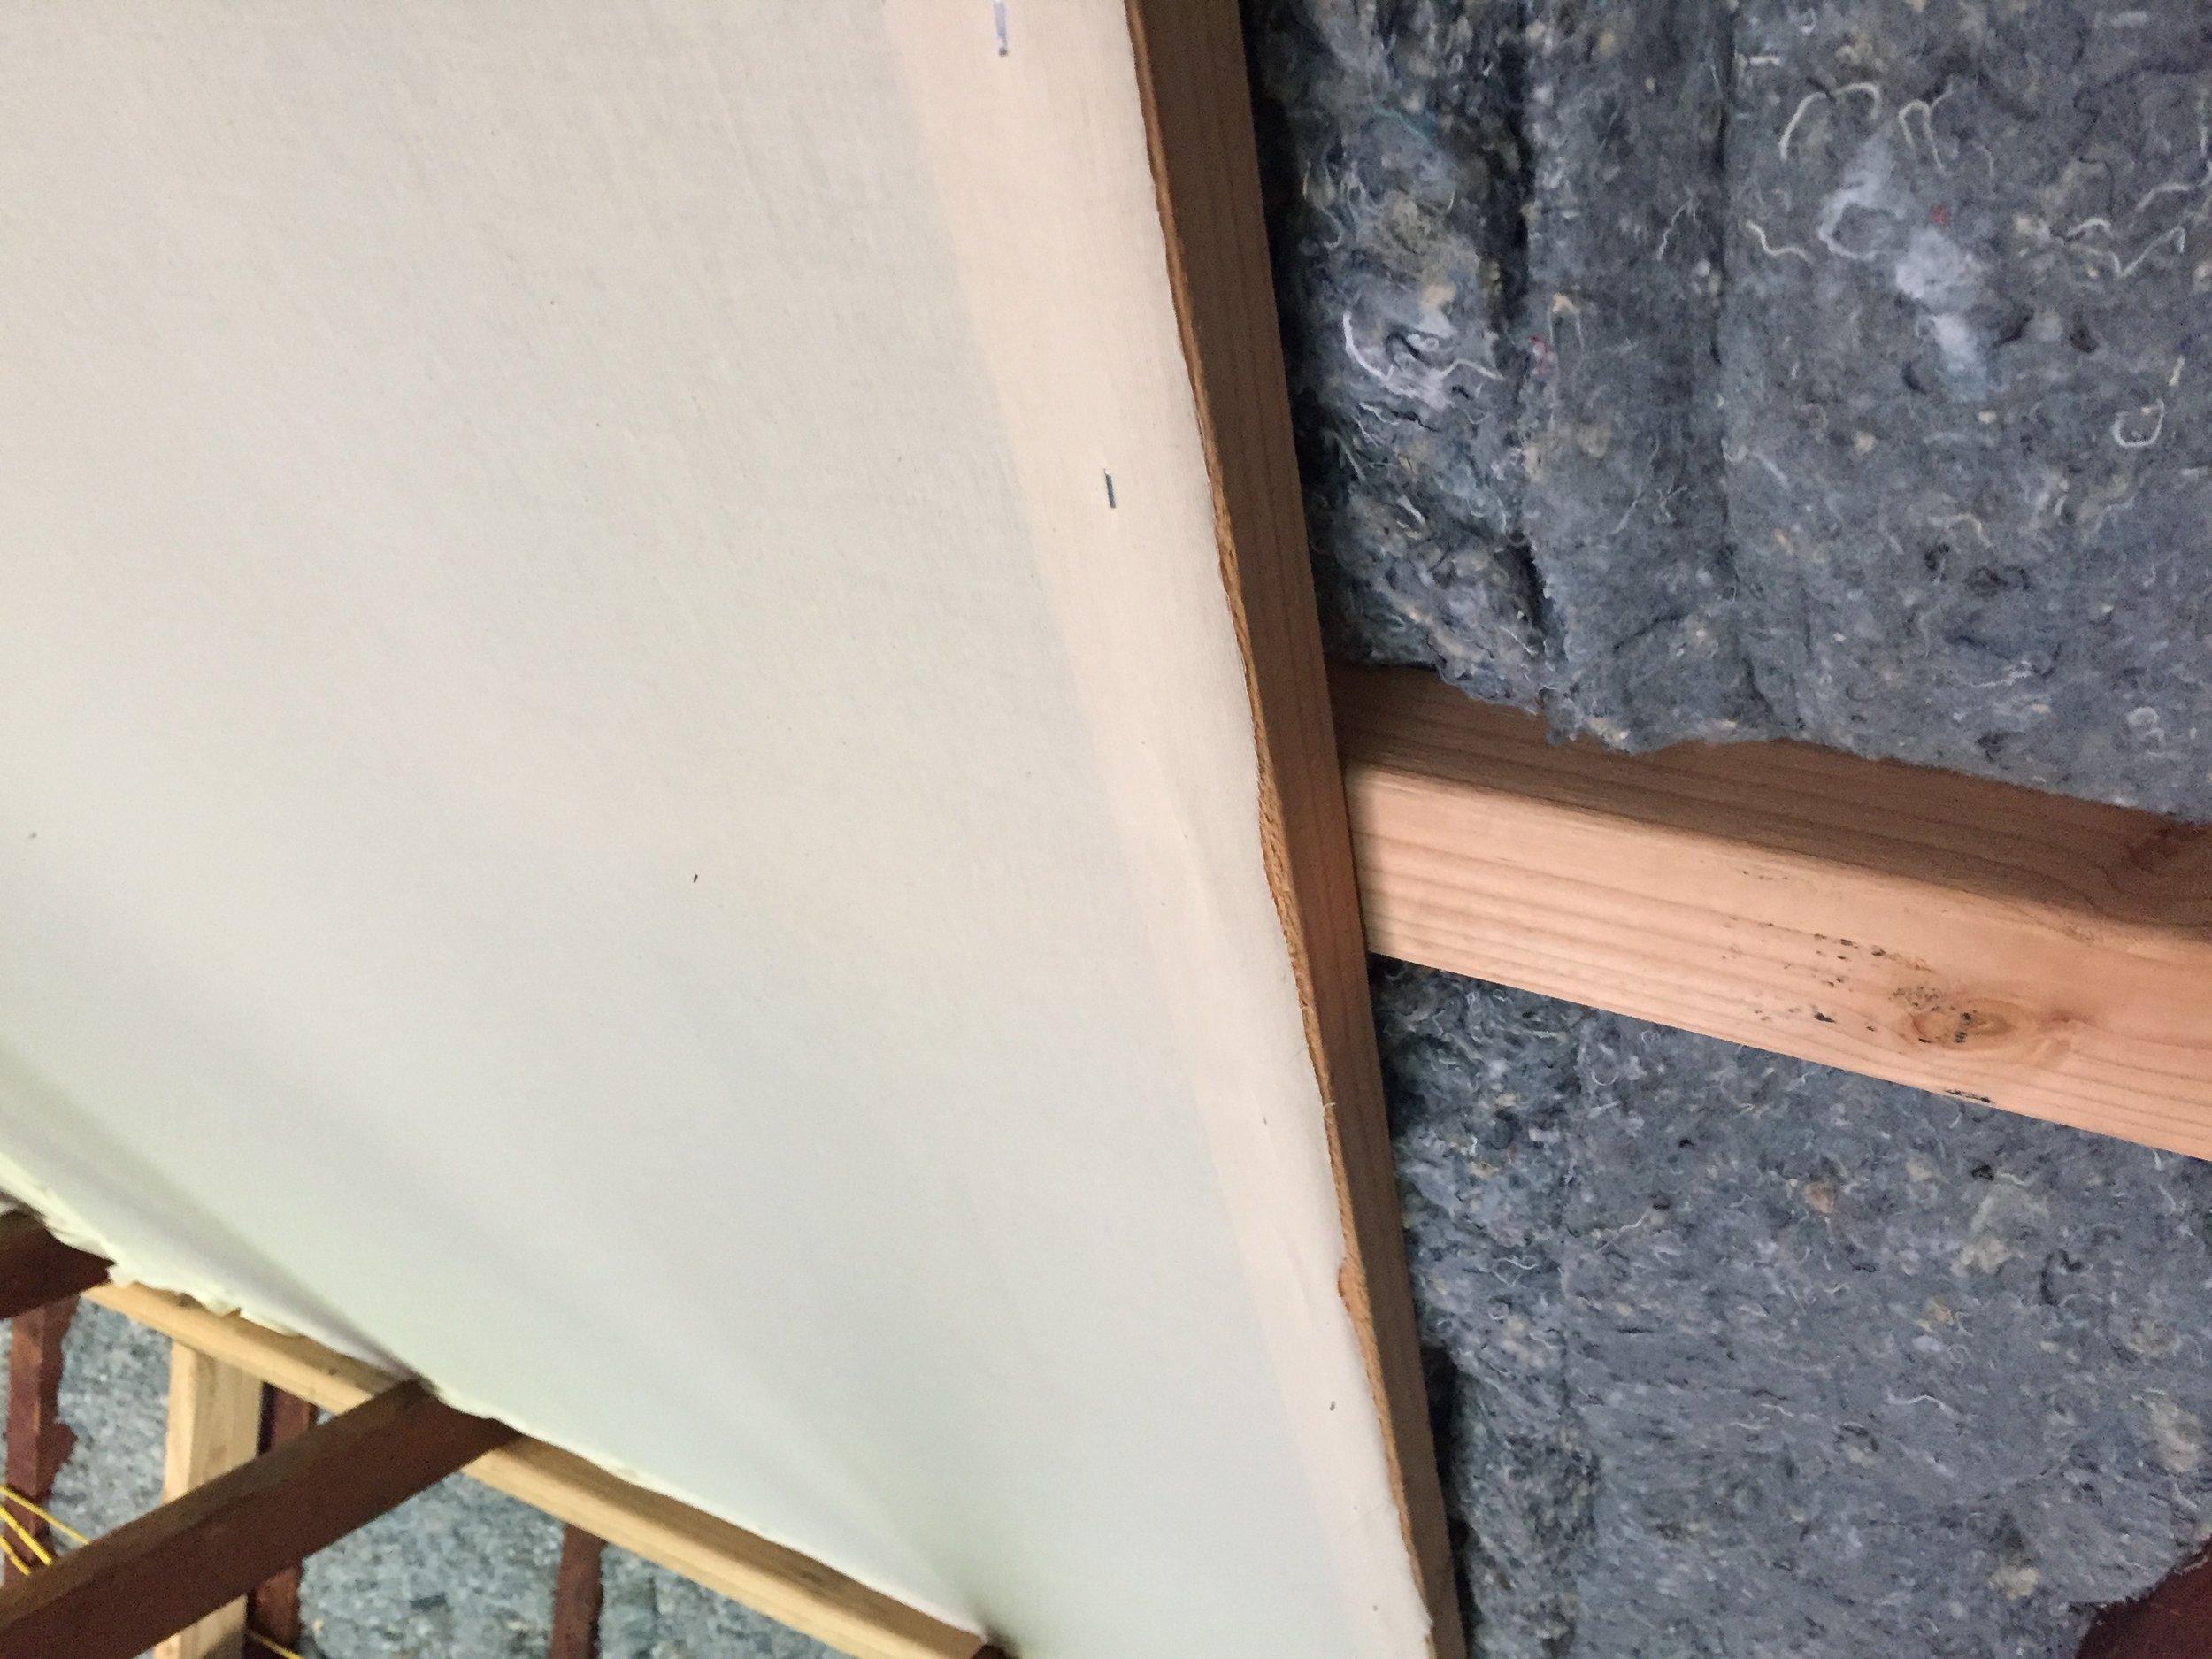
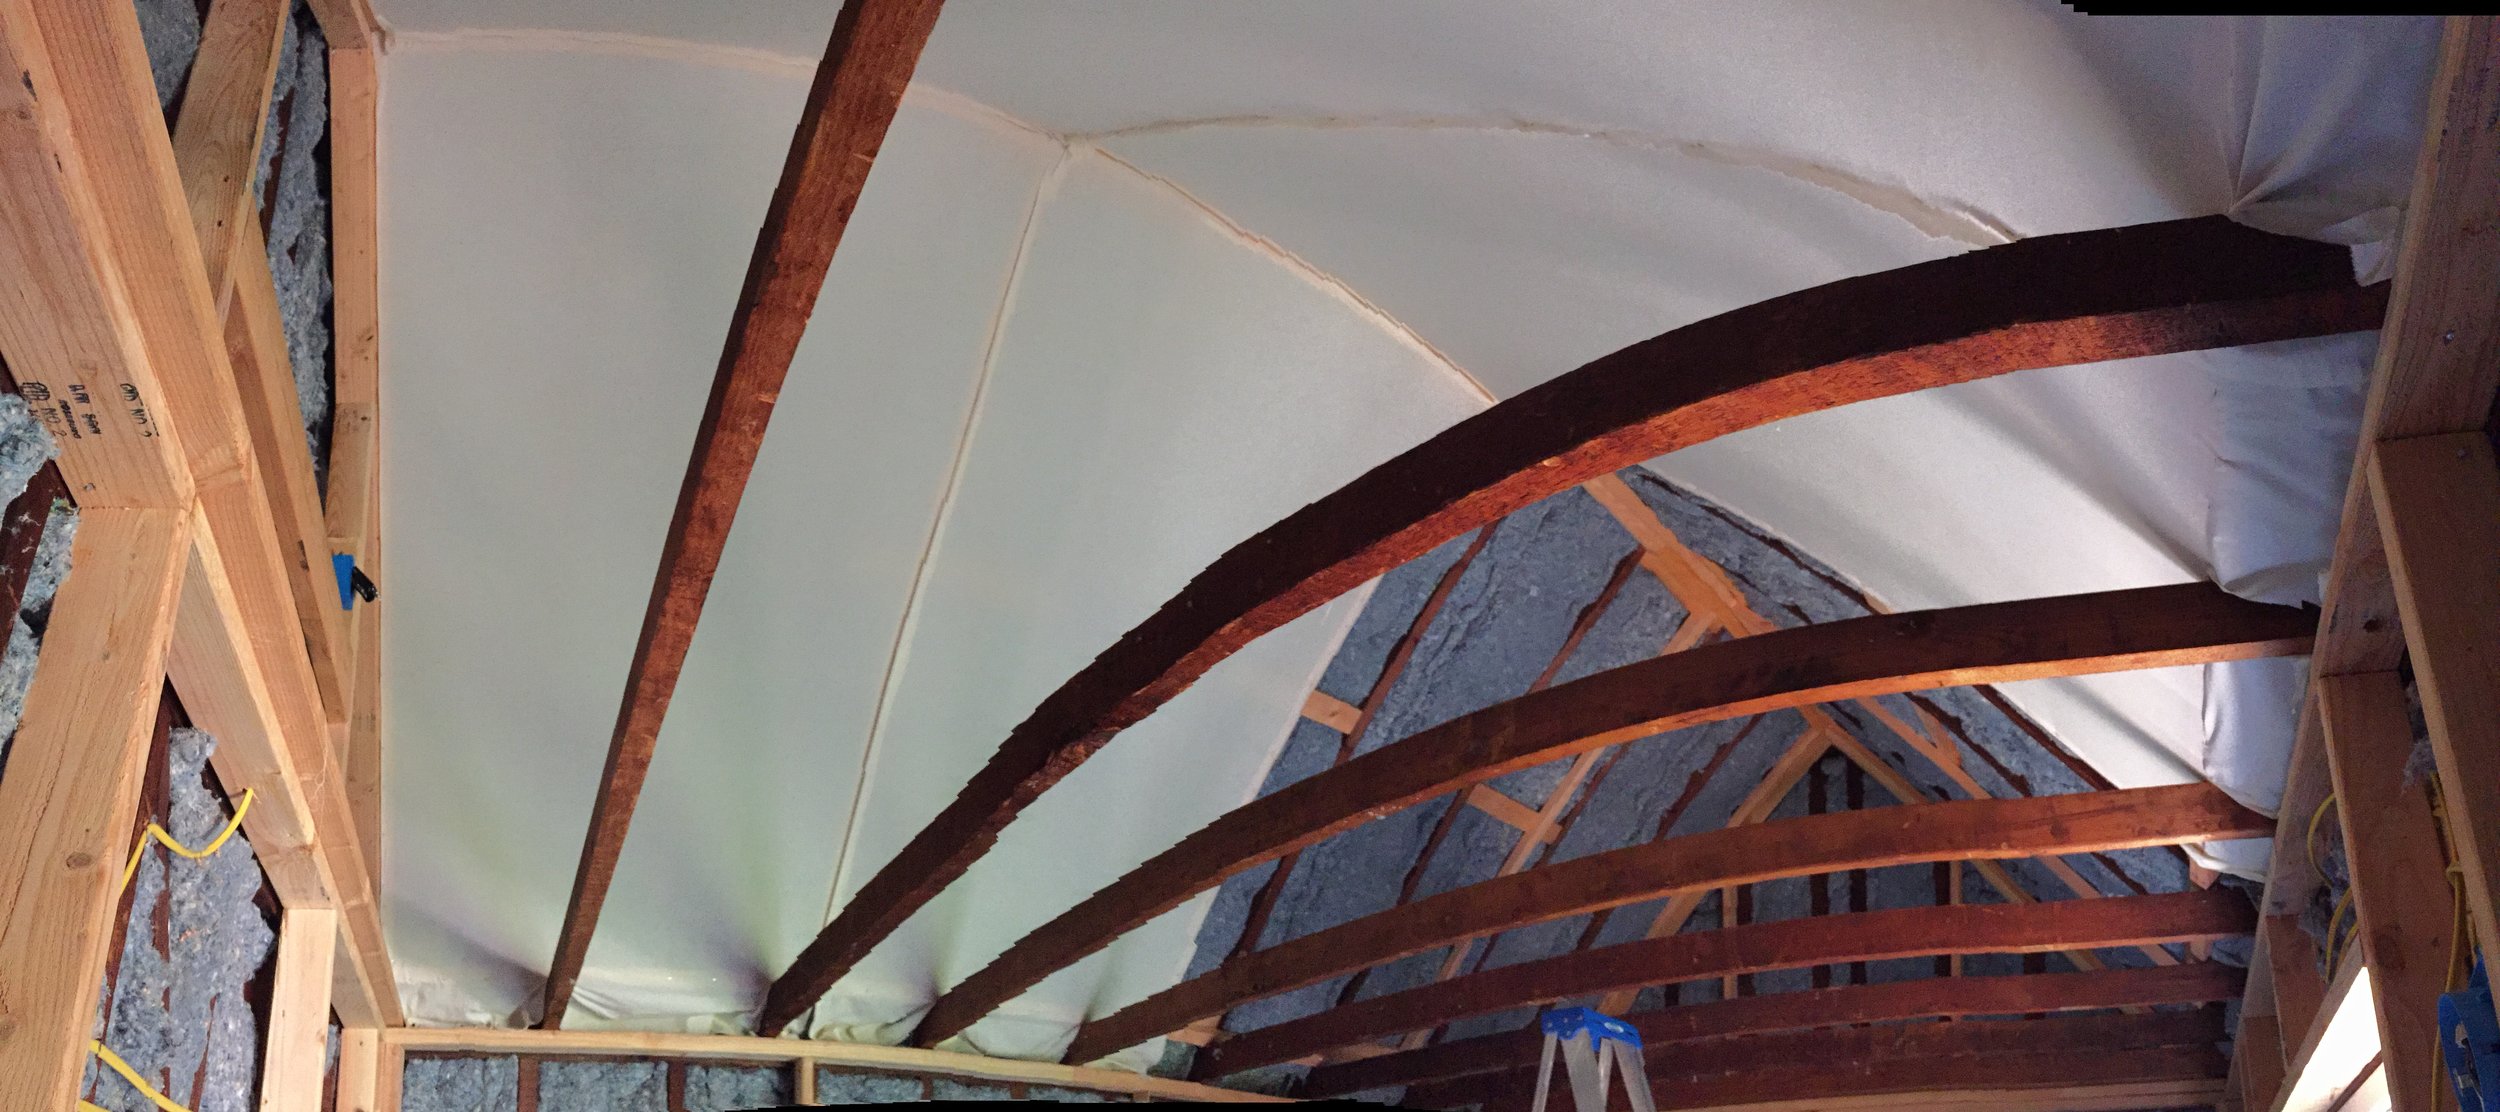
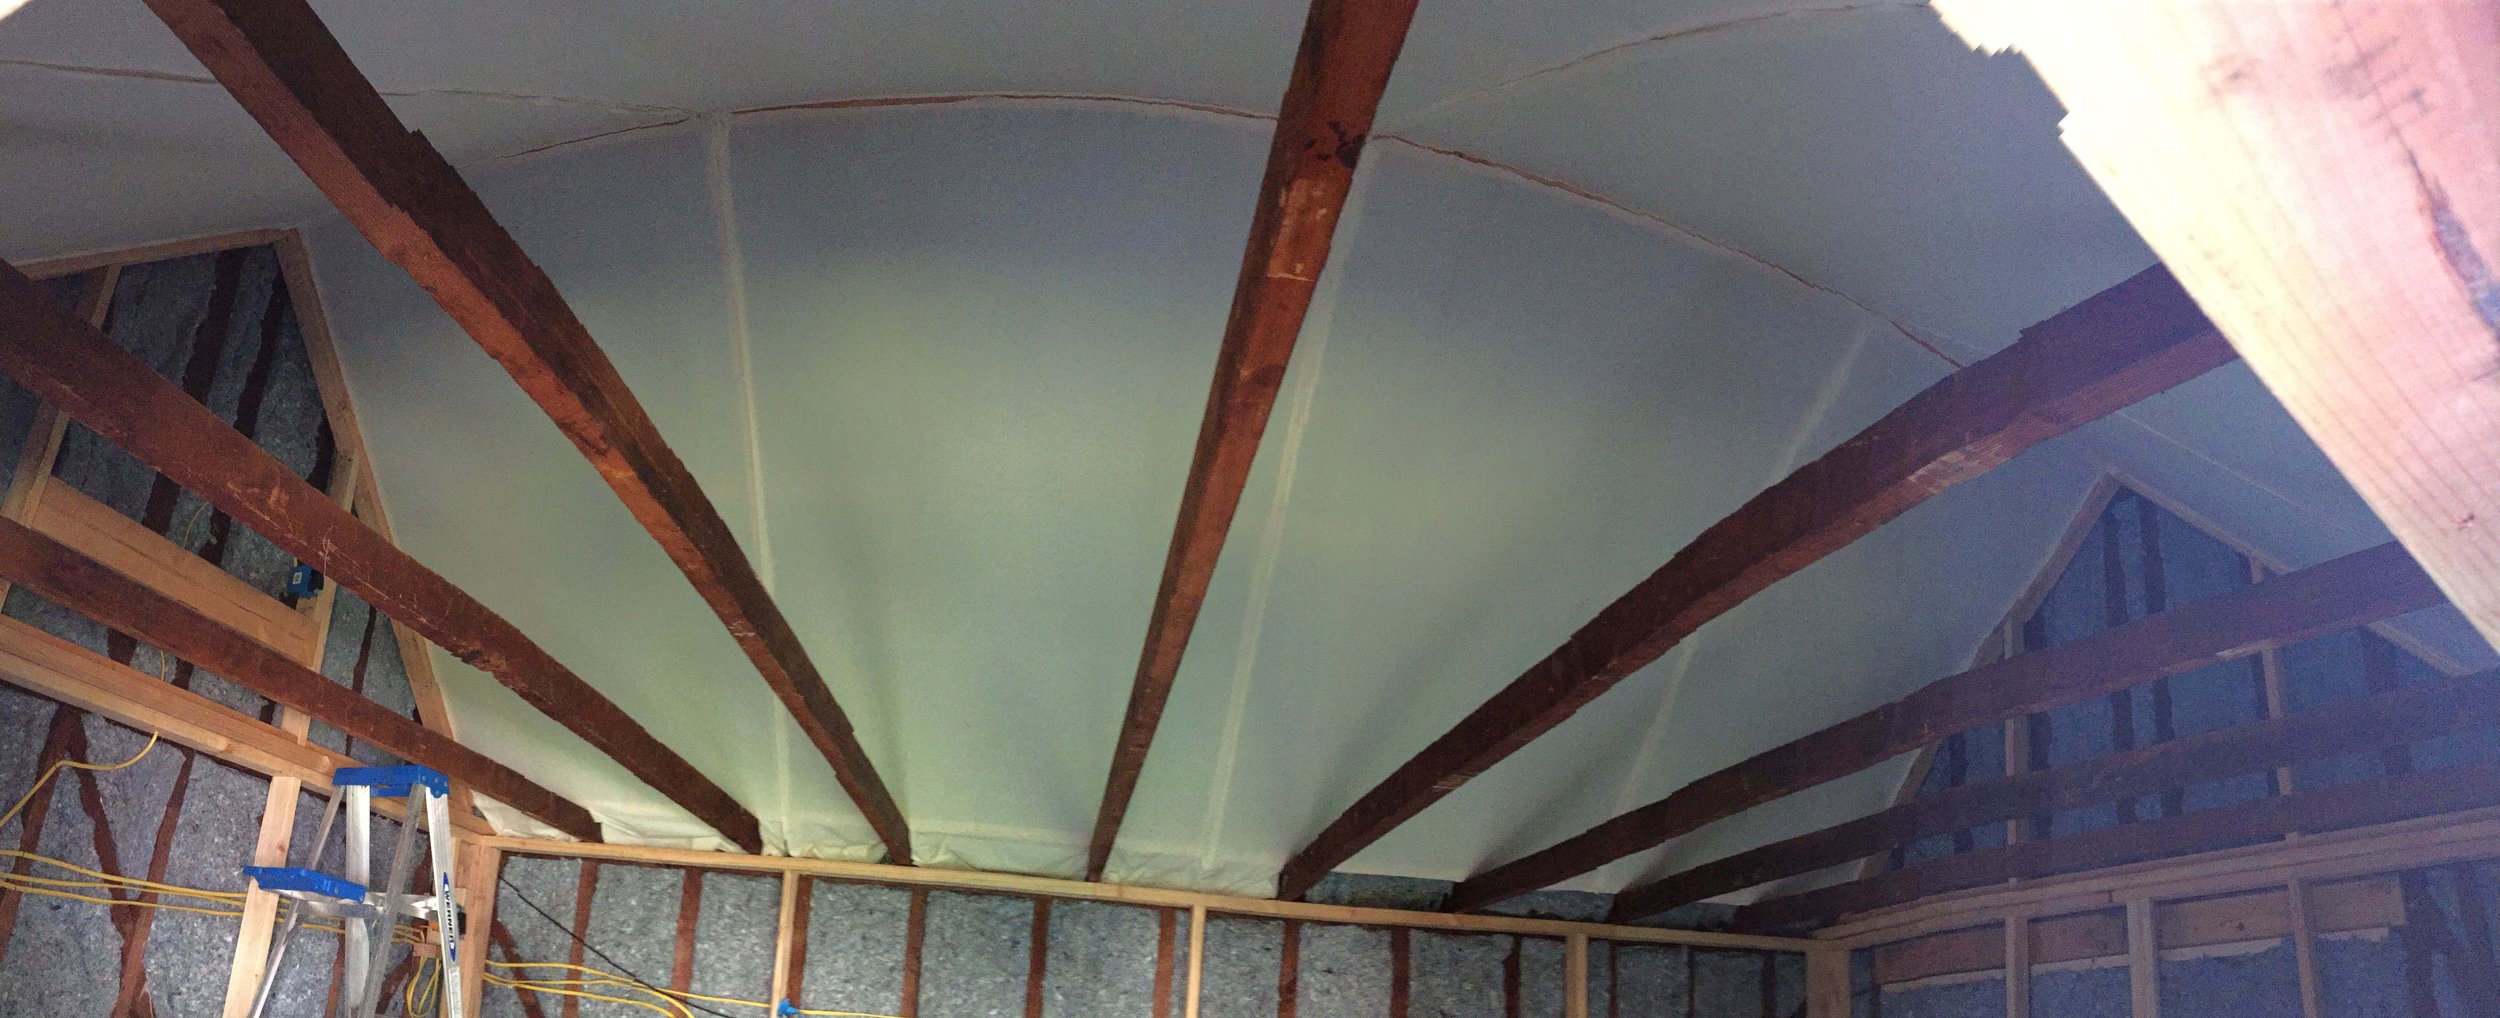
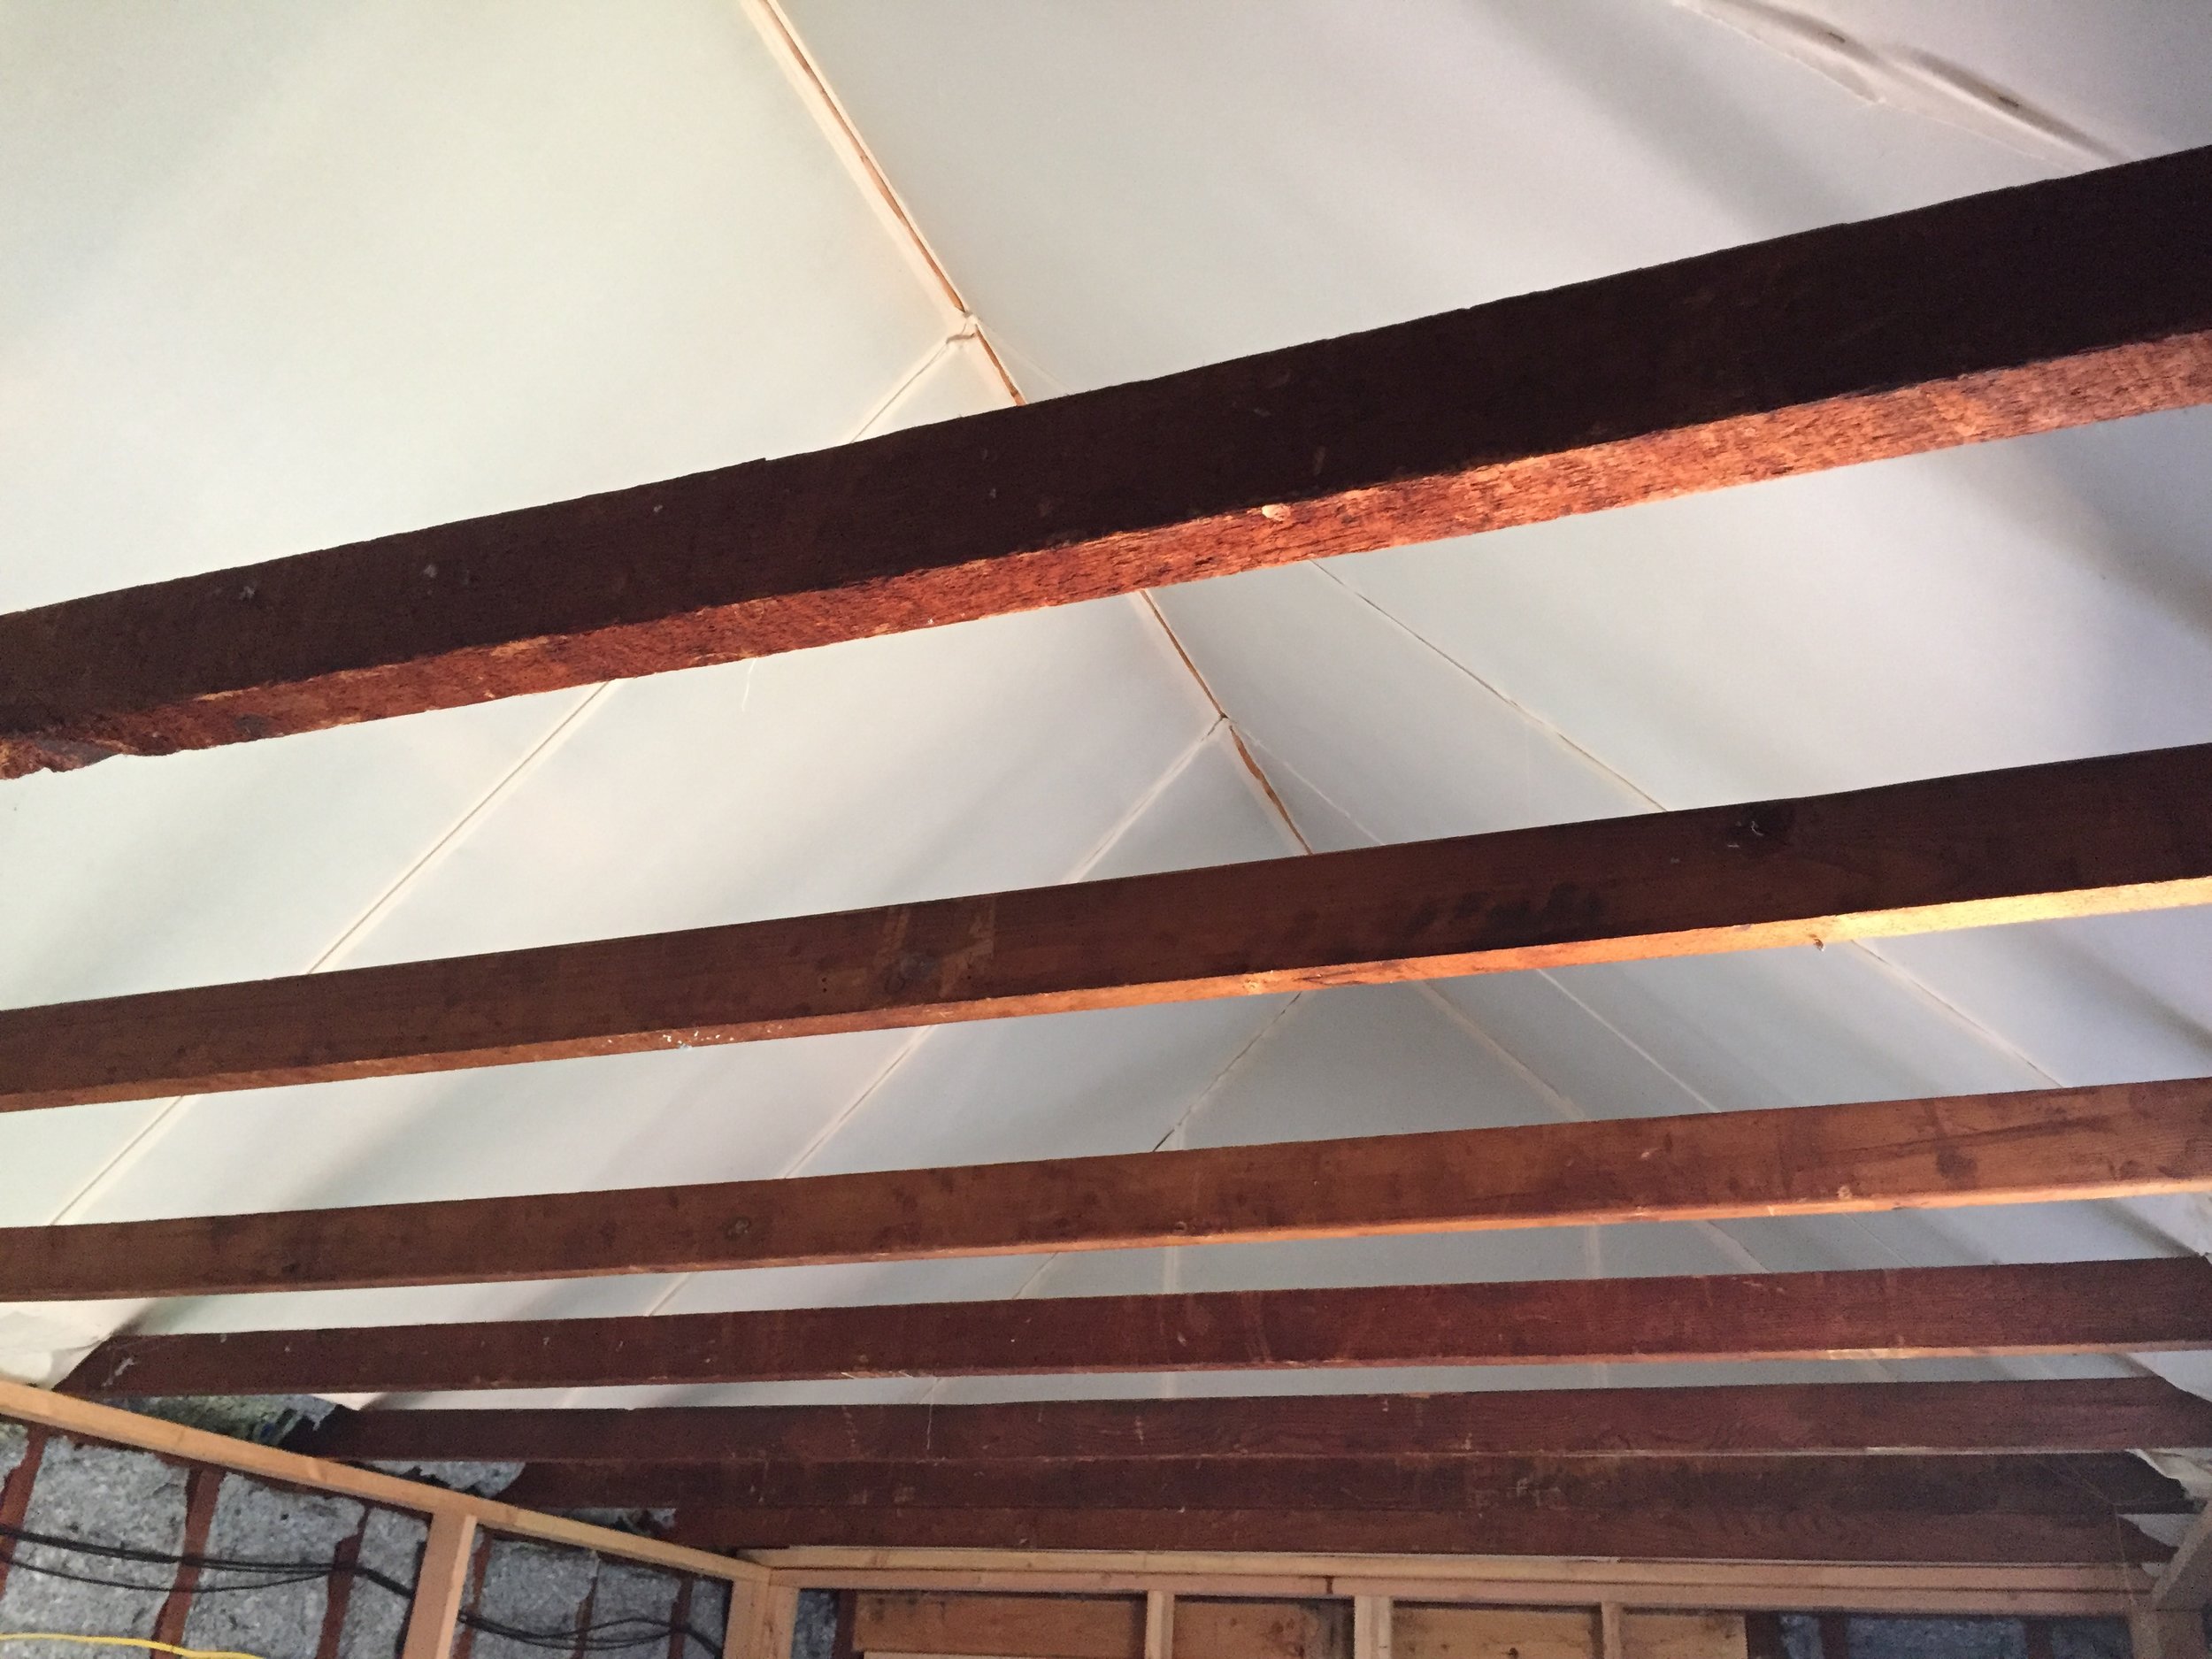
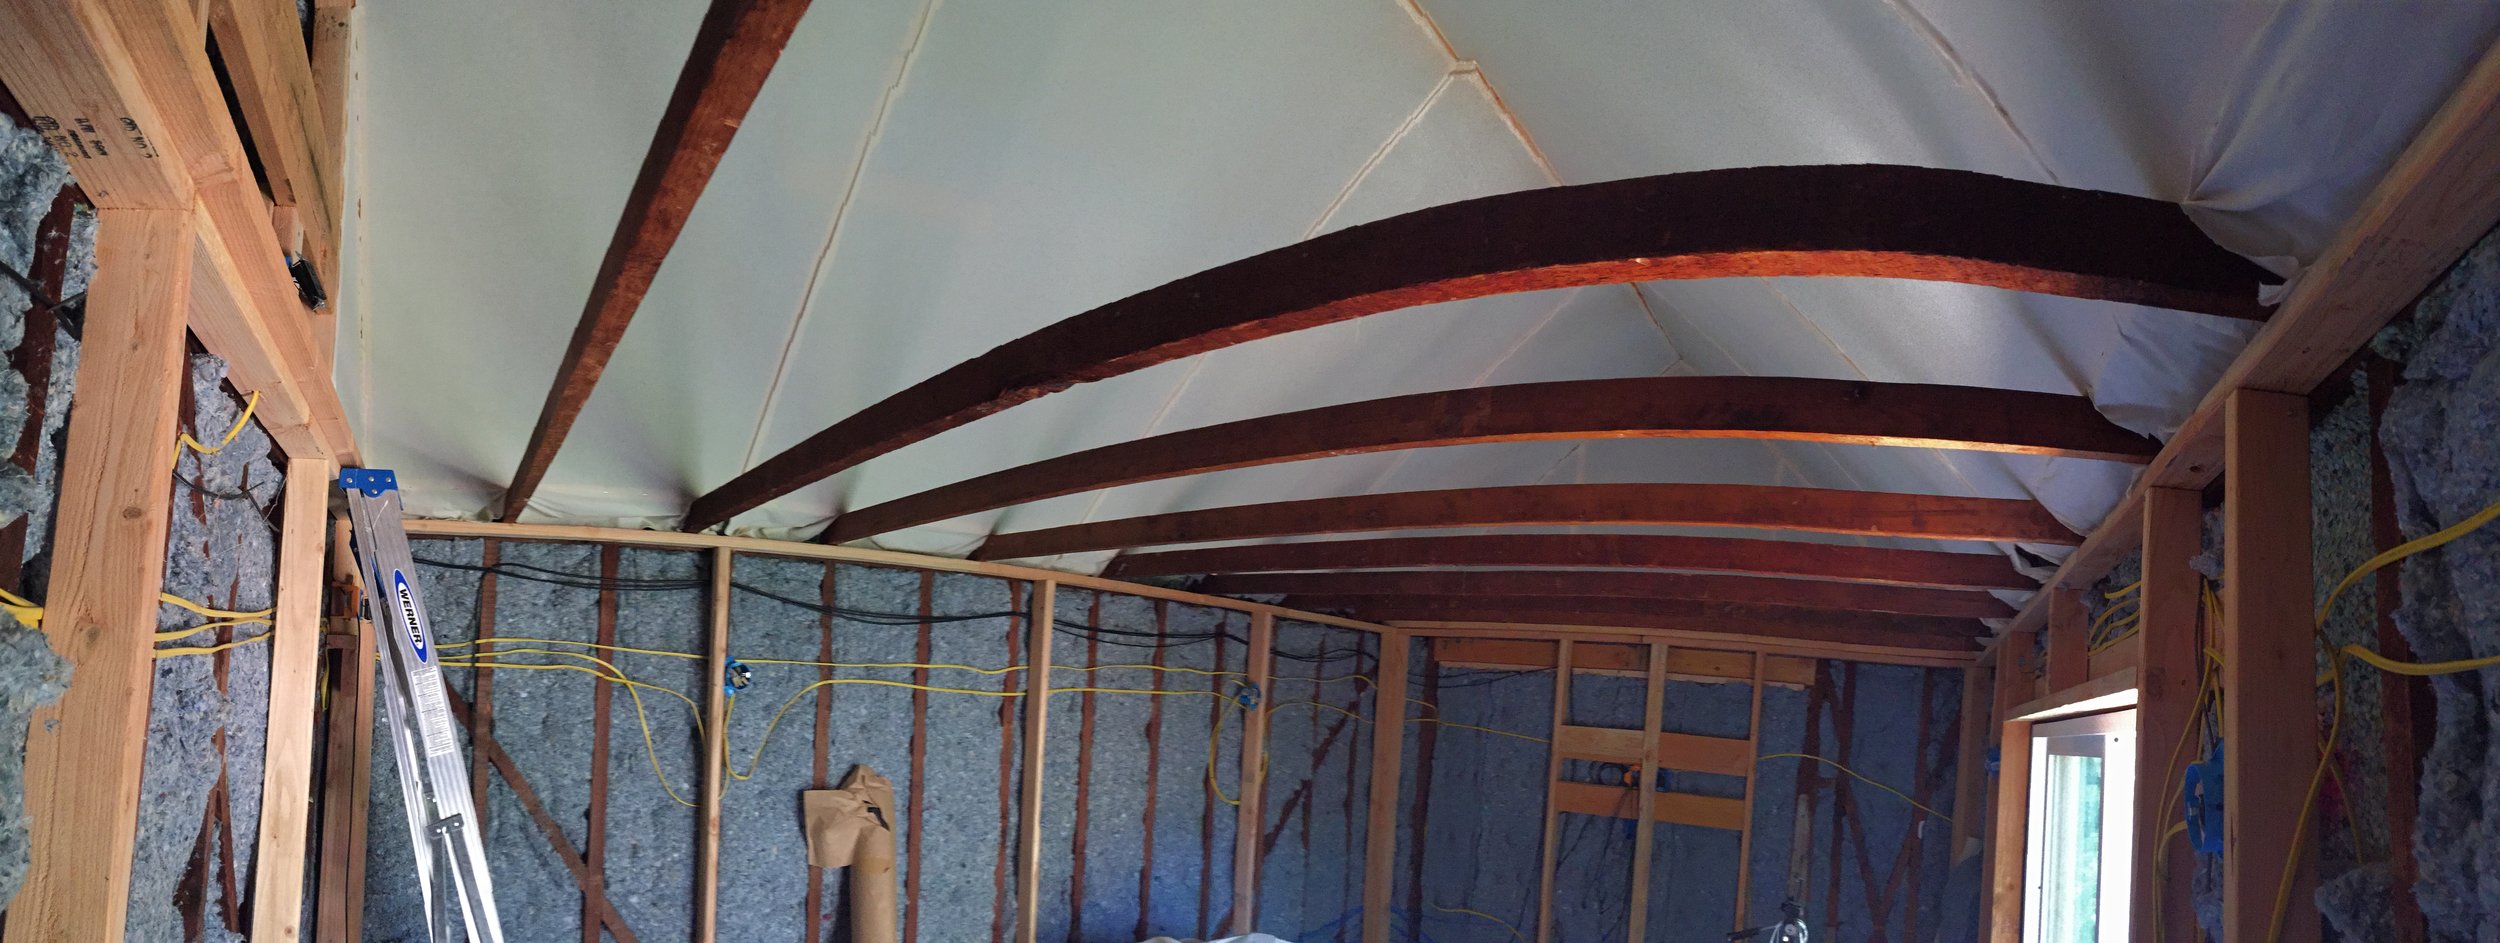
Next I covered the ceiling with carpet pad which had waterproof backing that I put against the stucco side and then I put up 6” denim insulation on top of that.

A ceiling bay where you can see the carpet pad and then the denim layer stapled (short staples, you don't want to go through the roof).


The completed ceiling
NEW FLOOR
Before I could soundproof the walls, I needed to put in the new floor.

Installing hangers for the new floor joists
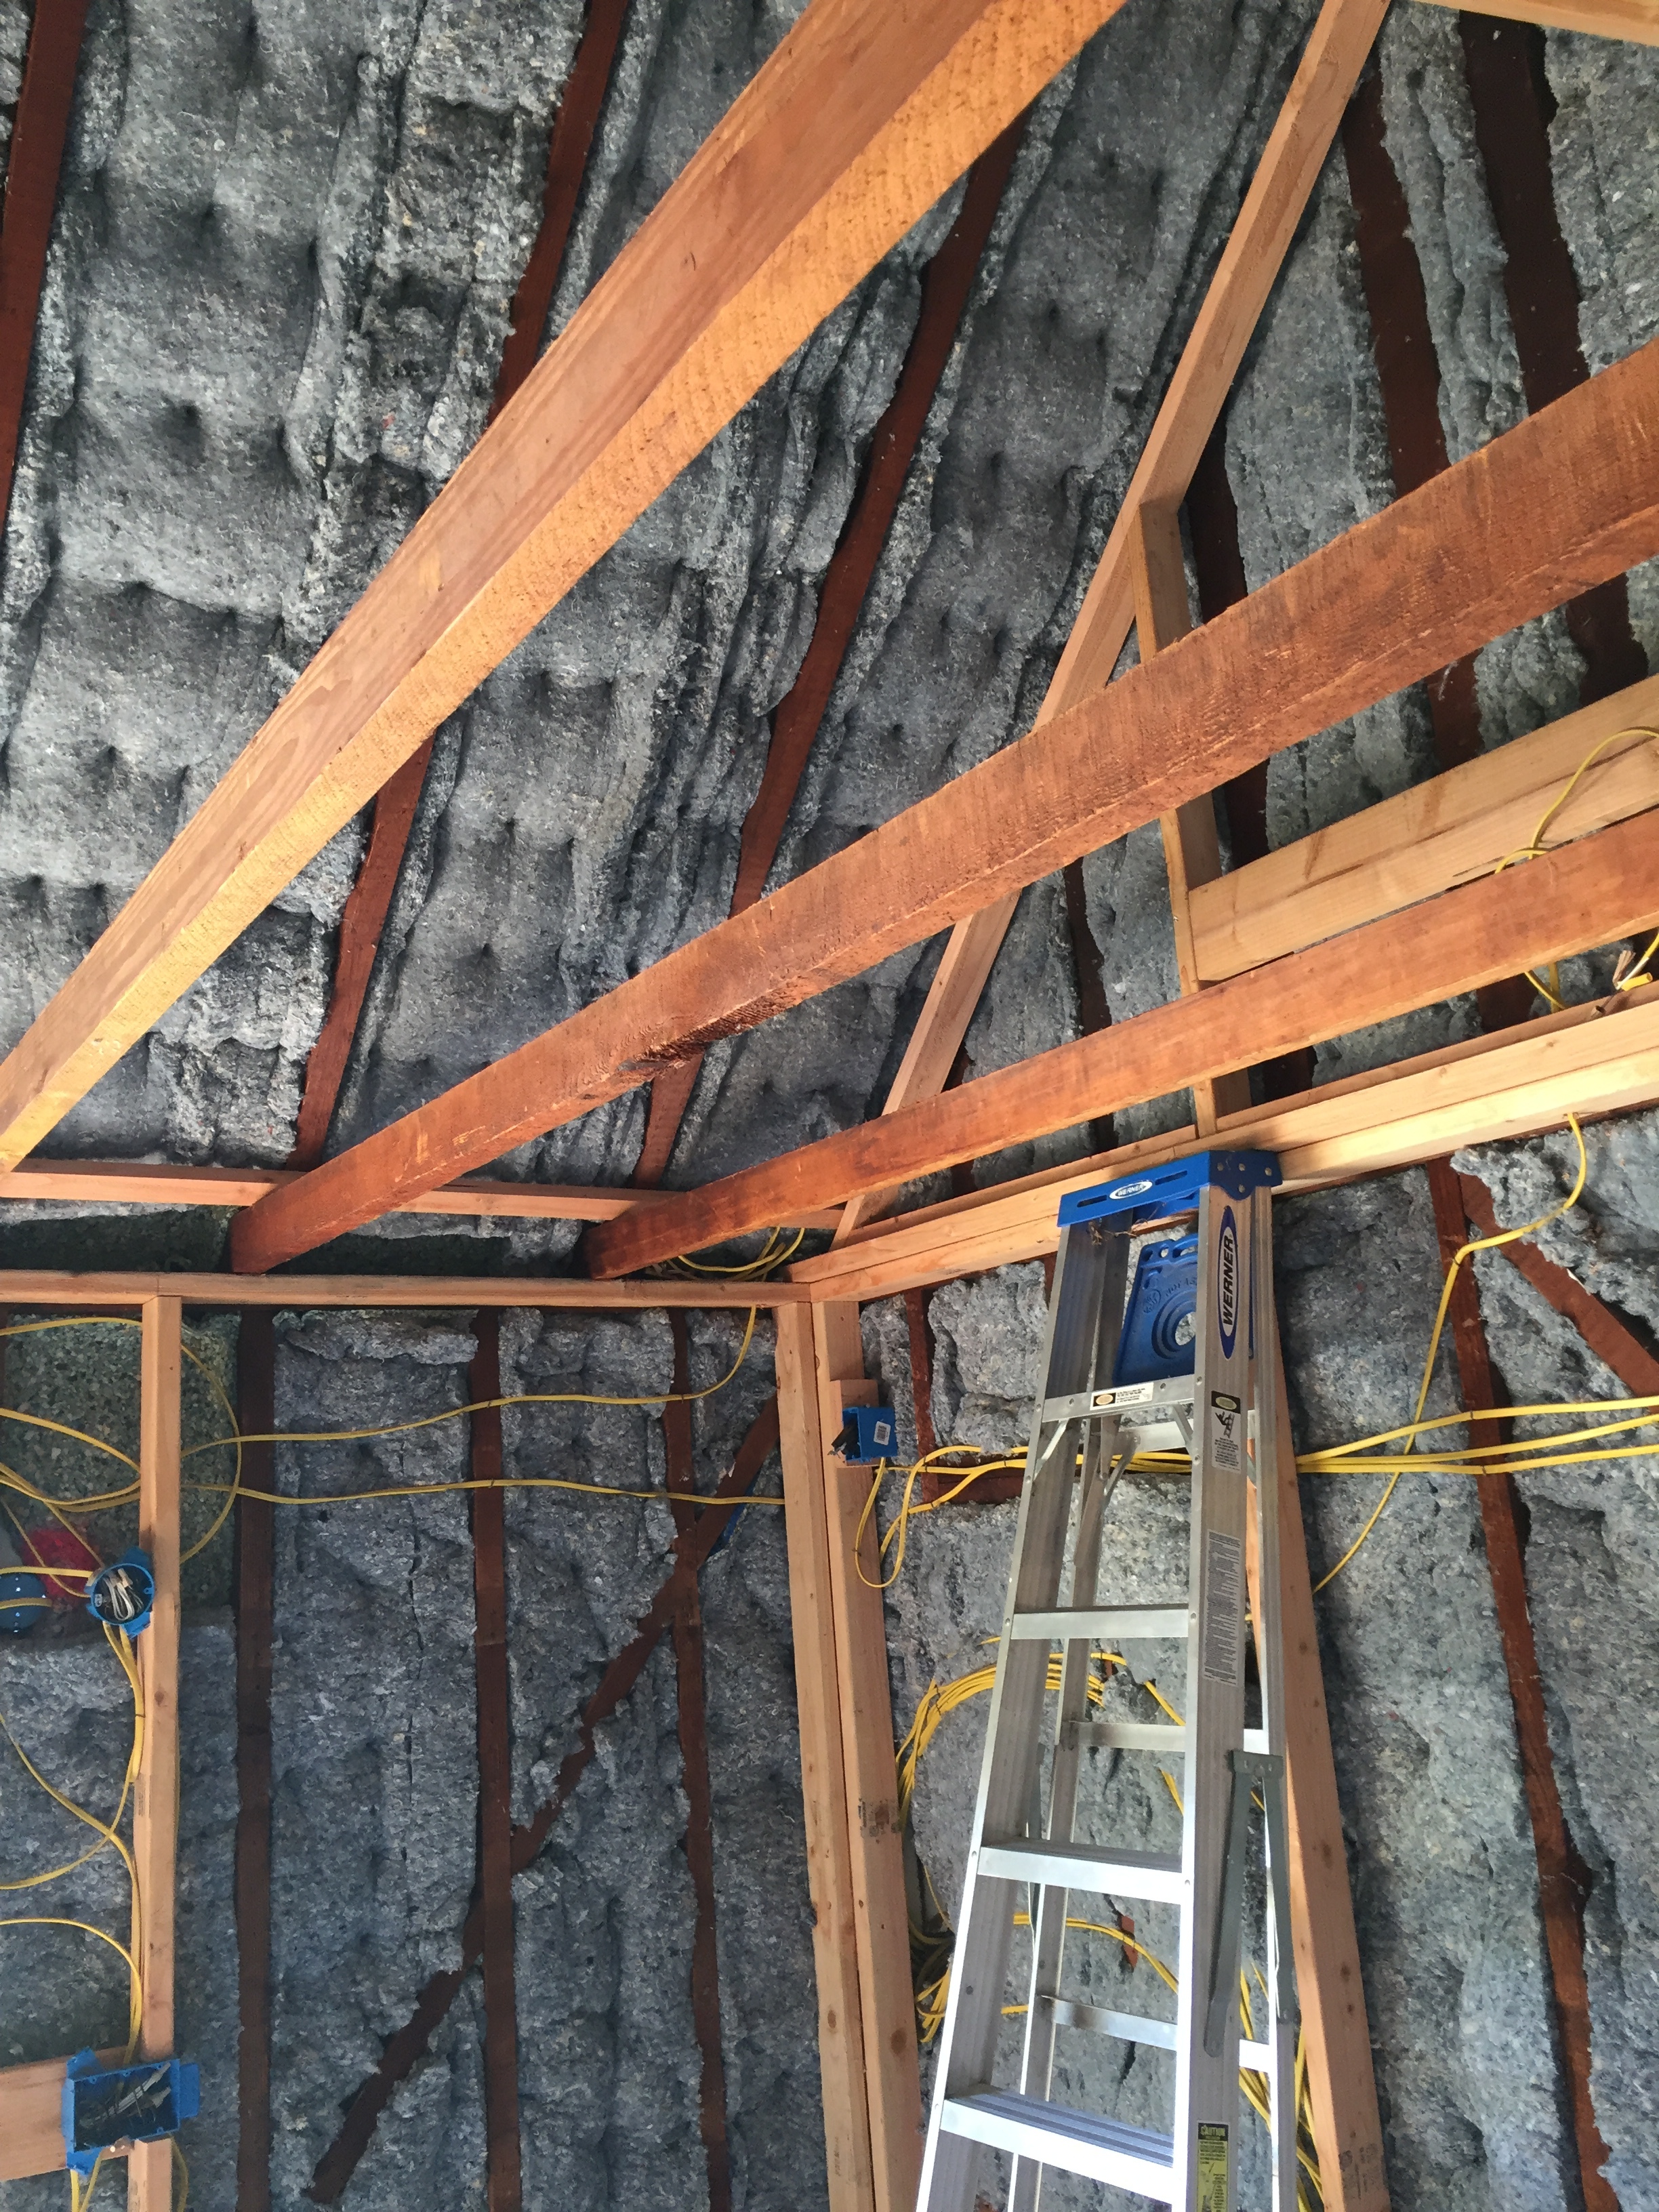
The old concrete floor was cracked, out of level and uneven and also concrete is super sound reflective, and we wanted a more absorptive surface. We also wanted all the cabling run under the floor so that it came up under where the equipment would be without it having to go across the floor from the walls. The wood across the ceiling was only 8’6” above the floor so we had to keep this as minimal as possible and didn’t want to eat more than 7” of space.

So I framed up a 2x6 floor and ensured that it was perfectly level. I also held it about an inch above the concrete floor to help prevent it from rattling. I used earthquake hangers at the ends to make it easier to install by myself and stronger.
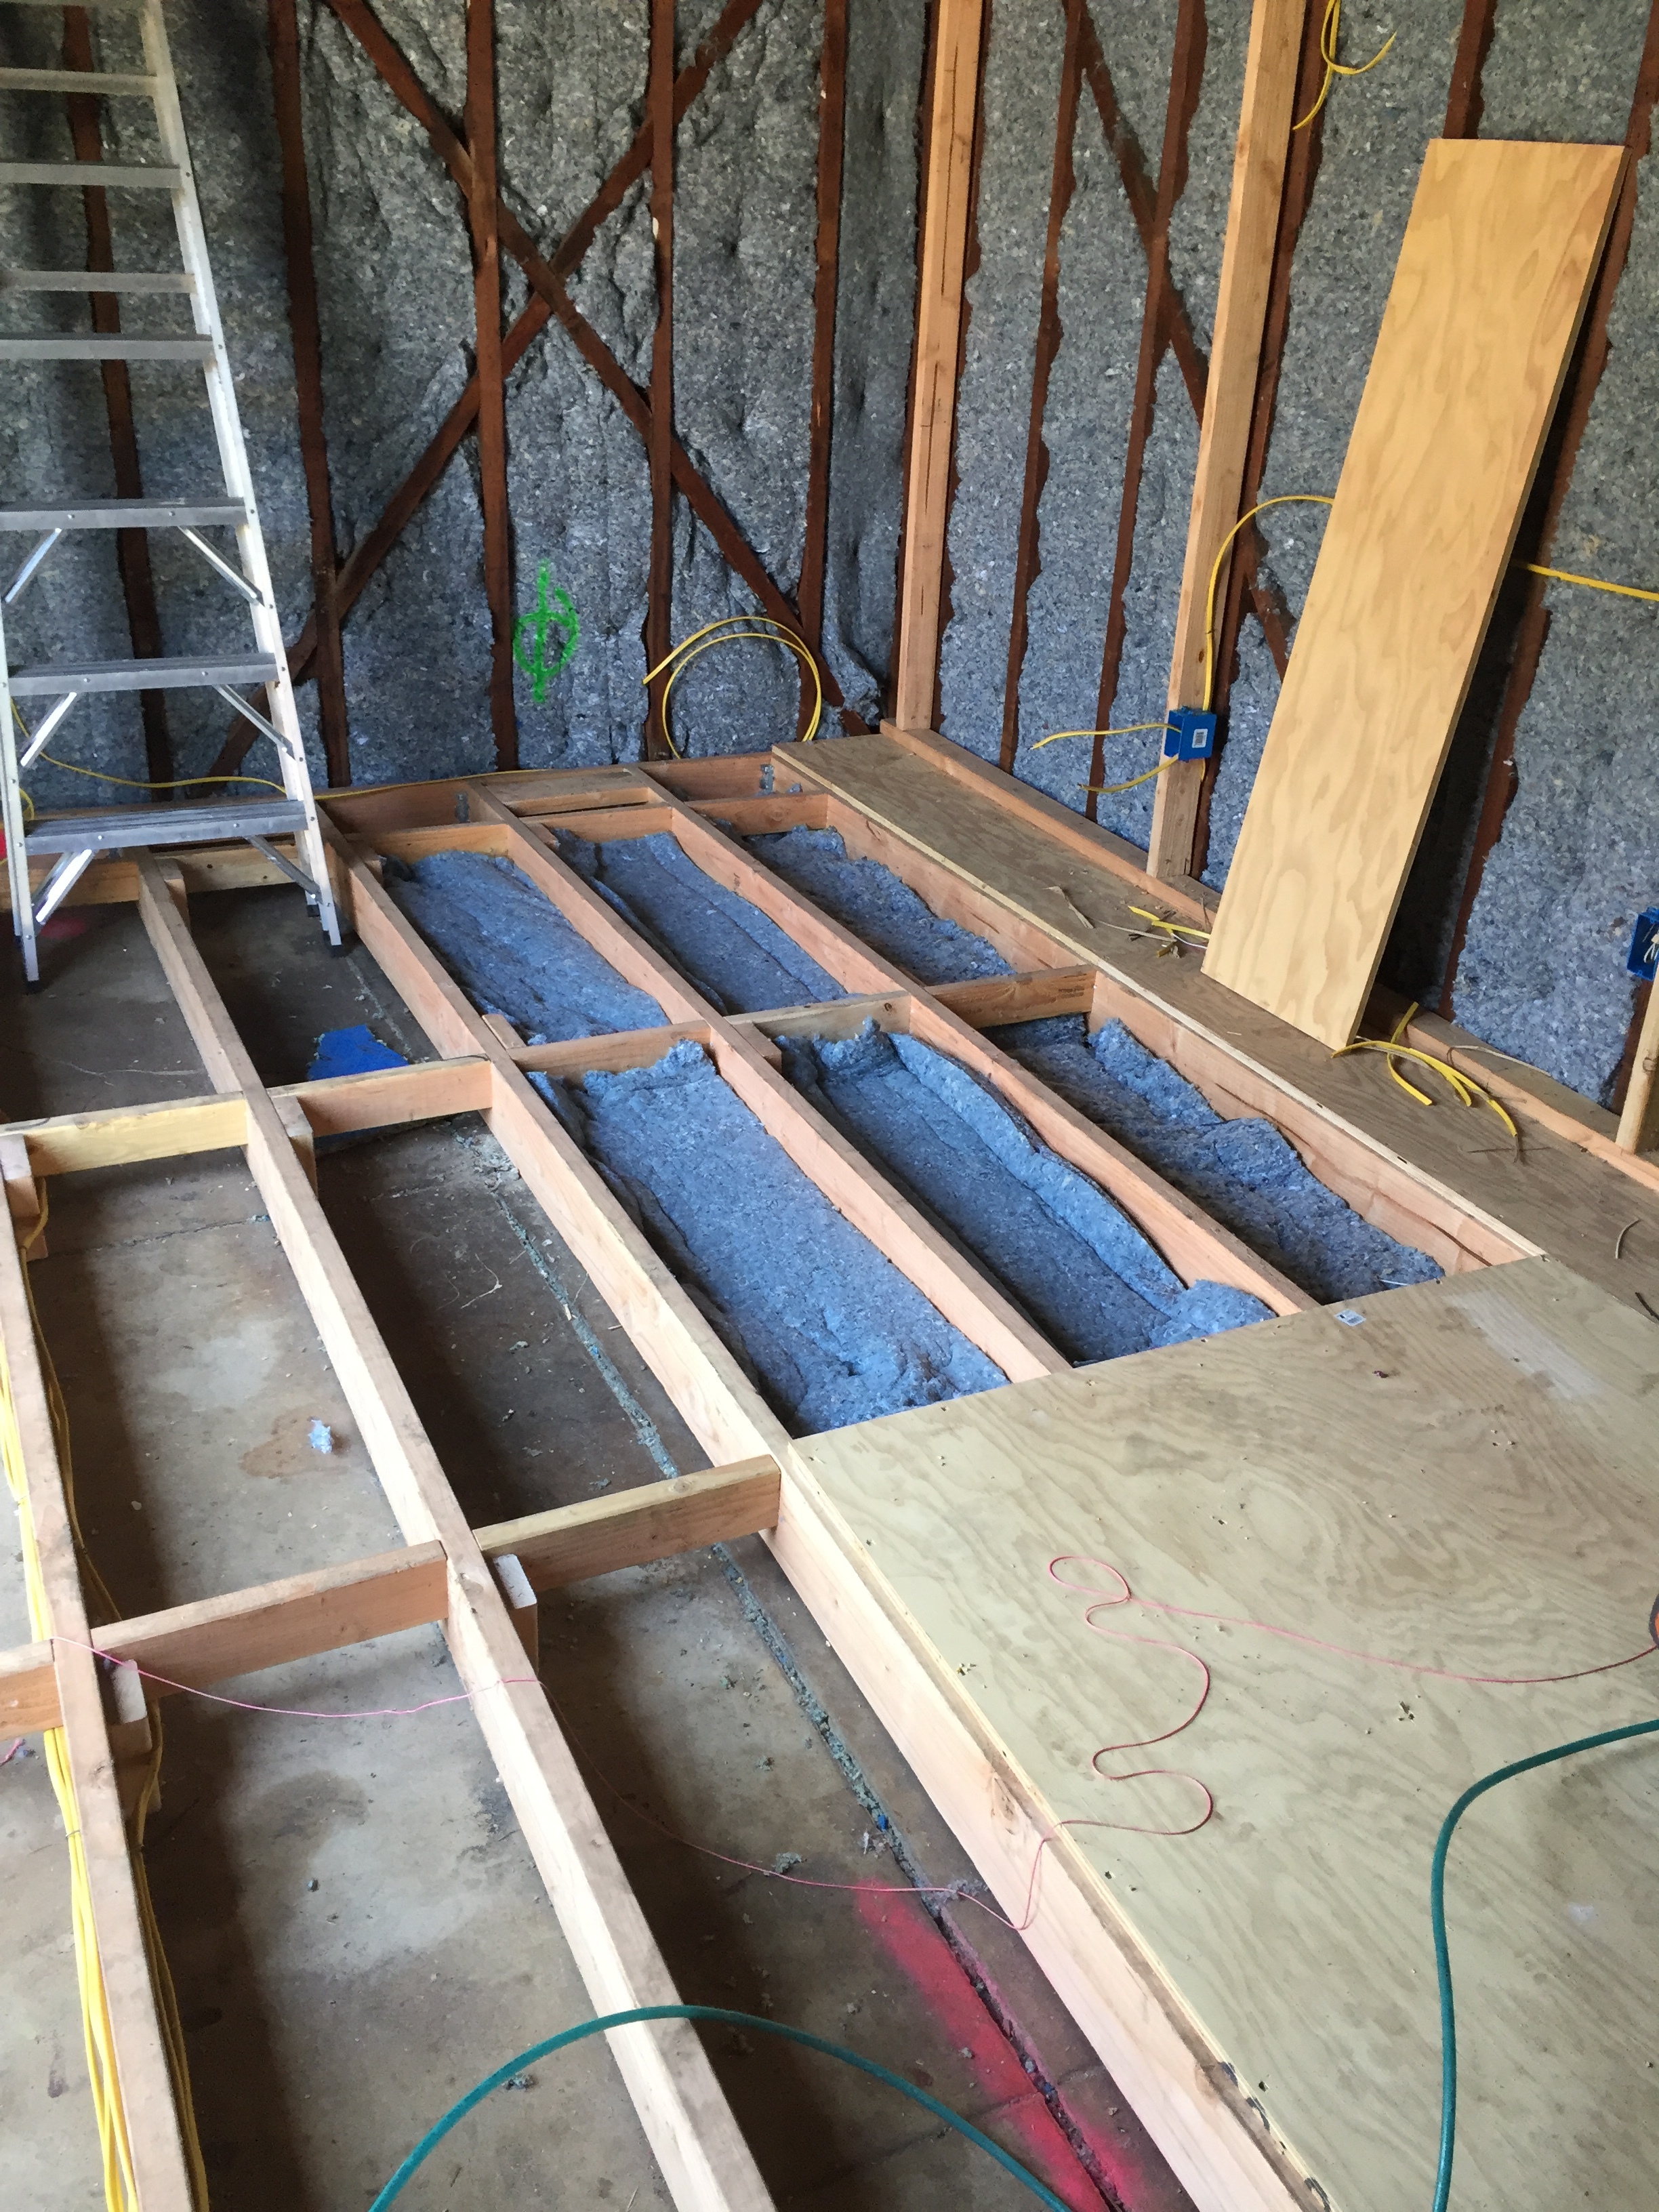
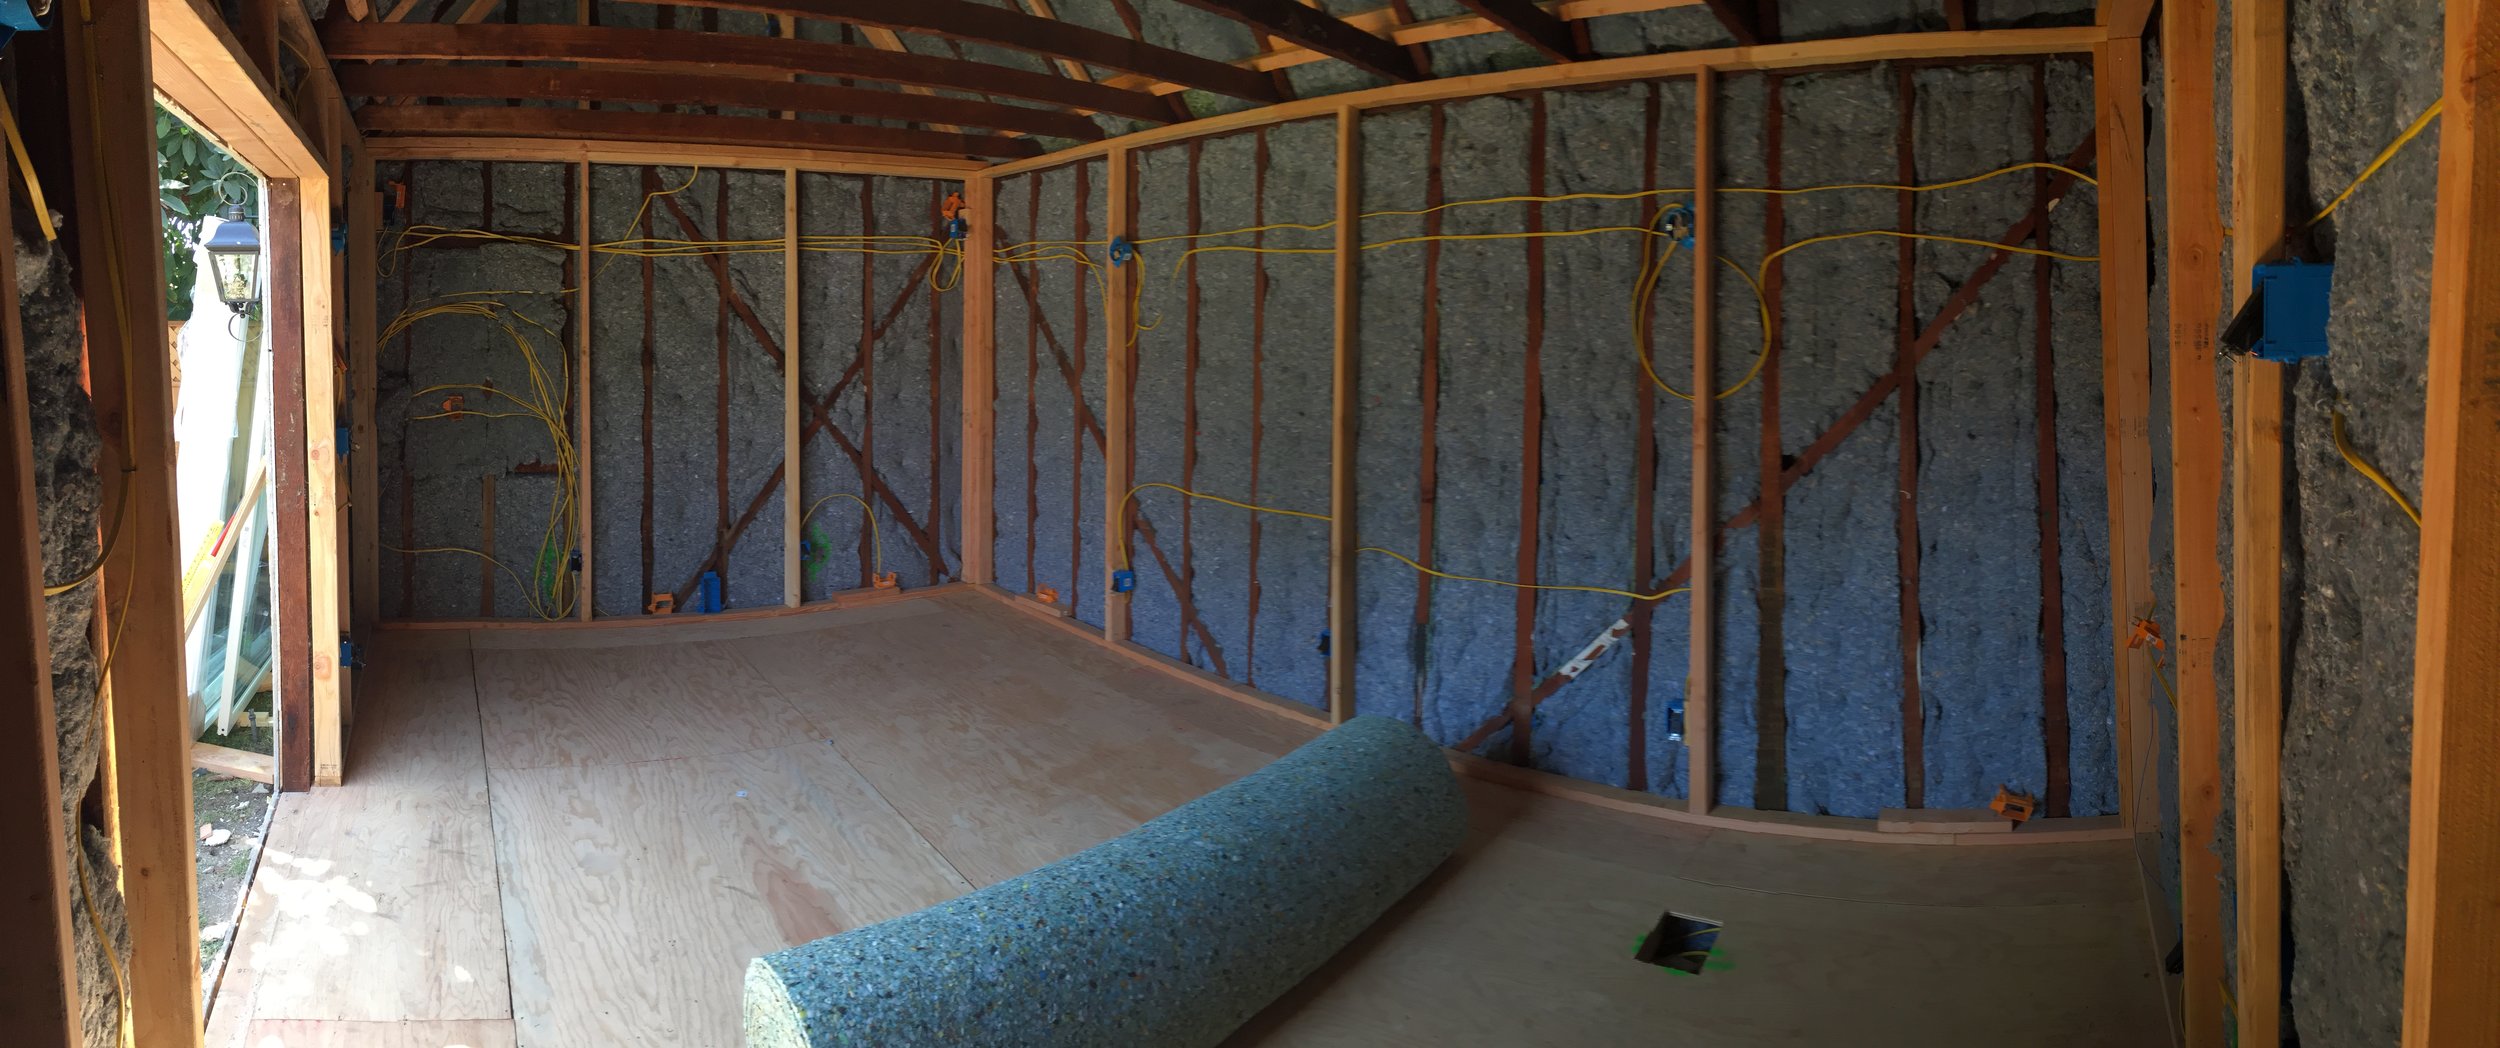
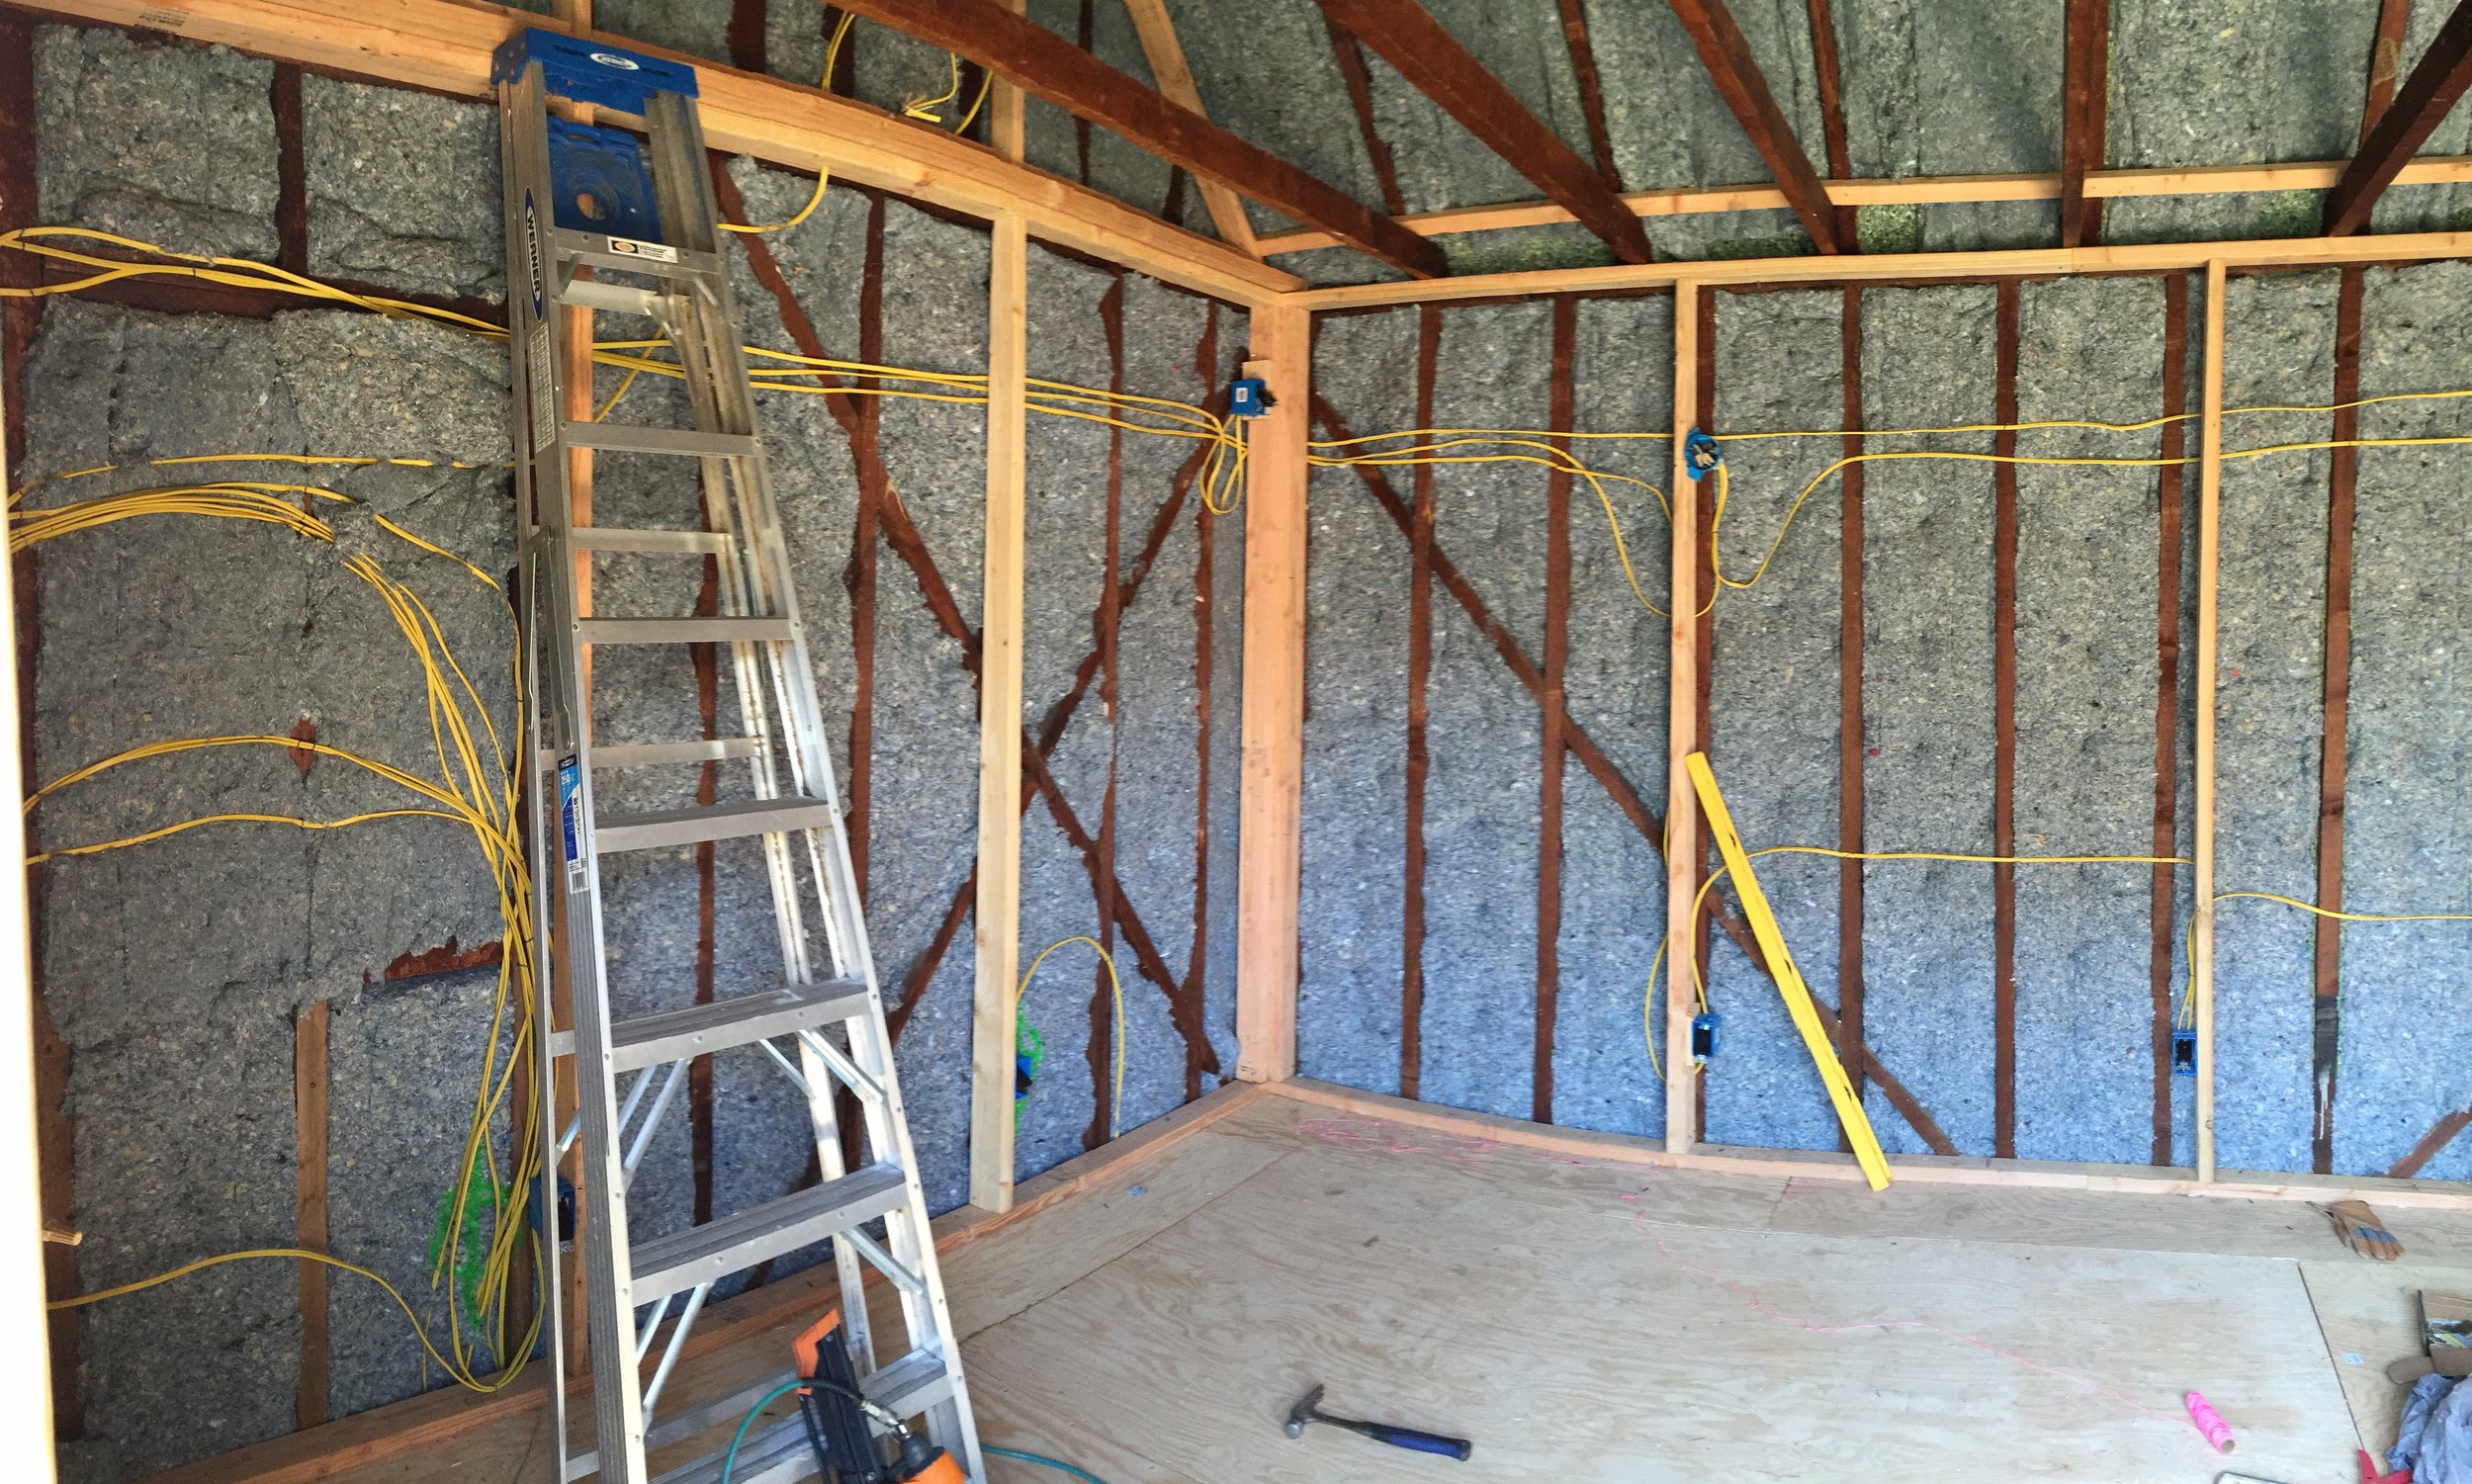
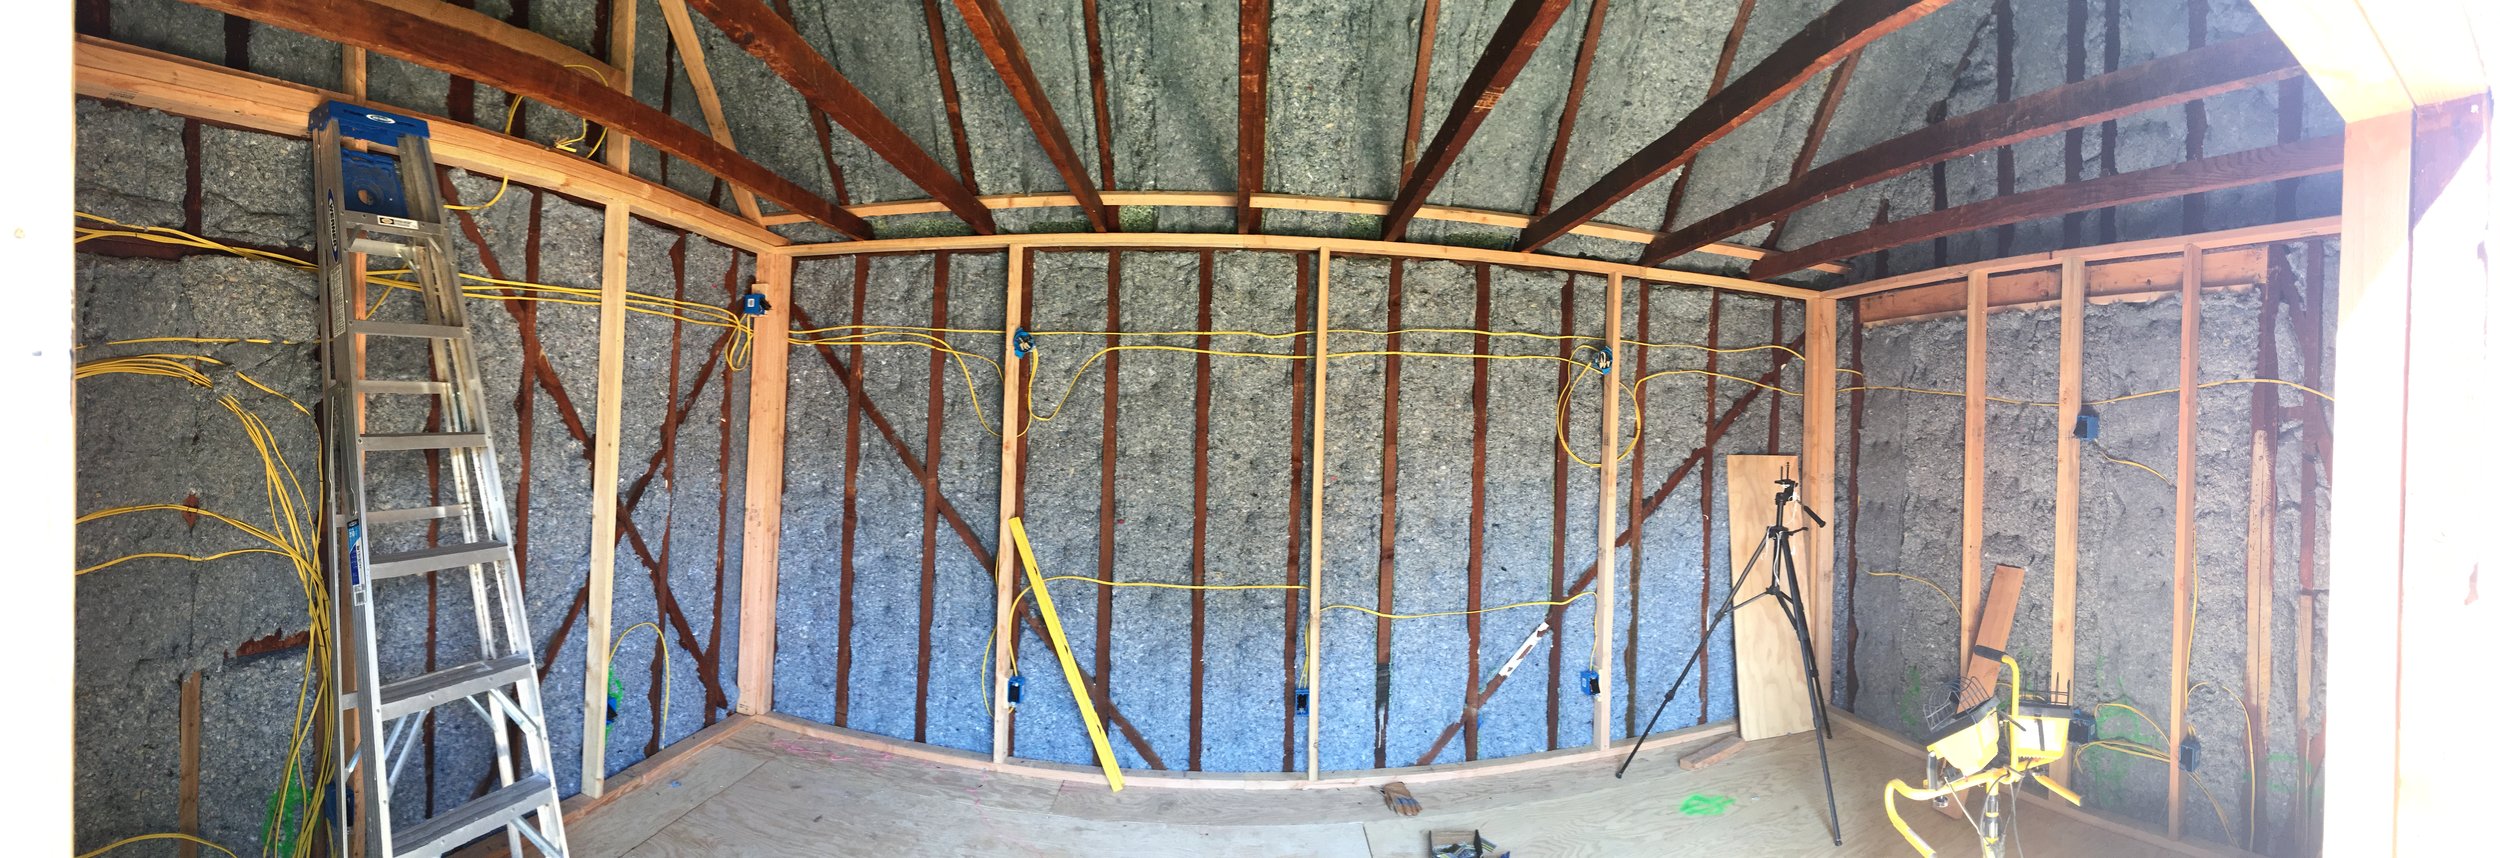
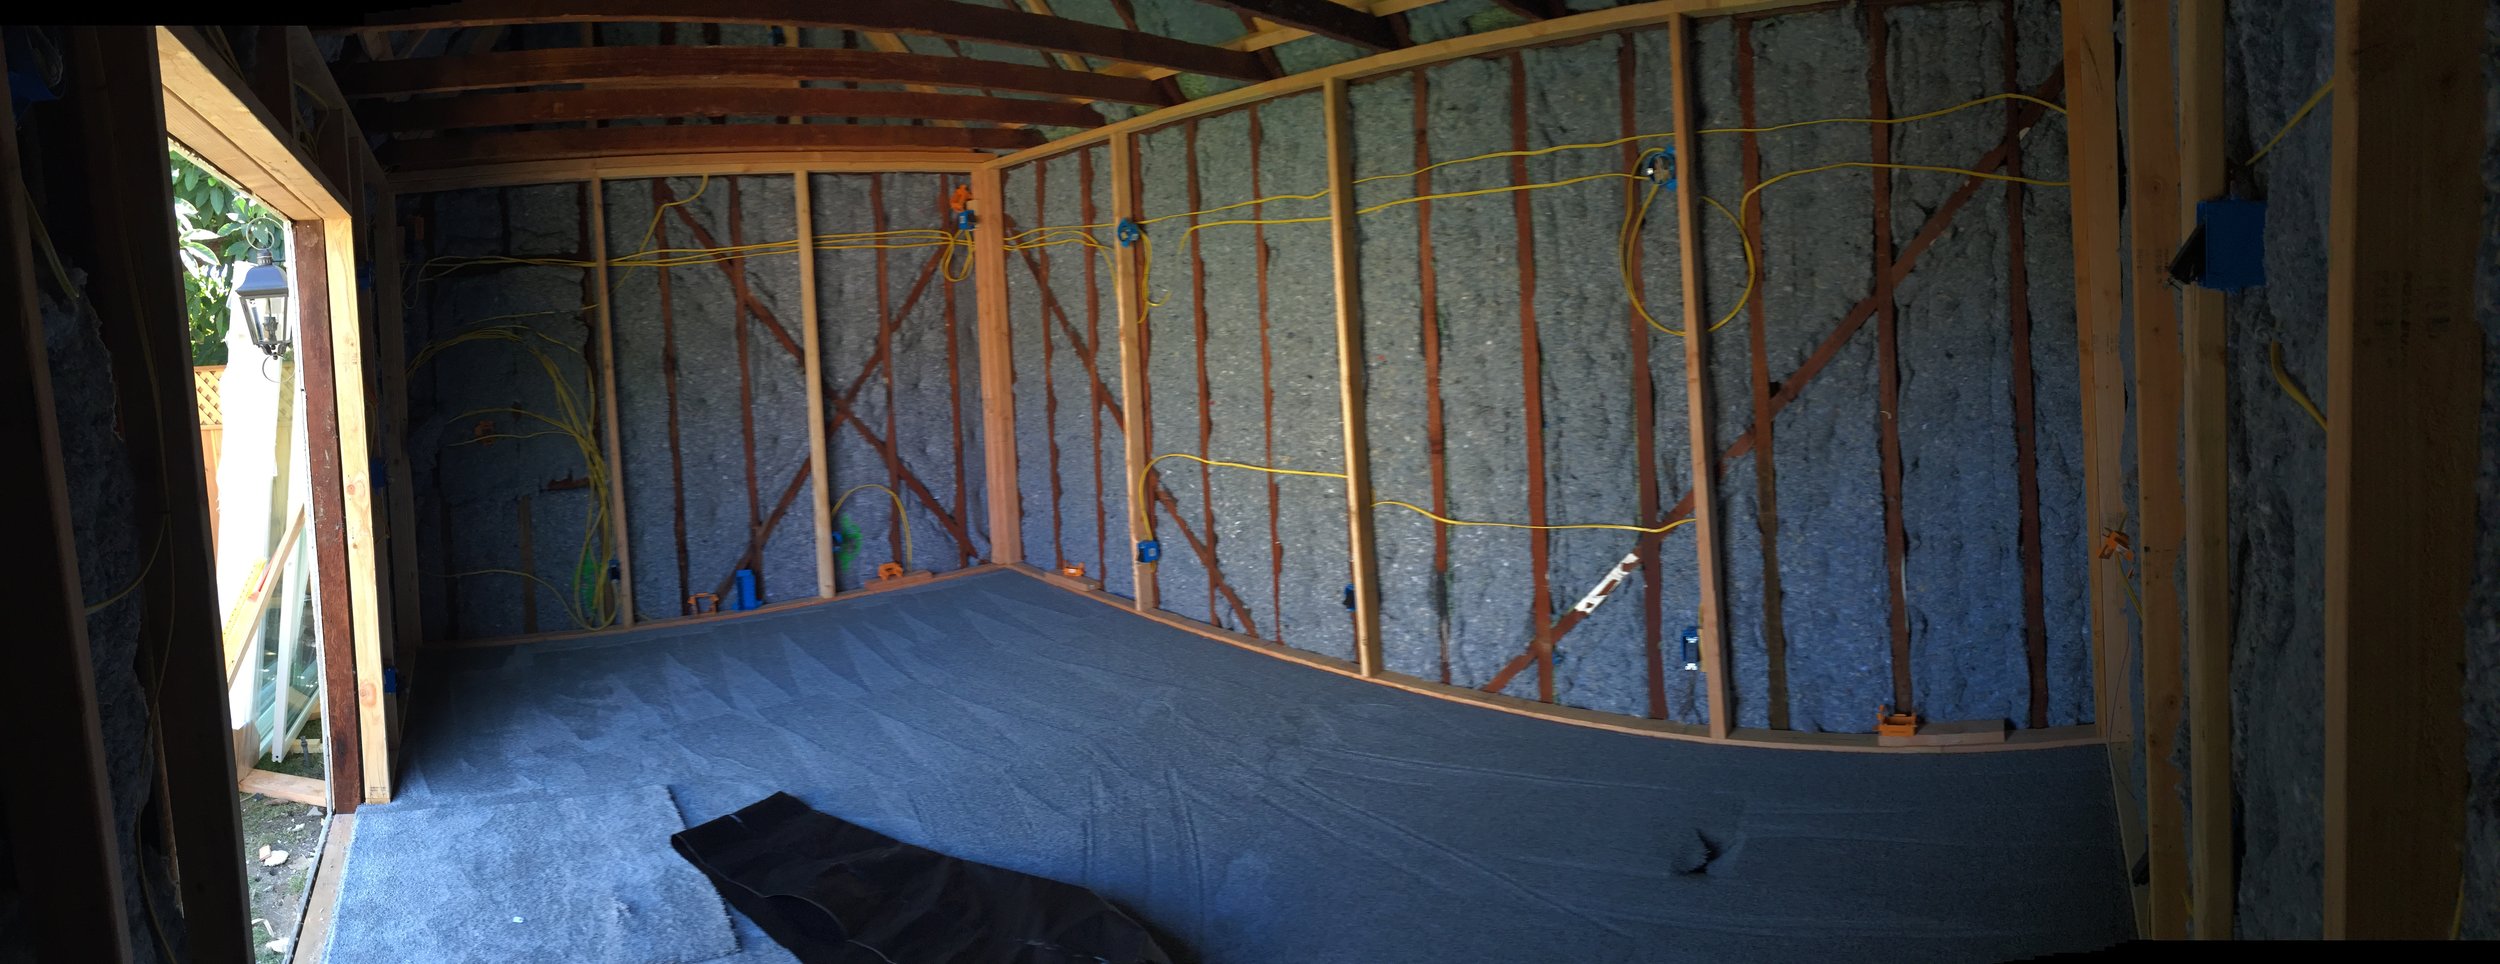
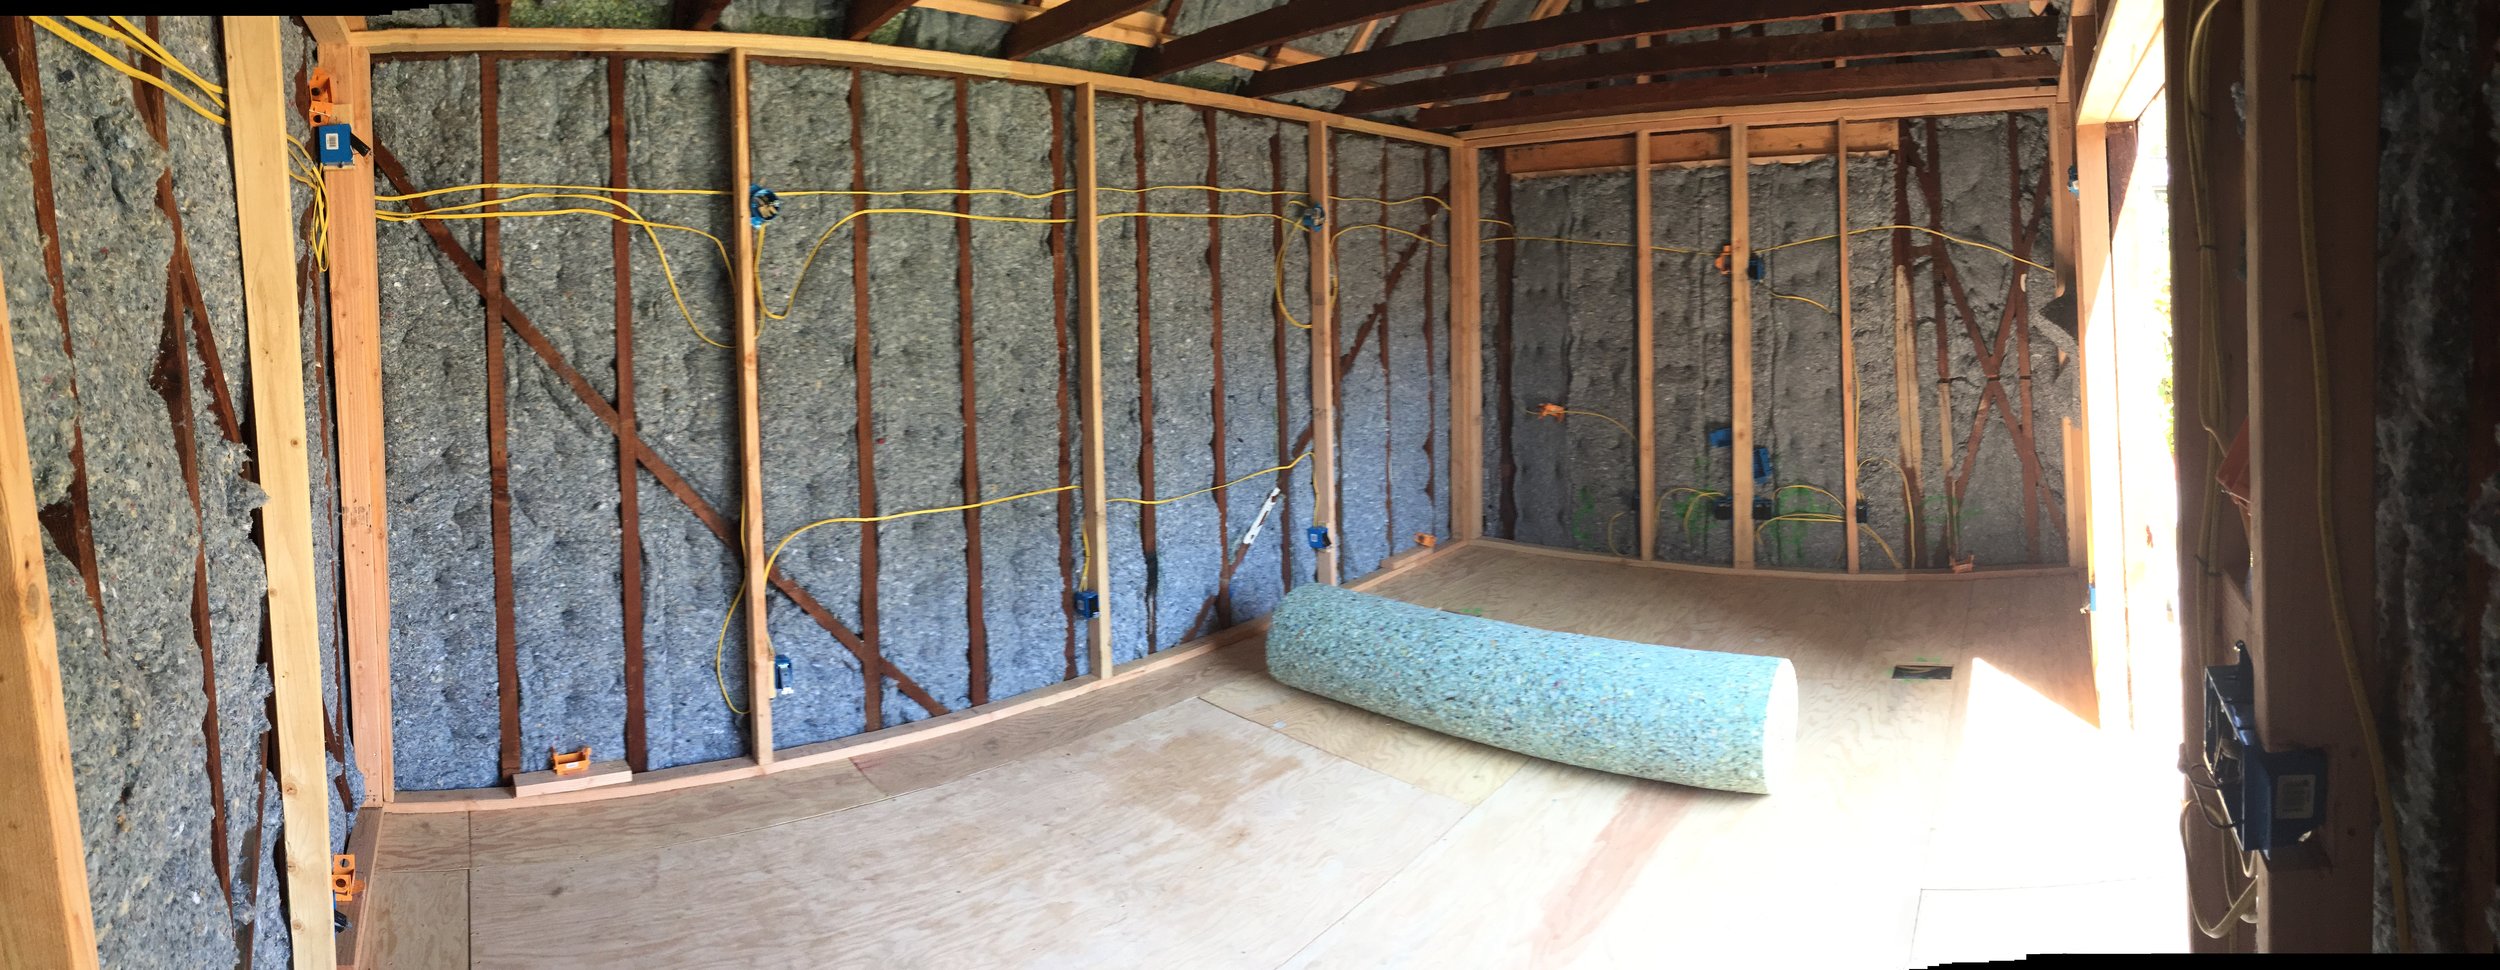
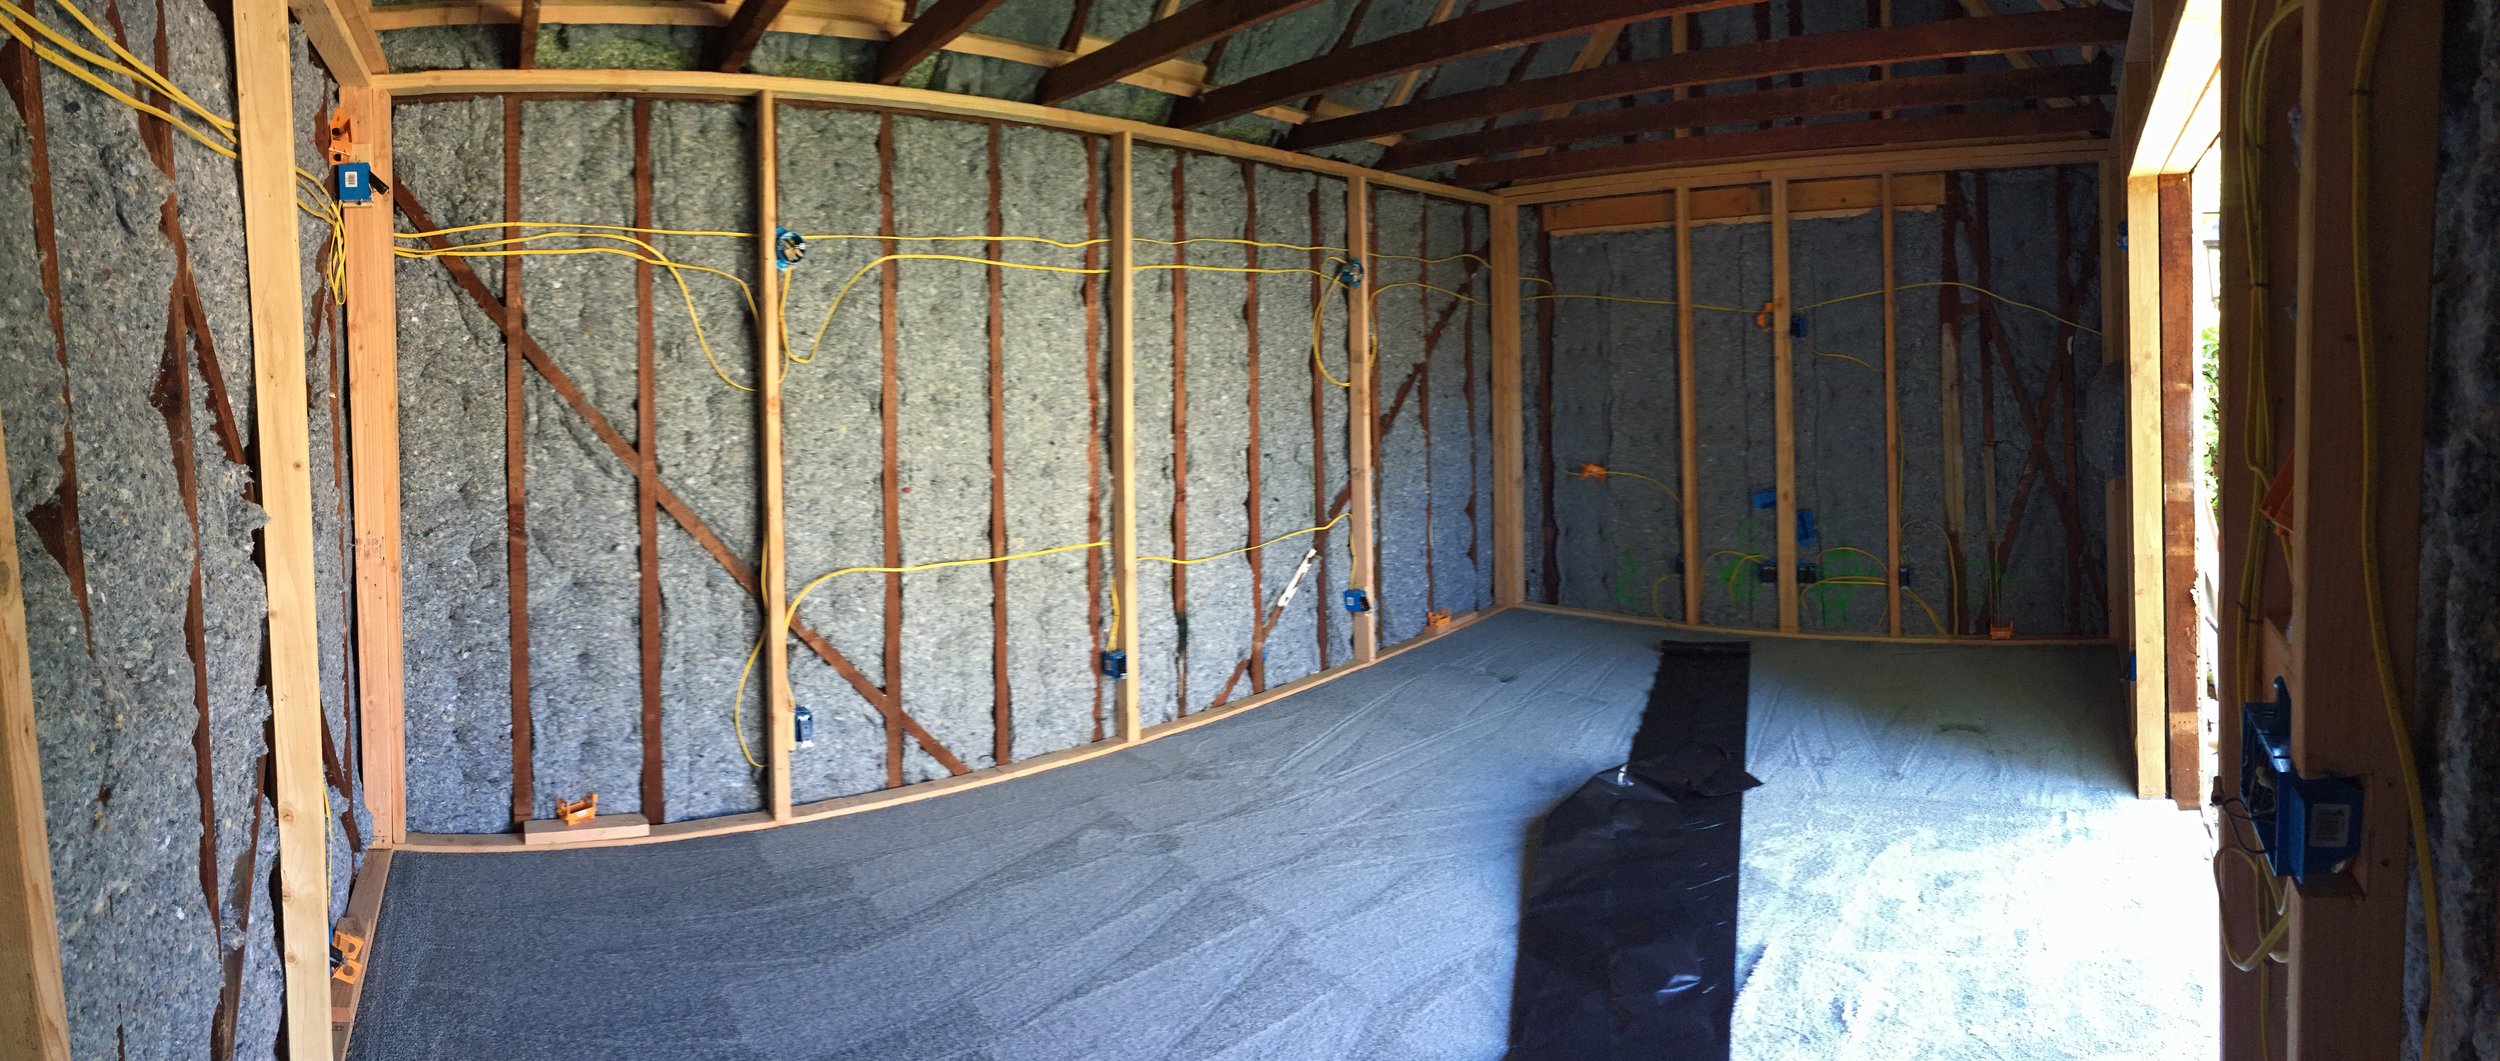
Once I finished putting up the outside edges of the floor, I was then able to soundproof all the walls using the carpet pad and denim insulation.

Installing the new floor (soundproofed walls in the background)
Note: I’ve seen people try and use 2x4 to save money. Don’t do this. 2x4 isn’t strong enough. And you aren’t saving that much money anyways. Use 2x6 or 2x8.
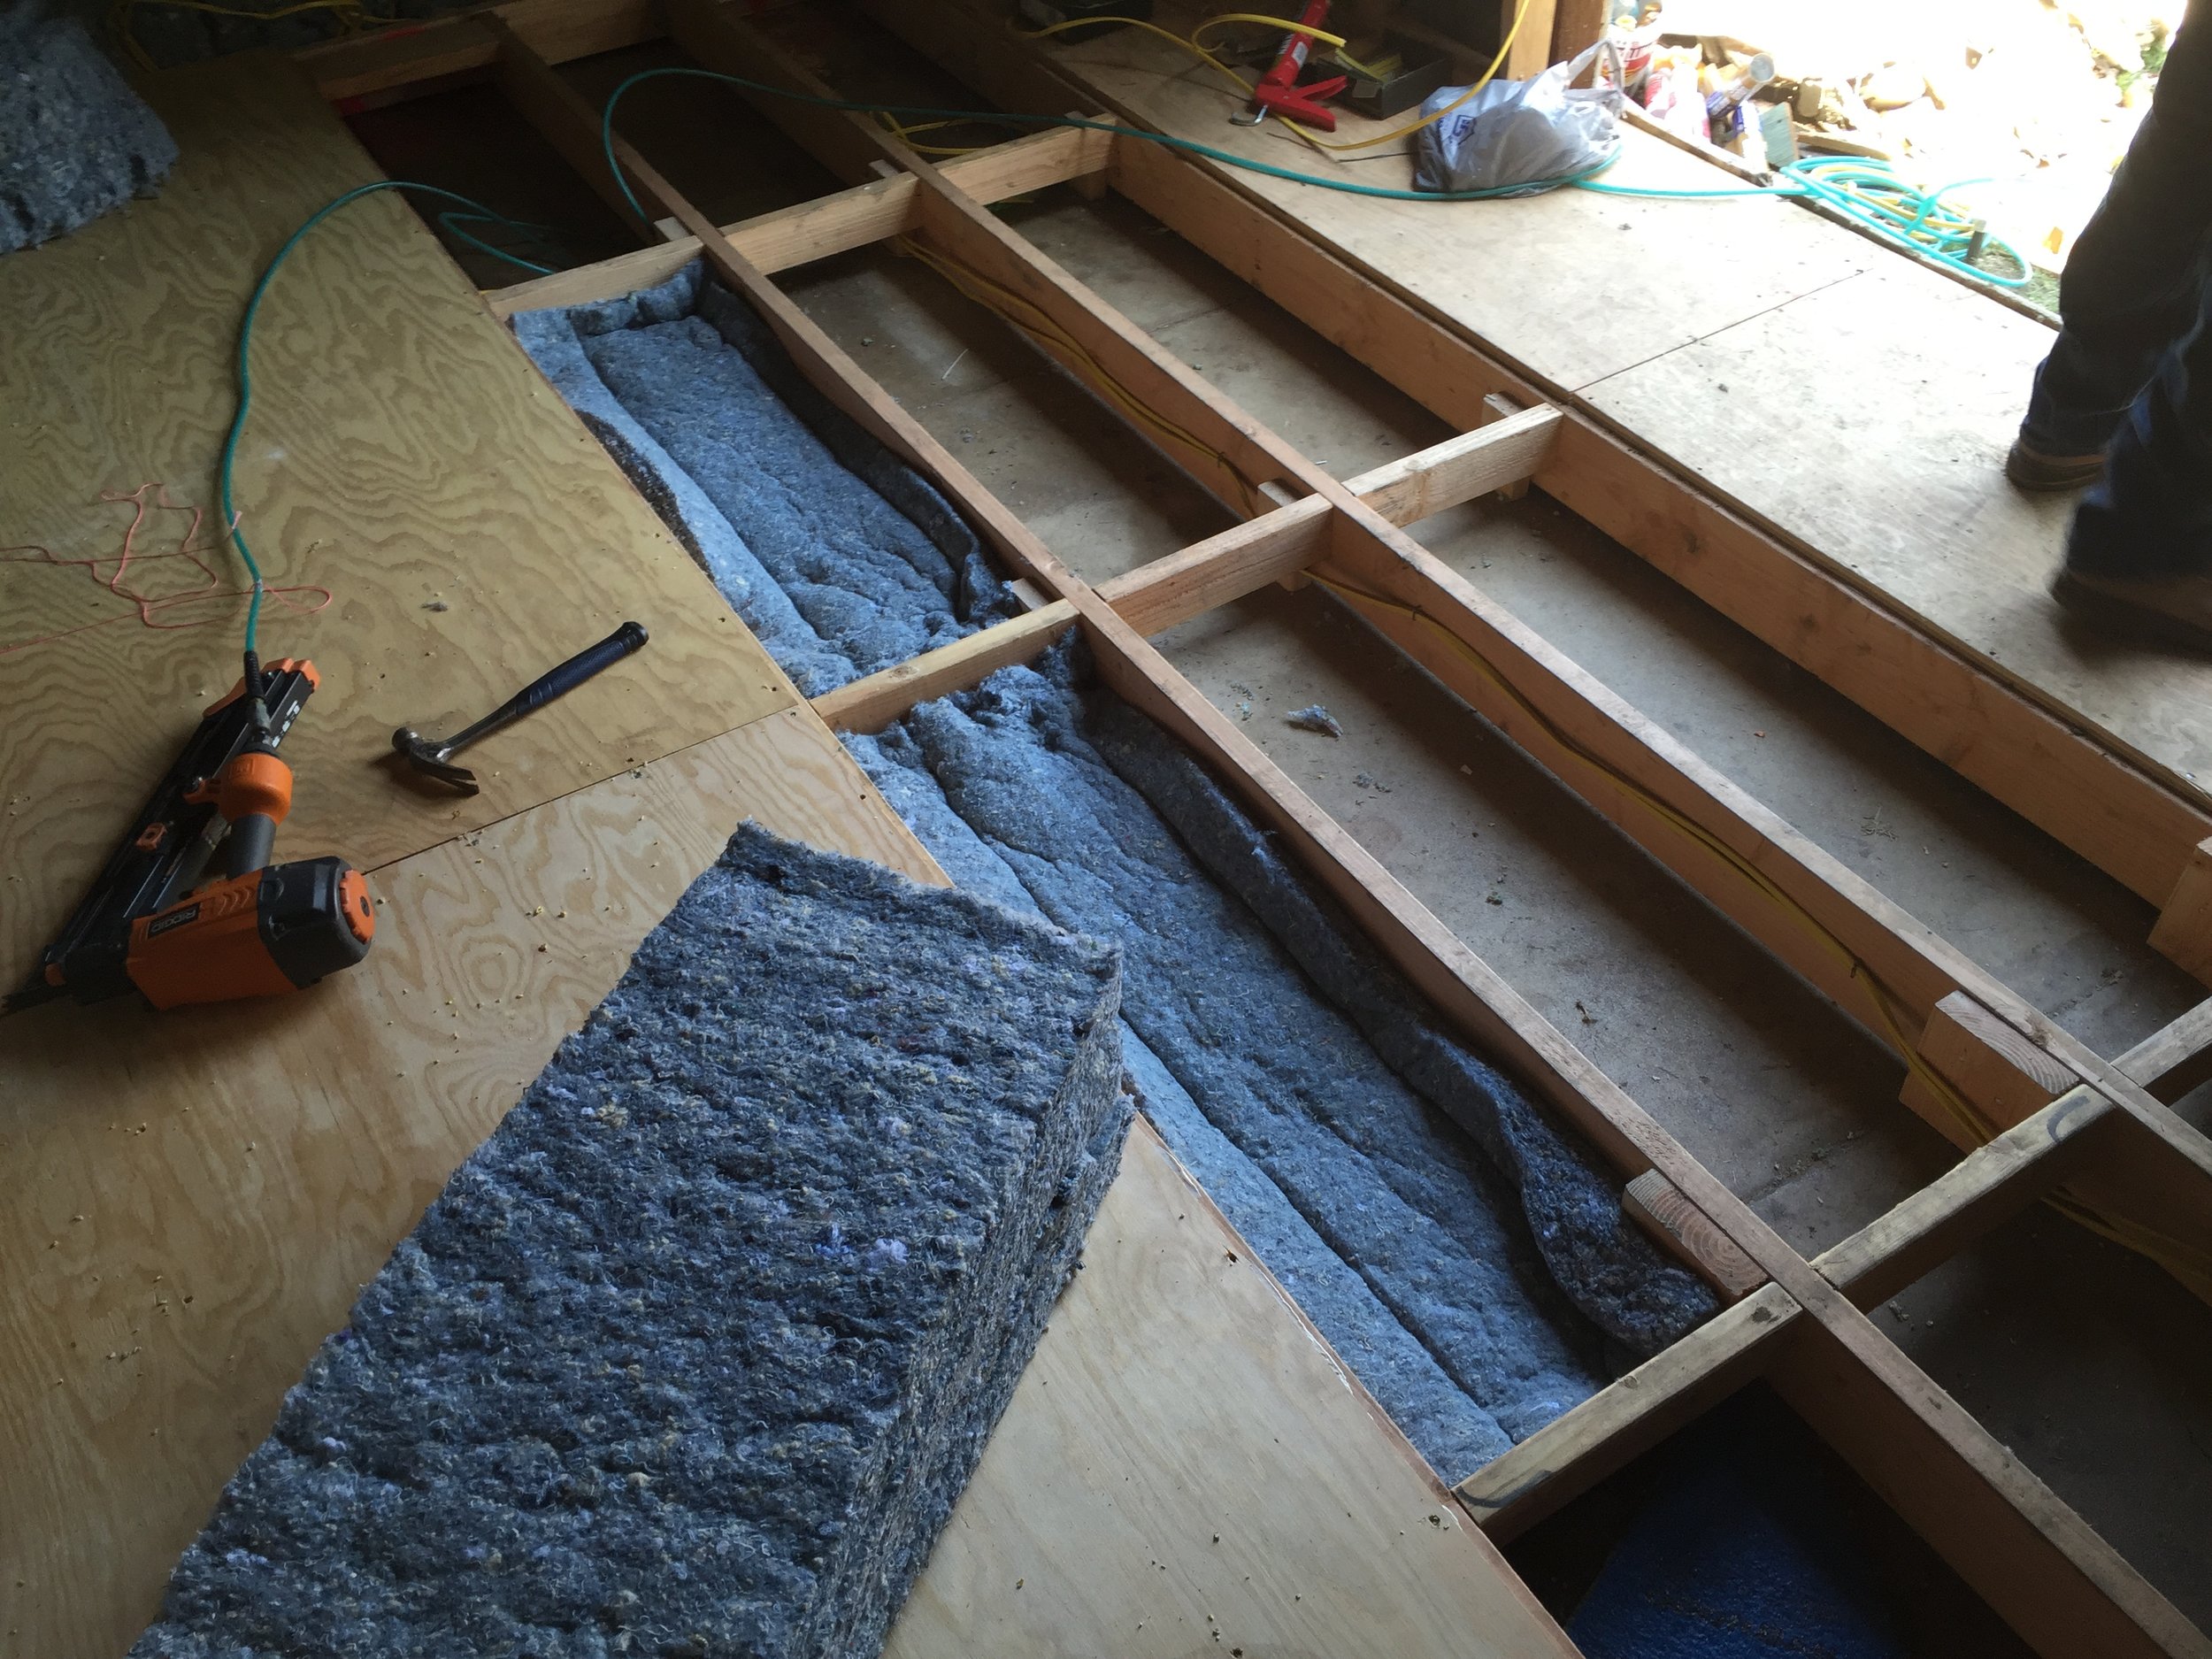
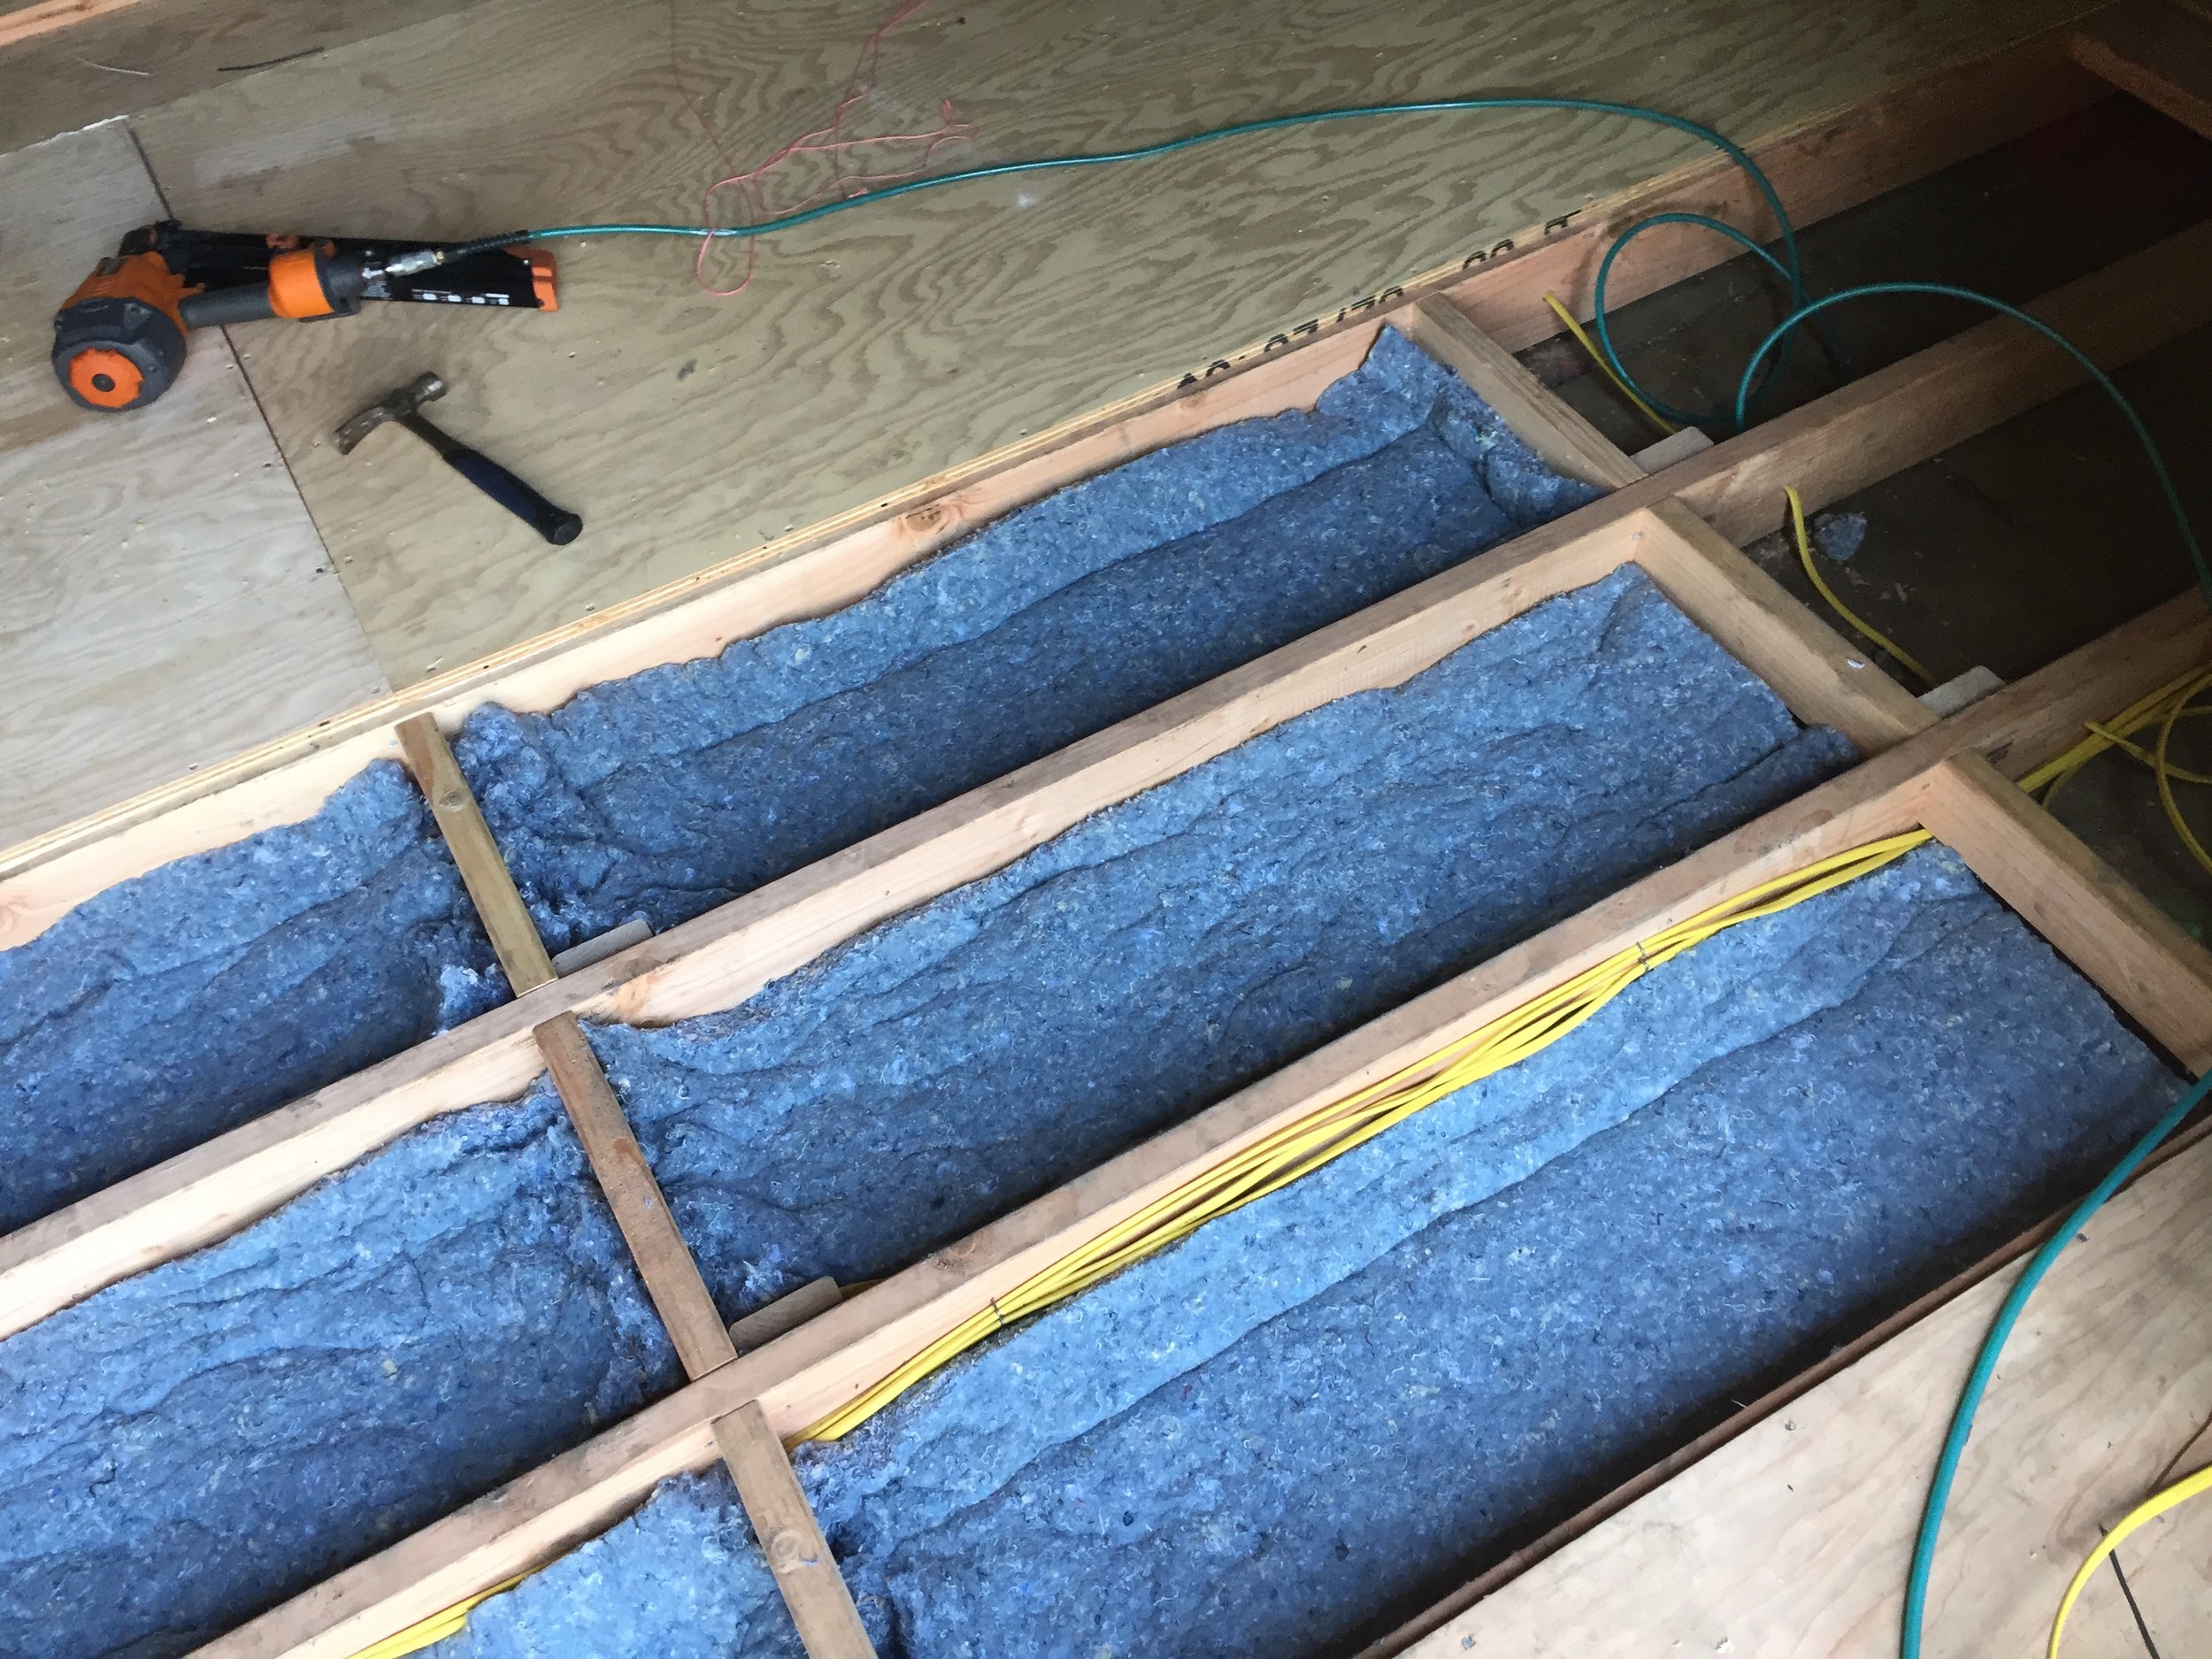
Because I kept the floor above the concrete to eliminate rattling, to make doubly sure that the floor would never shift, I installed little pieces of wood (often called standoffs) which went down to the concrete and nailed them to the floor beams. No matter how much weight was put on the floor, I knew that it would stay strong. 2x6’s are good, but extra security is always better.


Walls with denim on, denim starting to go in the floor.
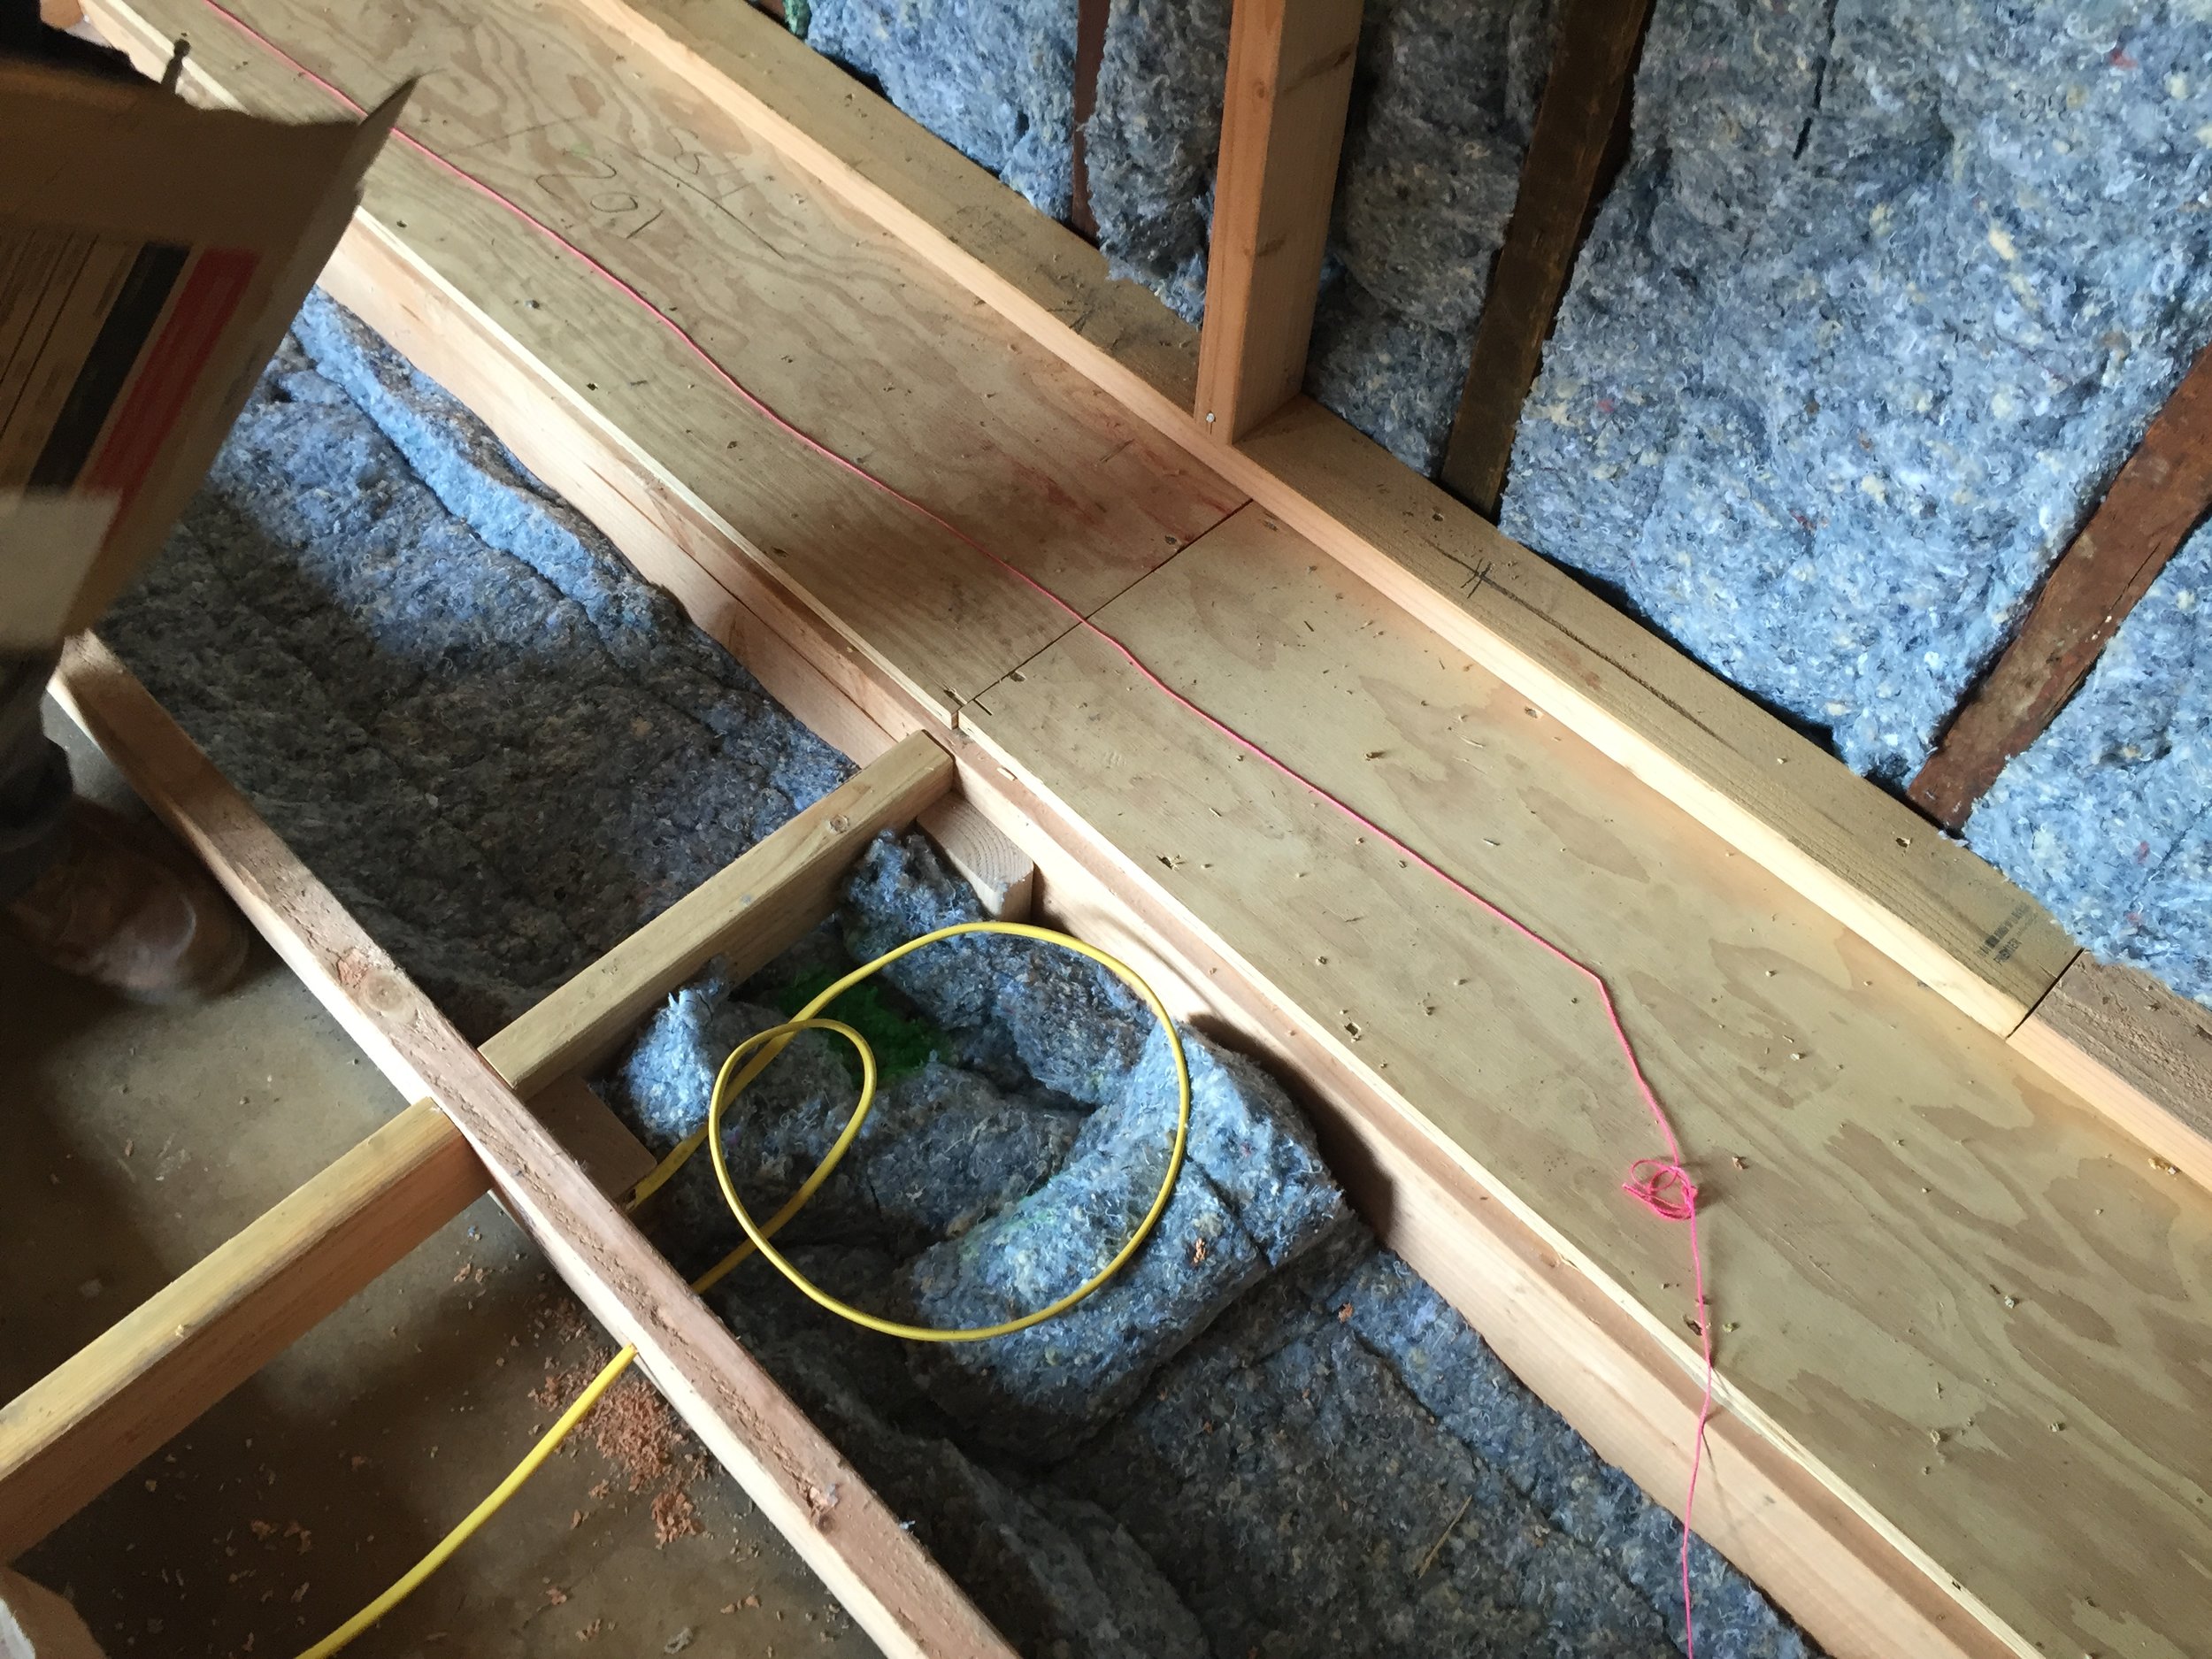
Next I filled the floor with sound proofing material. If you leave a raised floor empty above concrete you have the risk of it becoming a huge boomy box if you have a powerful subwoofer in the space. So fill it with soundproofing denim to minimize this.
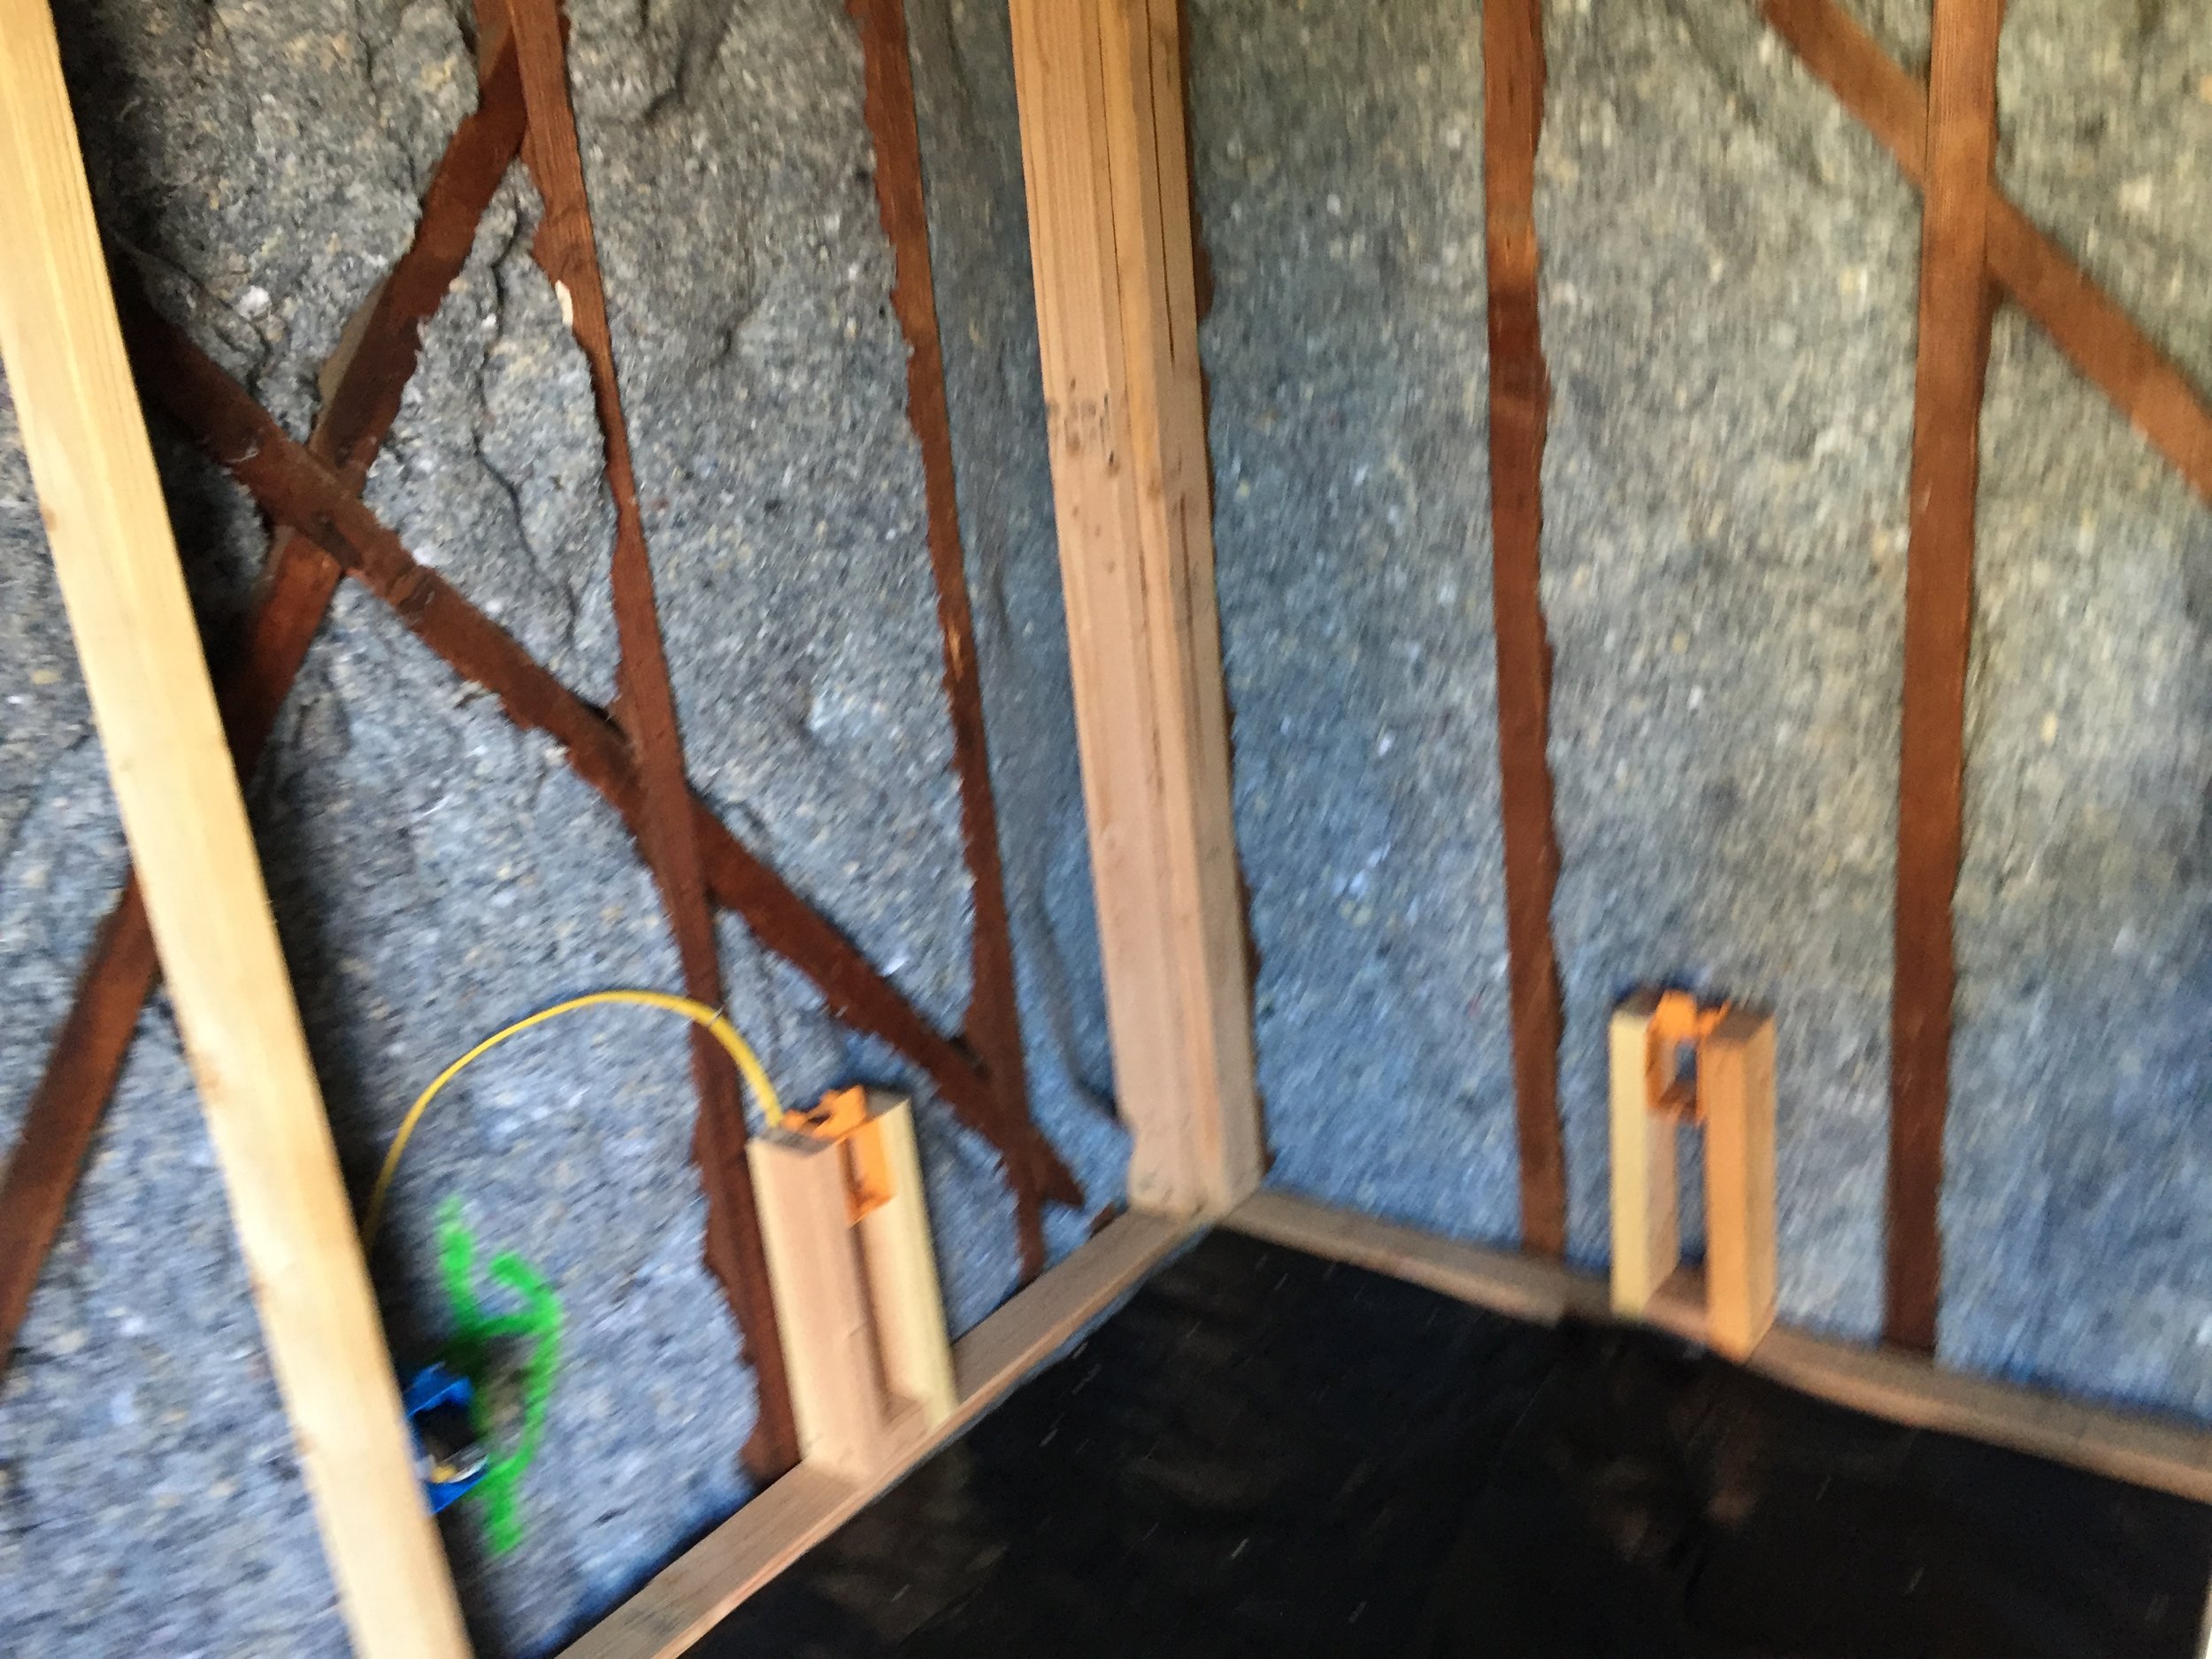
Before I covered the floor I had the electricians run everything to where the floor boxes would be. NOTE: Make sure you have everything possible under that floor before you close it up. Ripping up a floor because you forgot a cable is really frustrating and time consuming.

The best in LA: Delta Quality Electric! These guys do top Dolby studios and know how to make sure you don't get electrical hum on your speakers from improper grounding.
Then I put the plywood down. I glued this down with liquid nails to ensure that it wouldn’t develop sound creaks. This can also be done with silicone instead of liquid nails but this was a home garage studio, not a high budget recording studio.

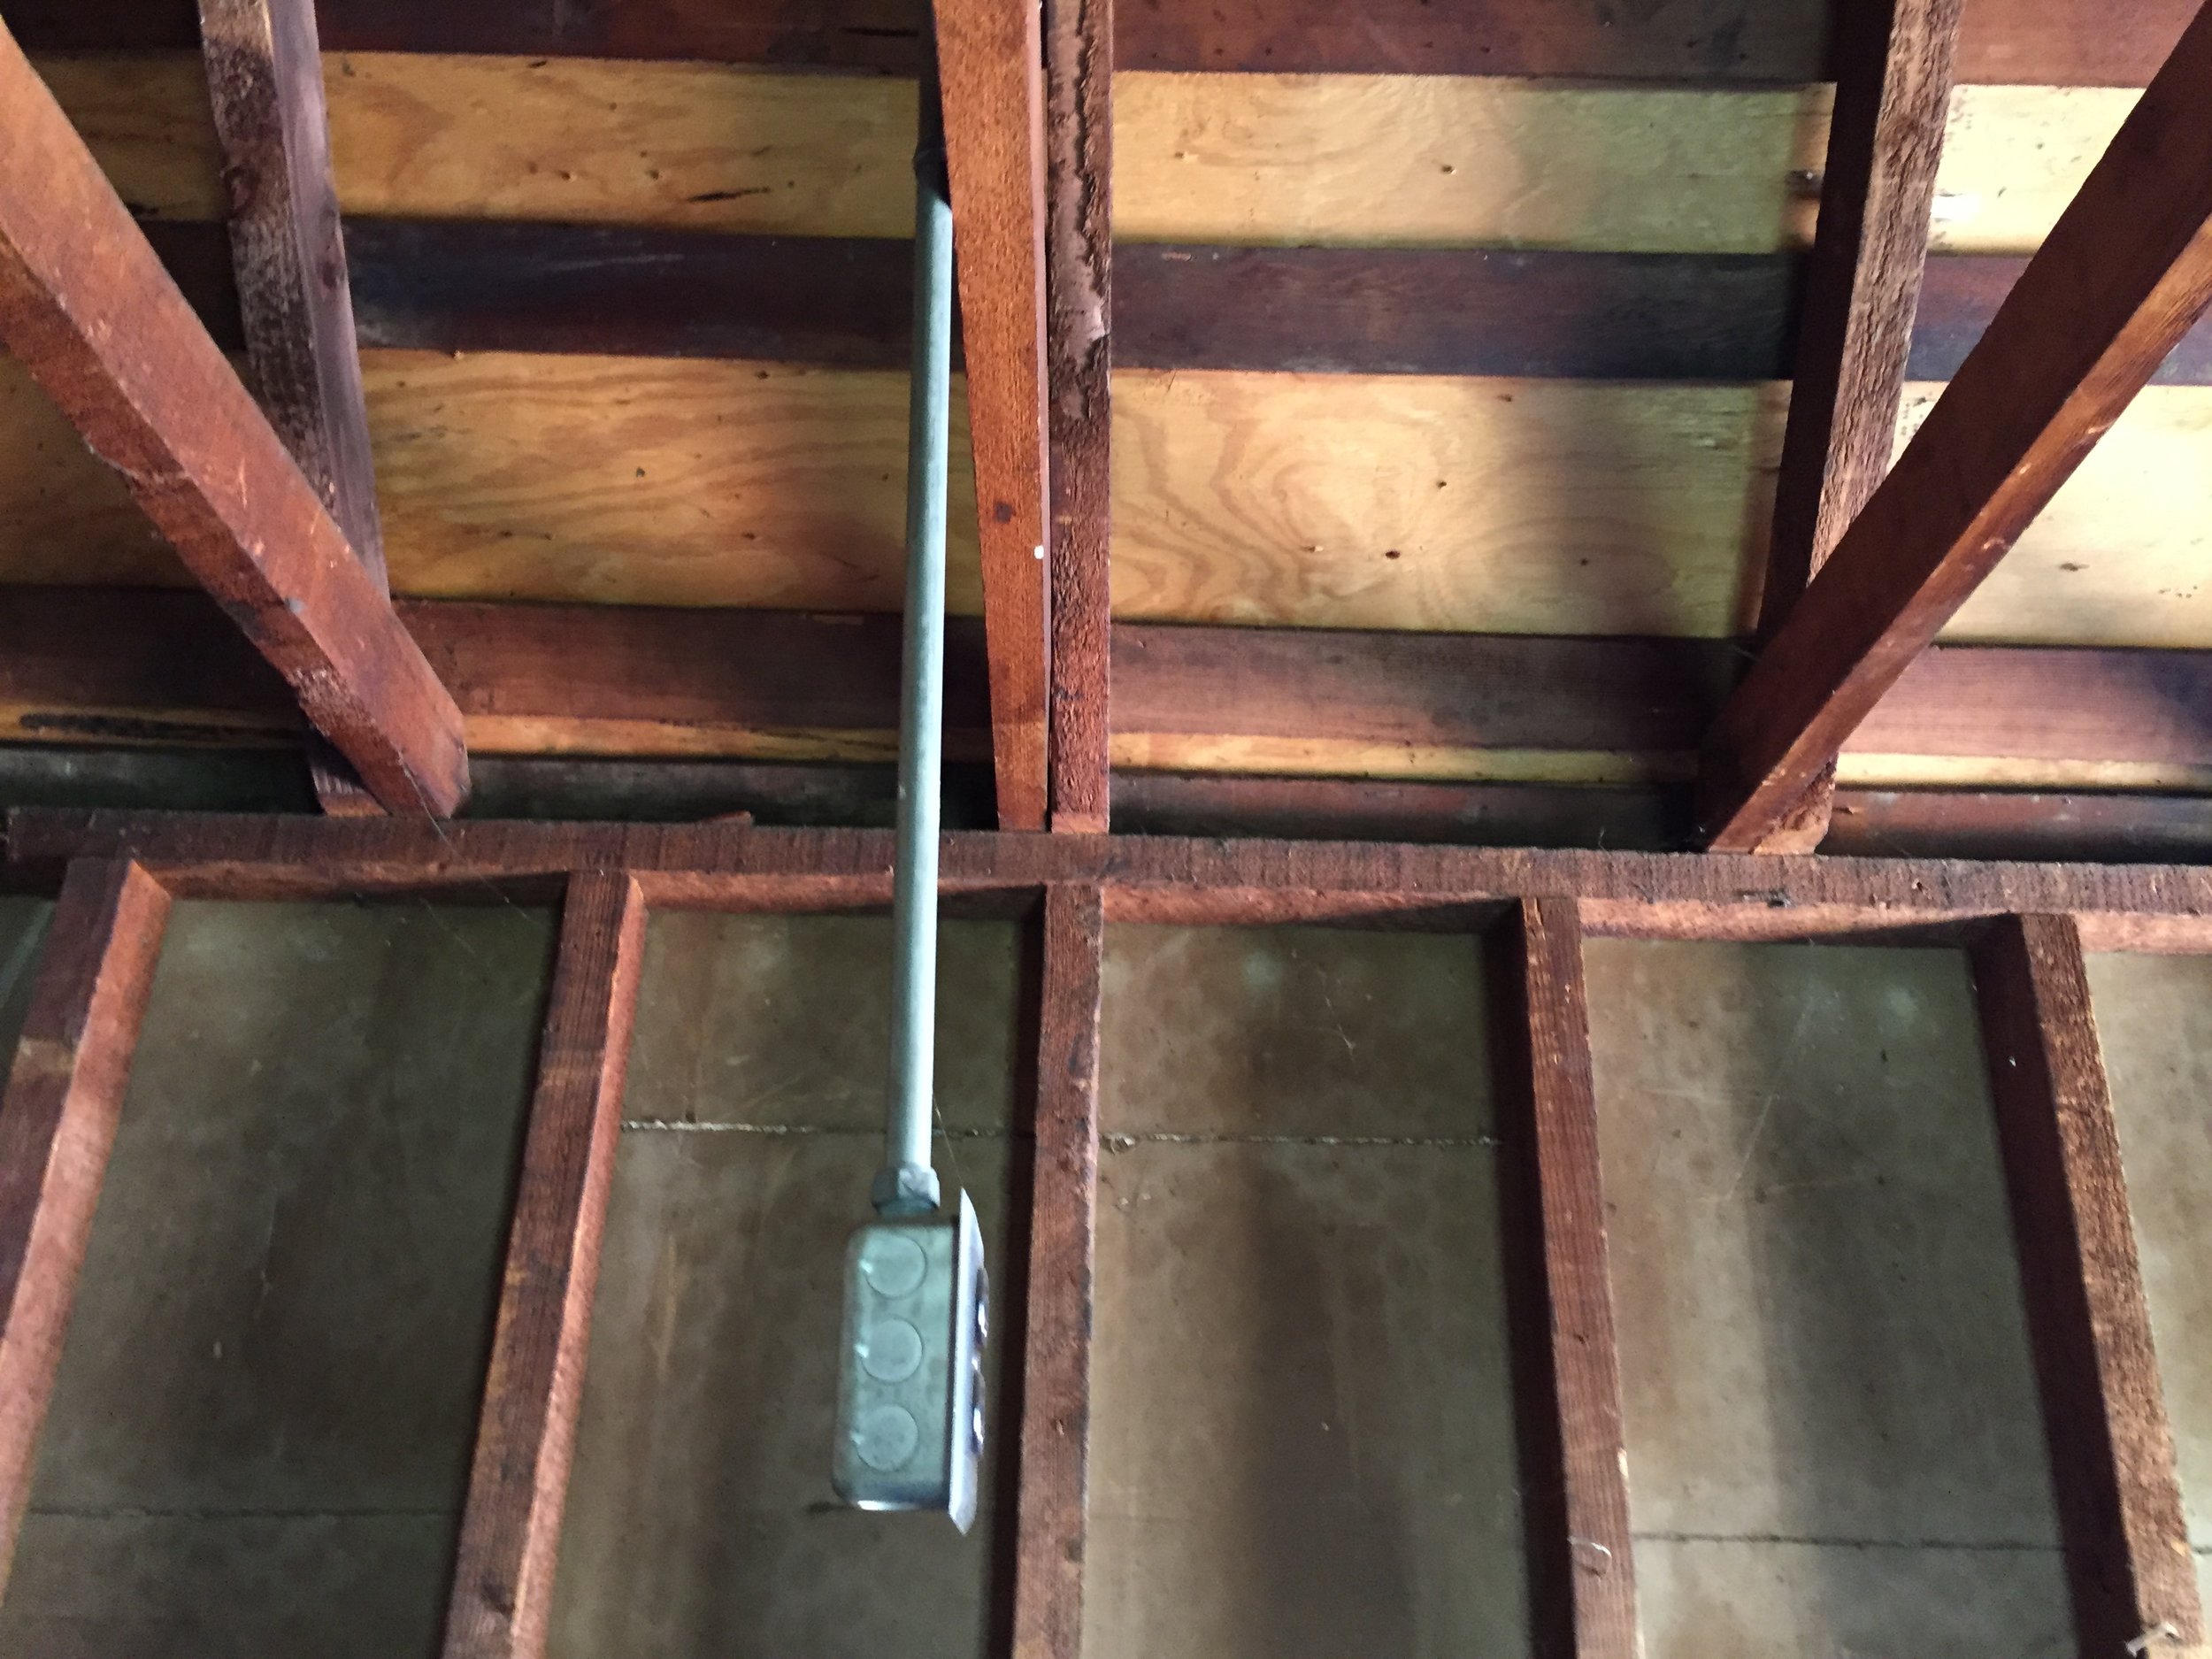
NEW ELECTRICAL
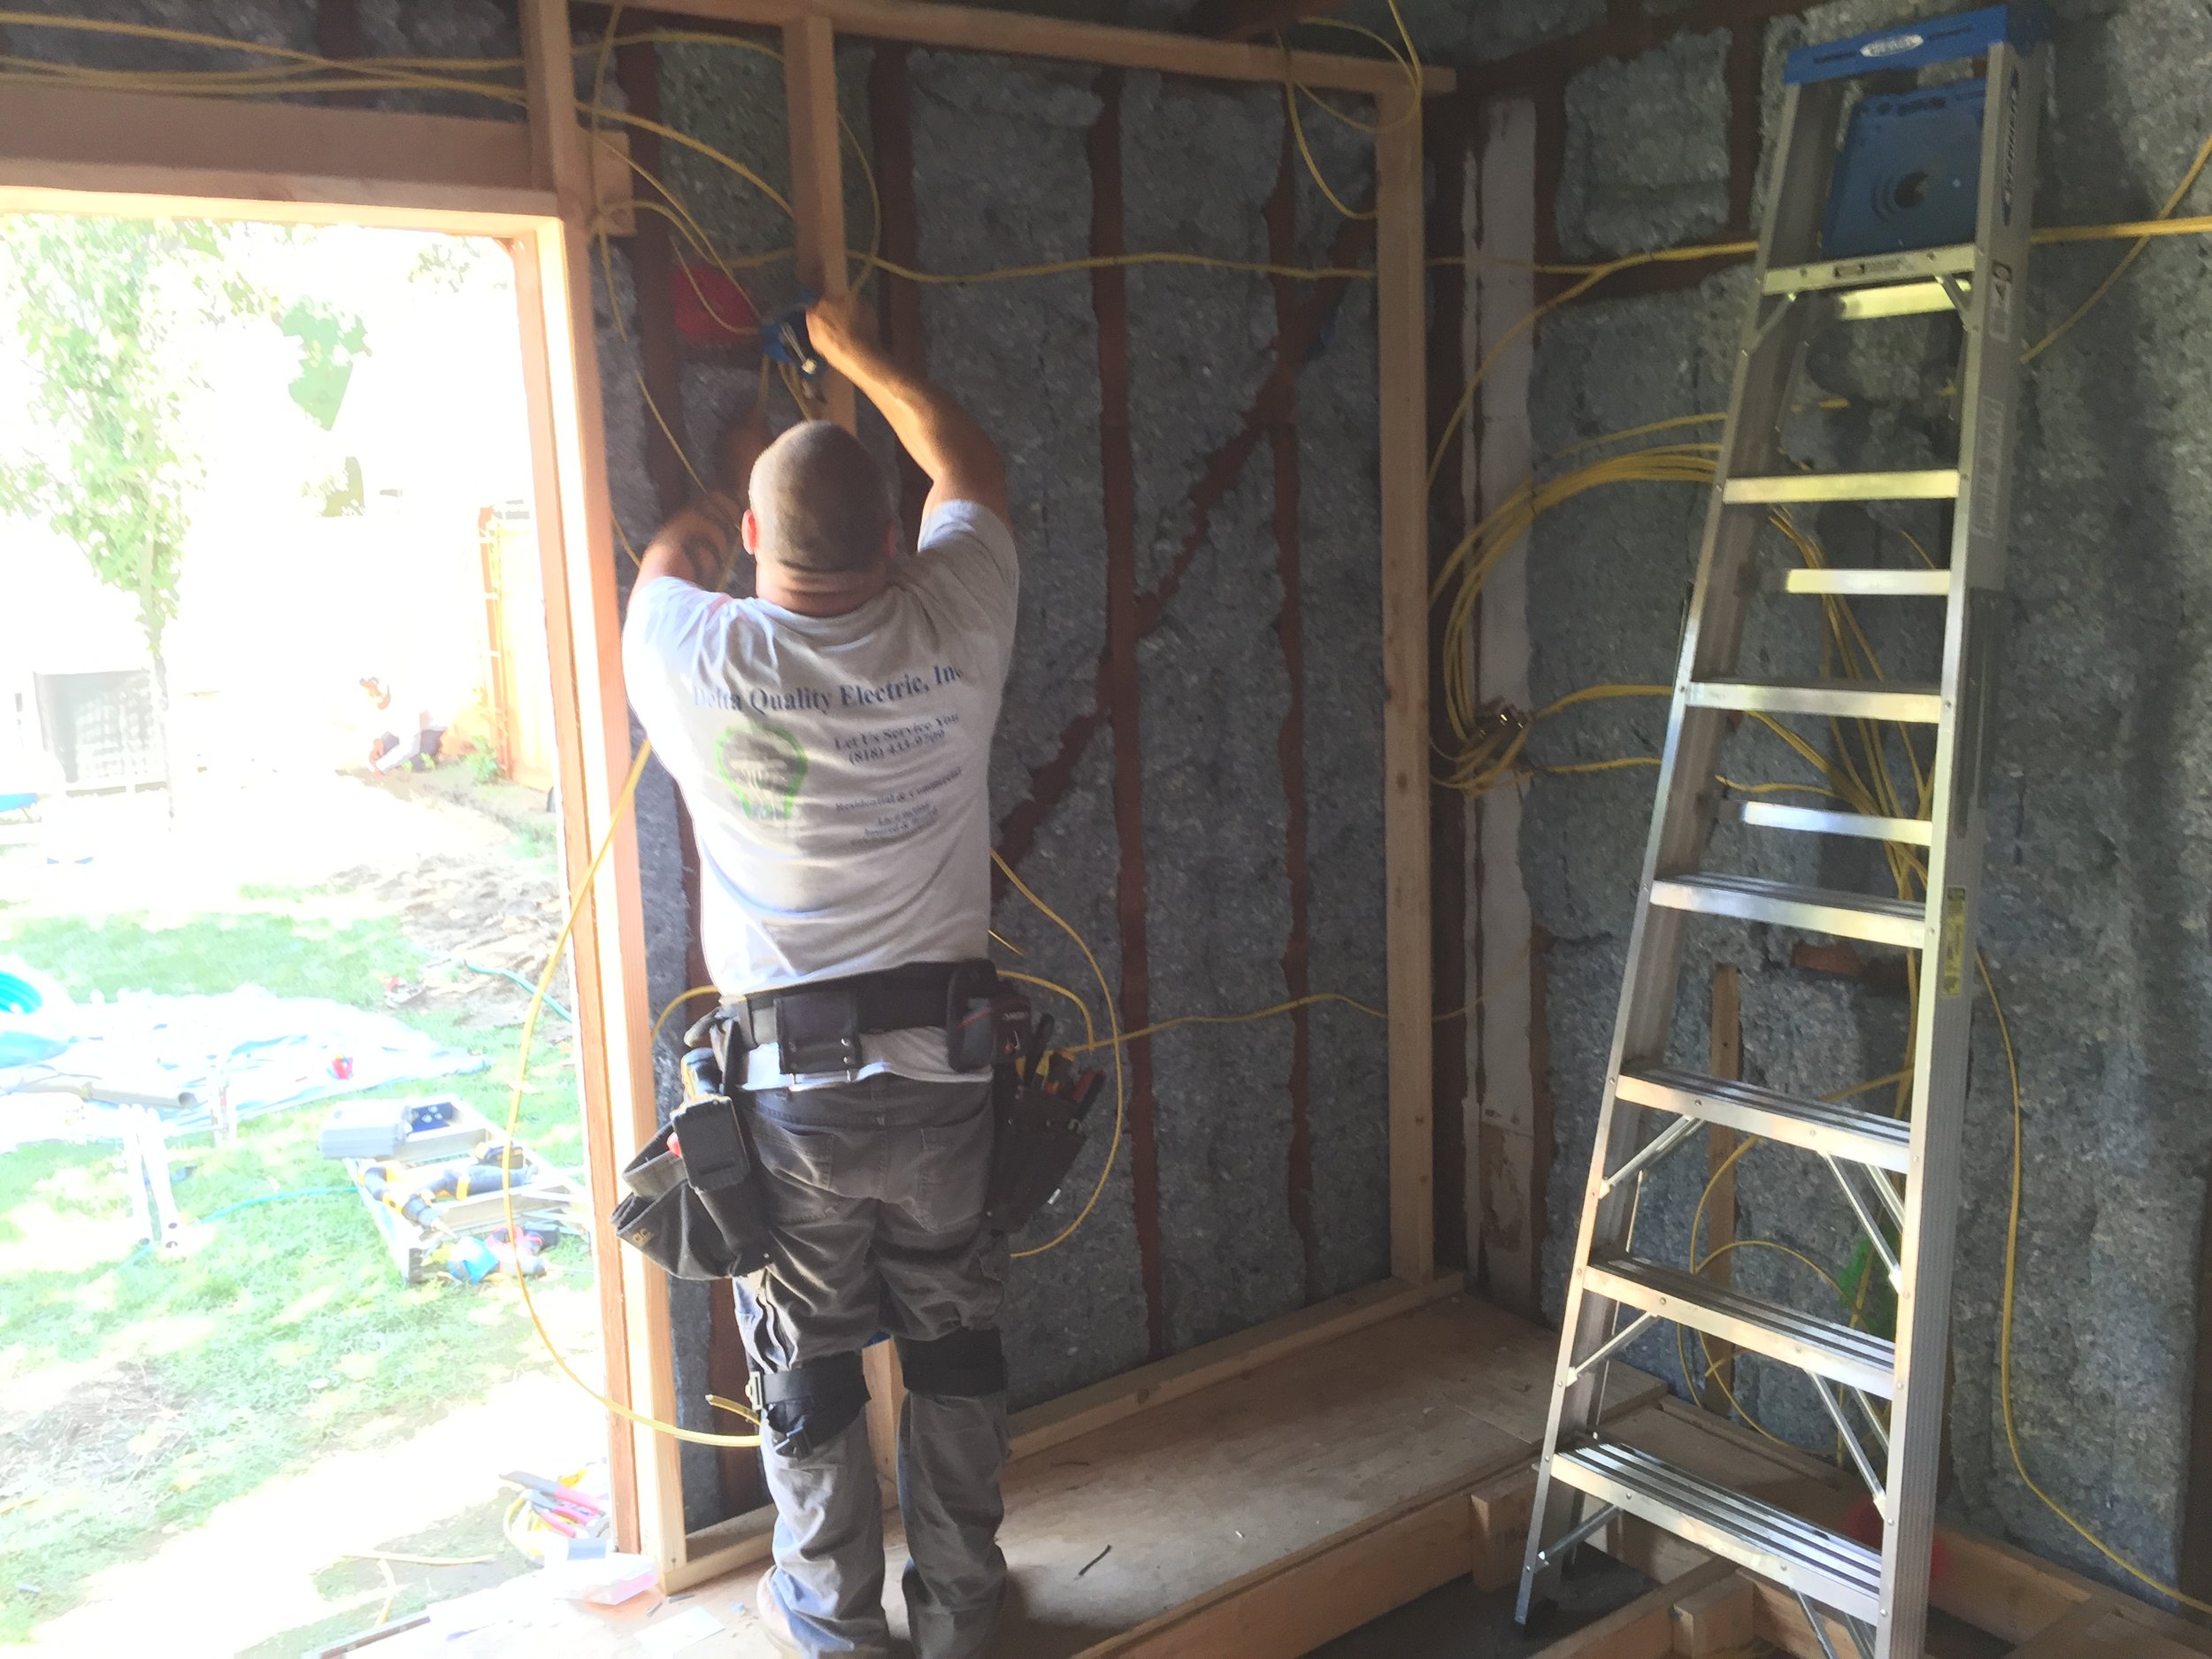
This was an old garage with old out of code electrical. We hired a licensed electrician to run new power to the garage with a separate box and disconnect at the garage ensuring we had enough power for all equipment requirements.

Running new electrical and low-voltage to the garage from the main distribution panel at the house.

New cabling going in!
The electrical inside had to be done concurrent to several of the next steps, so you just need to make sure you have good communication with your electrician to ensure you don’t lose time because of doing something in the wrong sequence. (Don’t cover the walls before the electrical is installed and verified. Sounds stupid, I’ve seen it happen.)
As a small note, we also used plastic boxes and piping as sometimes metallic electrical boxes and conduit can "ring" if hit by specific frequencies. It's a little anal, but oh well. Better safe than sorry.
SOUND CABLING
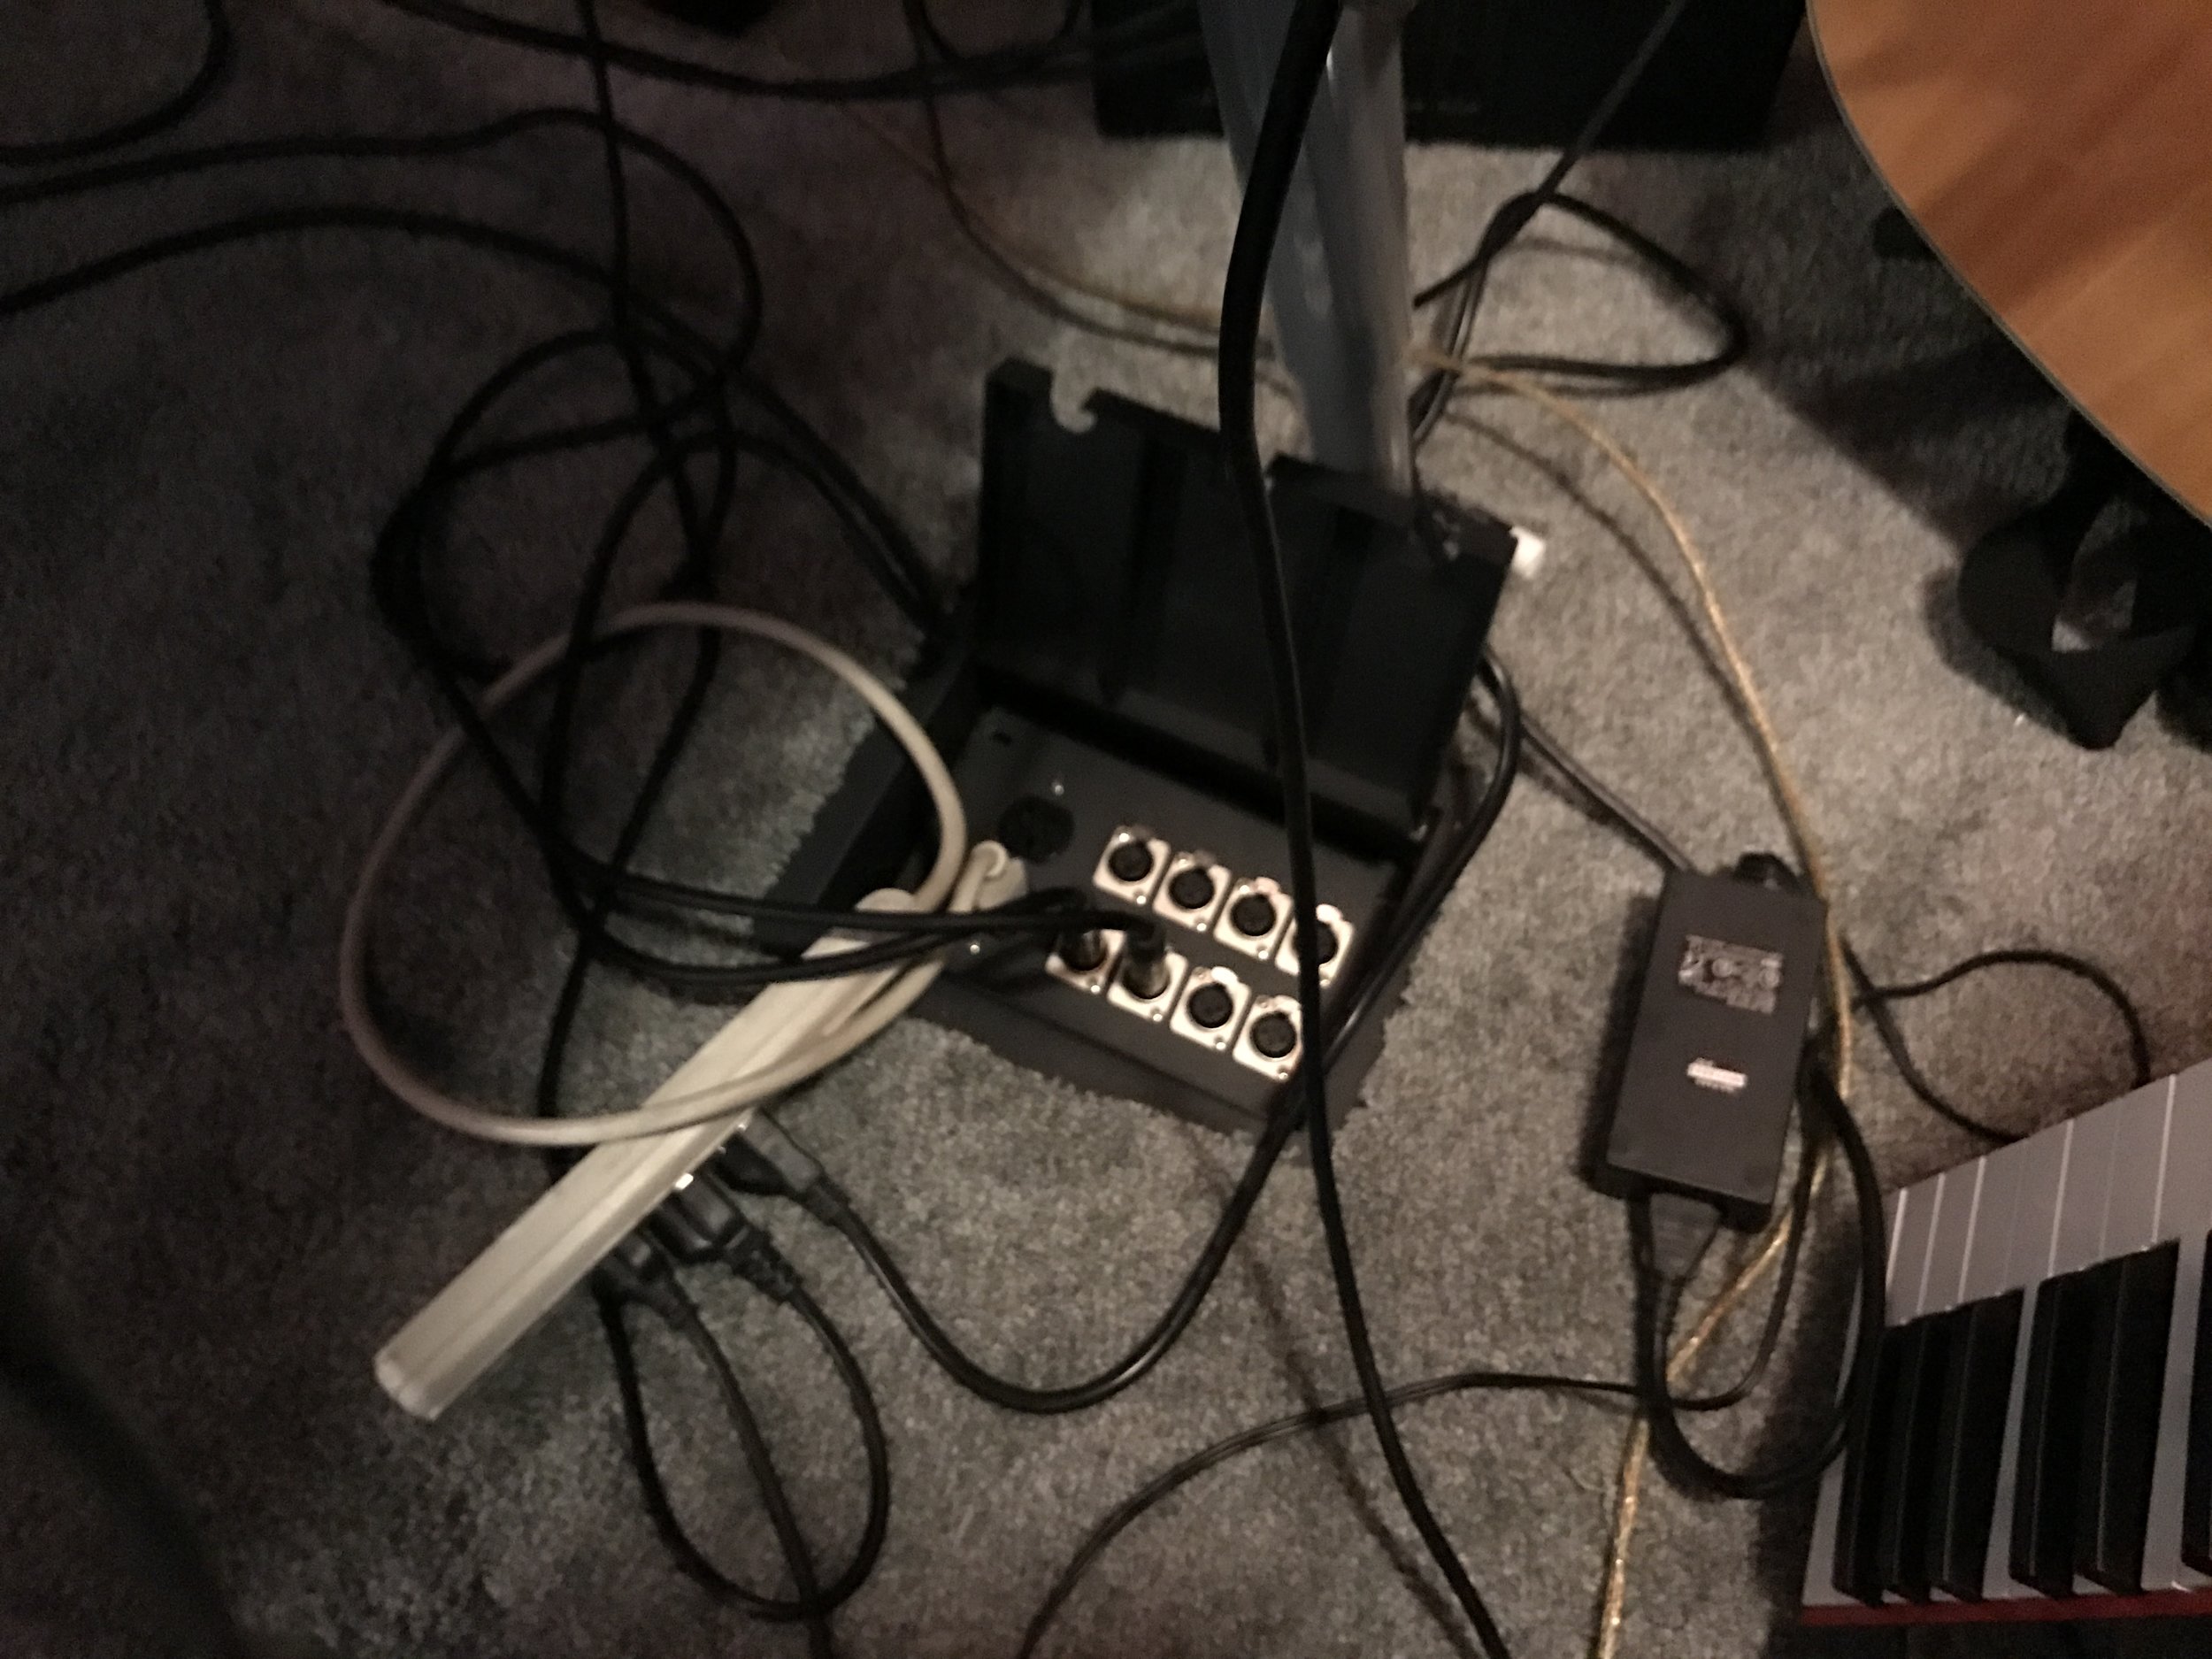
Kelvin, Bowie (the composers) and I pulled all the sound and internet cabling for the studio and wired it up. We used the bright orange plastic boxes for internet as well as patch panels for speakers and mic cabling. I think we ran almost 1000' feet of cabling in the space!
I had them think of everything they could possibly want to do in the studio from garage band to film scoring to whatever and we planned the cabling around that.
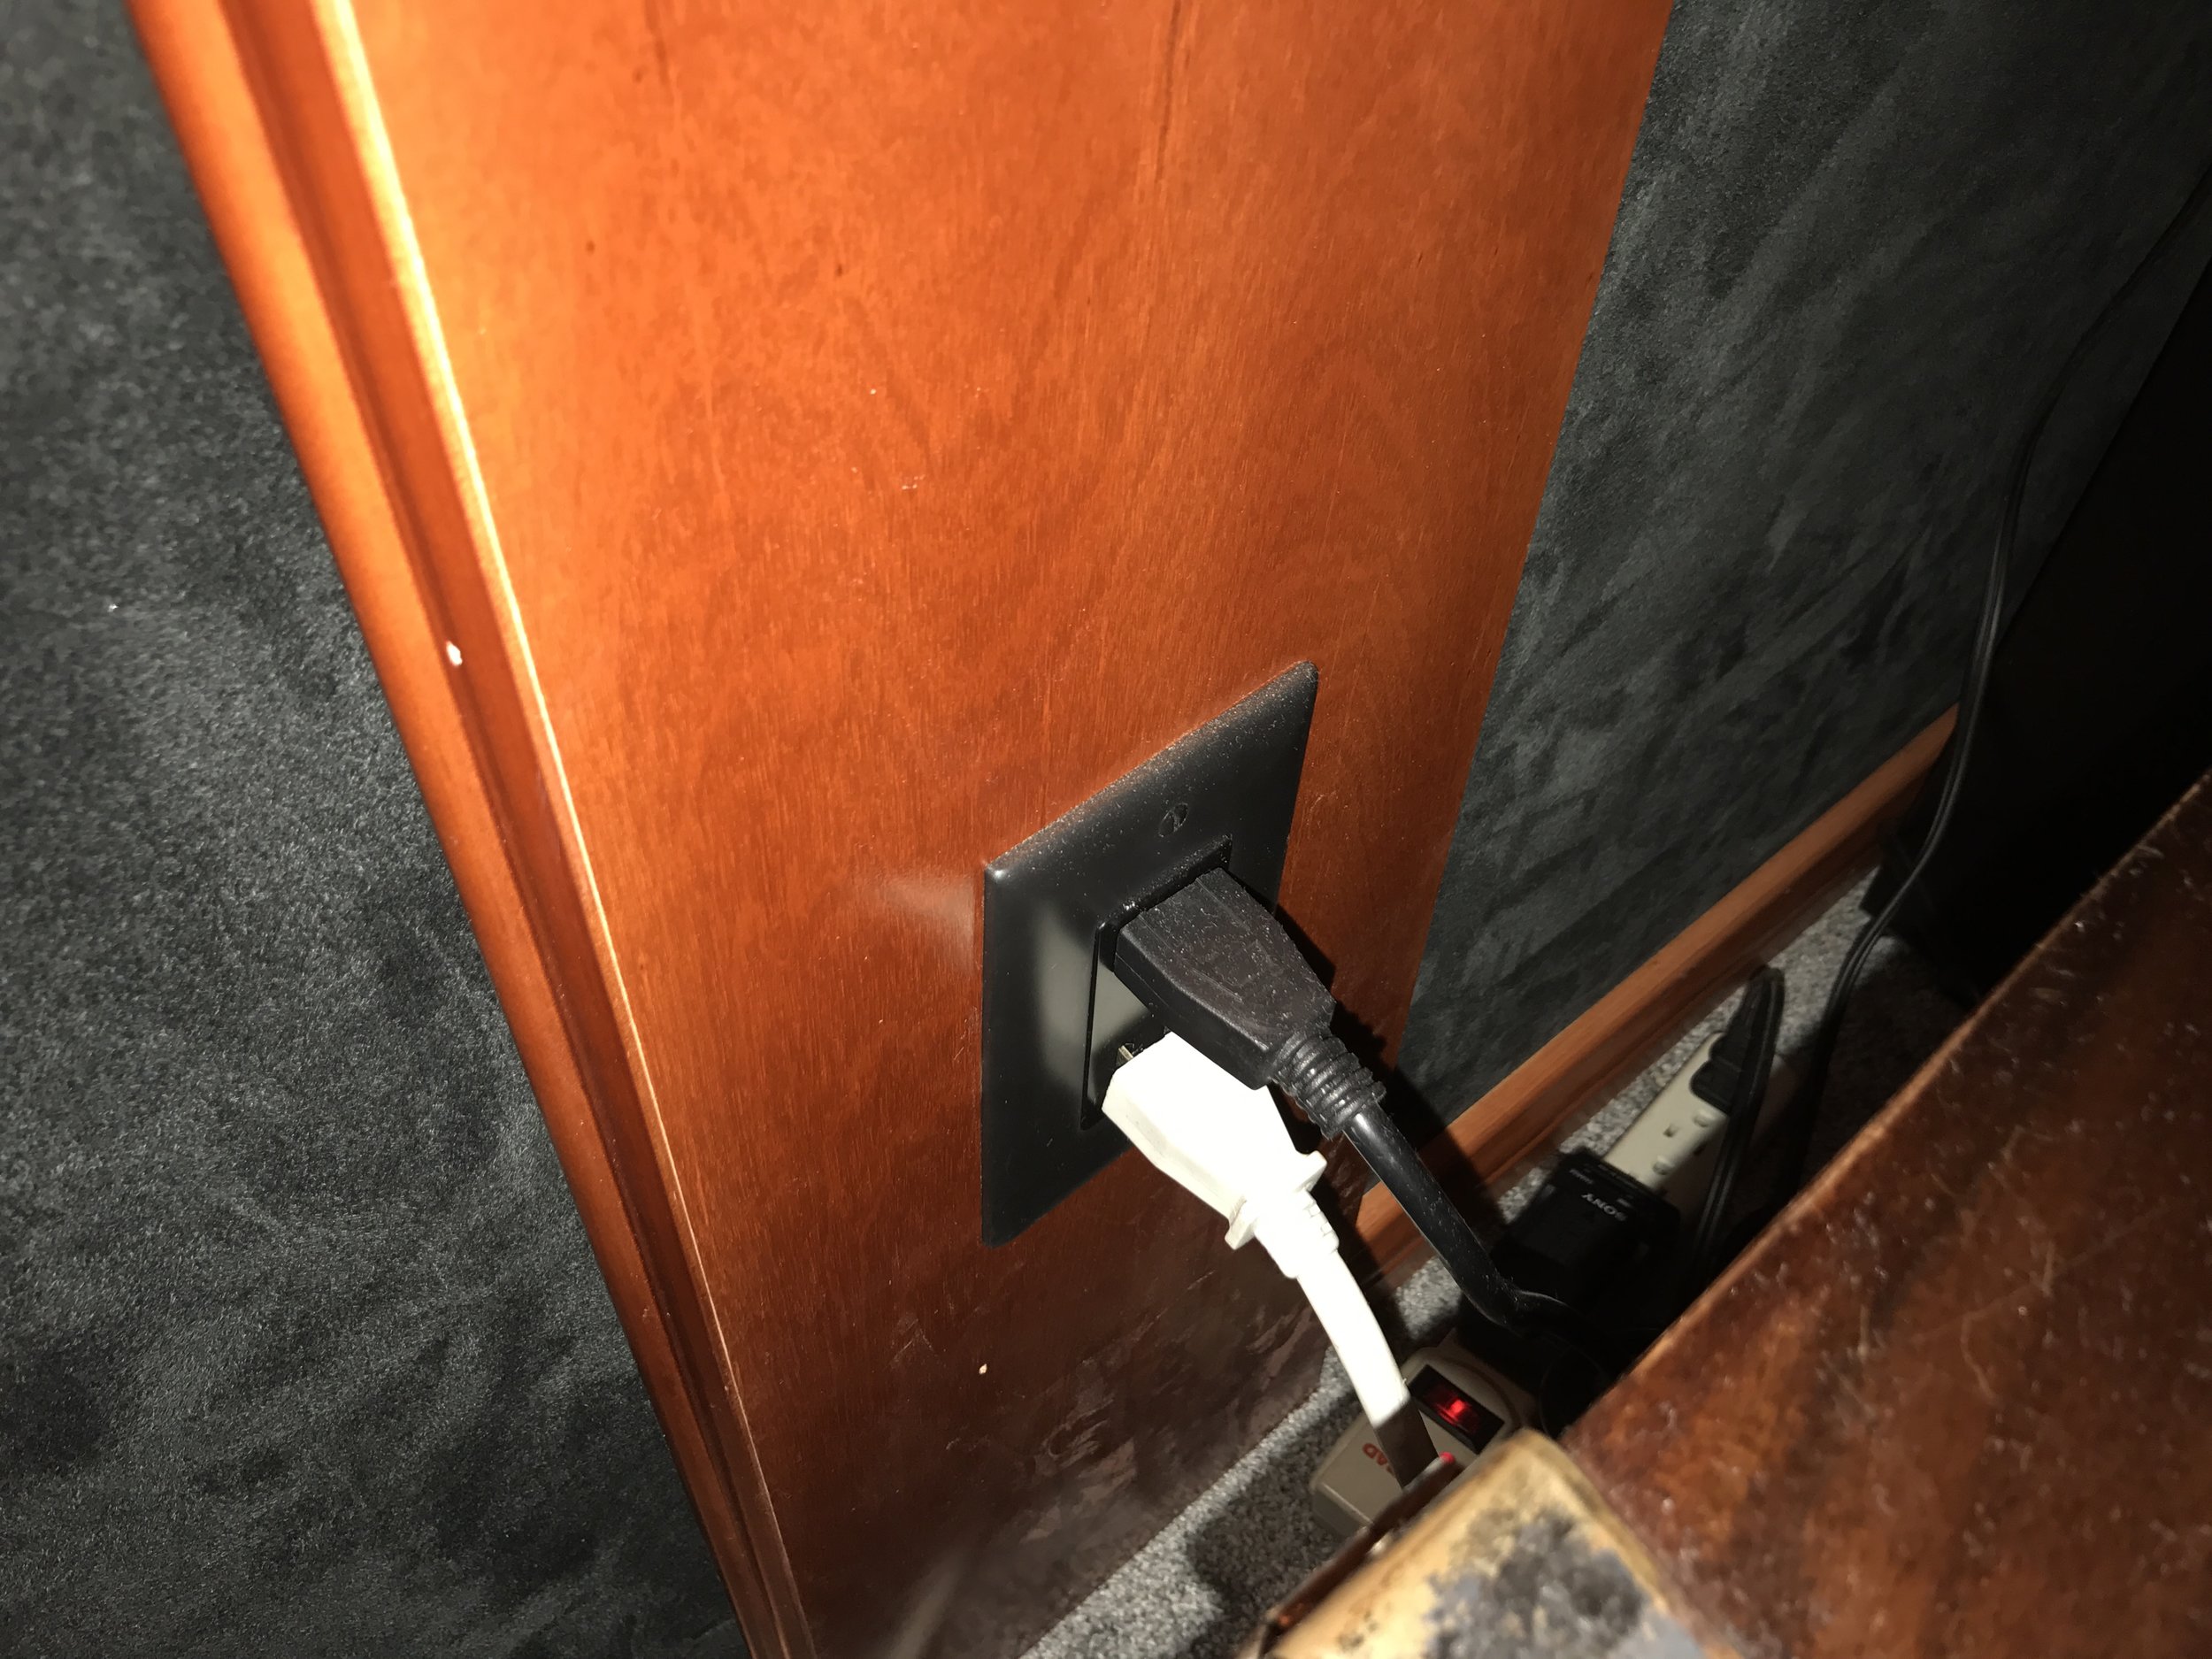
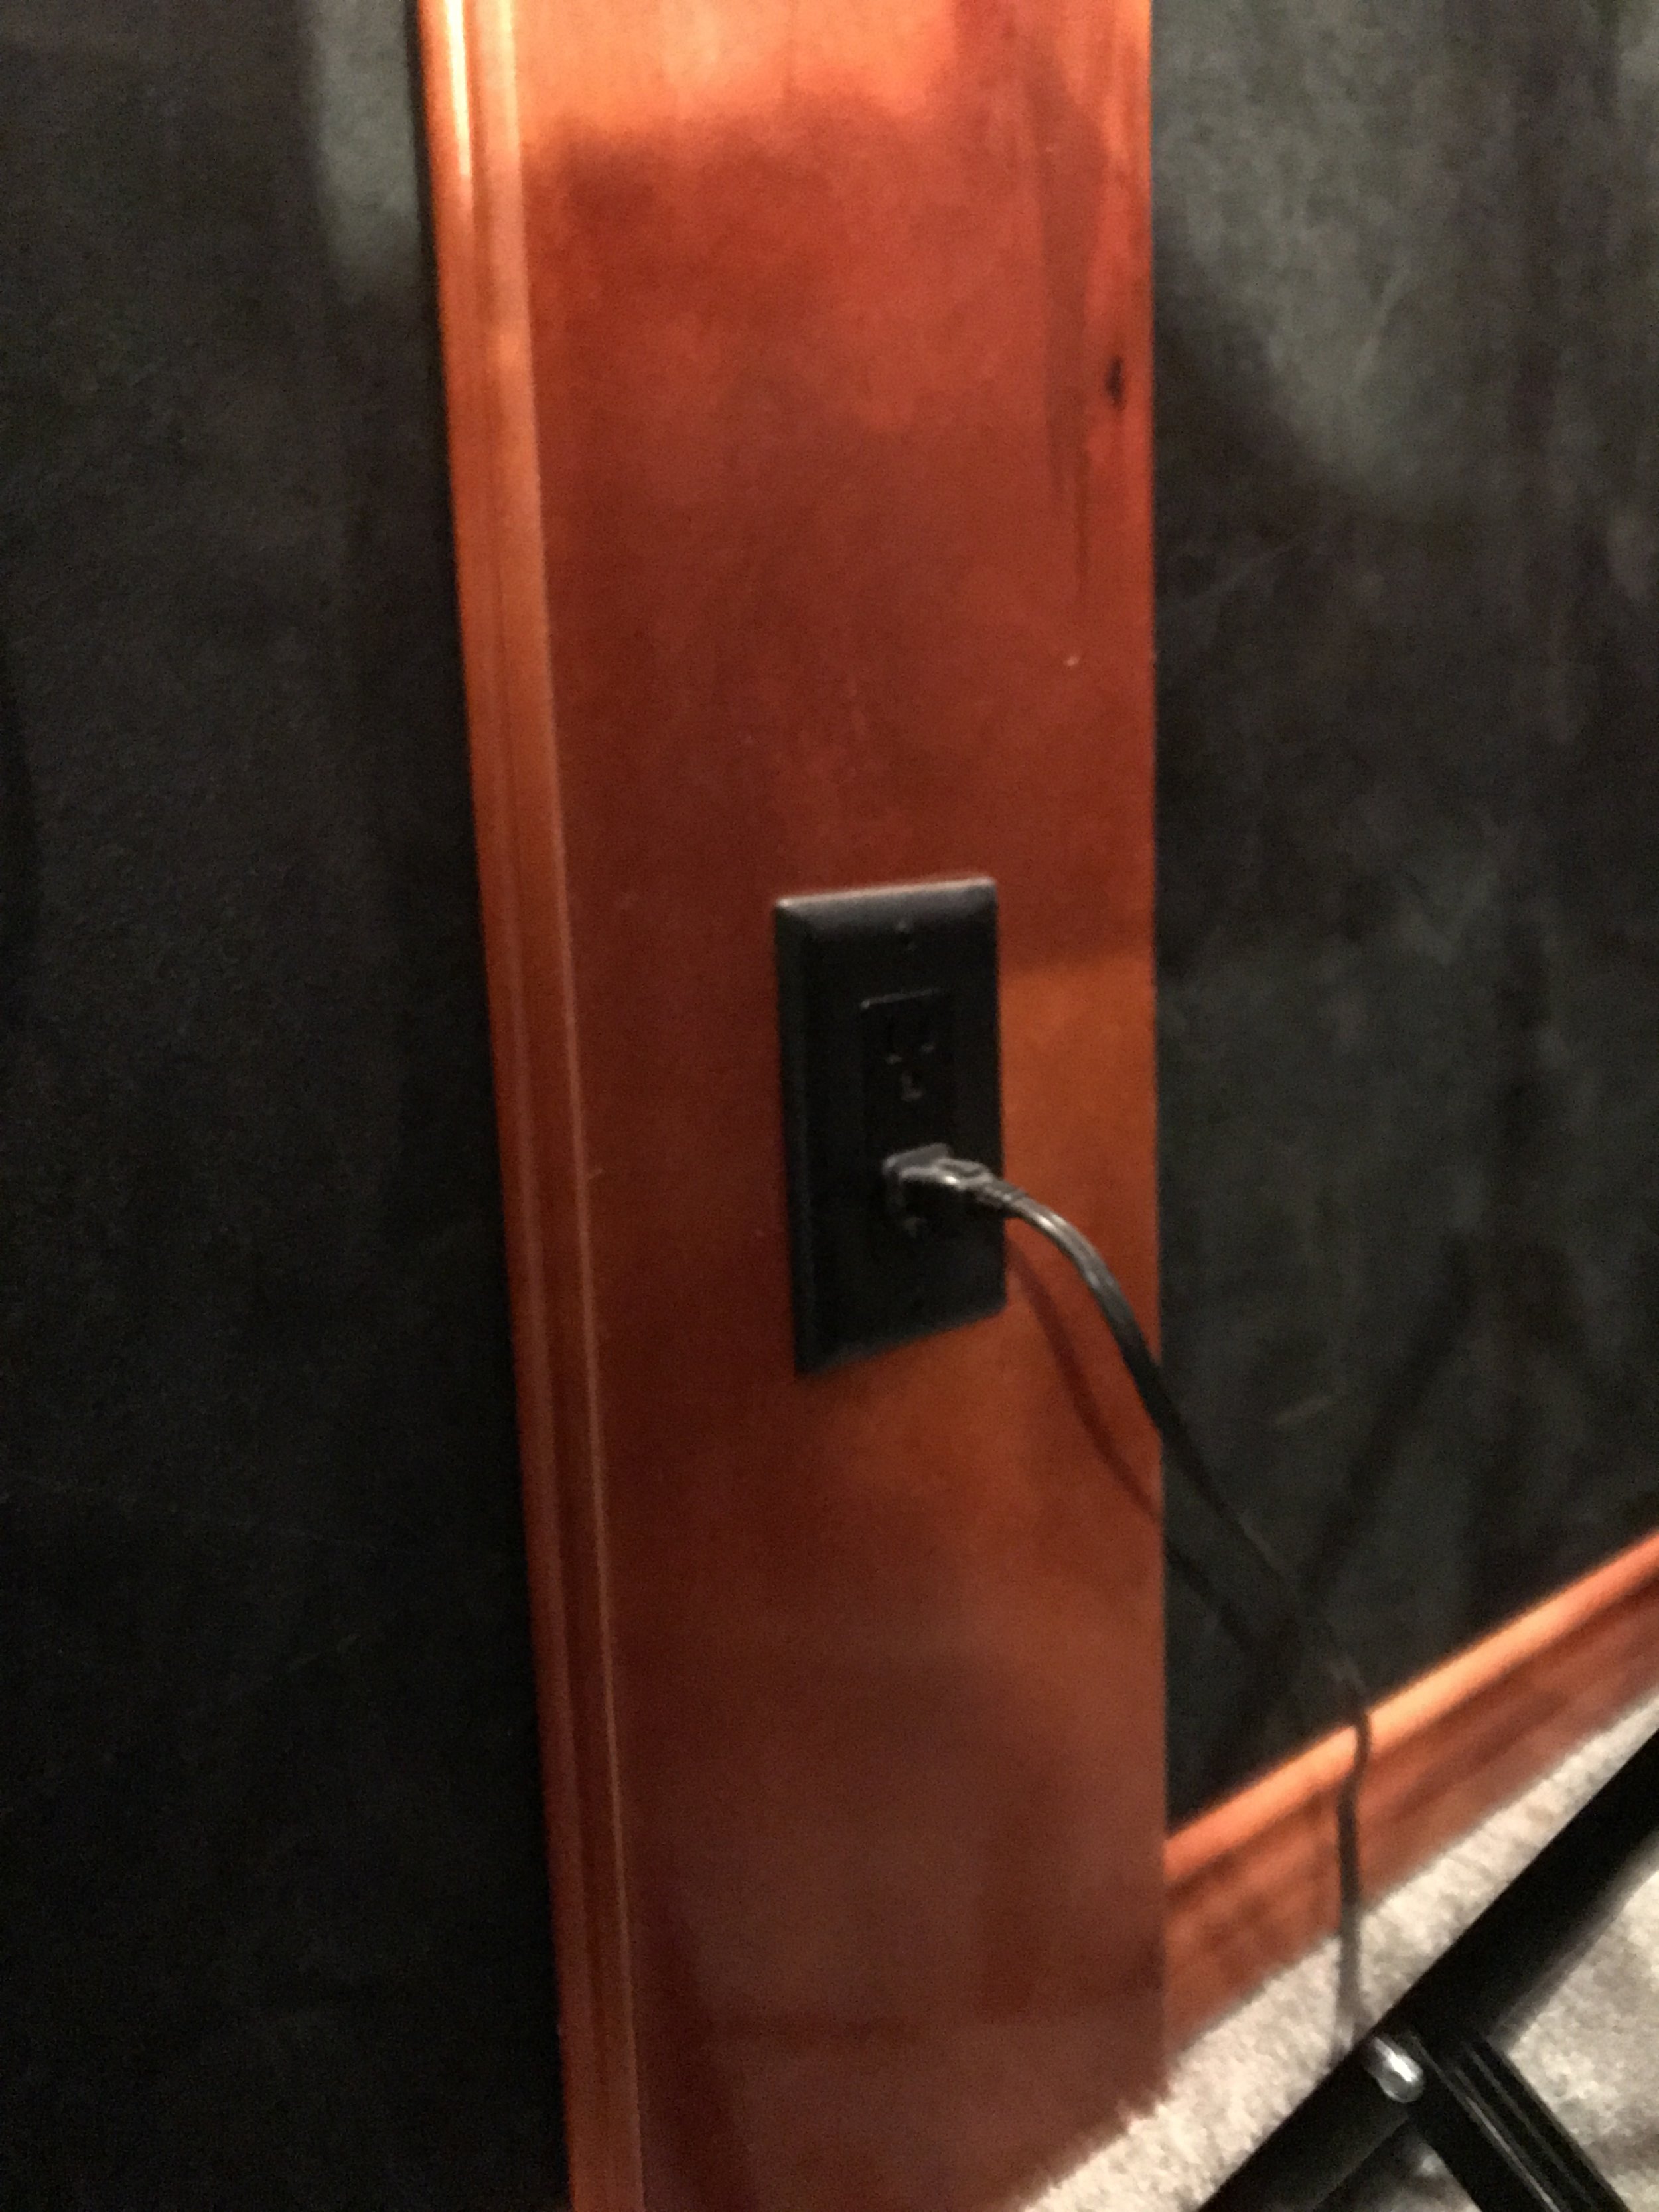
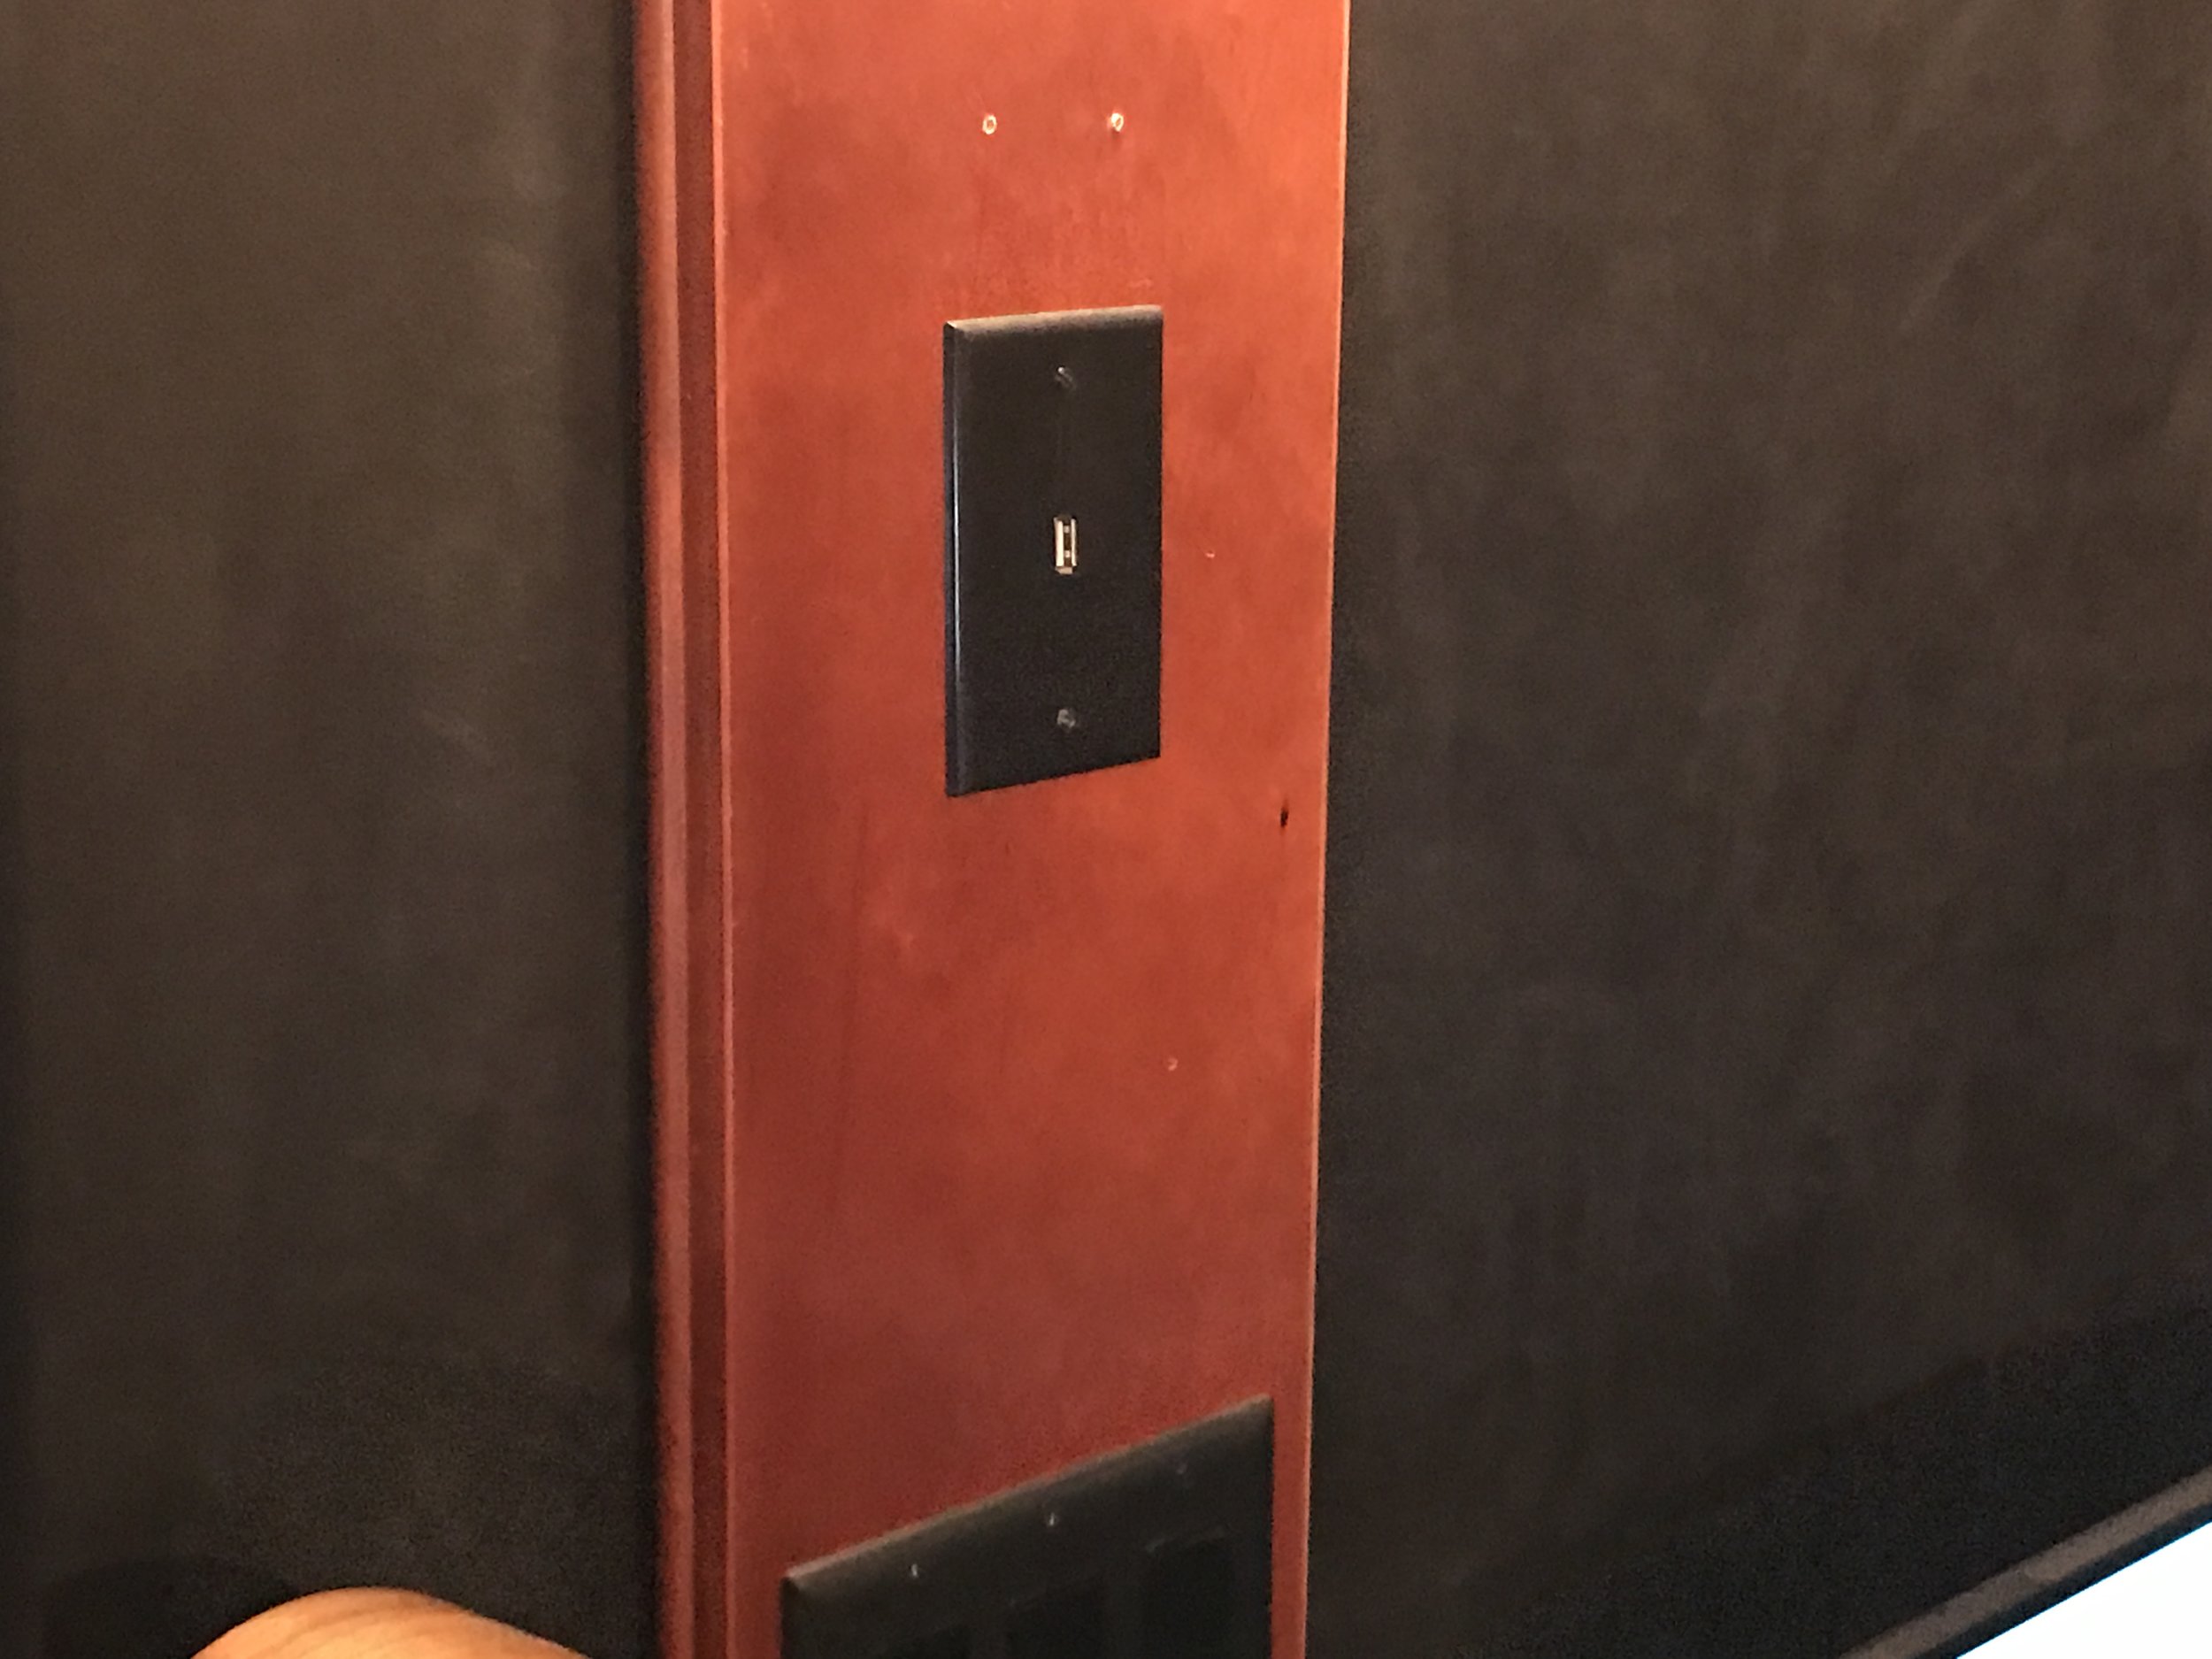
A big thing we wanted is to not have cables running all over the floor. So we planned for floor boxes and wall boxes where XLRs and jacks could be plugged in and which went over to the computer, amps, etc….This ended up being a crazy amount of cabling and soldering but it works amazing.
My point: run all the cabling and make sure it is sticking out of the boxes and ready to be connected.

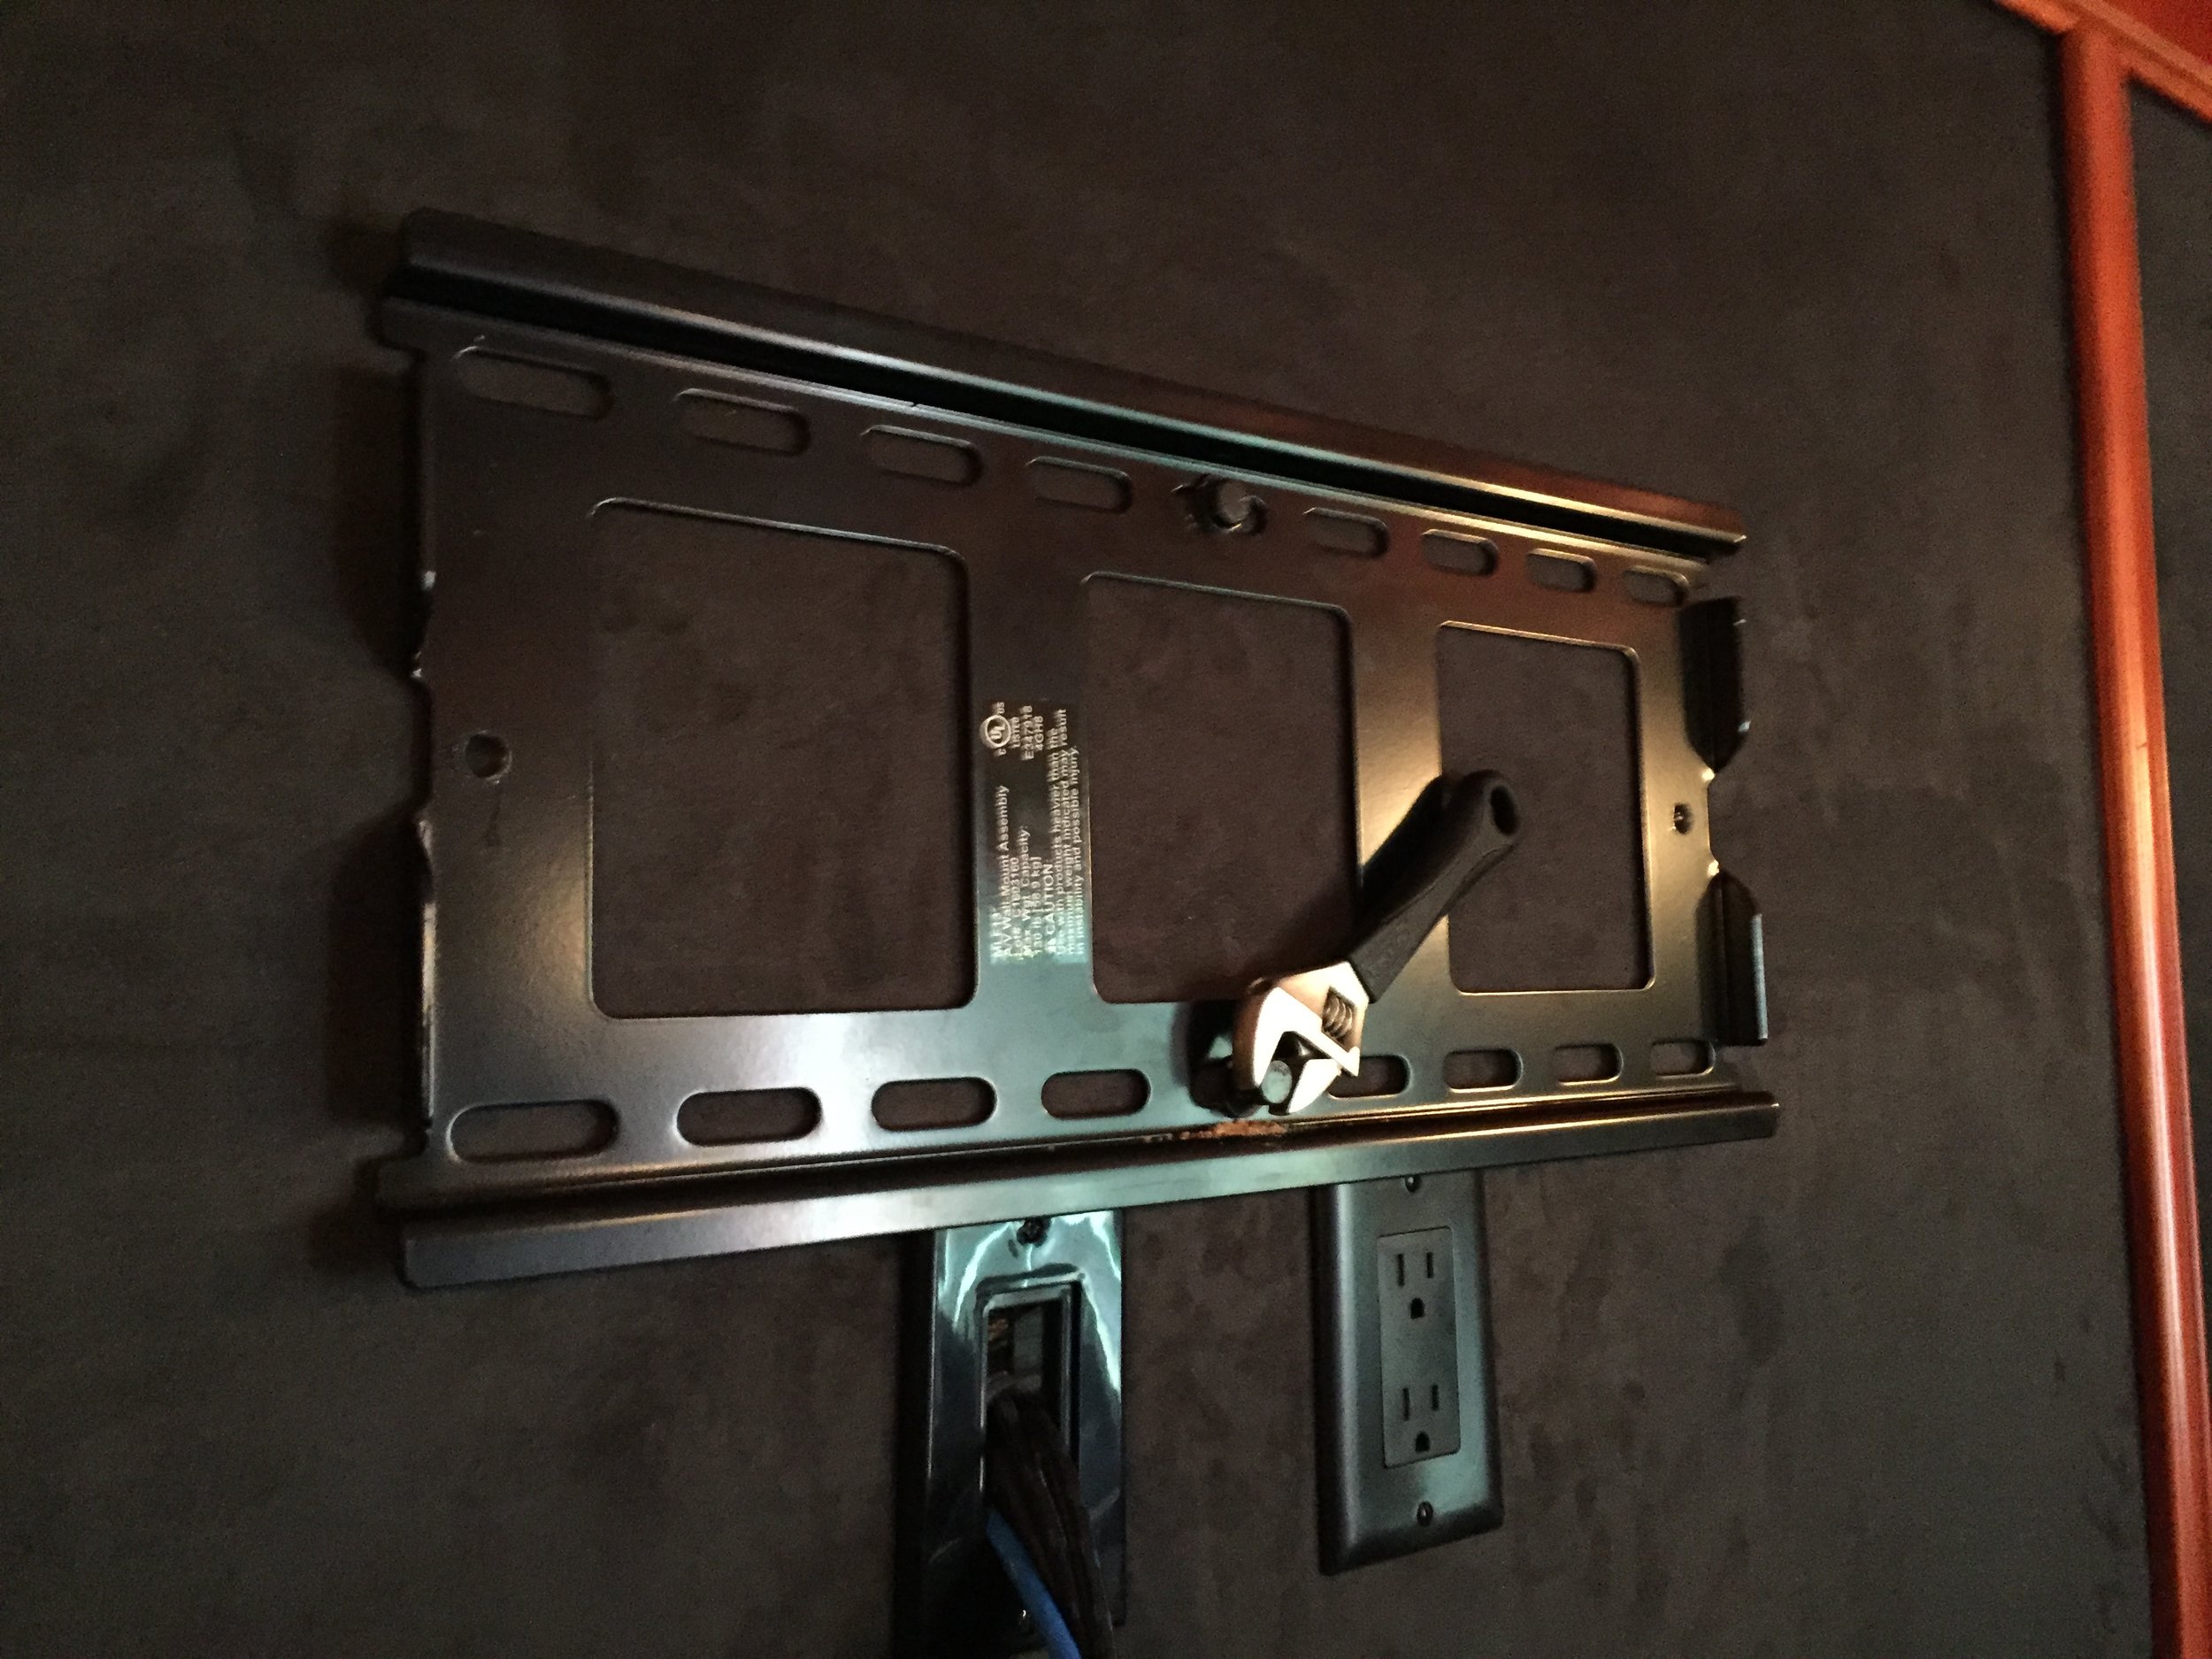
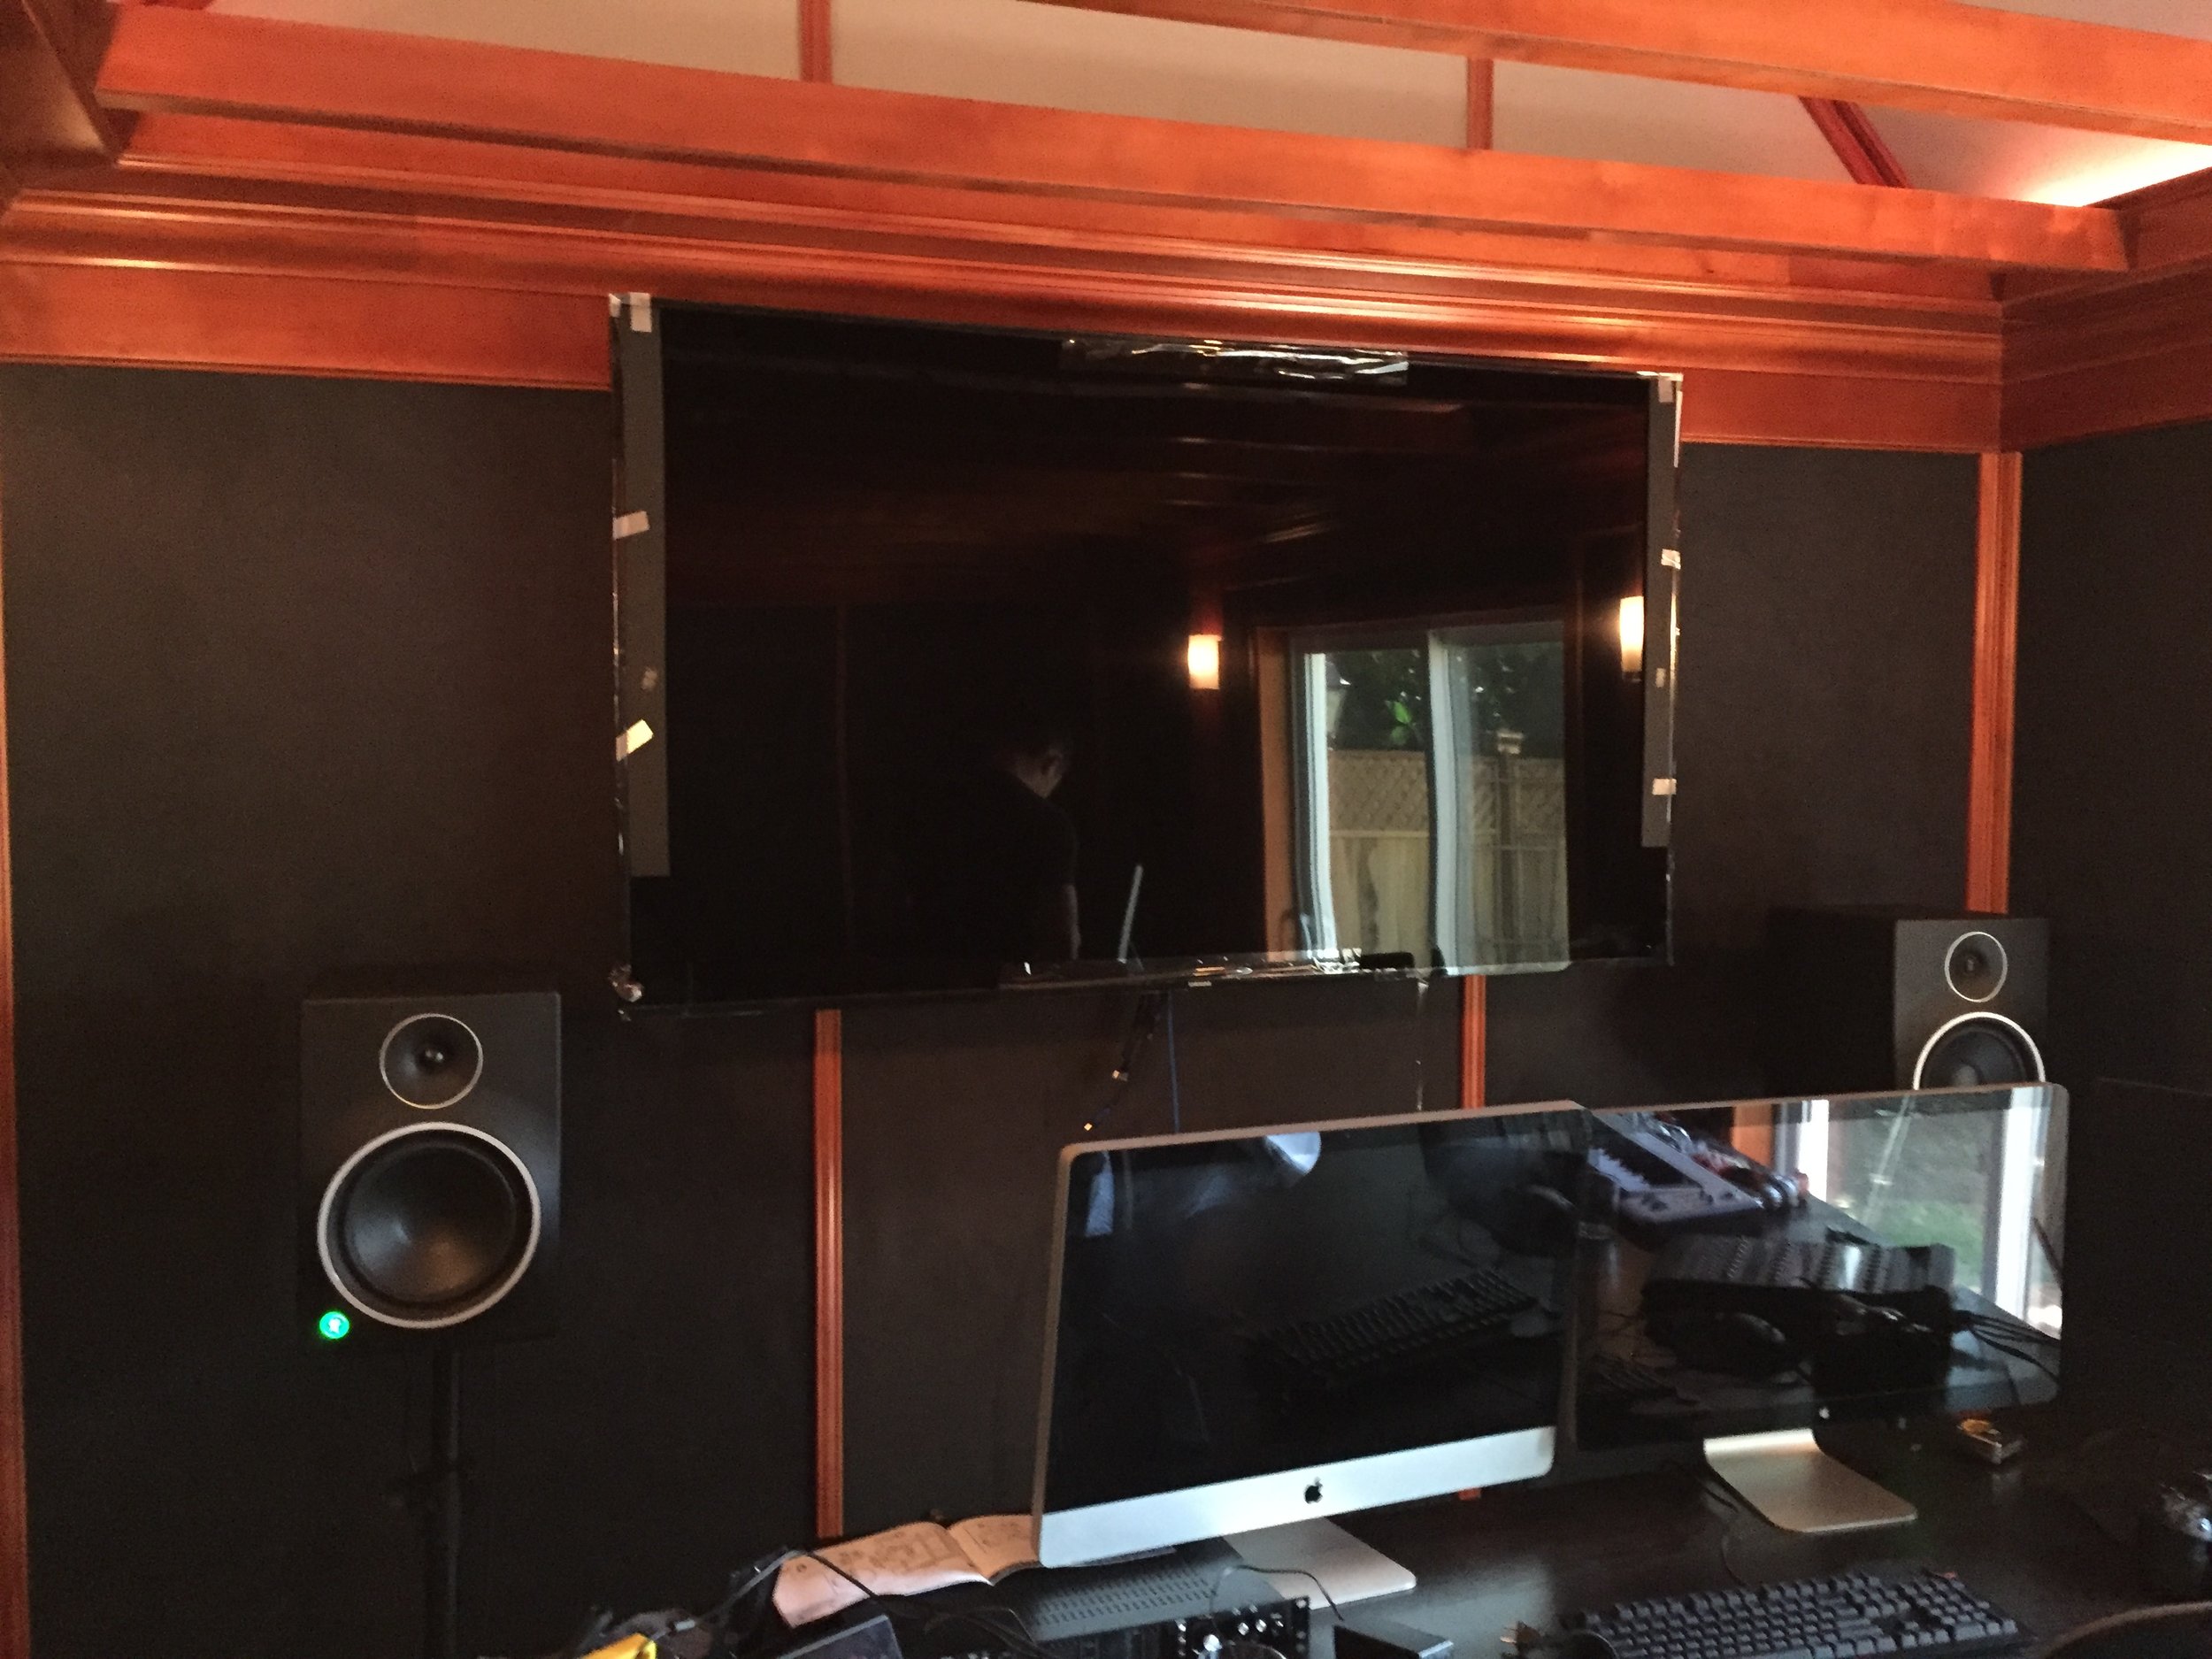
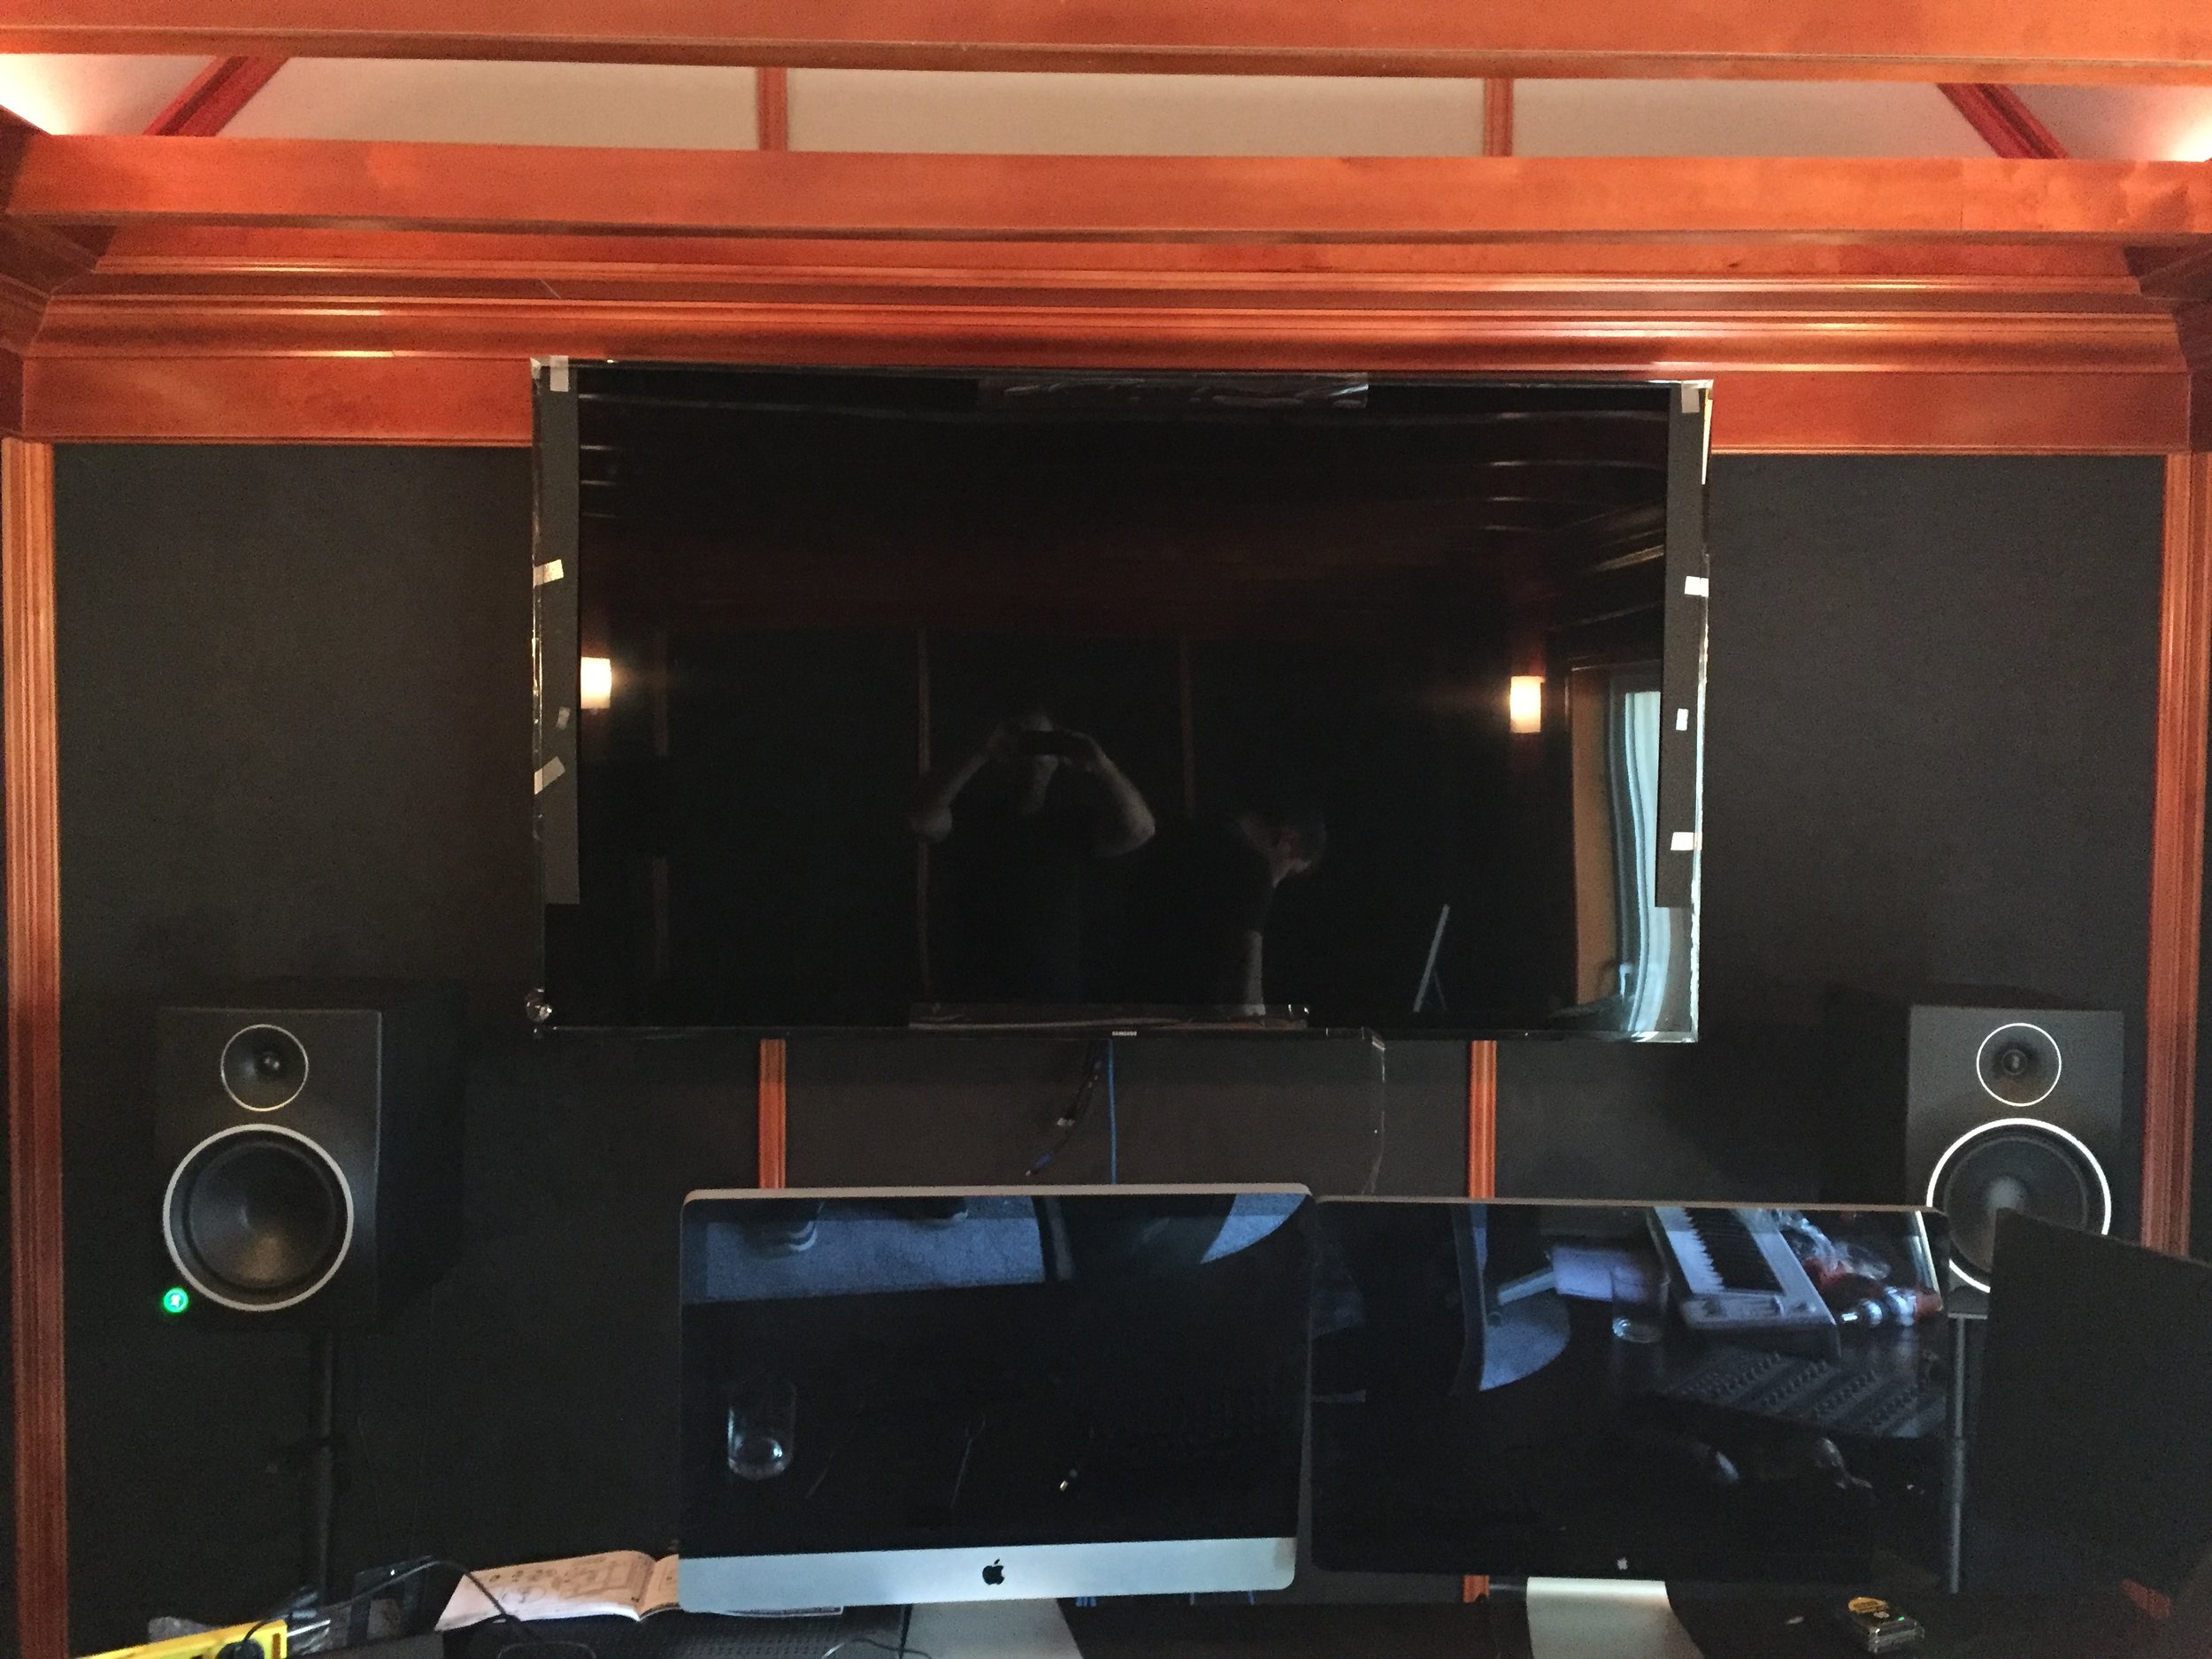
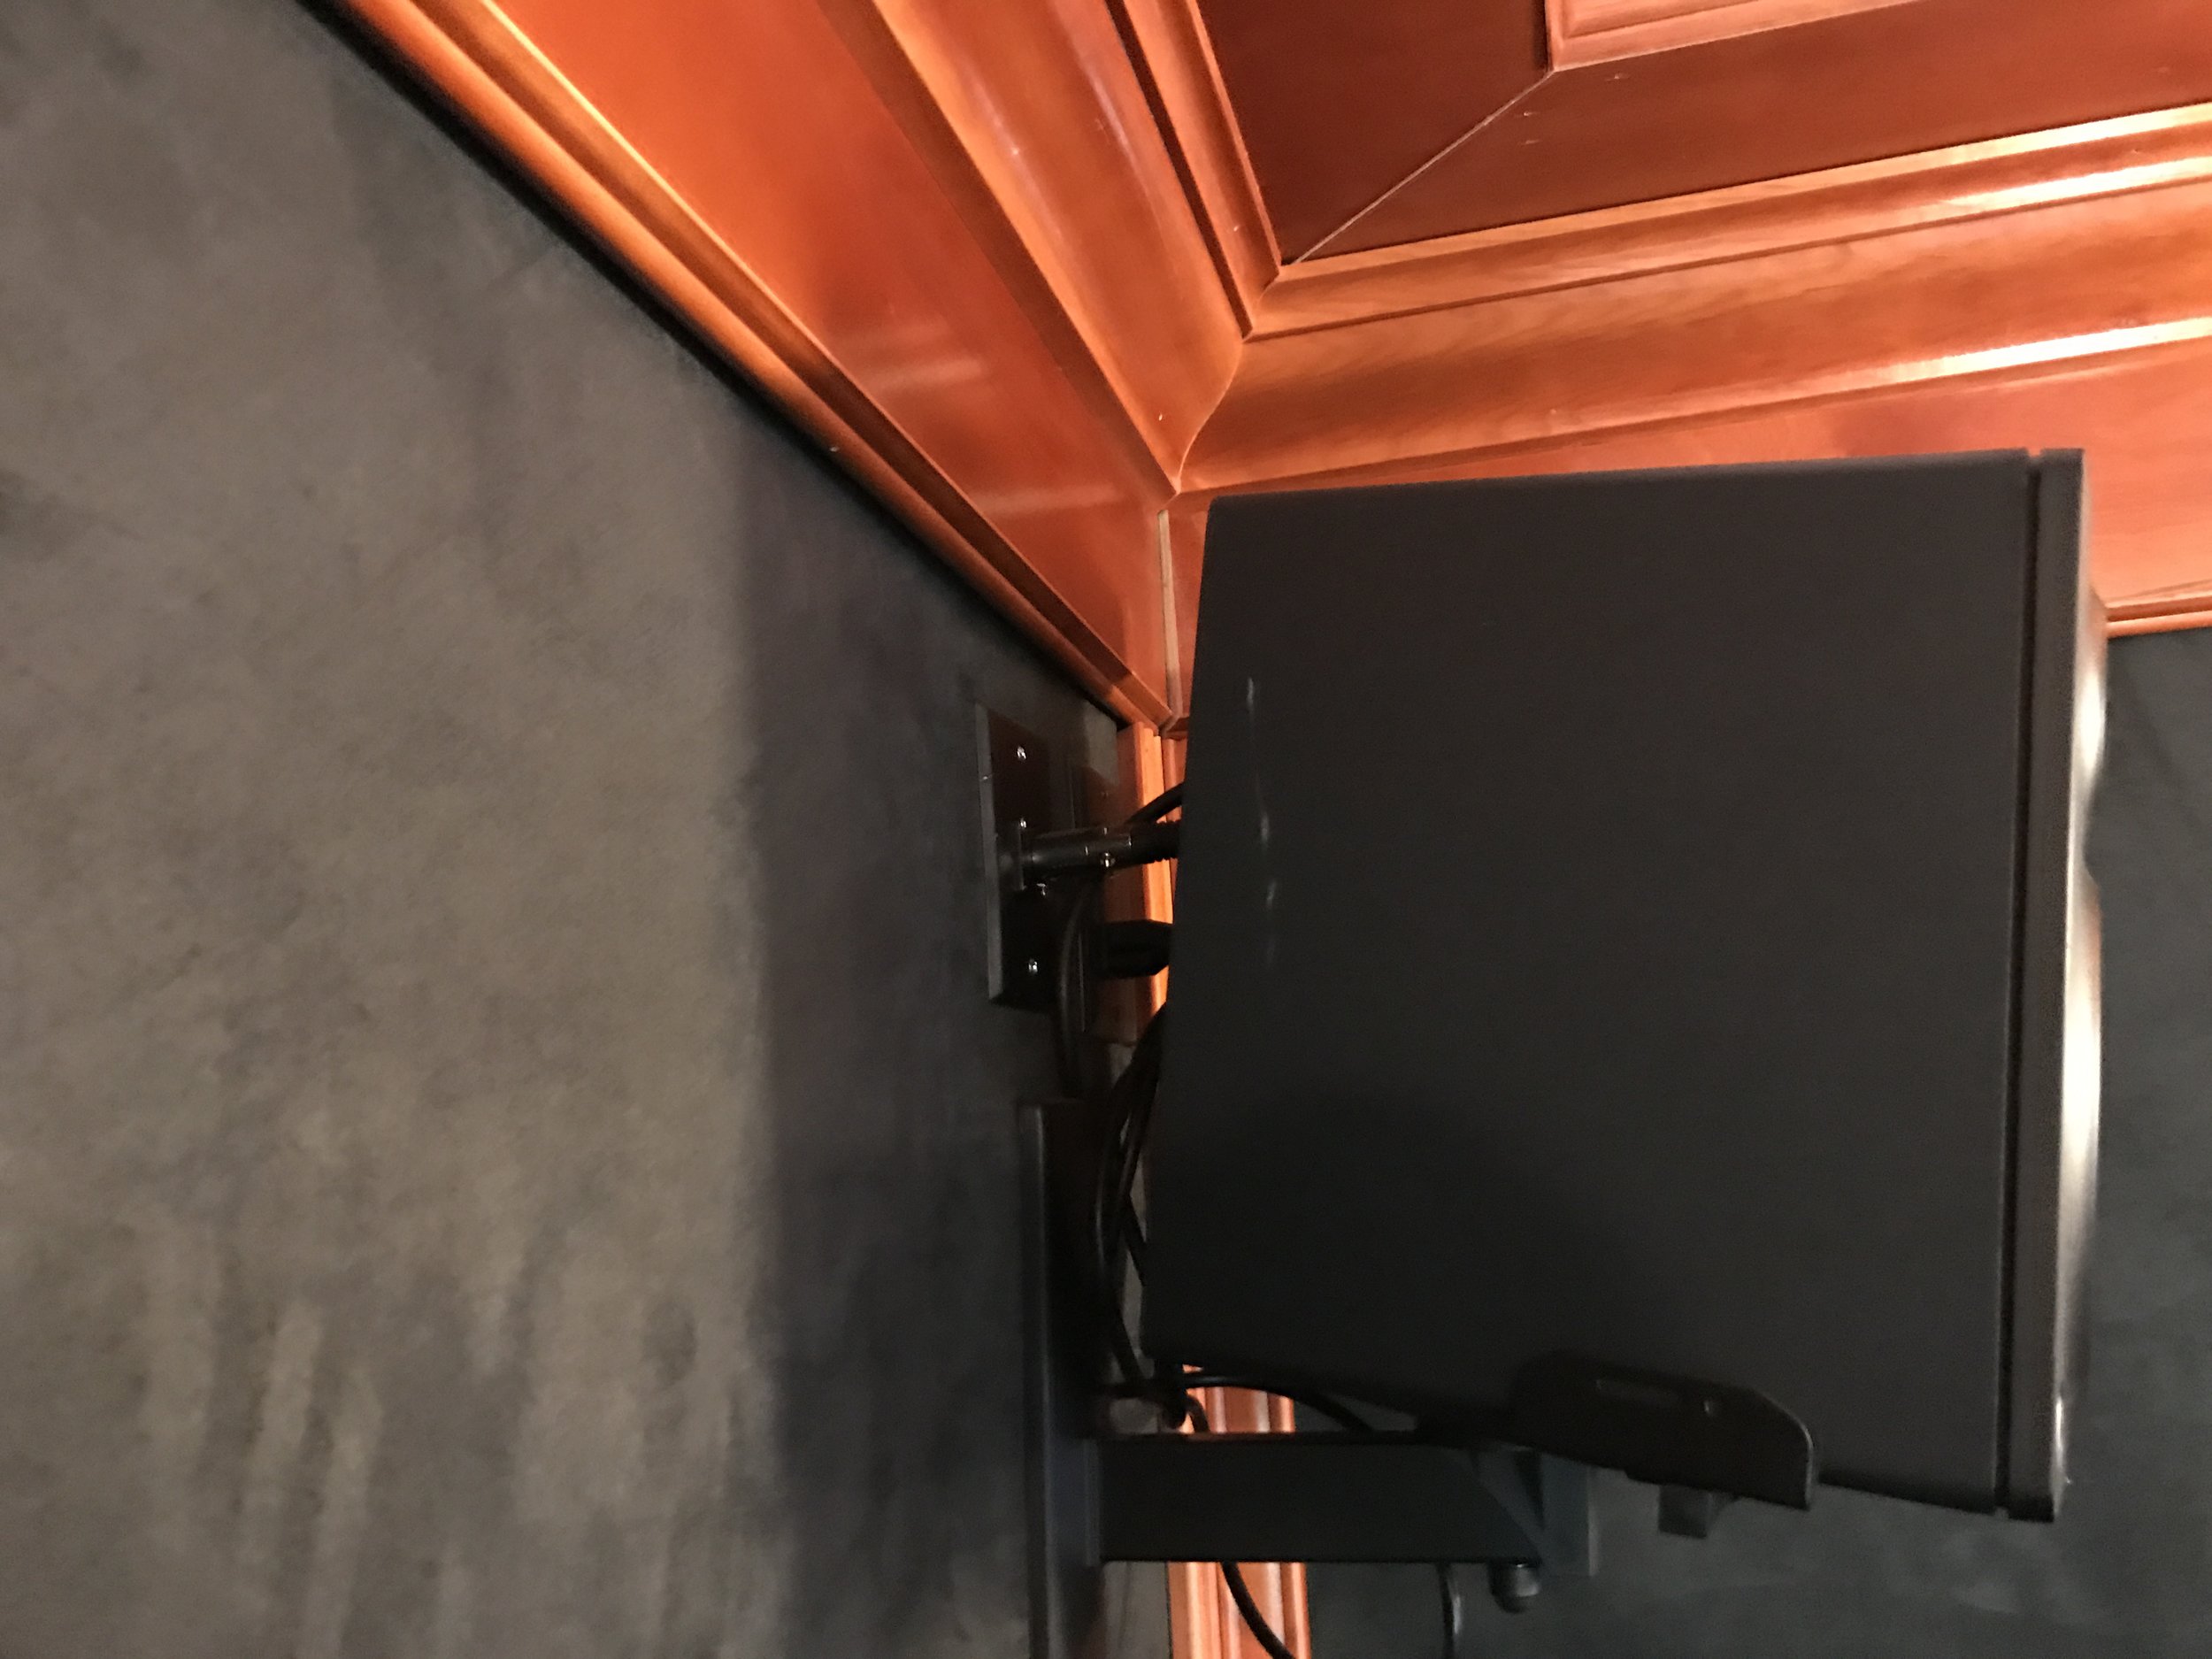
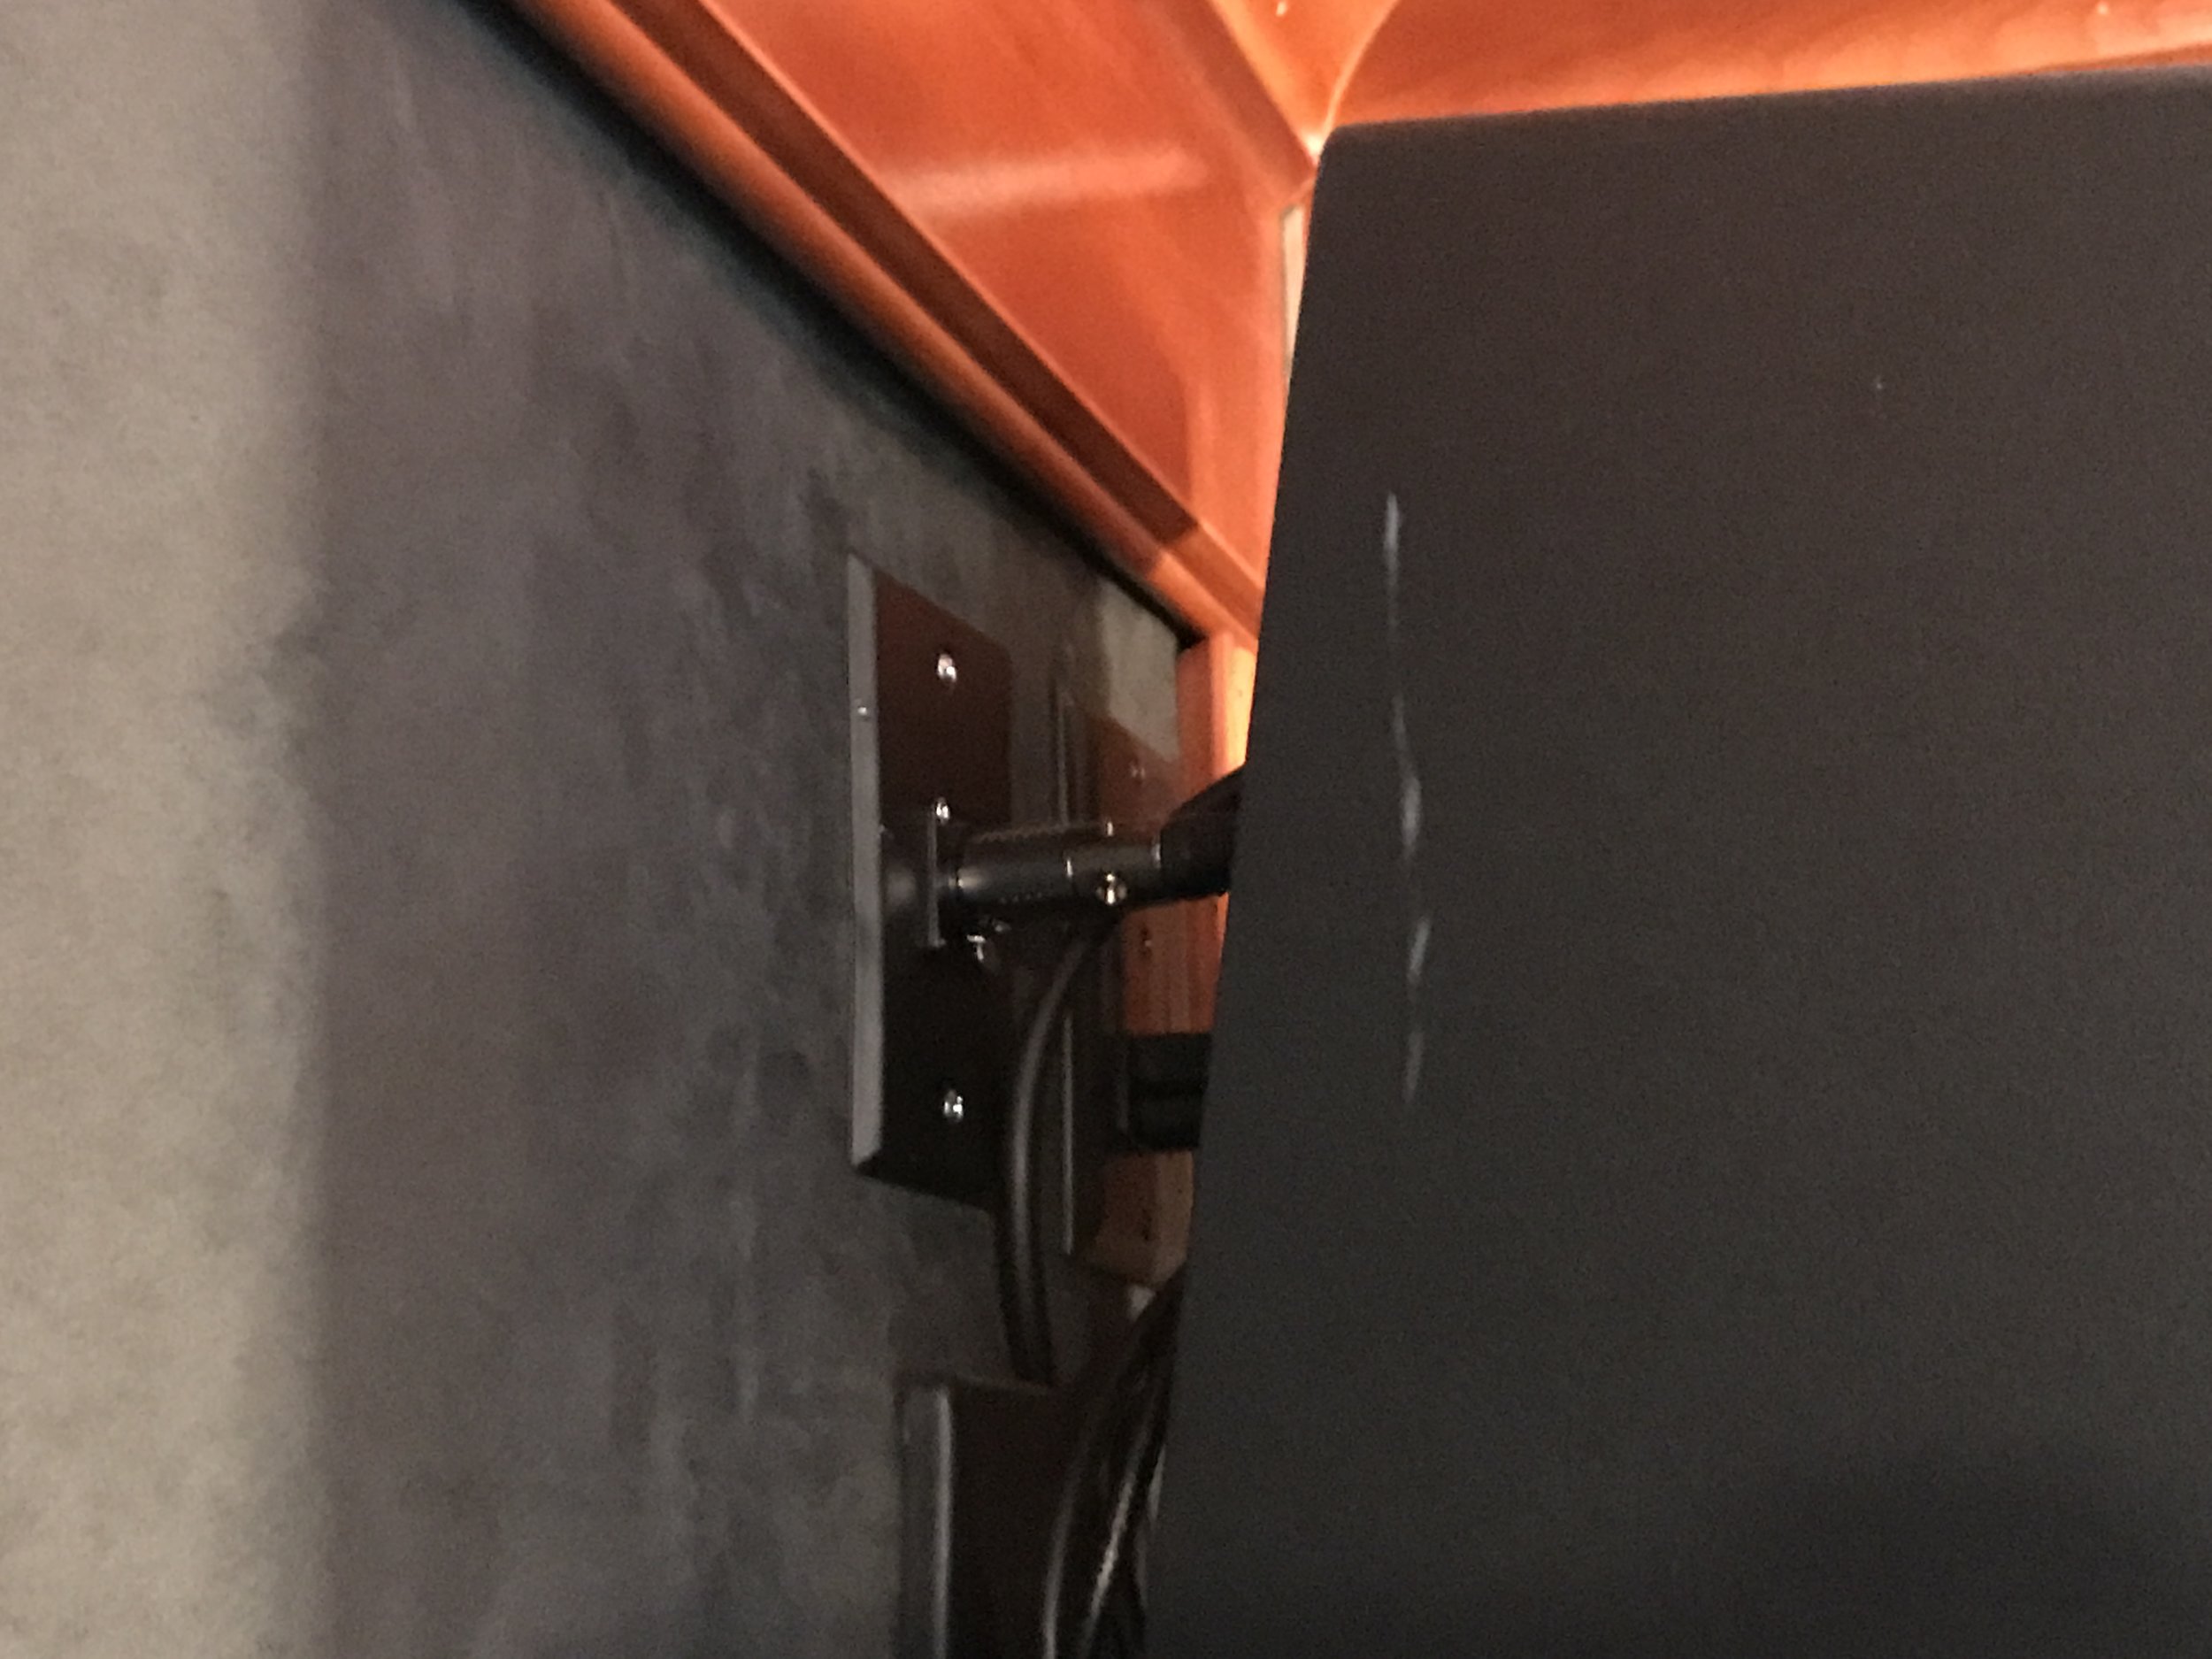
HDMI cabling, internet cabling, sound cabling and support wood to mount the TV to at the front of the room.
Check and make sure you’ve run everything.
Check again.
Check again.
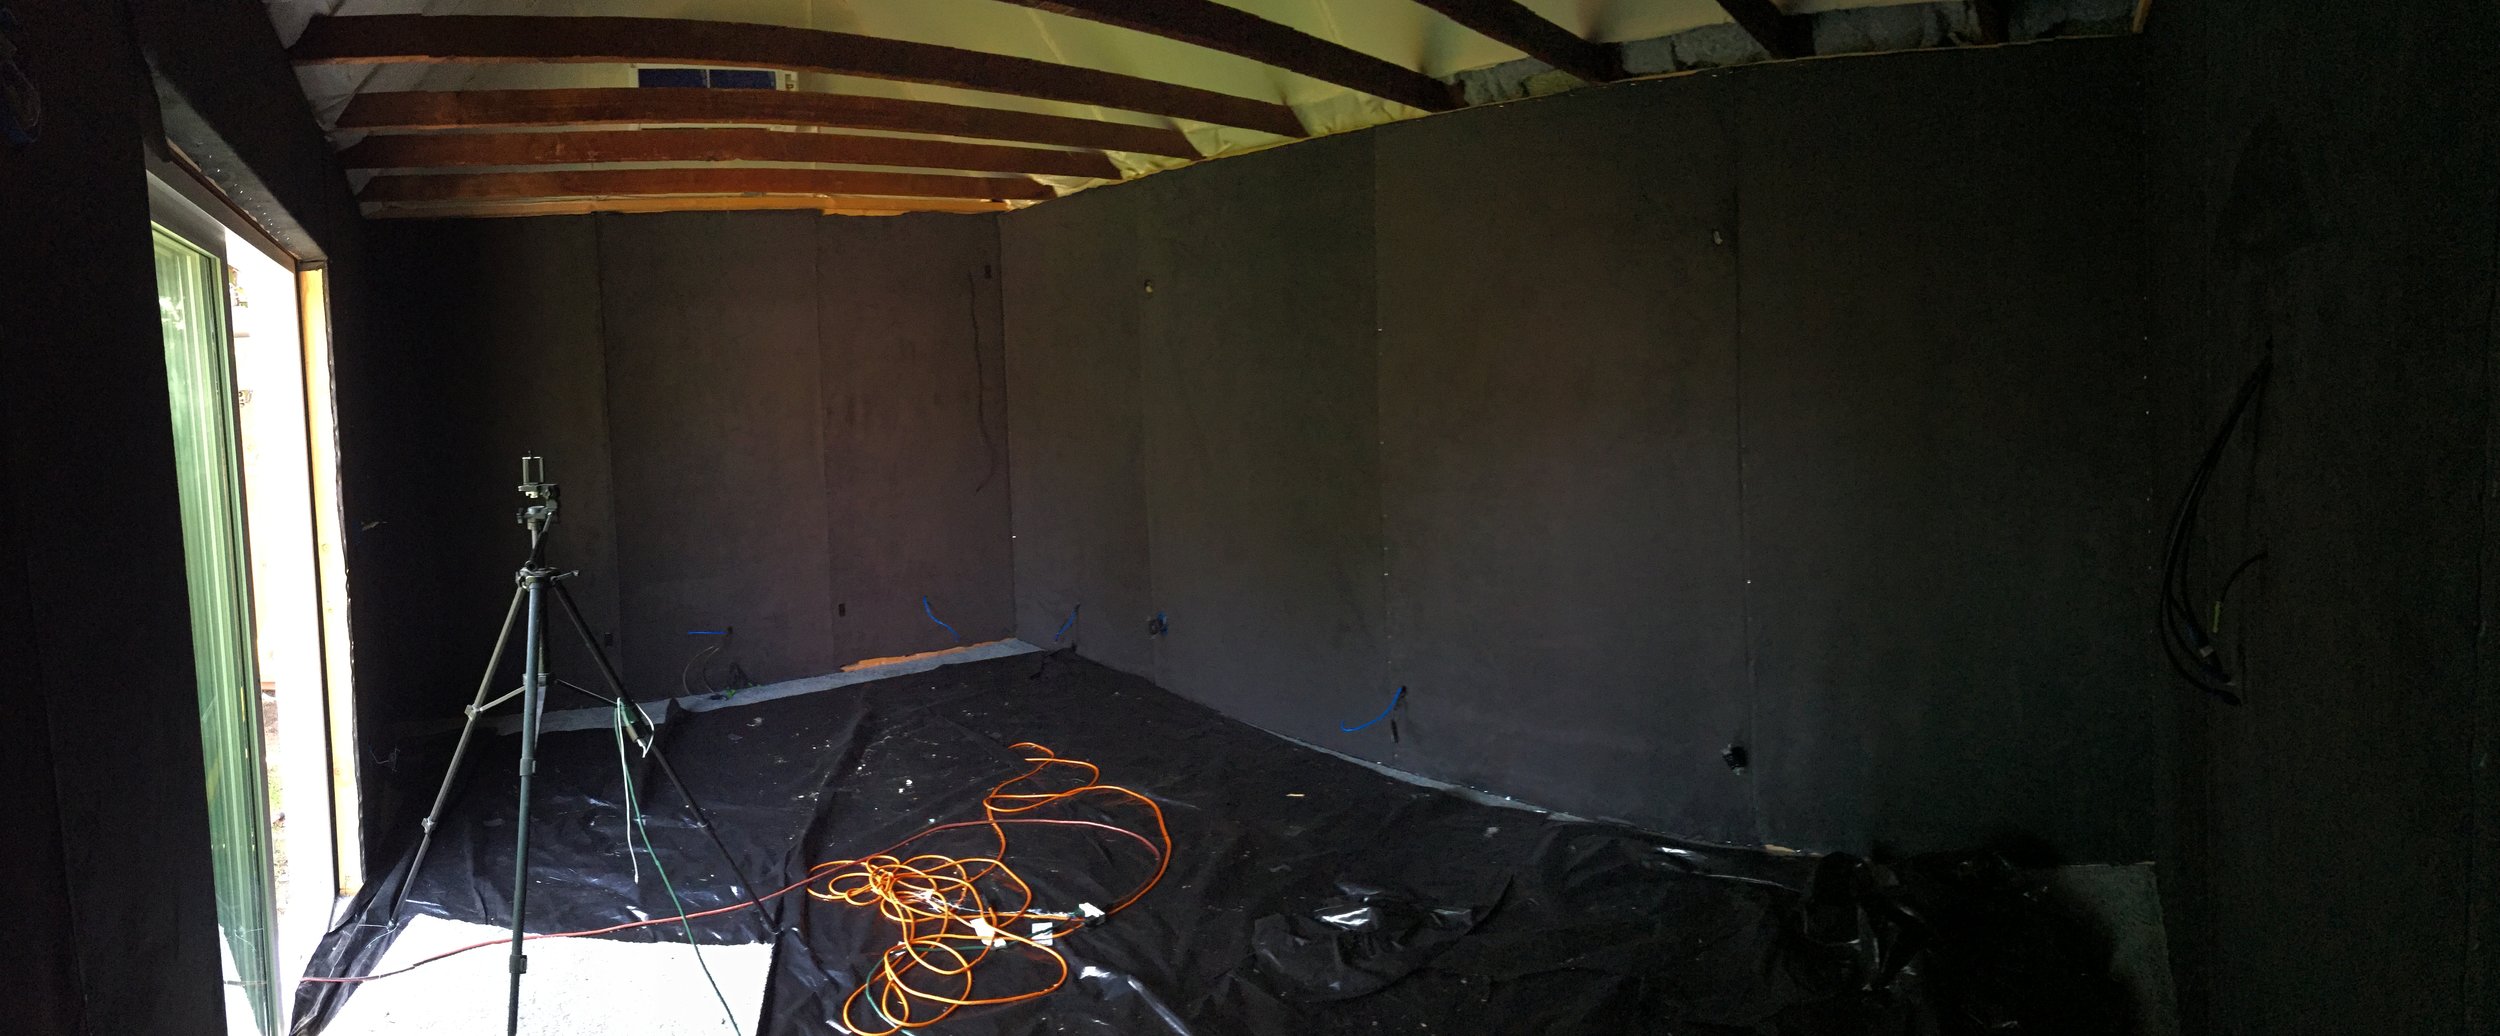
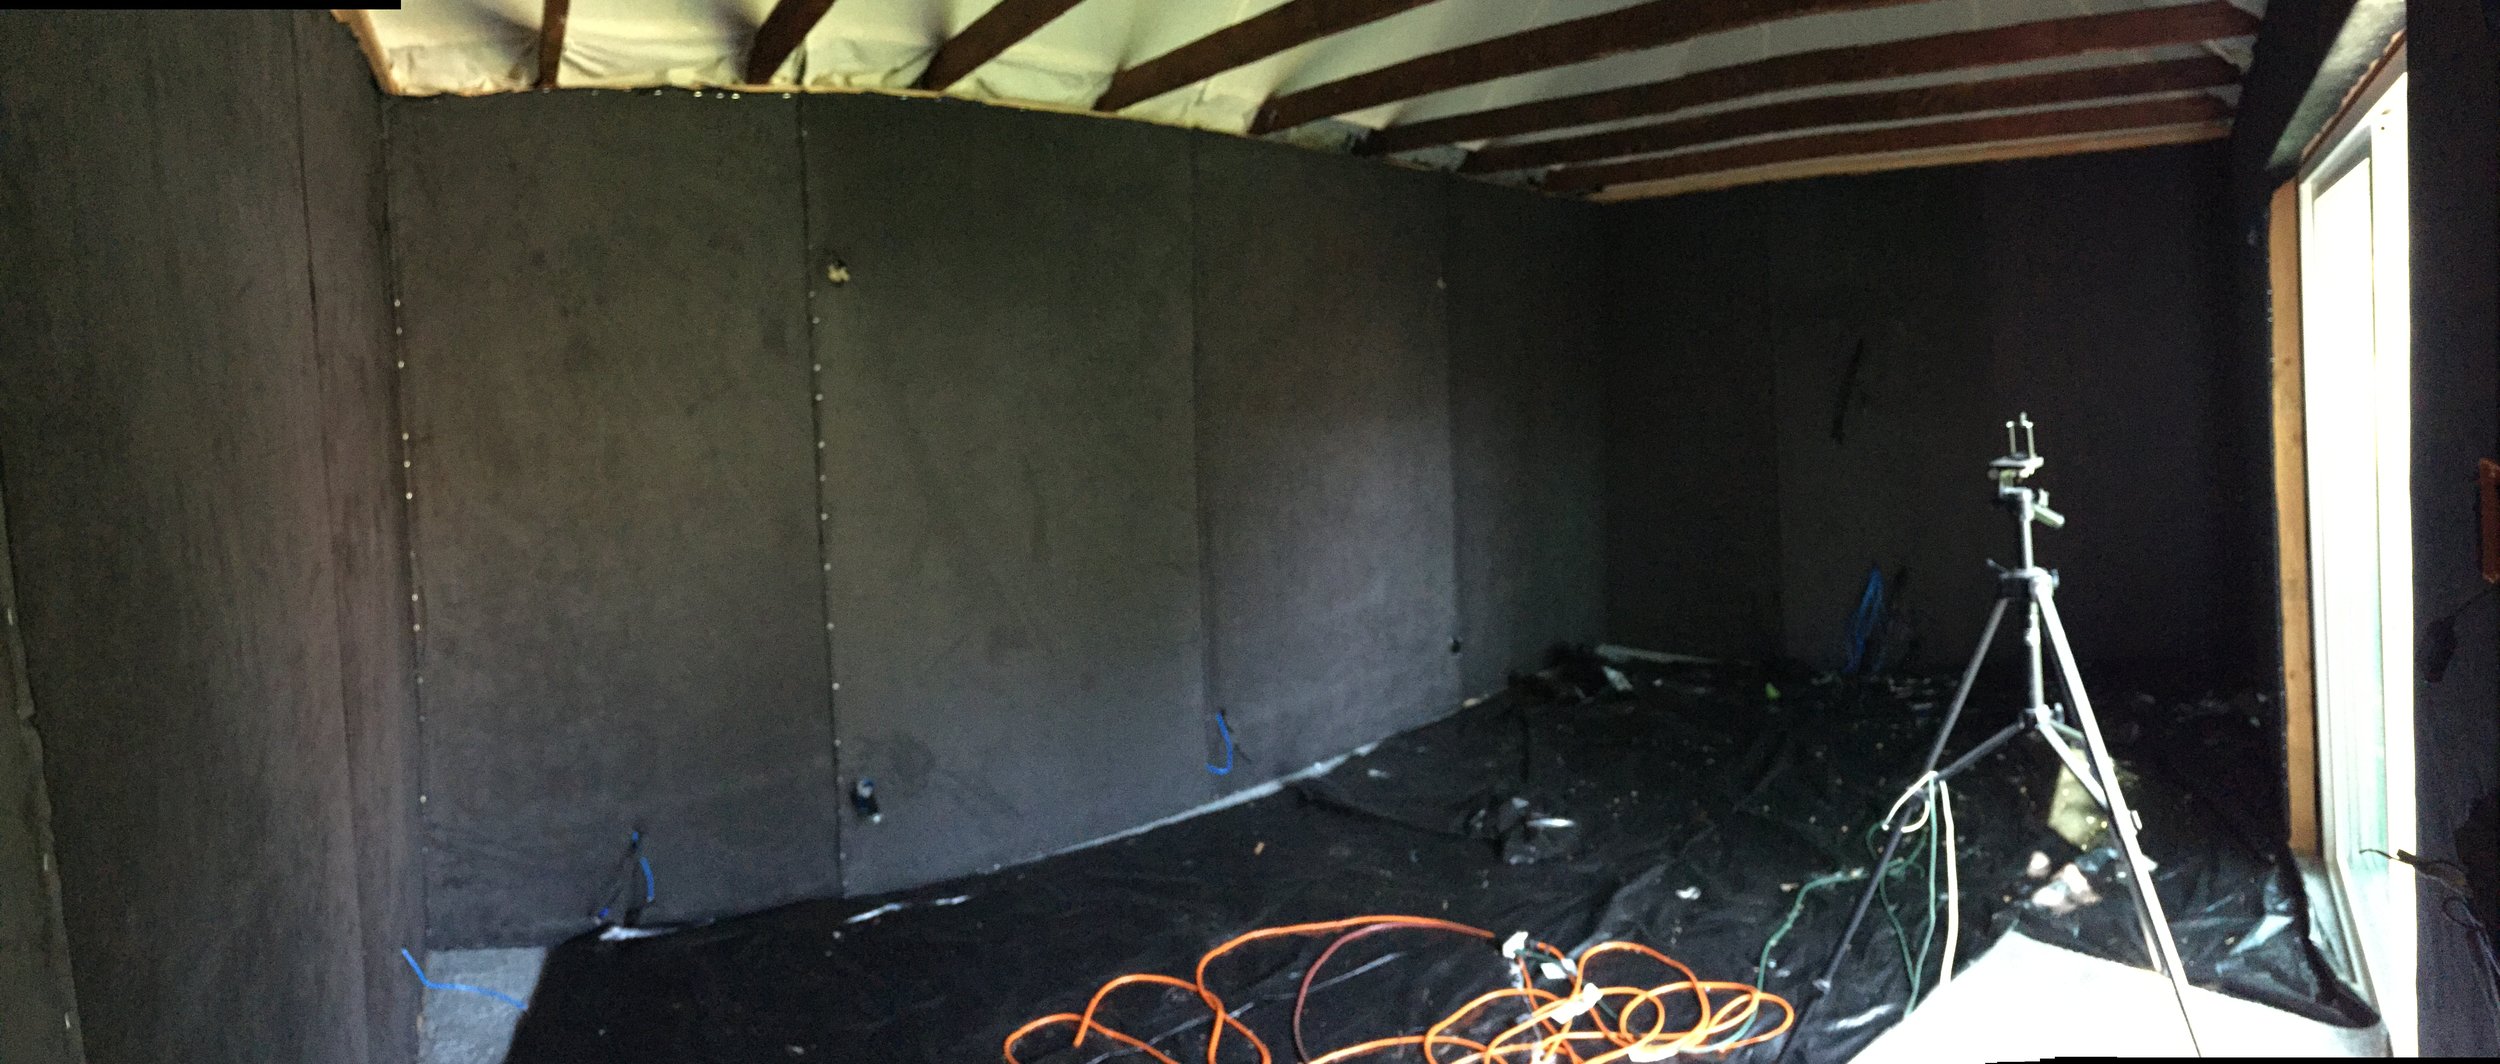
SOUND TESTING PRIOR TO FABRIC GOING UP
Acoustical handlings can go on and on and get really expensive. For home studios it just needs to be good enough for the person using the space. I mean, this garage had only one wall but it had a layer of concrete stucco which is excellent for reflecting exterior soundwaves, but it would still be better with two walls. Except that would cost more $ and time which we didn’t have.
If you want a Dolby Certified studio it takes quite some work but it can be done and you don't have to have a huge space to do it either. I was at a small home mixing studio where my film was being mixed and they had it Dolby Certified and did a great job on it. This is what their studio looked like:


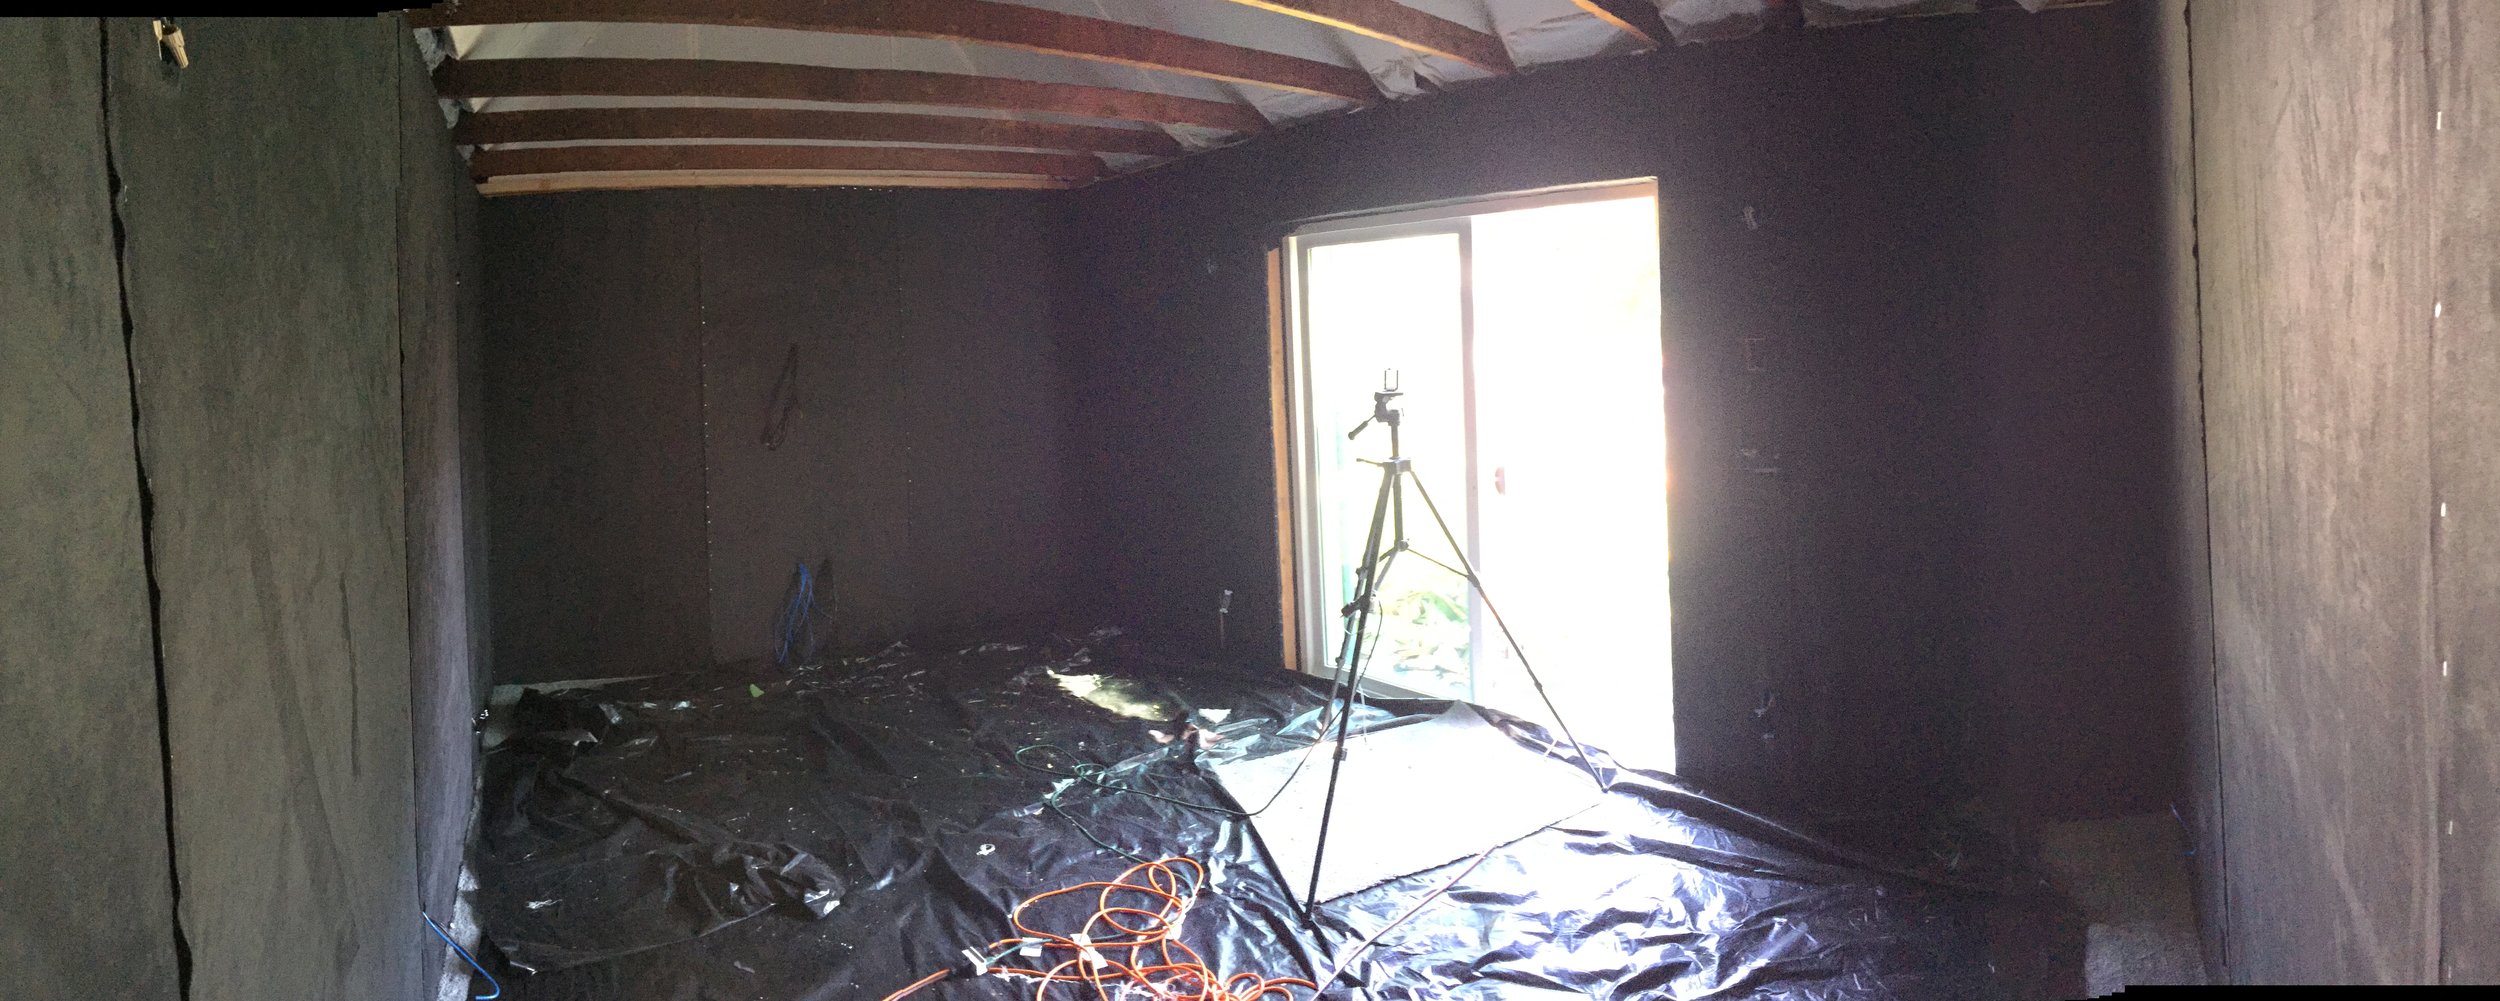
But back to our garage. After I installed the glass door, I brought Kelvin into the space and had him listen to the sound levels in the space. I also made the doorway so that if he wanted to, he could've bought a second sliding glass door to make it even more soundproof, it turned out that wasn't necessary though.

New door installed with double paned glass panels.
First we listened to see if the exterior sounds were intruding enough to mess up recordings, they weren’t. Then by clapping his hands together we could see how dead the space. If it’s very echo’ey, that’s no good. With the carpet pad and denim it had minimal detectable echo. That’s good. We were getting some bounce from the floor but I knew that it was going to be padded and carpeted which would deaden that further.

A lot of denim!
Next we brought in a loud radio and we blasted some loud sound in there and it was nice and absorptive. We also listened to the noise outside and it was pretty damn quiet which means he wouldn’t bother the neighbors. Nice.
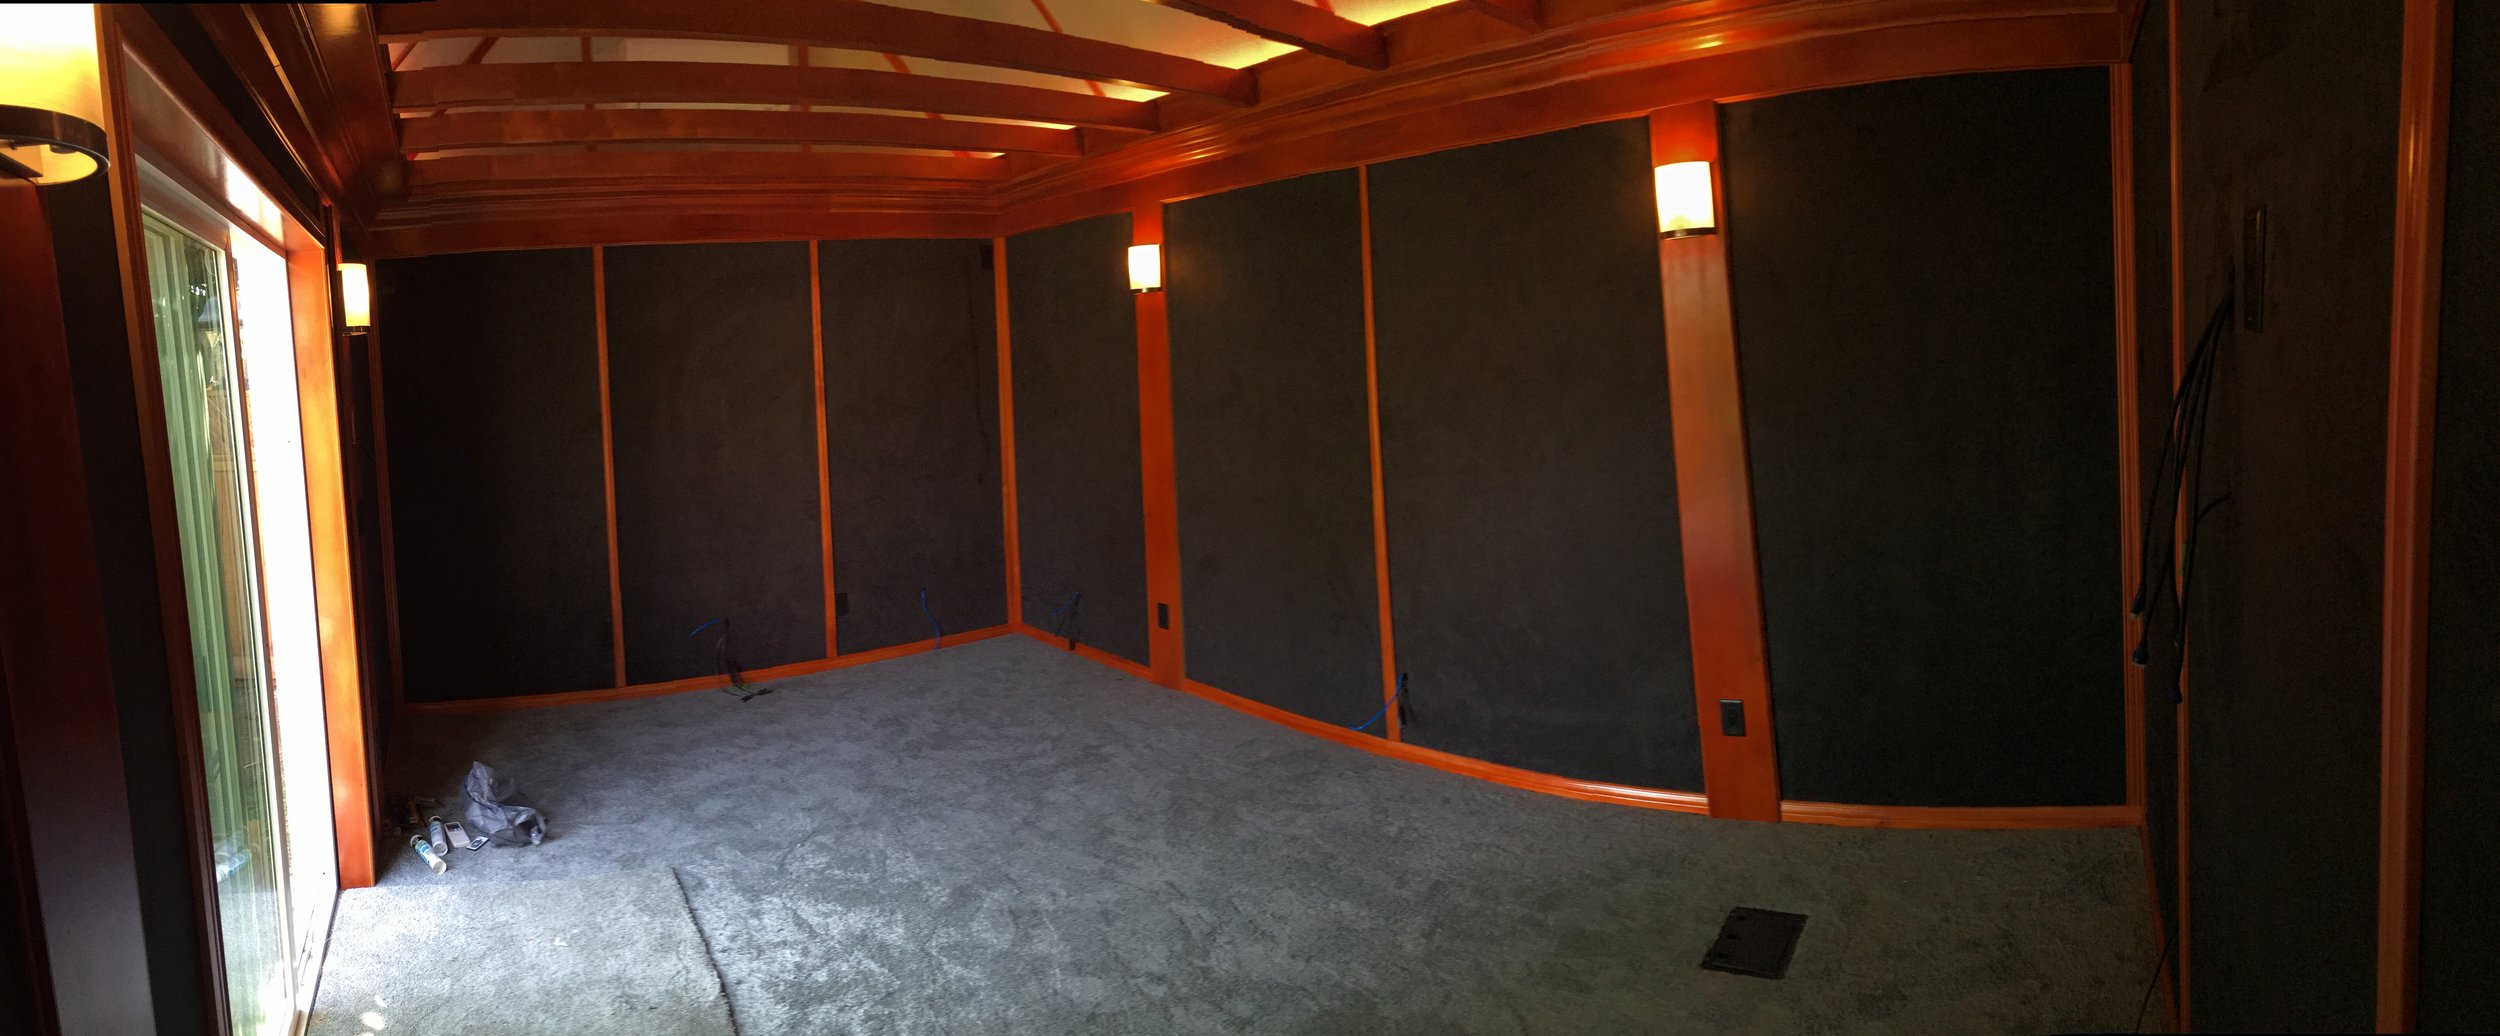
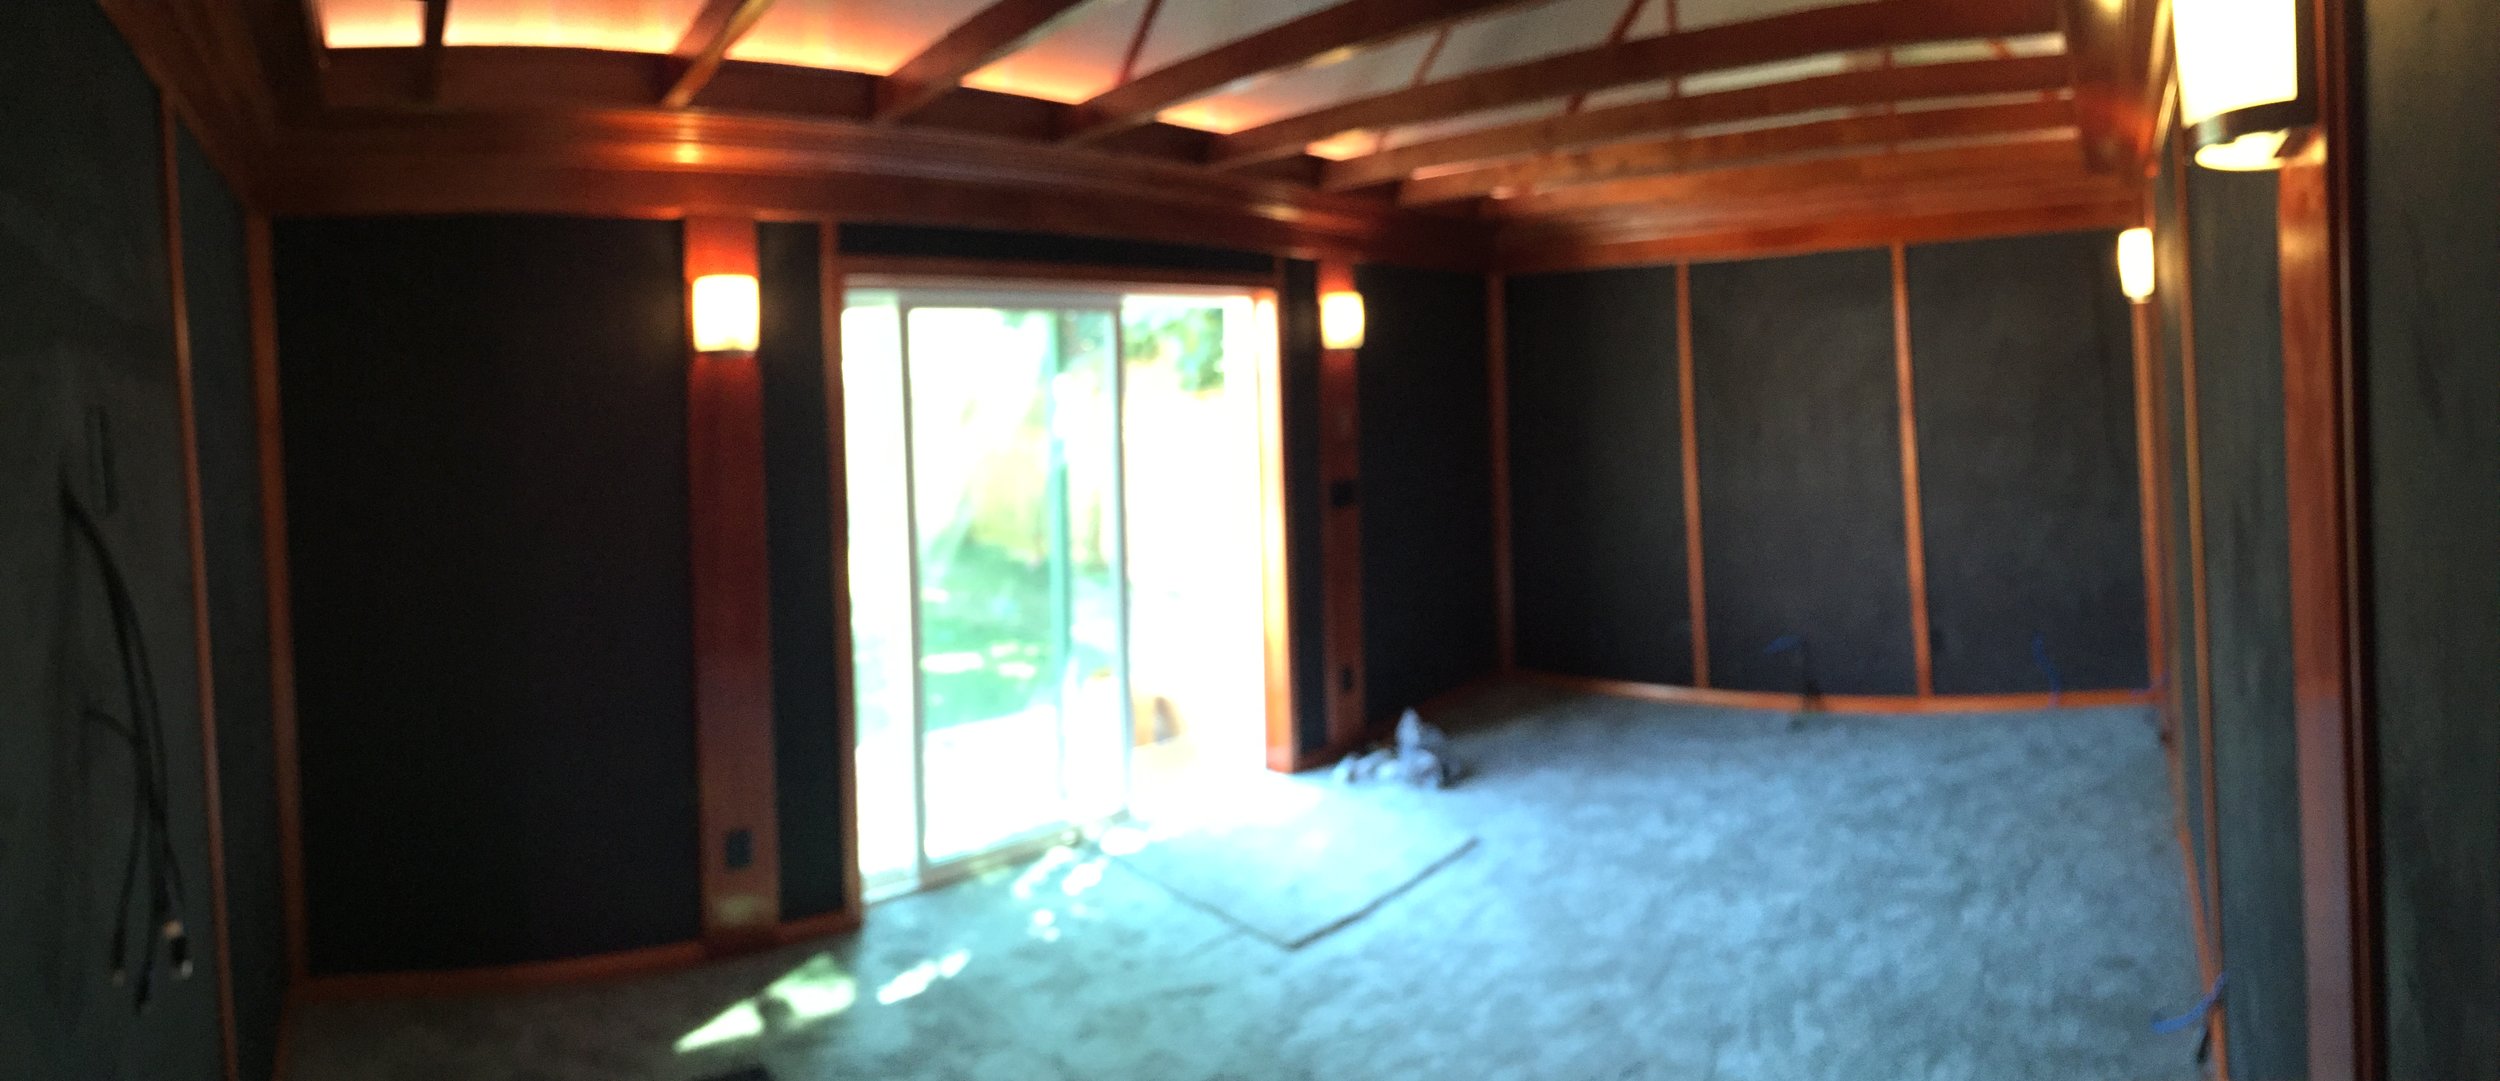
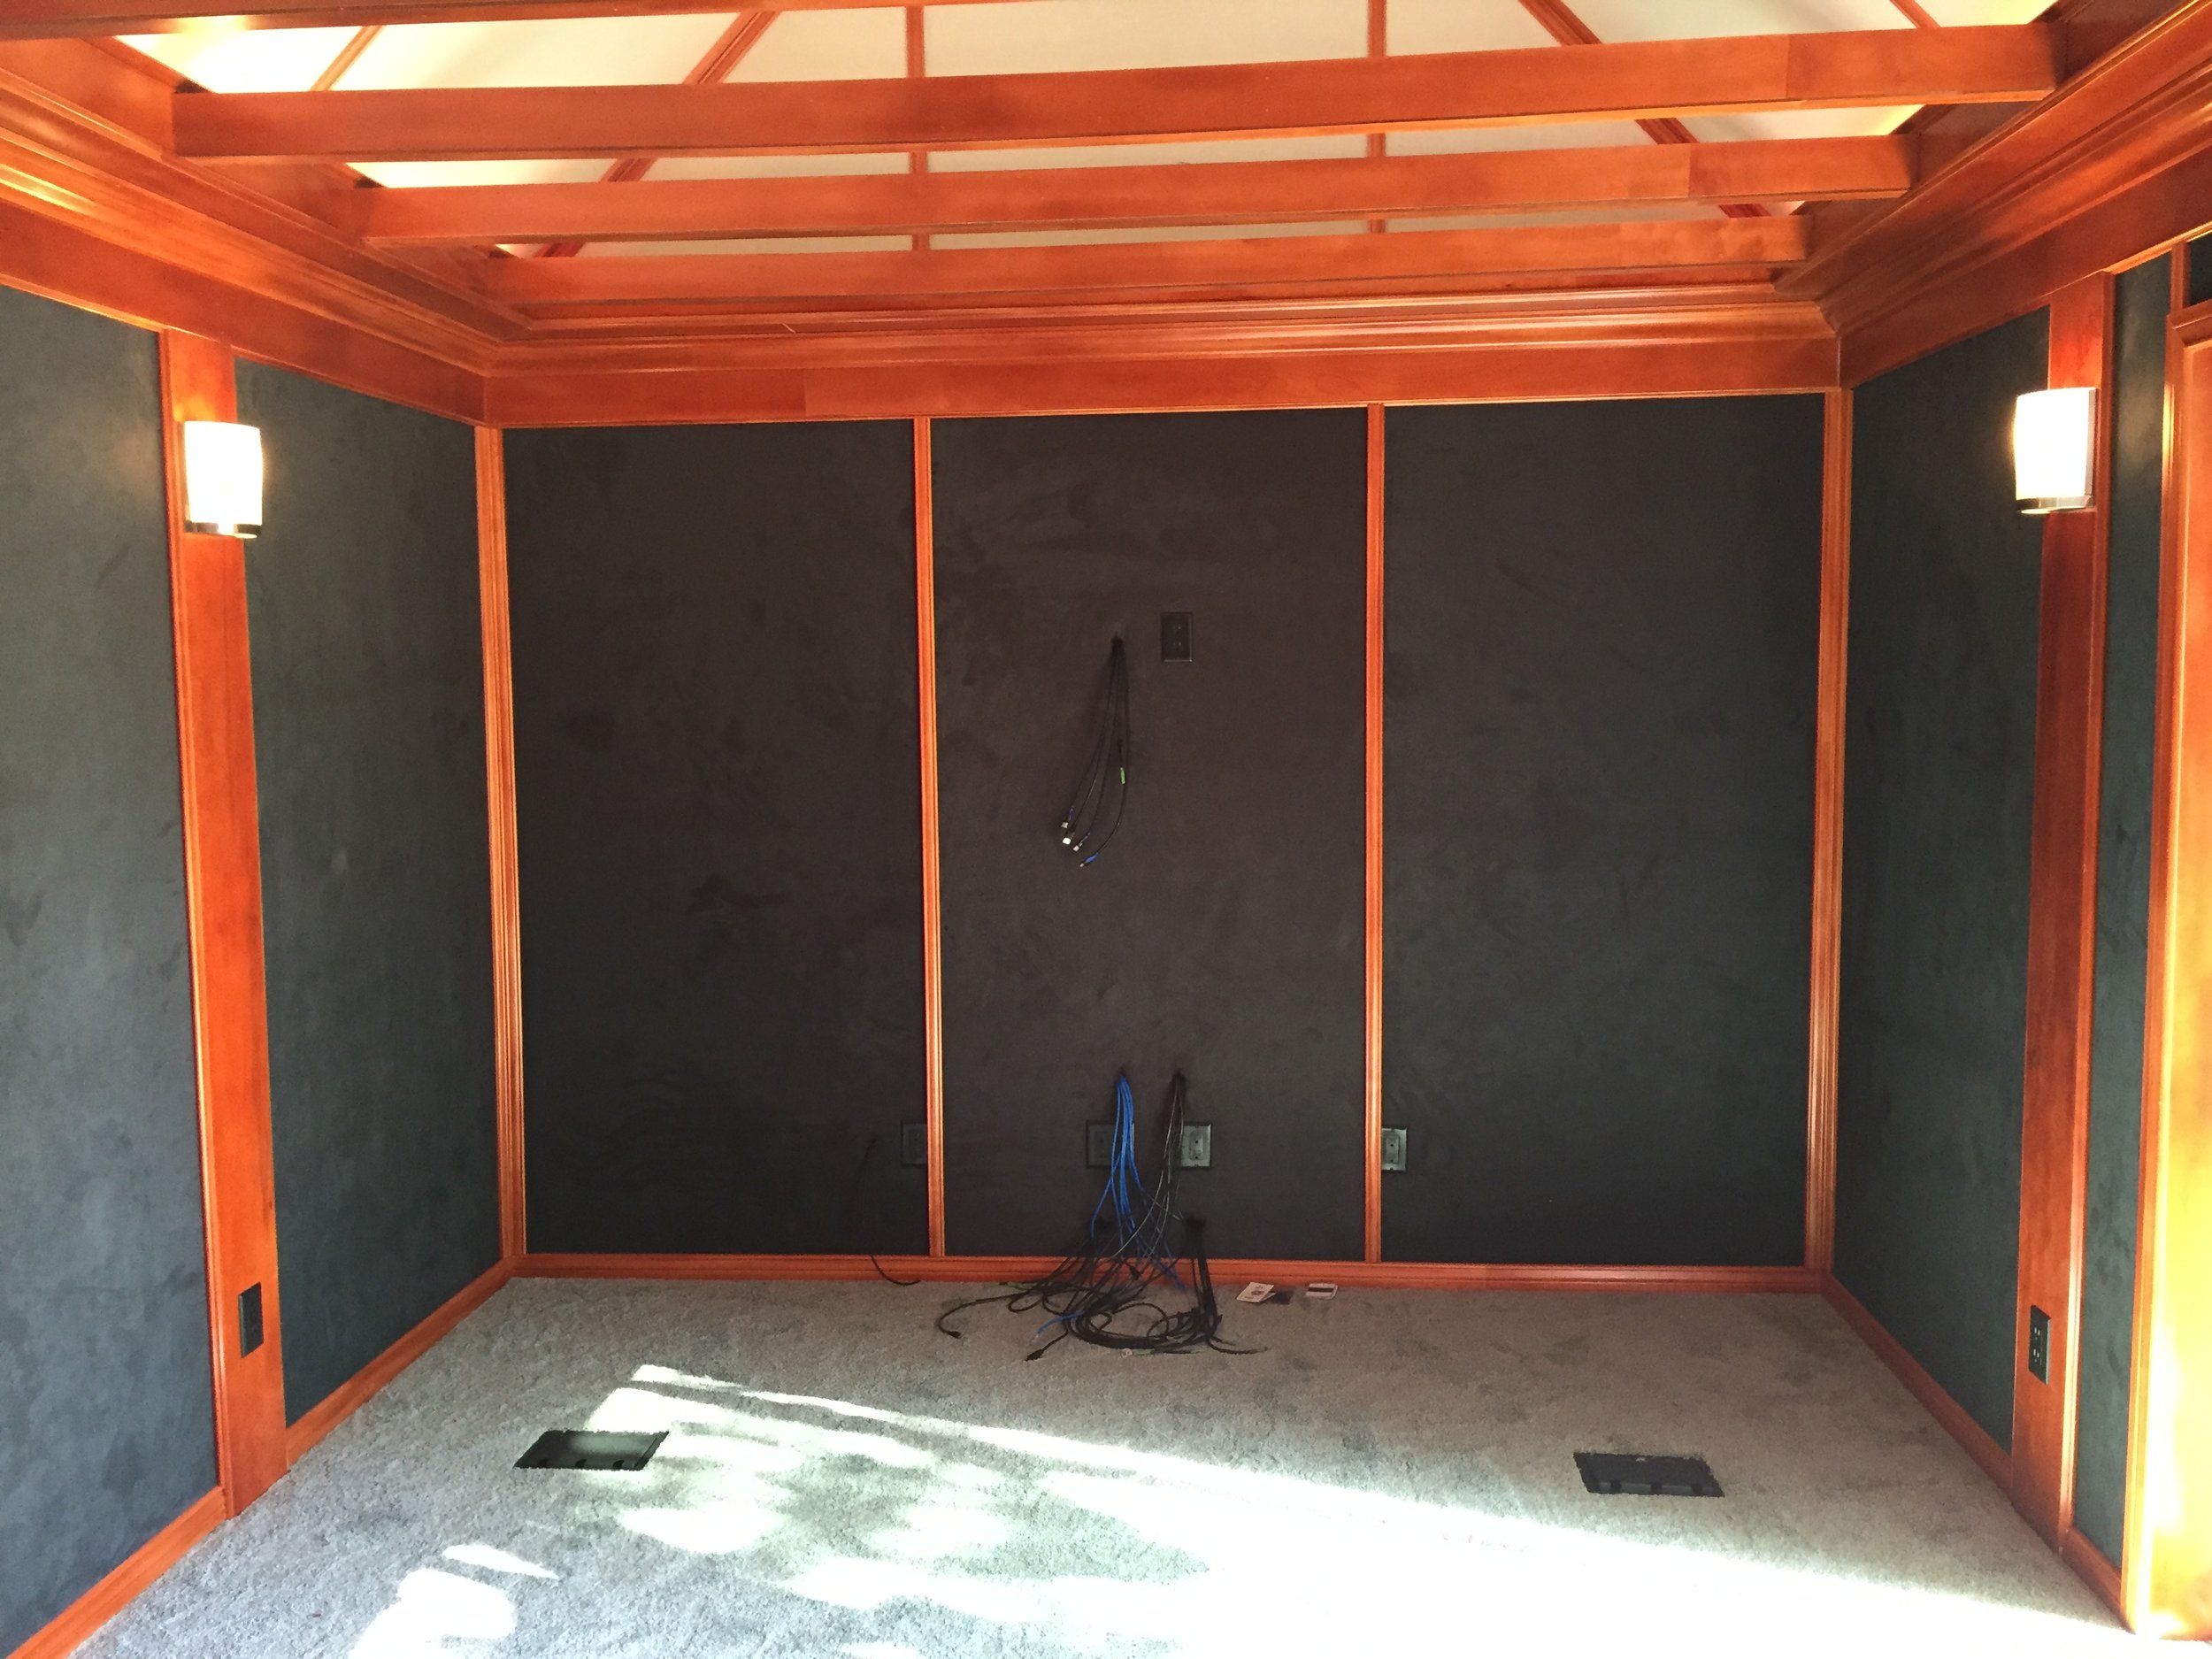
NEW WALLS
When you are doing audio spaces, a great treatment on the walls is to use fabric paneling. Just like what you cover furniture with when you upholster, but instead you are upholstering walls and ceilings.
Fabric paneling allows you to hide cabling and acoustical elements behind the fabric of the walls. It’s also about the same cost or cheaper than drywall and paint (as long as you don’t buy crazy expensive fabric).
But first step is to make sure that you have wood for everywhere you are going to staple up the fabric. Just like for sheetrock, the material has to be attached to something.
As a note you can buy a special type of plastic track that allows you to remove wall panels of fabric after installation, but it’s crazy expensive. For smaller home theaters and home studios I prefer just to make sure that everything is behind the fabric where it should be and then staple it on and cover the seams with trim.
Fabric usually comes in rolls that are 48” to 54” wide. So divide your walls into even spacings as wide as possible and frame up walls so that fabric can be stapled to it.

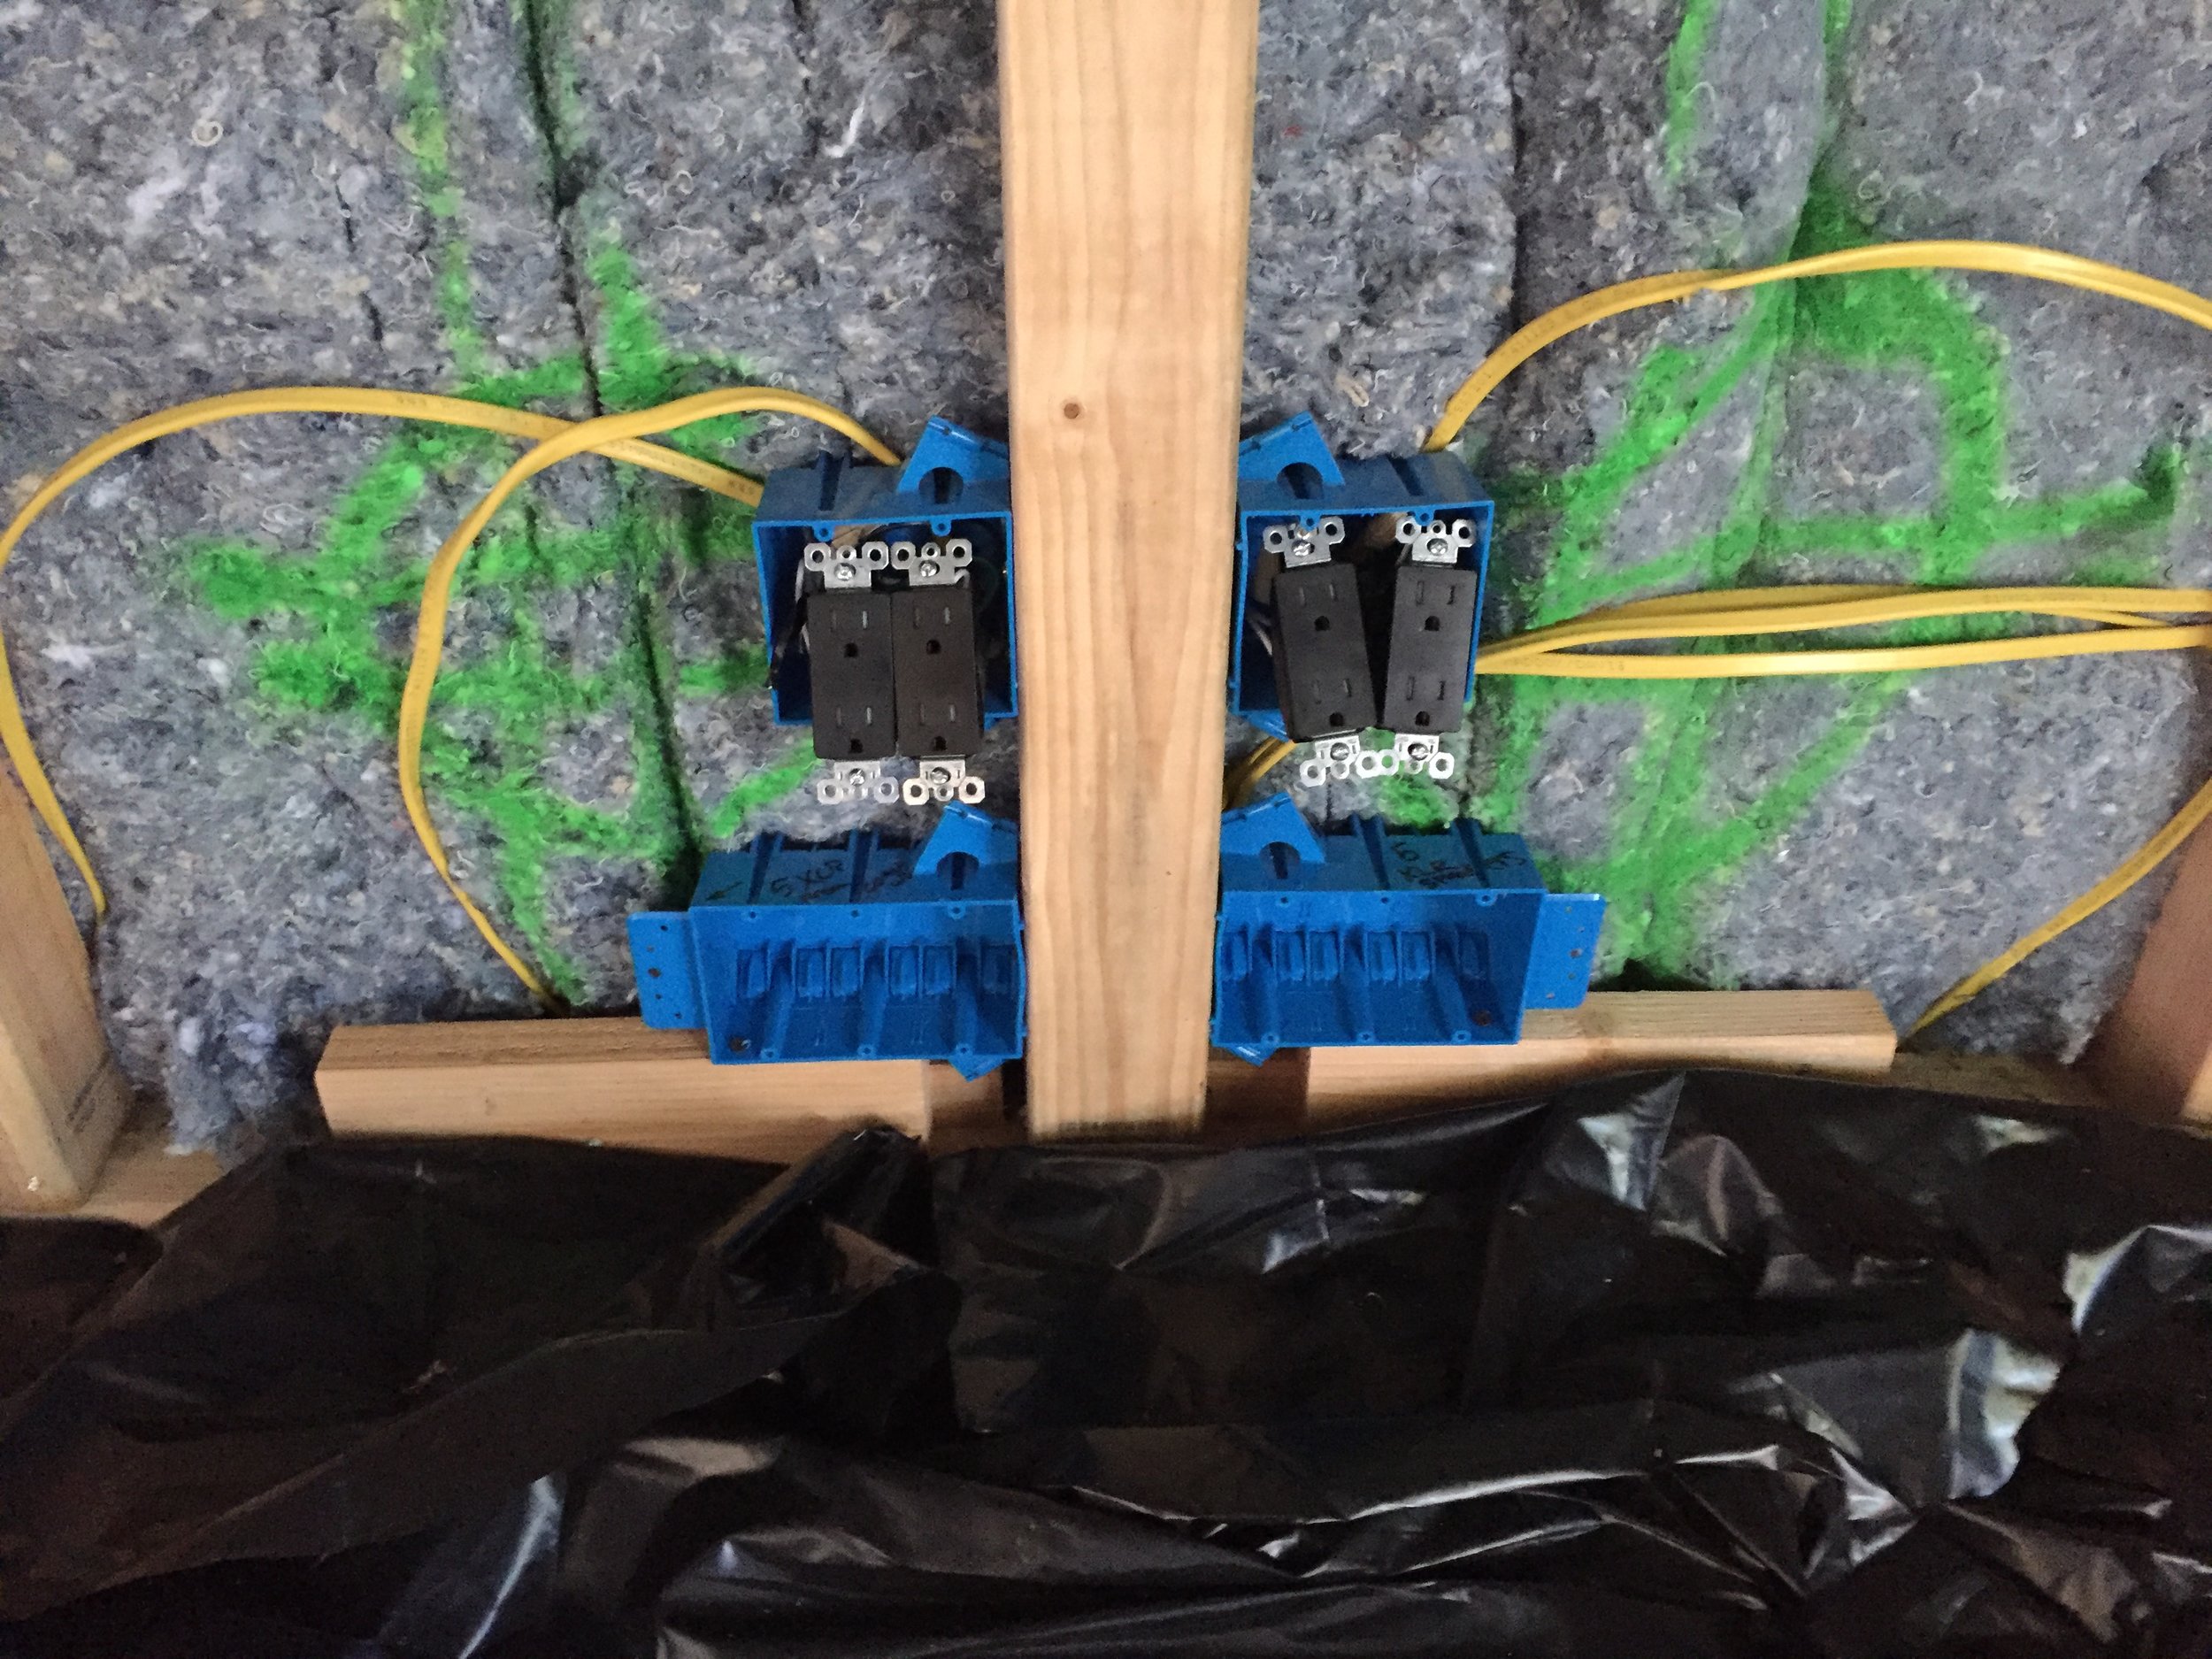
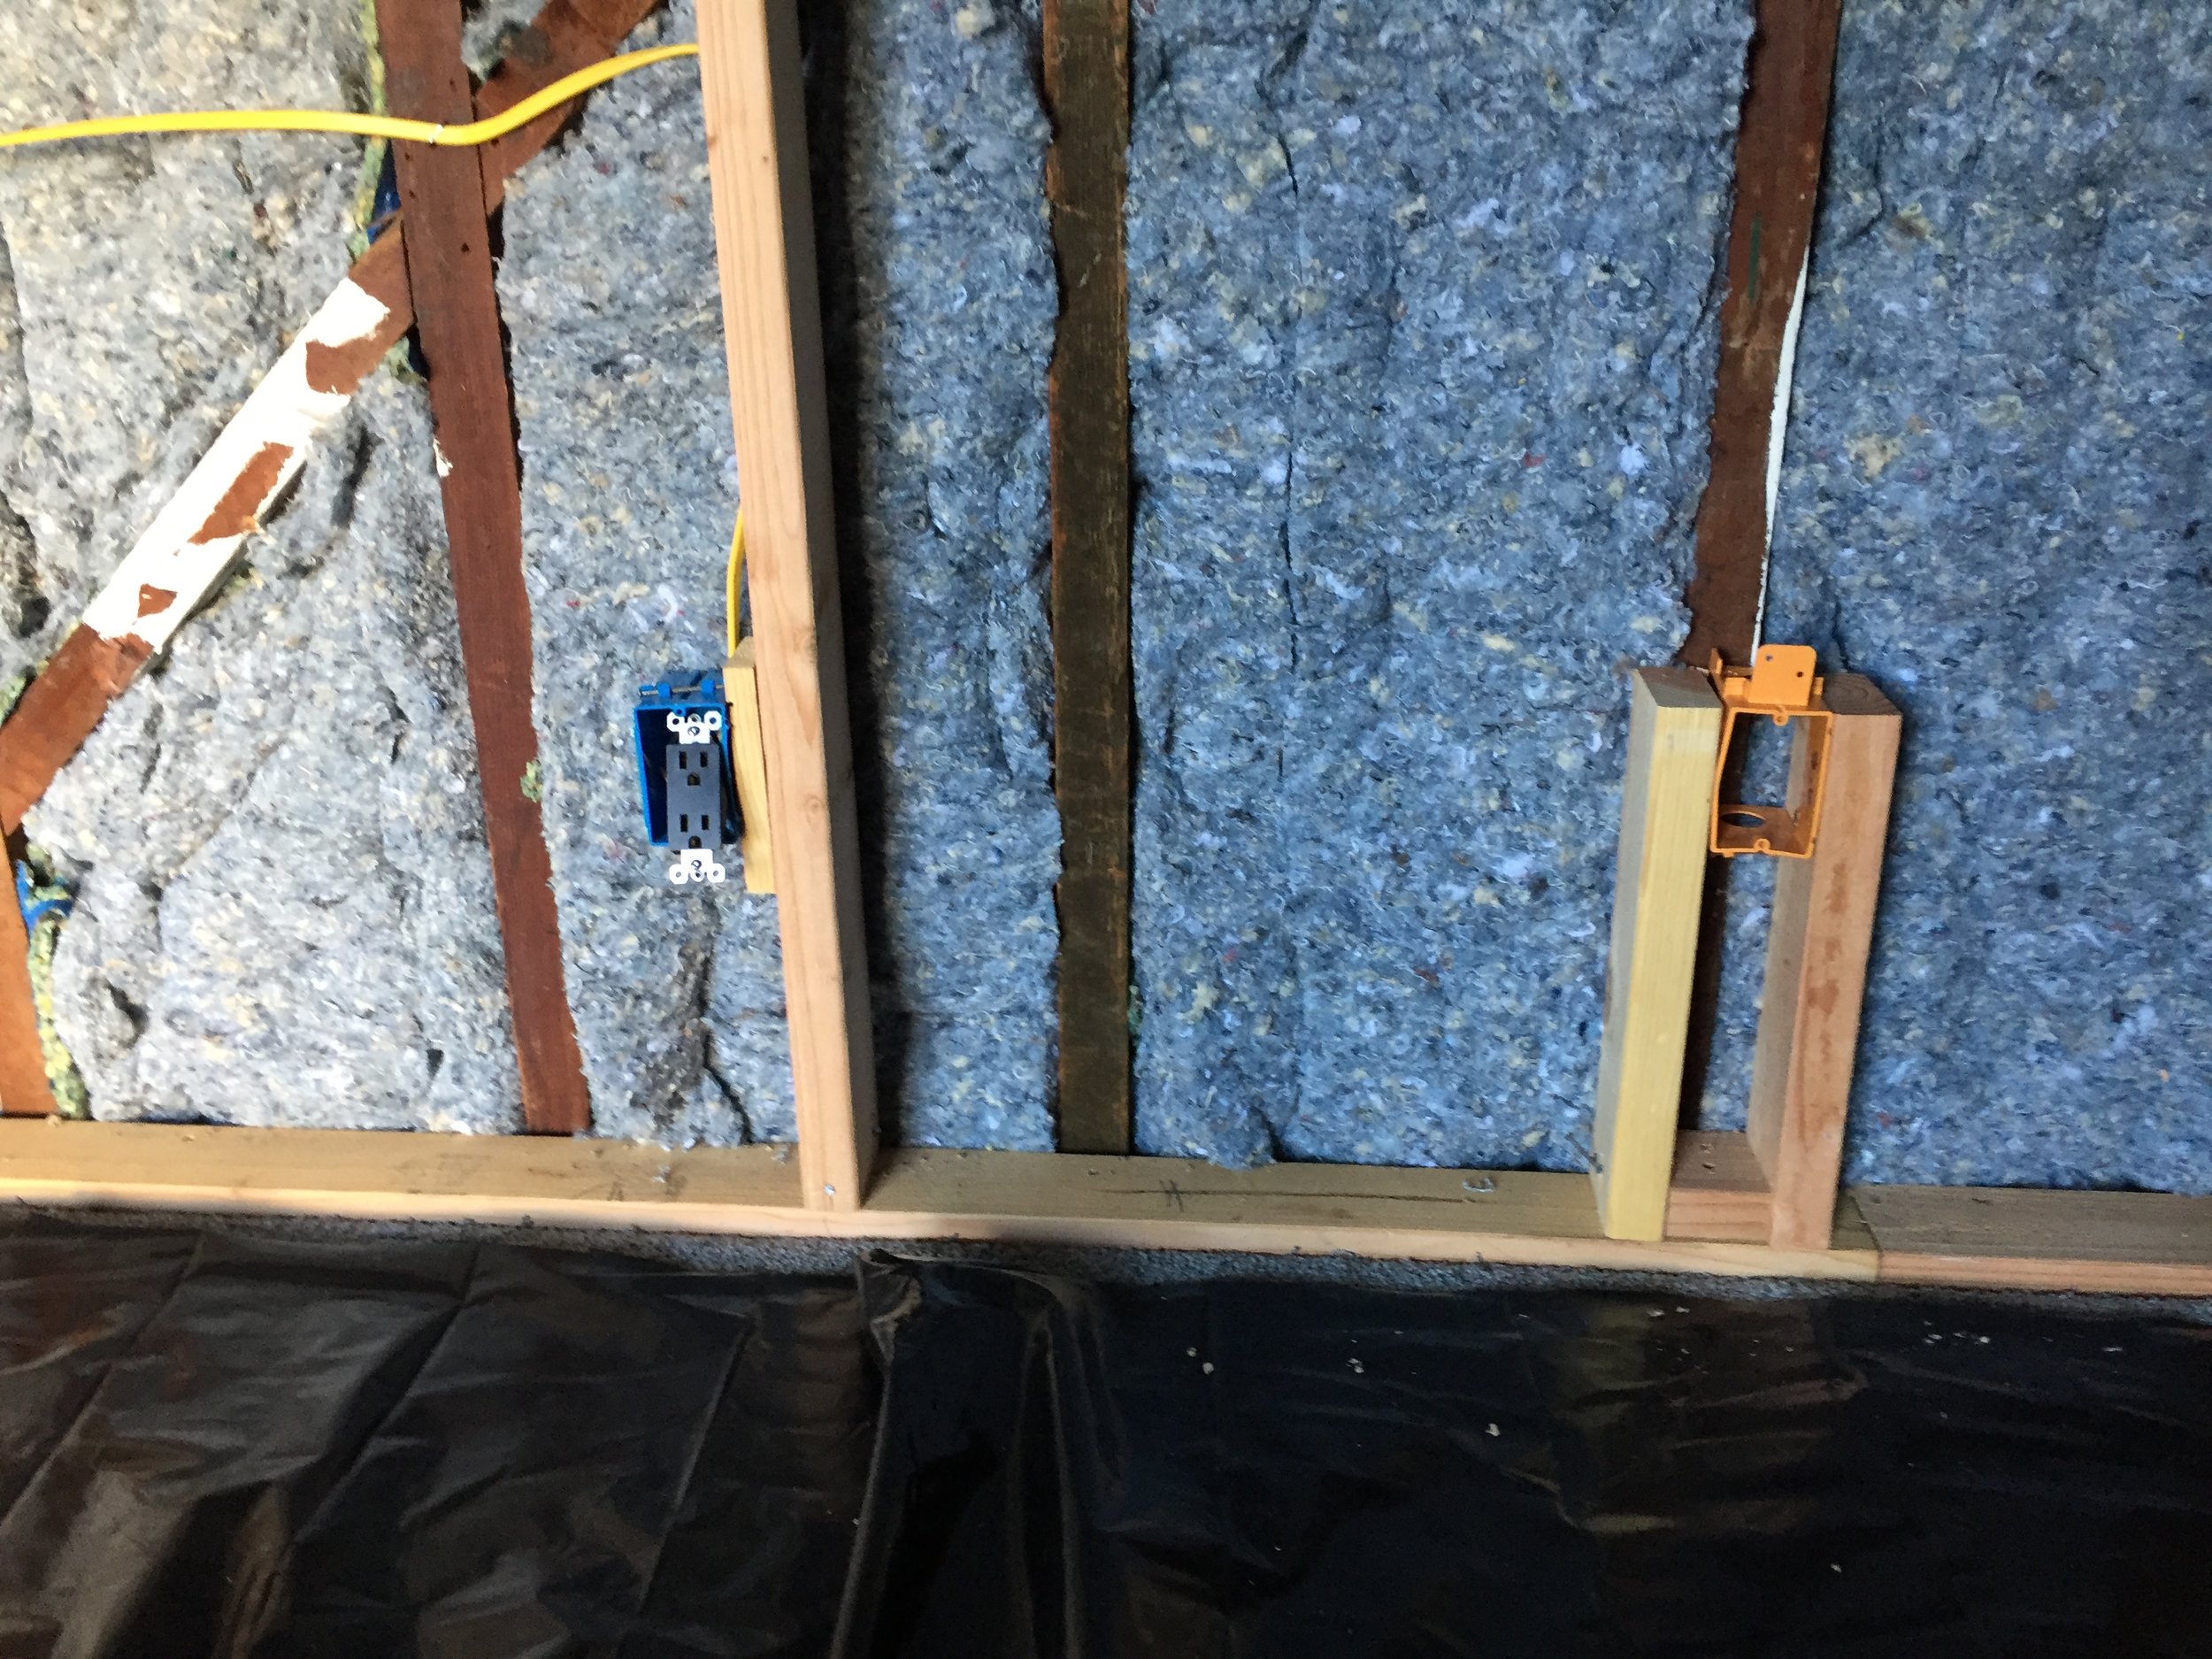
So go ahead and frame everything up and then have the electricians run all the final electrical using these wood surfaces as the “finished surface.” Fabric is super thin, so if they stick out the box ½” like they might for drywall, it’s going to look ugly. It should be flush with the face of the wood.
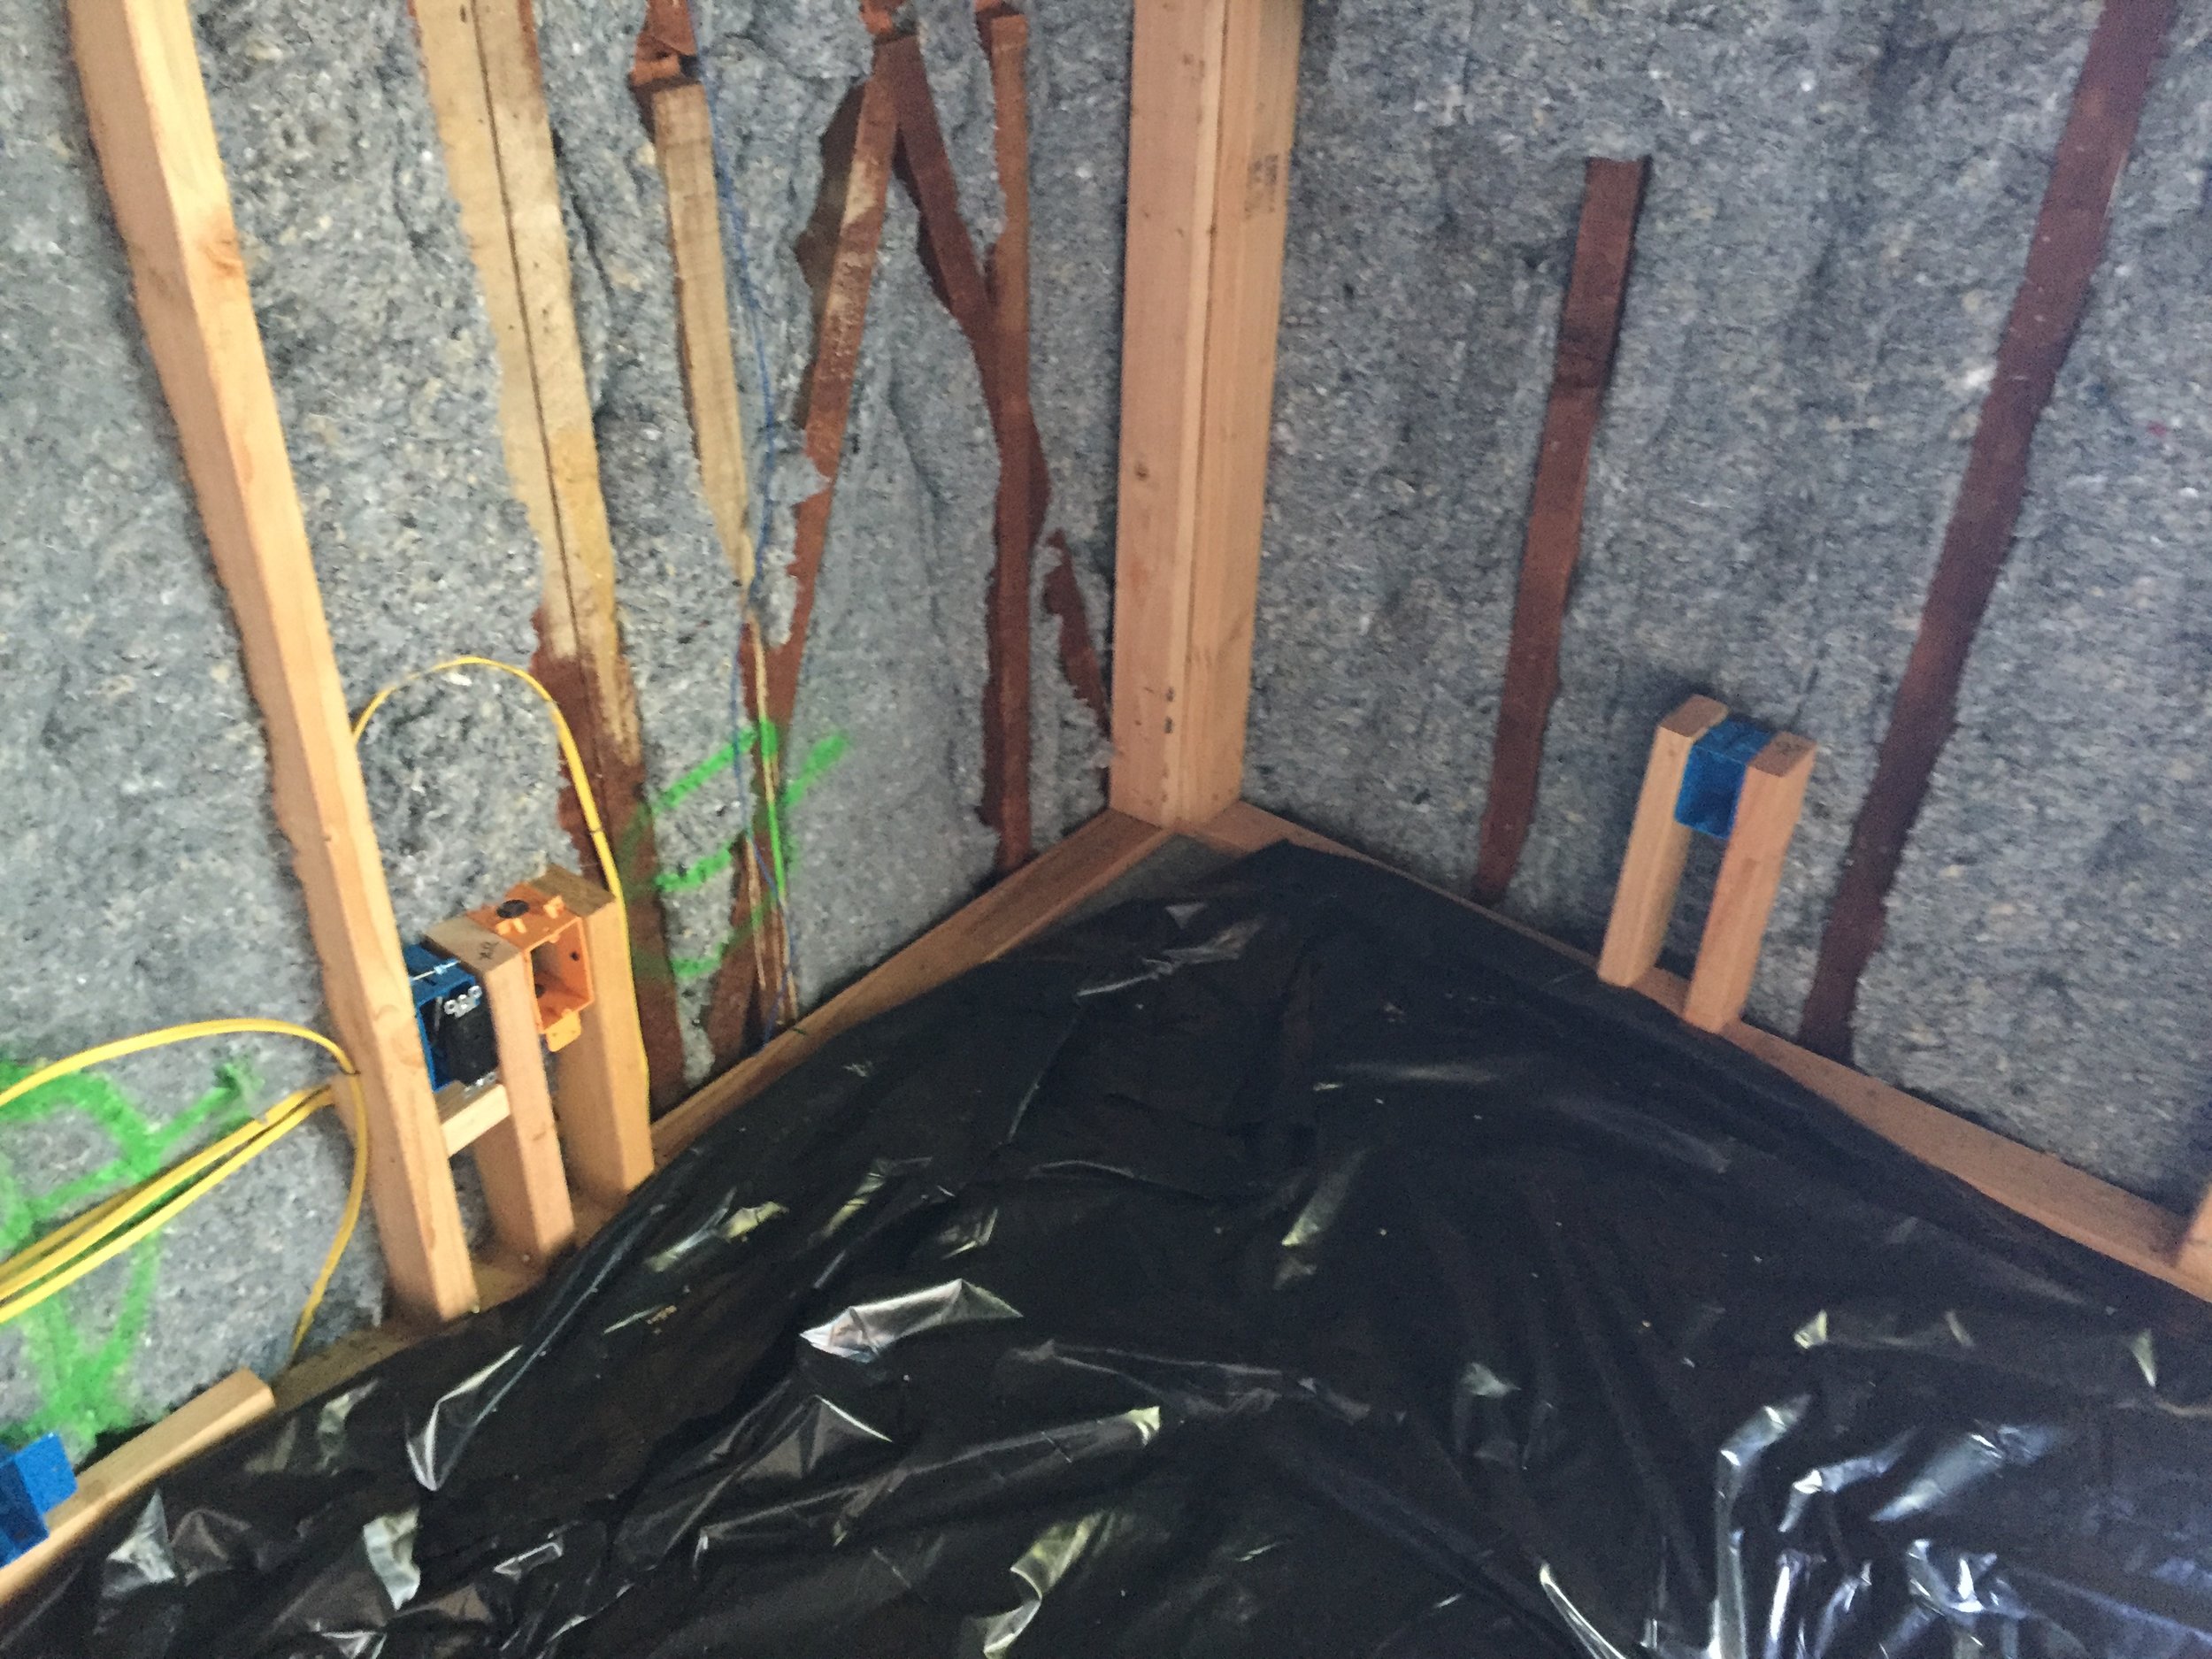
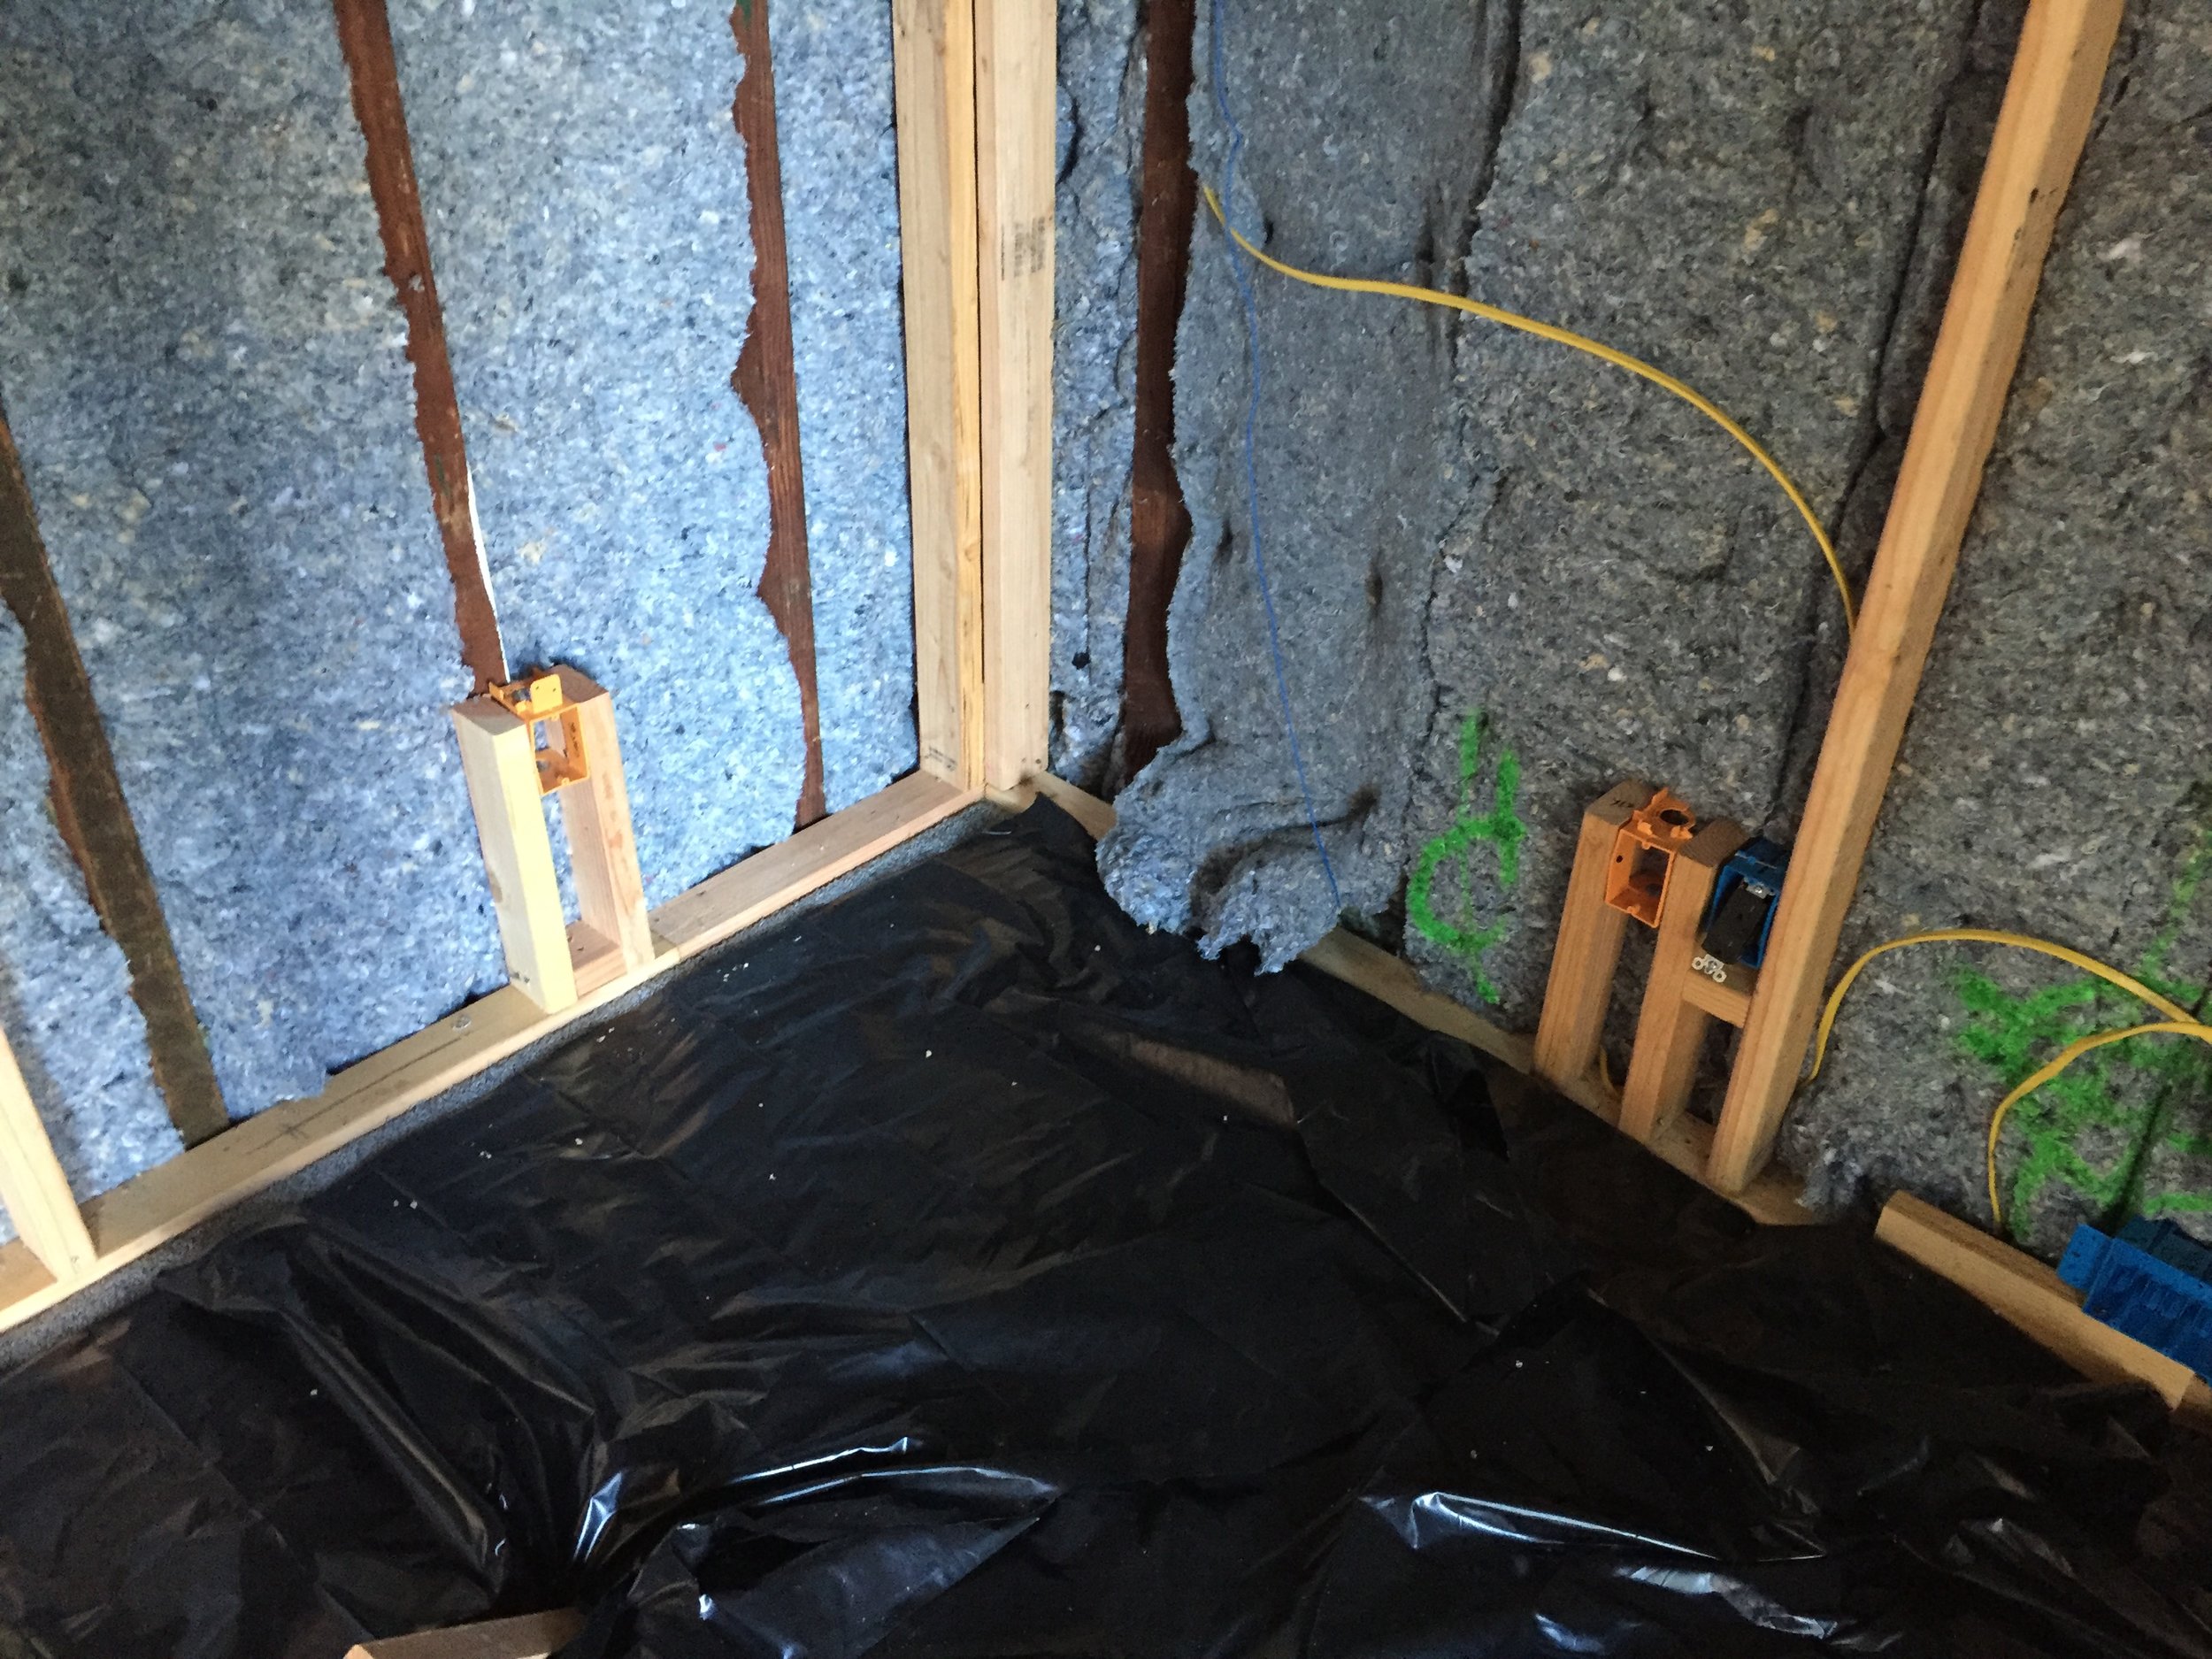
SUPPORT BACKING
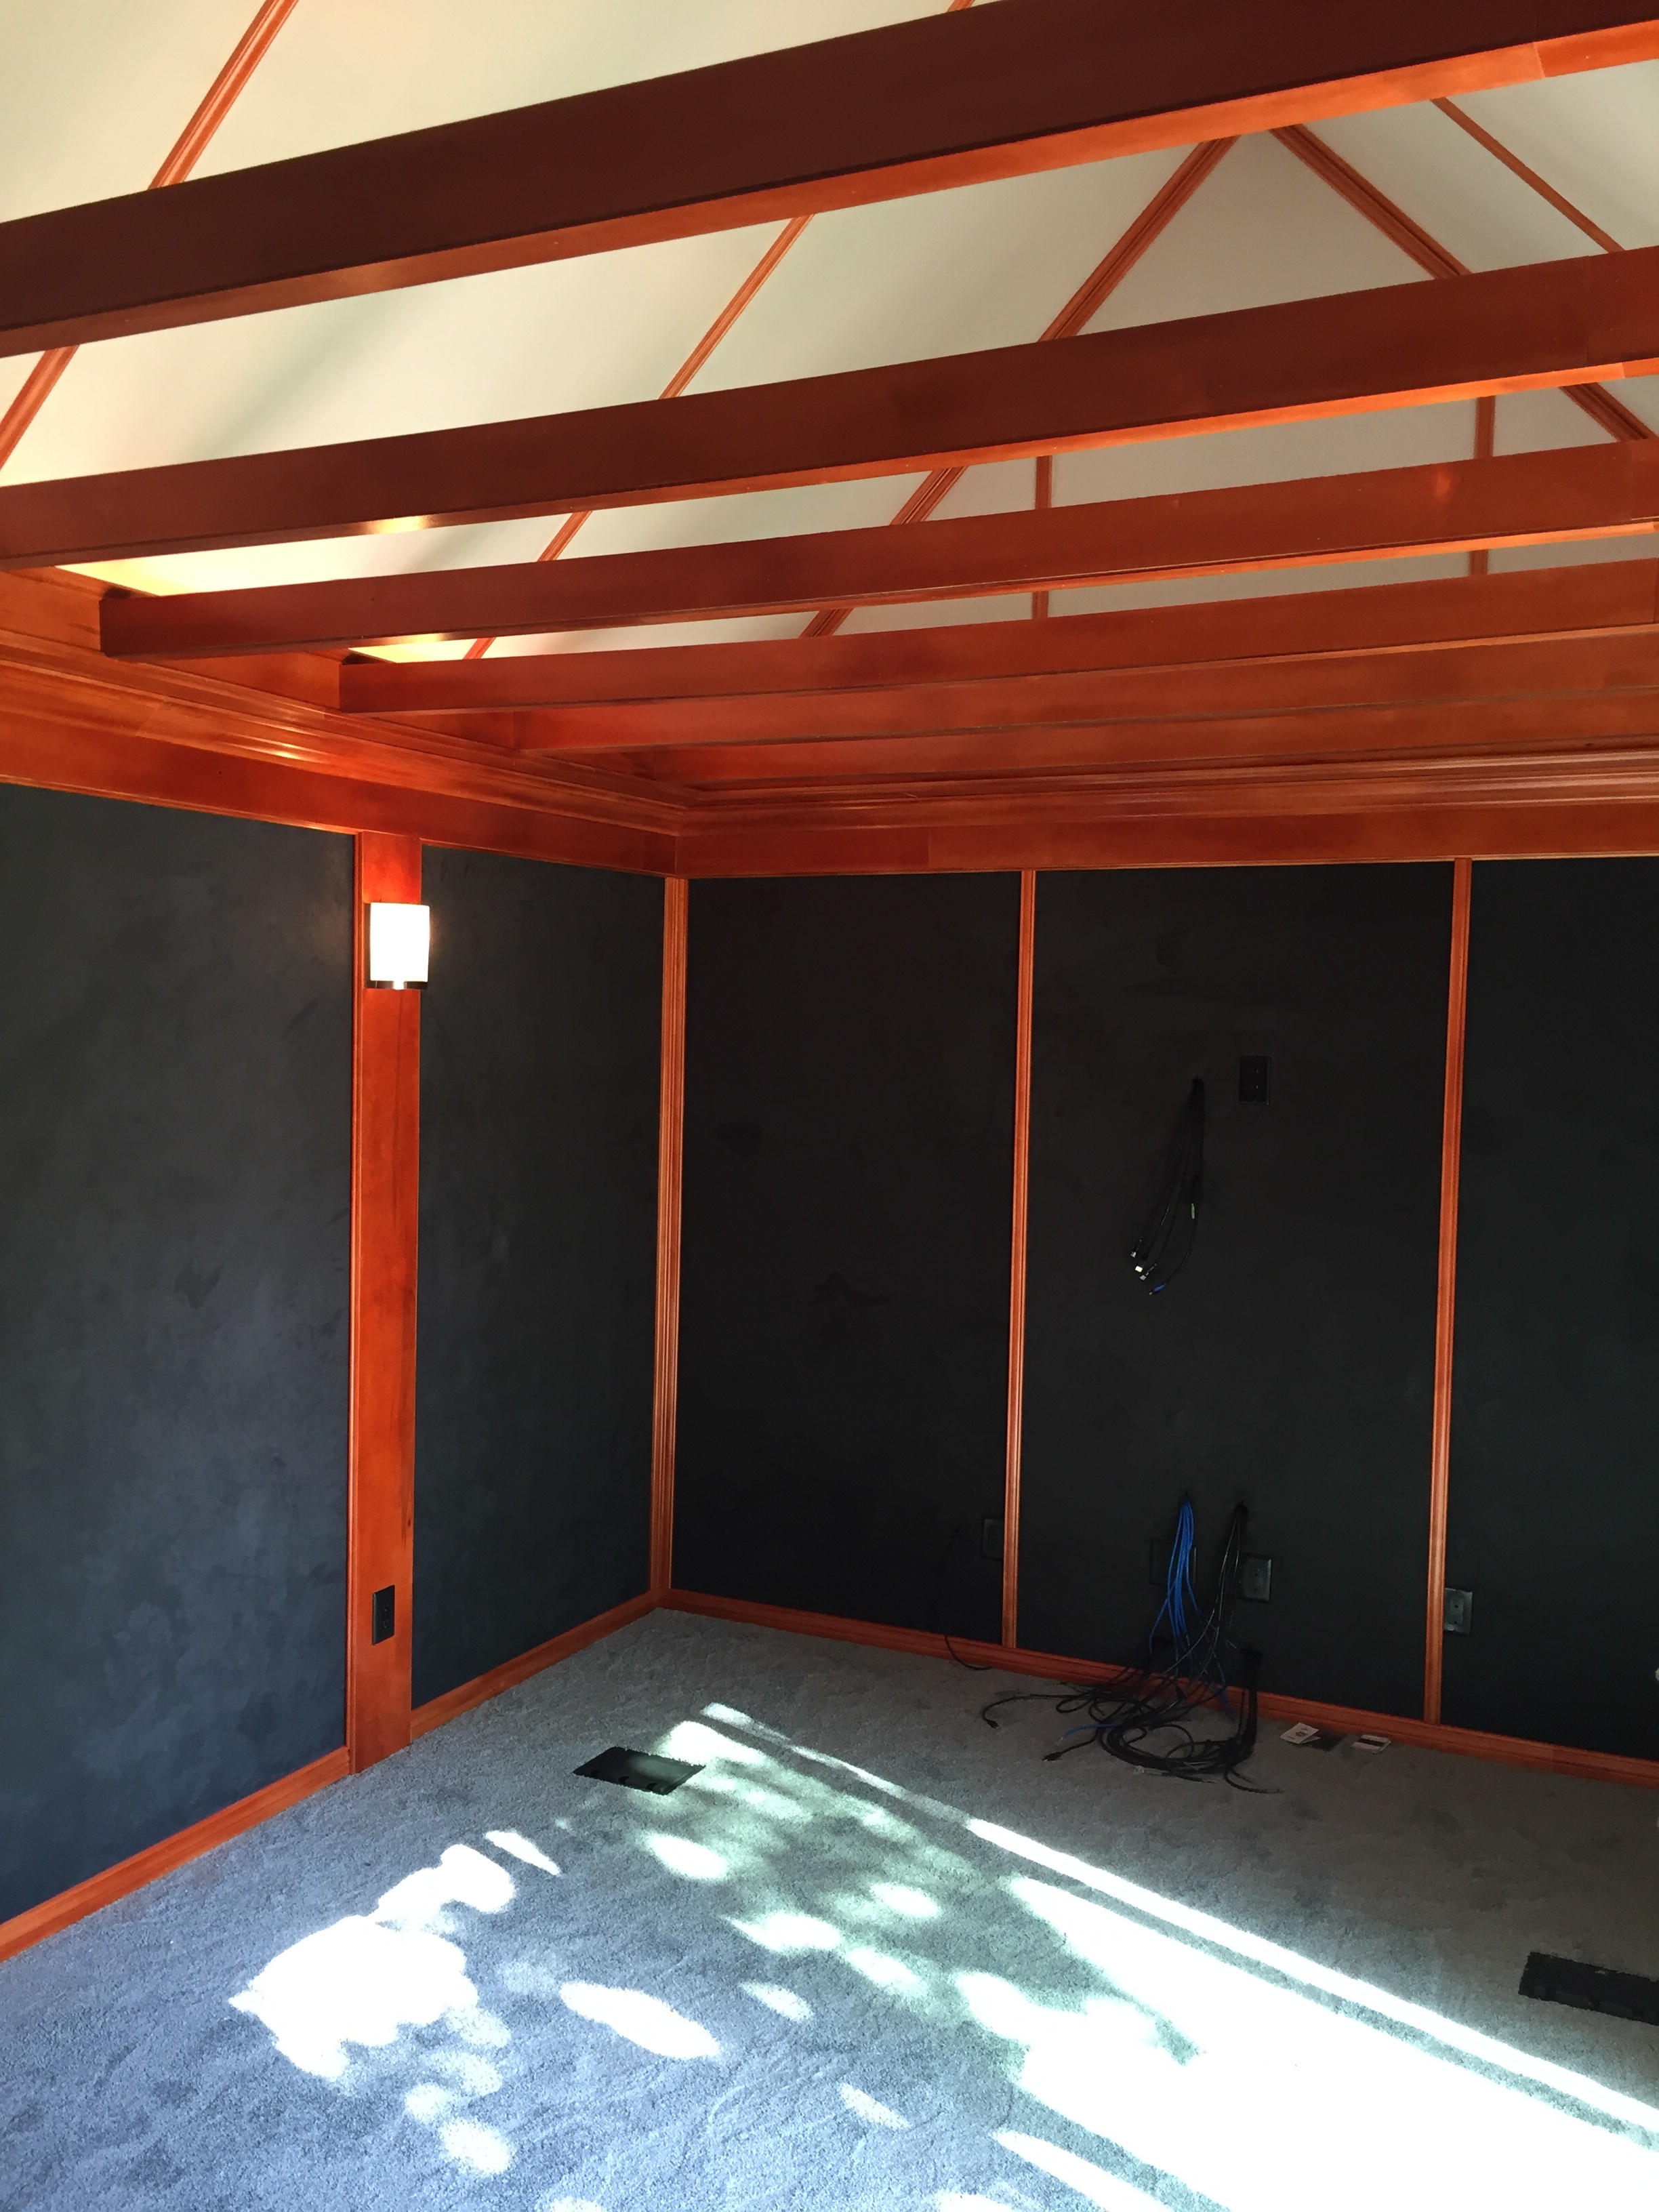
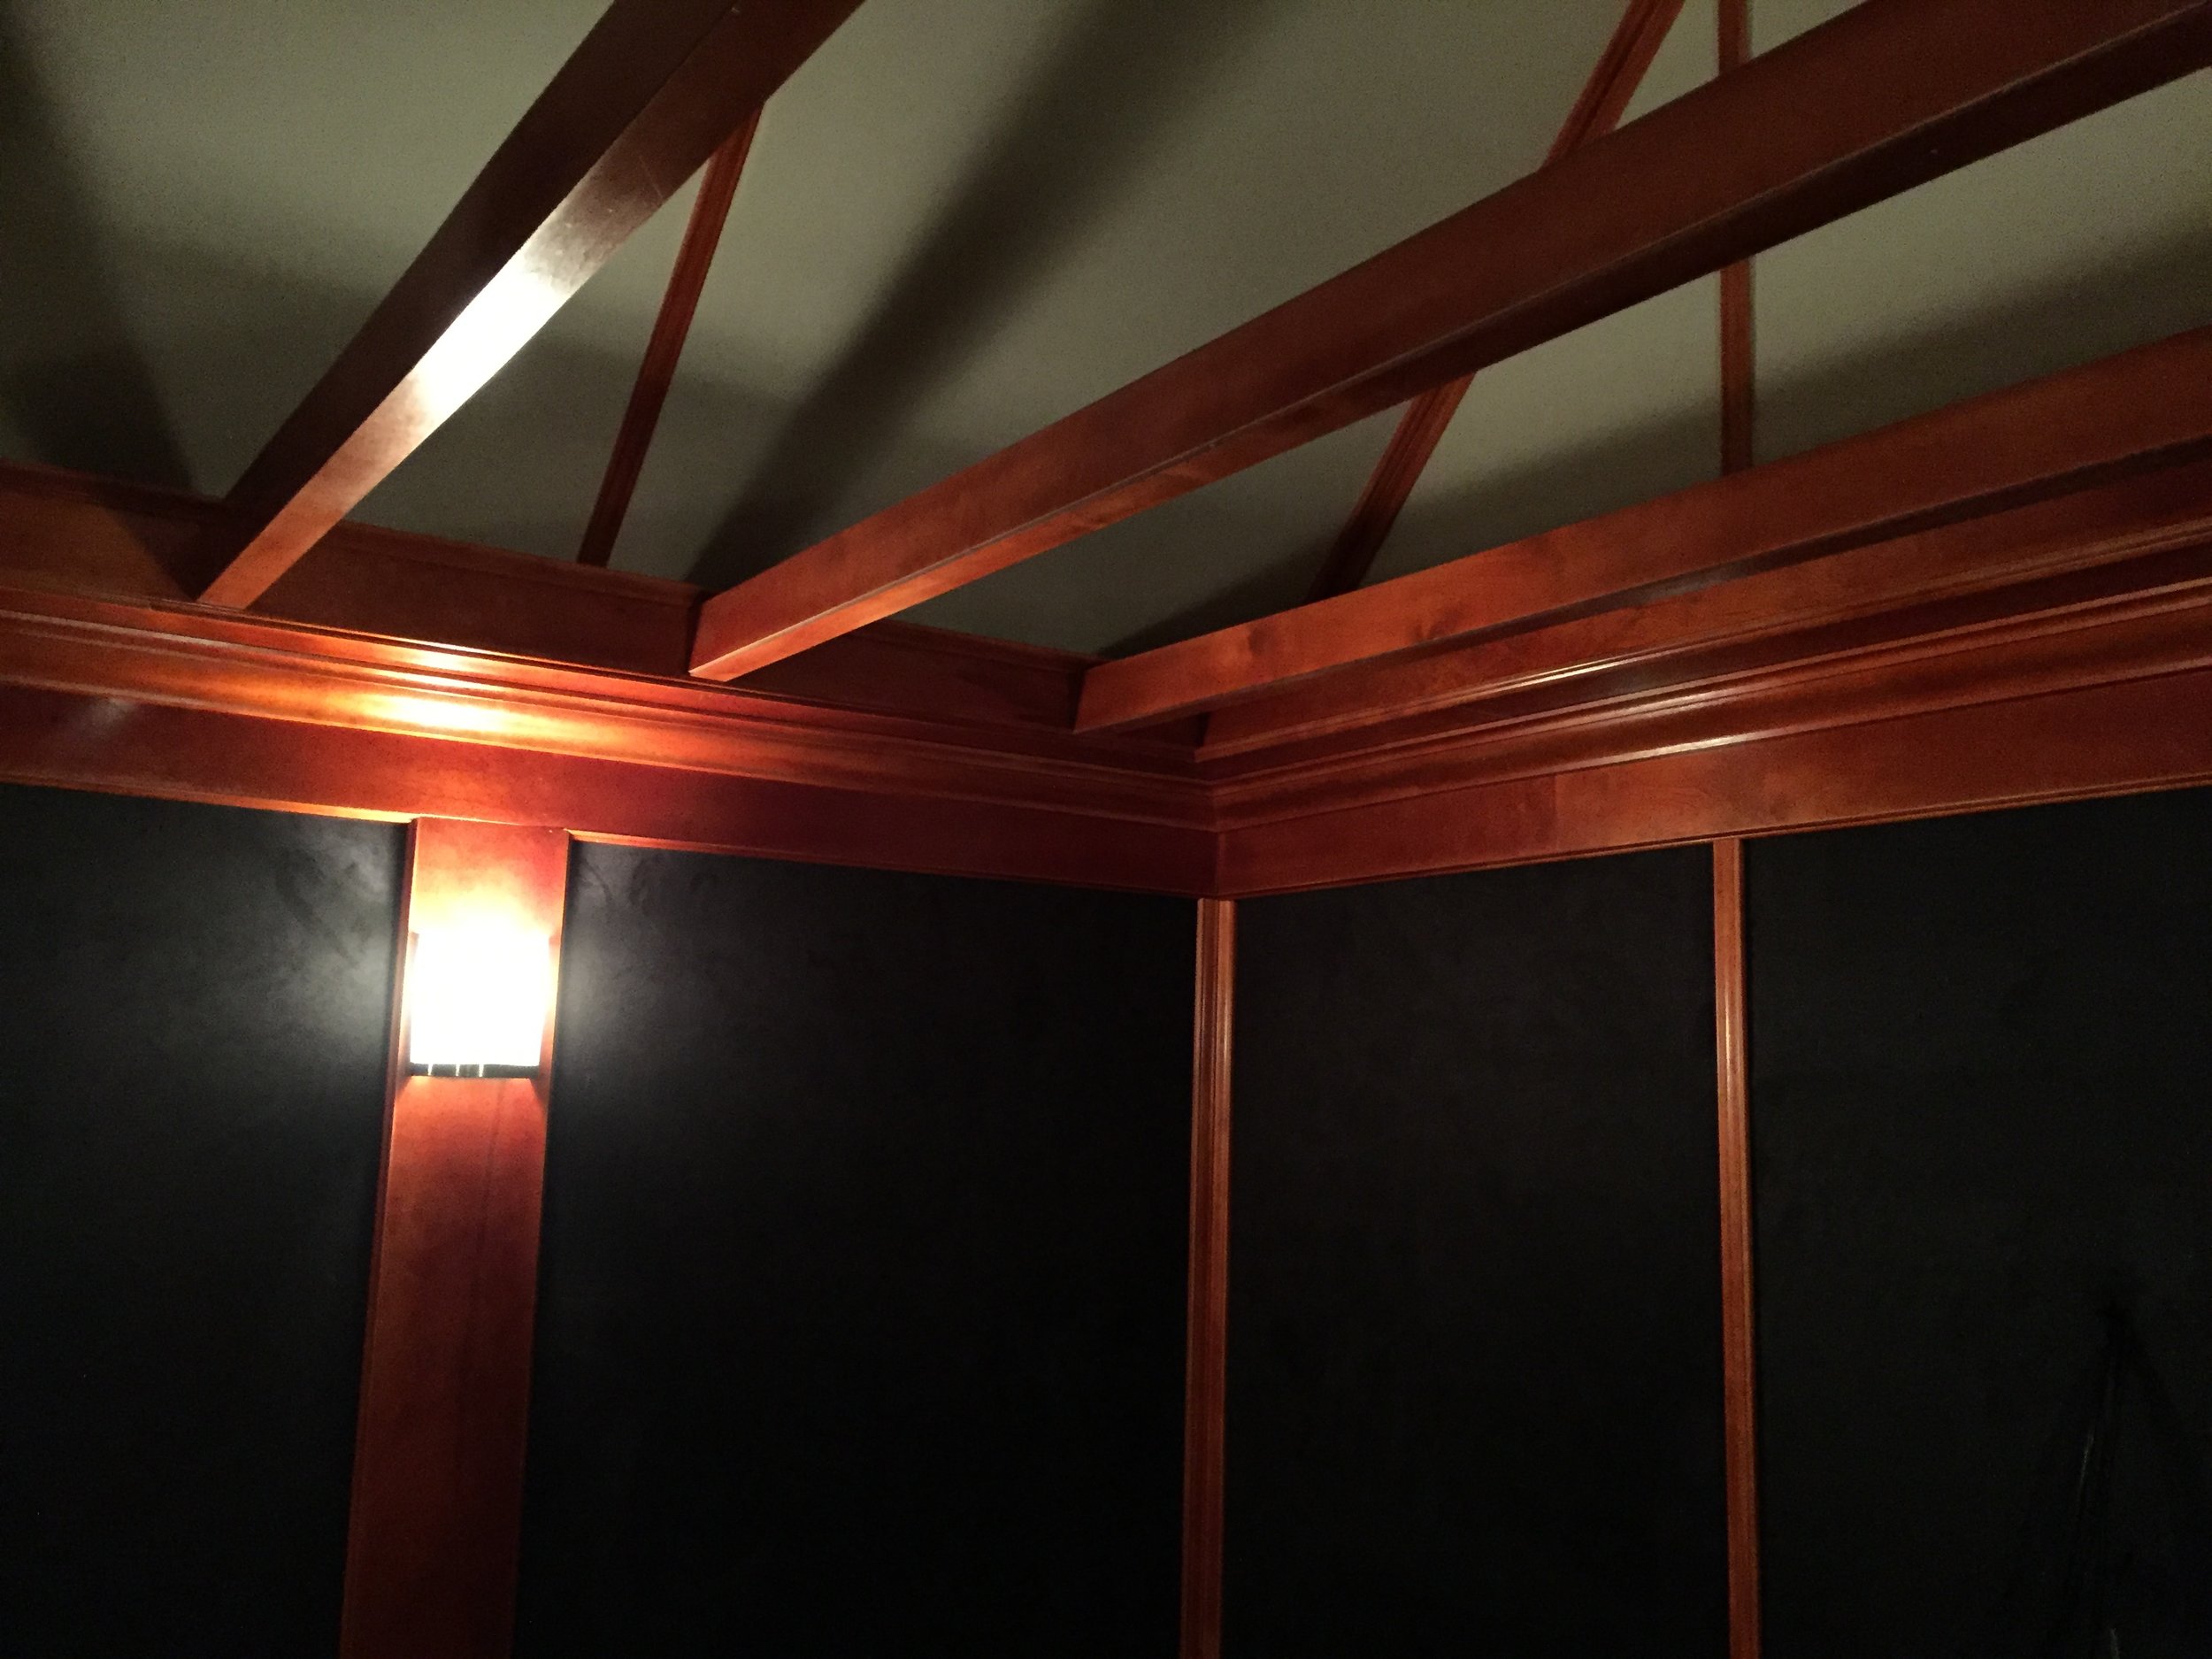
It is super important to know where everything that is going to be hanging on the walls is going to be, whether these are carpentry trims, speakers, pictures, equipment, tv’s, electrical boxes, internet boxes, etc… I also wanted a cove molding on the ceiling to install some lighting in and help hide the fact that the ceiling finished at such a tight corner and was such a small space.
You then have to put backing there that is strong enough to hold whatever is going to be hanging off of it. TVs and speakers are usually the heaviest things. Make sure there is backing for them. You won’t have drywall to hang things on and fabric won’t support anything. So make sure there is wood behind the fabric that can be screwed into.


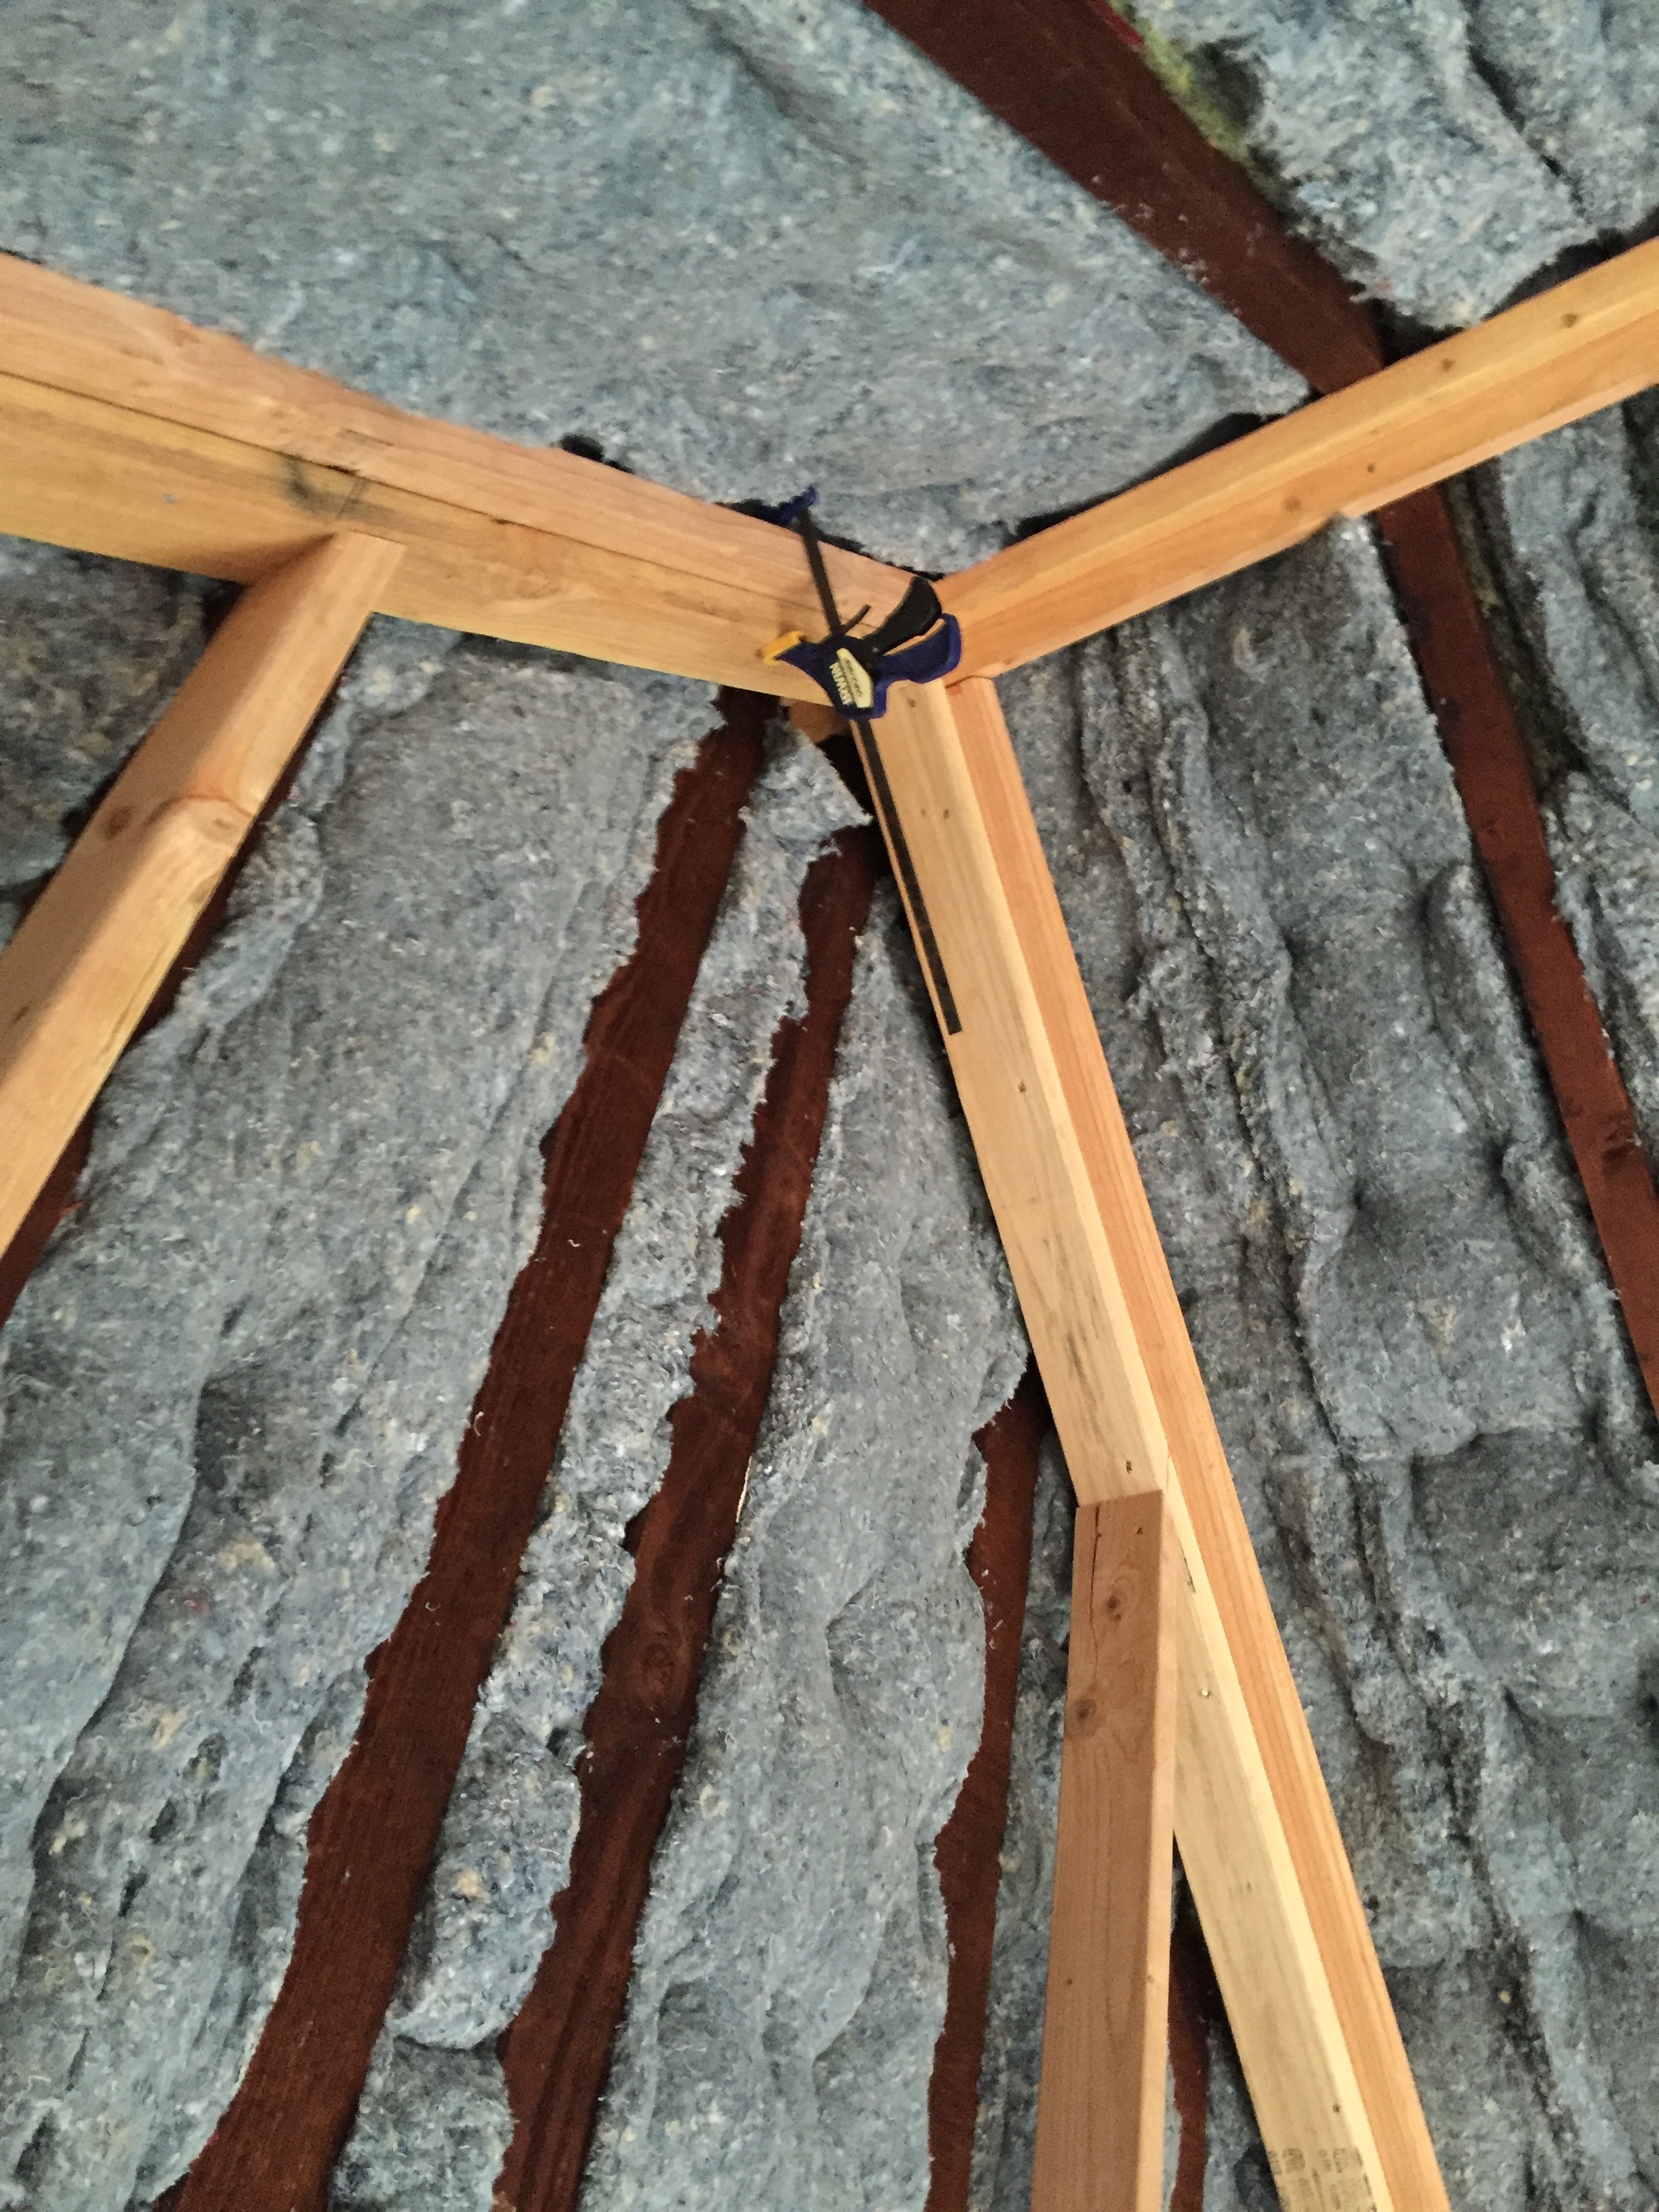
Before you put up fabric, check to make sure you’ve thought of everything. Check to make sure that every corner where two walls meet have backing for each both sides of the corner.
Check again.
Check again.
If you plan on having super loud sound of the ear damaging variety, you may want to go ahead and use silicone caulking and silicone all wood joints and places where two pieces of wood are touching to prevent rattling. Really I’d only worry about this if you plan on having a massive sub-woofer and using a lot of low-end frequencies.
CARPET
Install the carpet pad and flooring and immediately cover it with thick plastic to ensure it doesn’t get ruined as you finish.


FINAL ACOUSTICAL HANDLINGS
If you want to go crazy doing high end acoustical handlings that are hidden behind the fabric walls, you would do these now. I knew that with what I had done and the amount of wood that was going to be in the space, that it would be dead but with enough reflectance from ancillary surfaces (including the fabric itself) that the space would sound great.
We also didn’t have a lot of room to do crazy bass traps in the corners, or acoustical reflectors, etc… But each person is different and may have different acoustical tastes. Do as you wish to make the space sound how you want, if you have the money to go all out, by all means do so.
FABRIC CHOICE AND INSTALLATION
There are literally tens of thousands of fabrics you can choose from. Choose whatever color you want, however remember that different fabrics handle sound differently.
Some people want fabrics that are like speaker covers and allow sound to pass through it easily. You can test for this by trying to breathe through it. If you can breathe through it easily then it will allow sound to easily move through it without changing it noticeably.


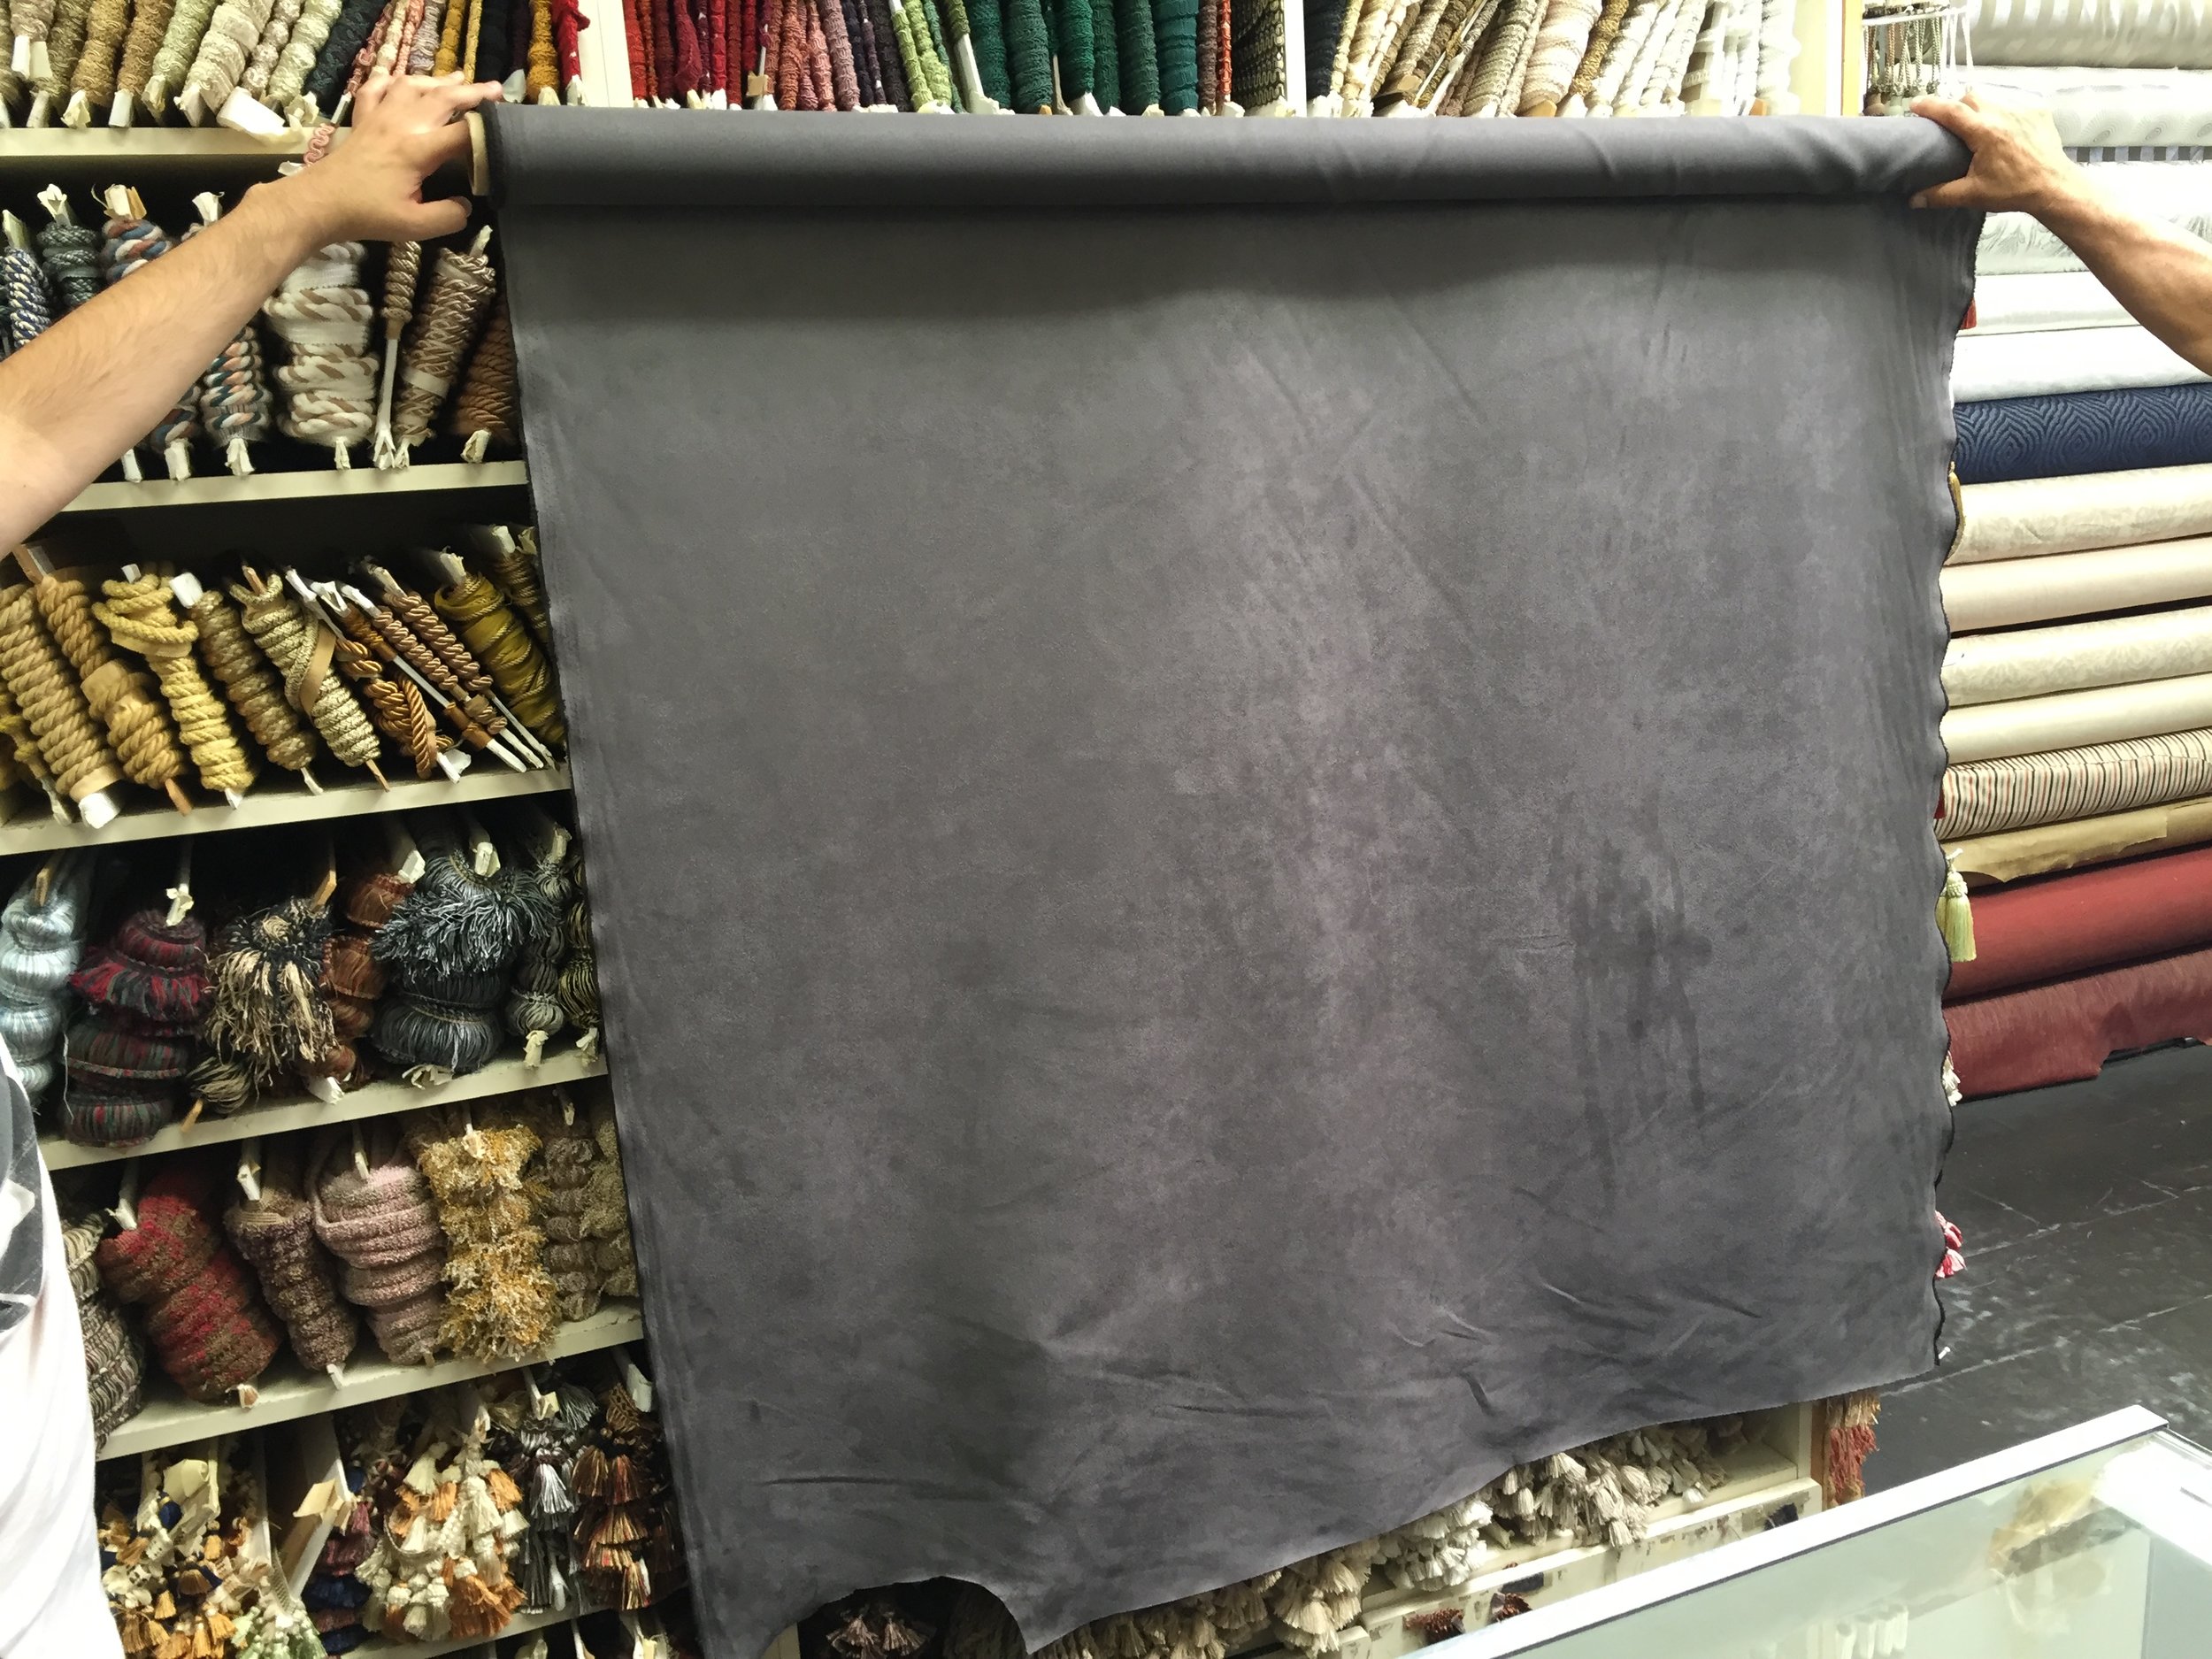
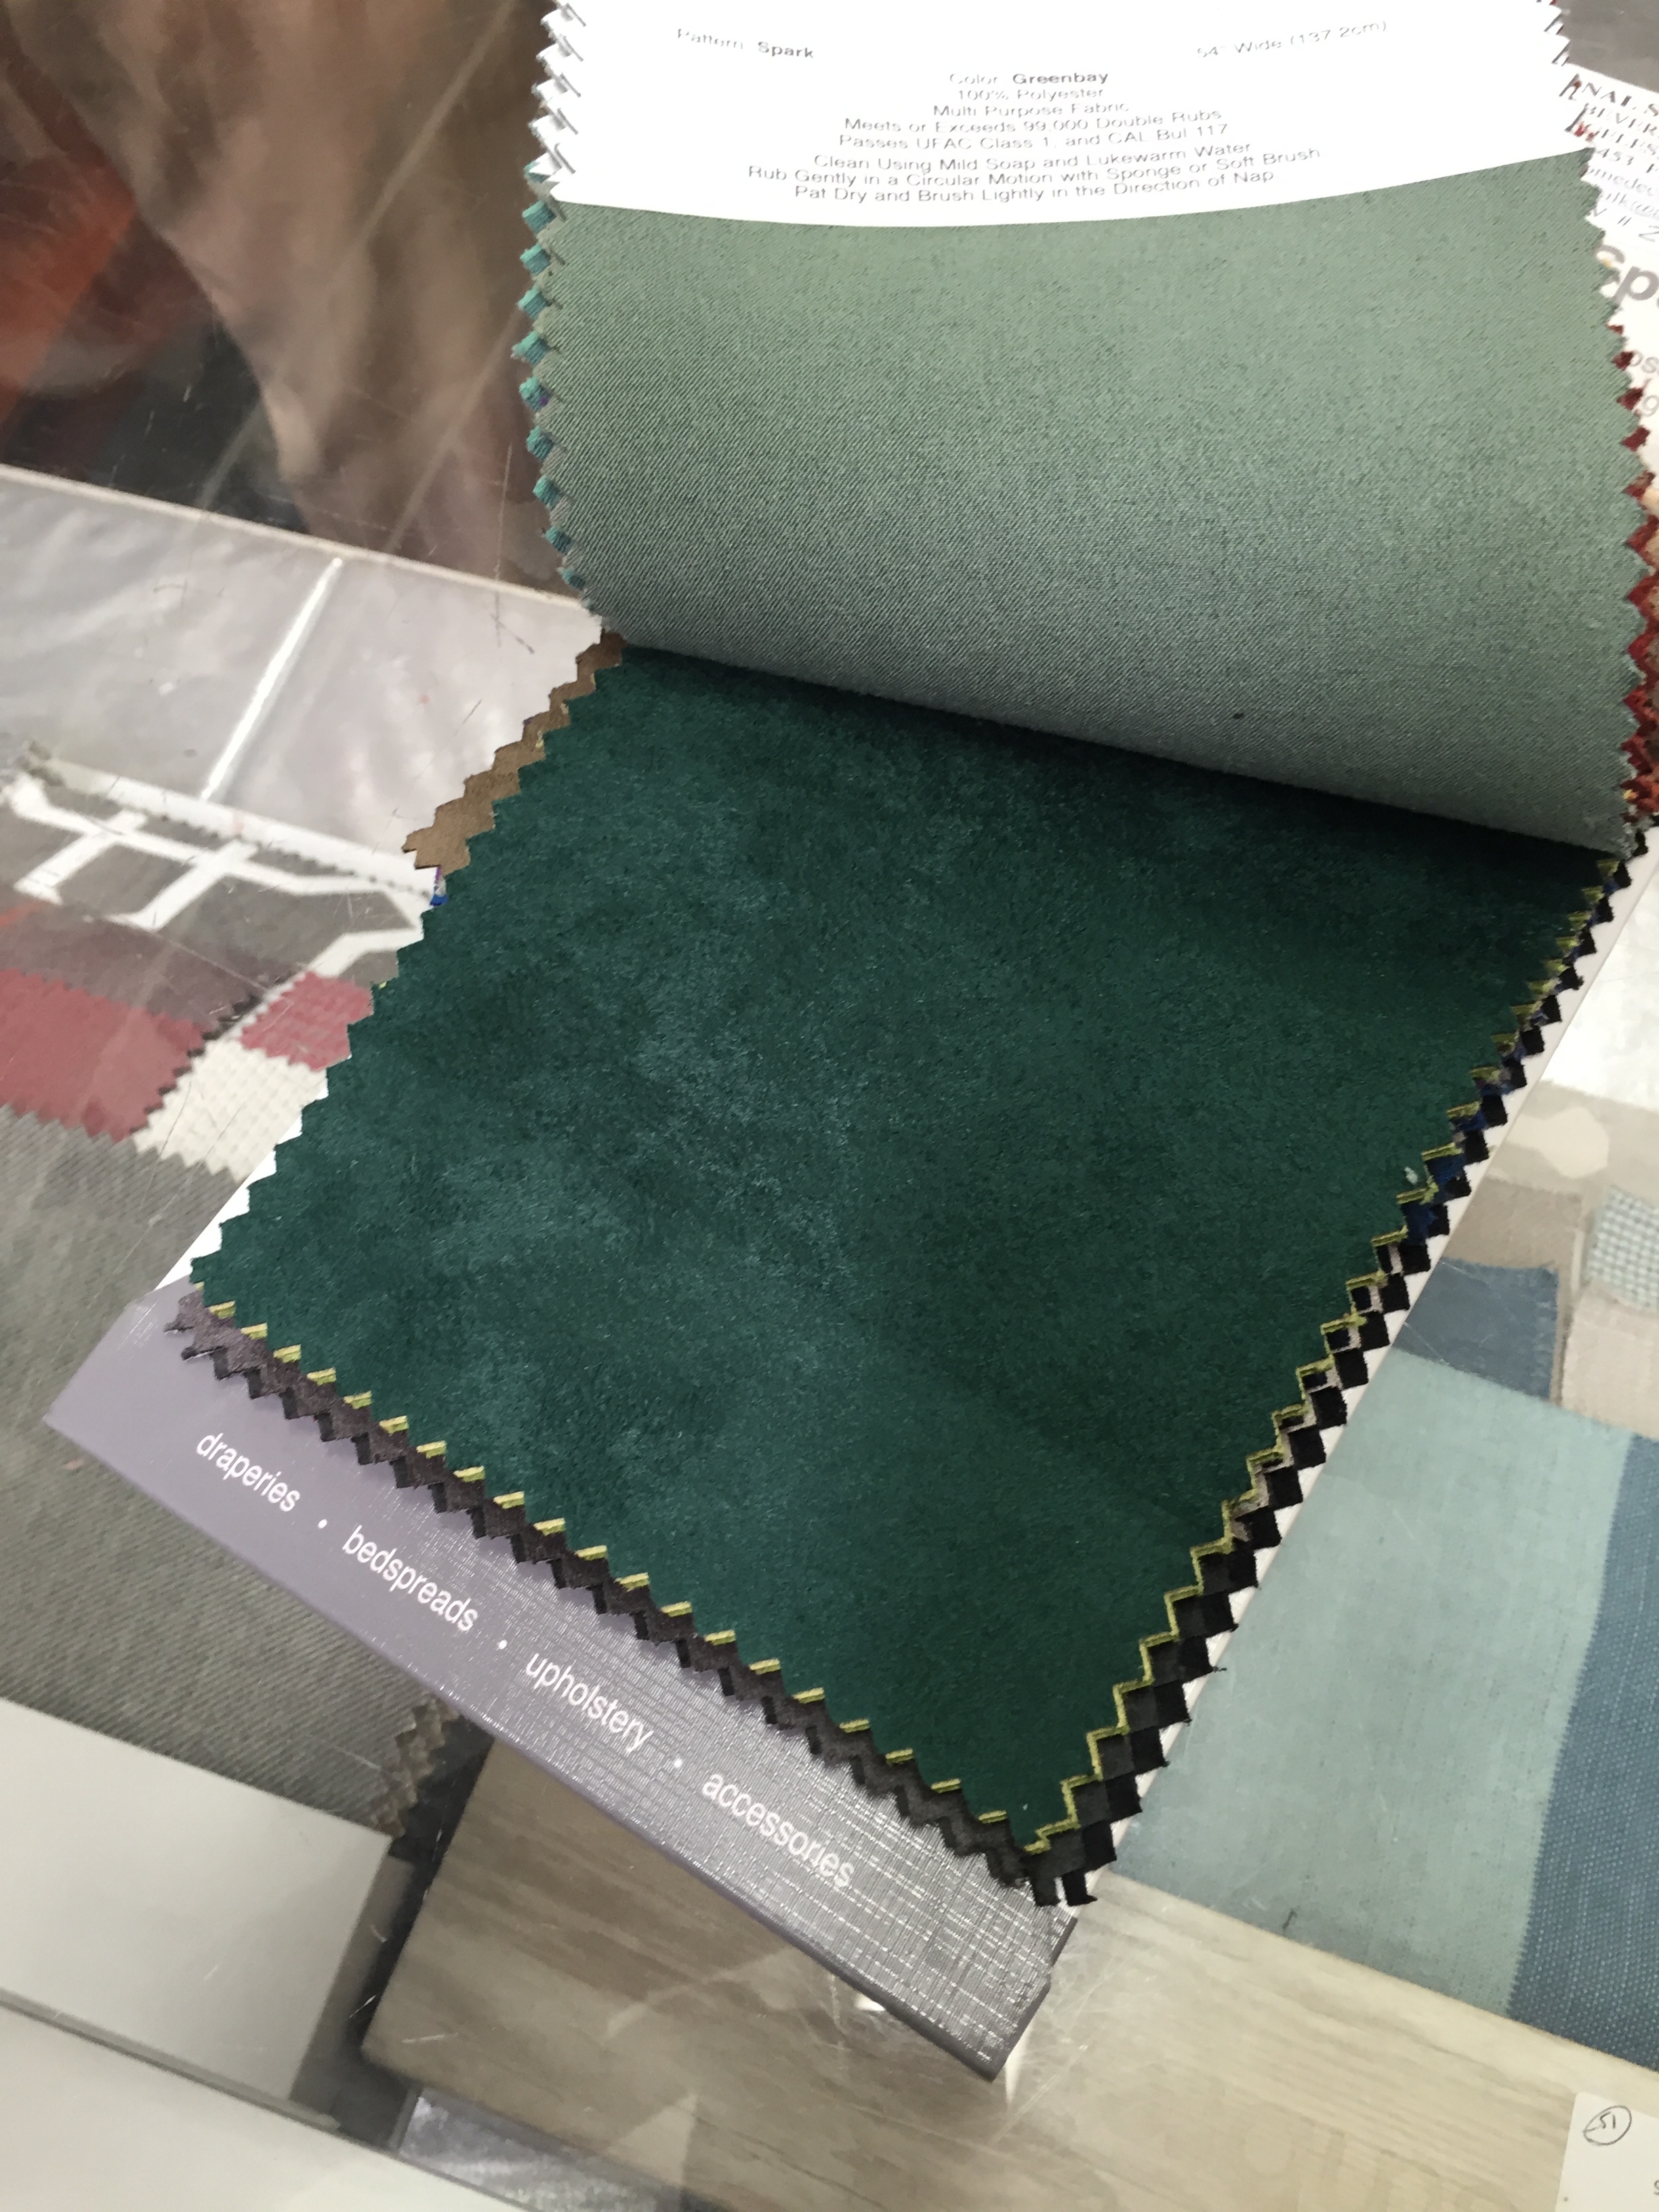

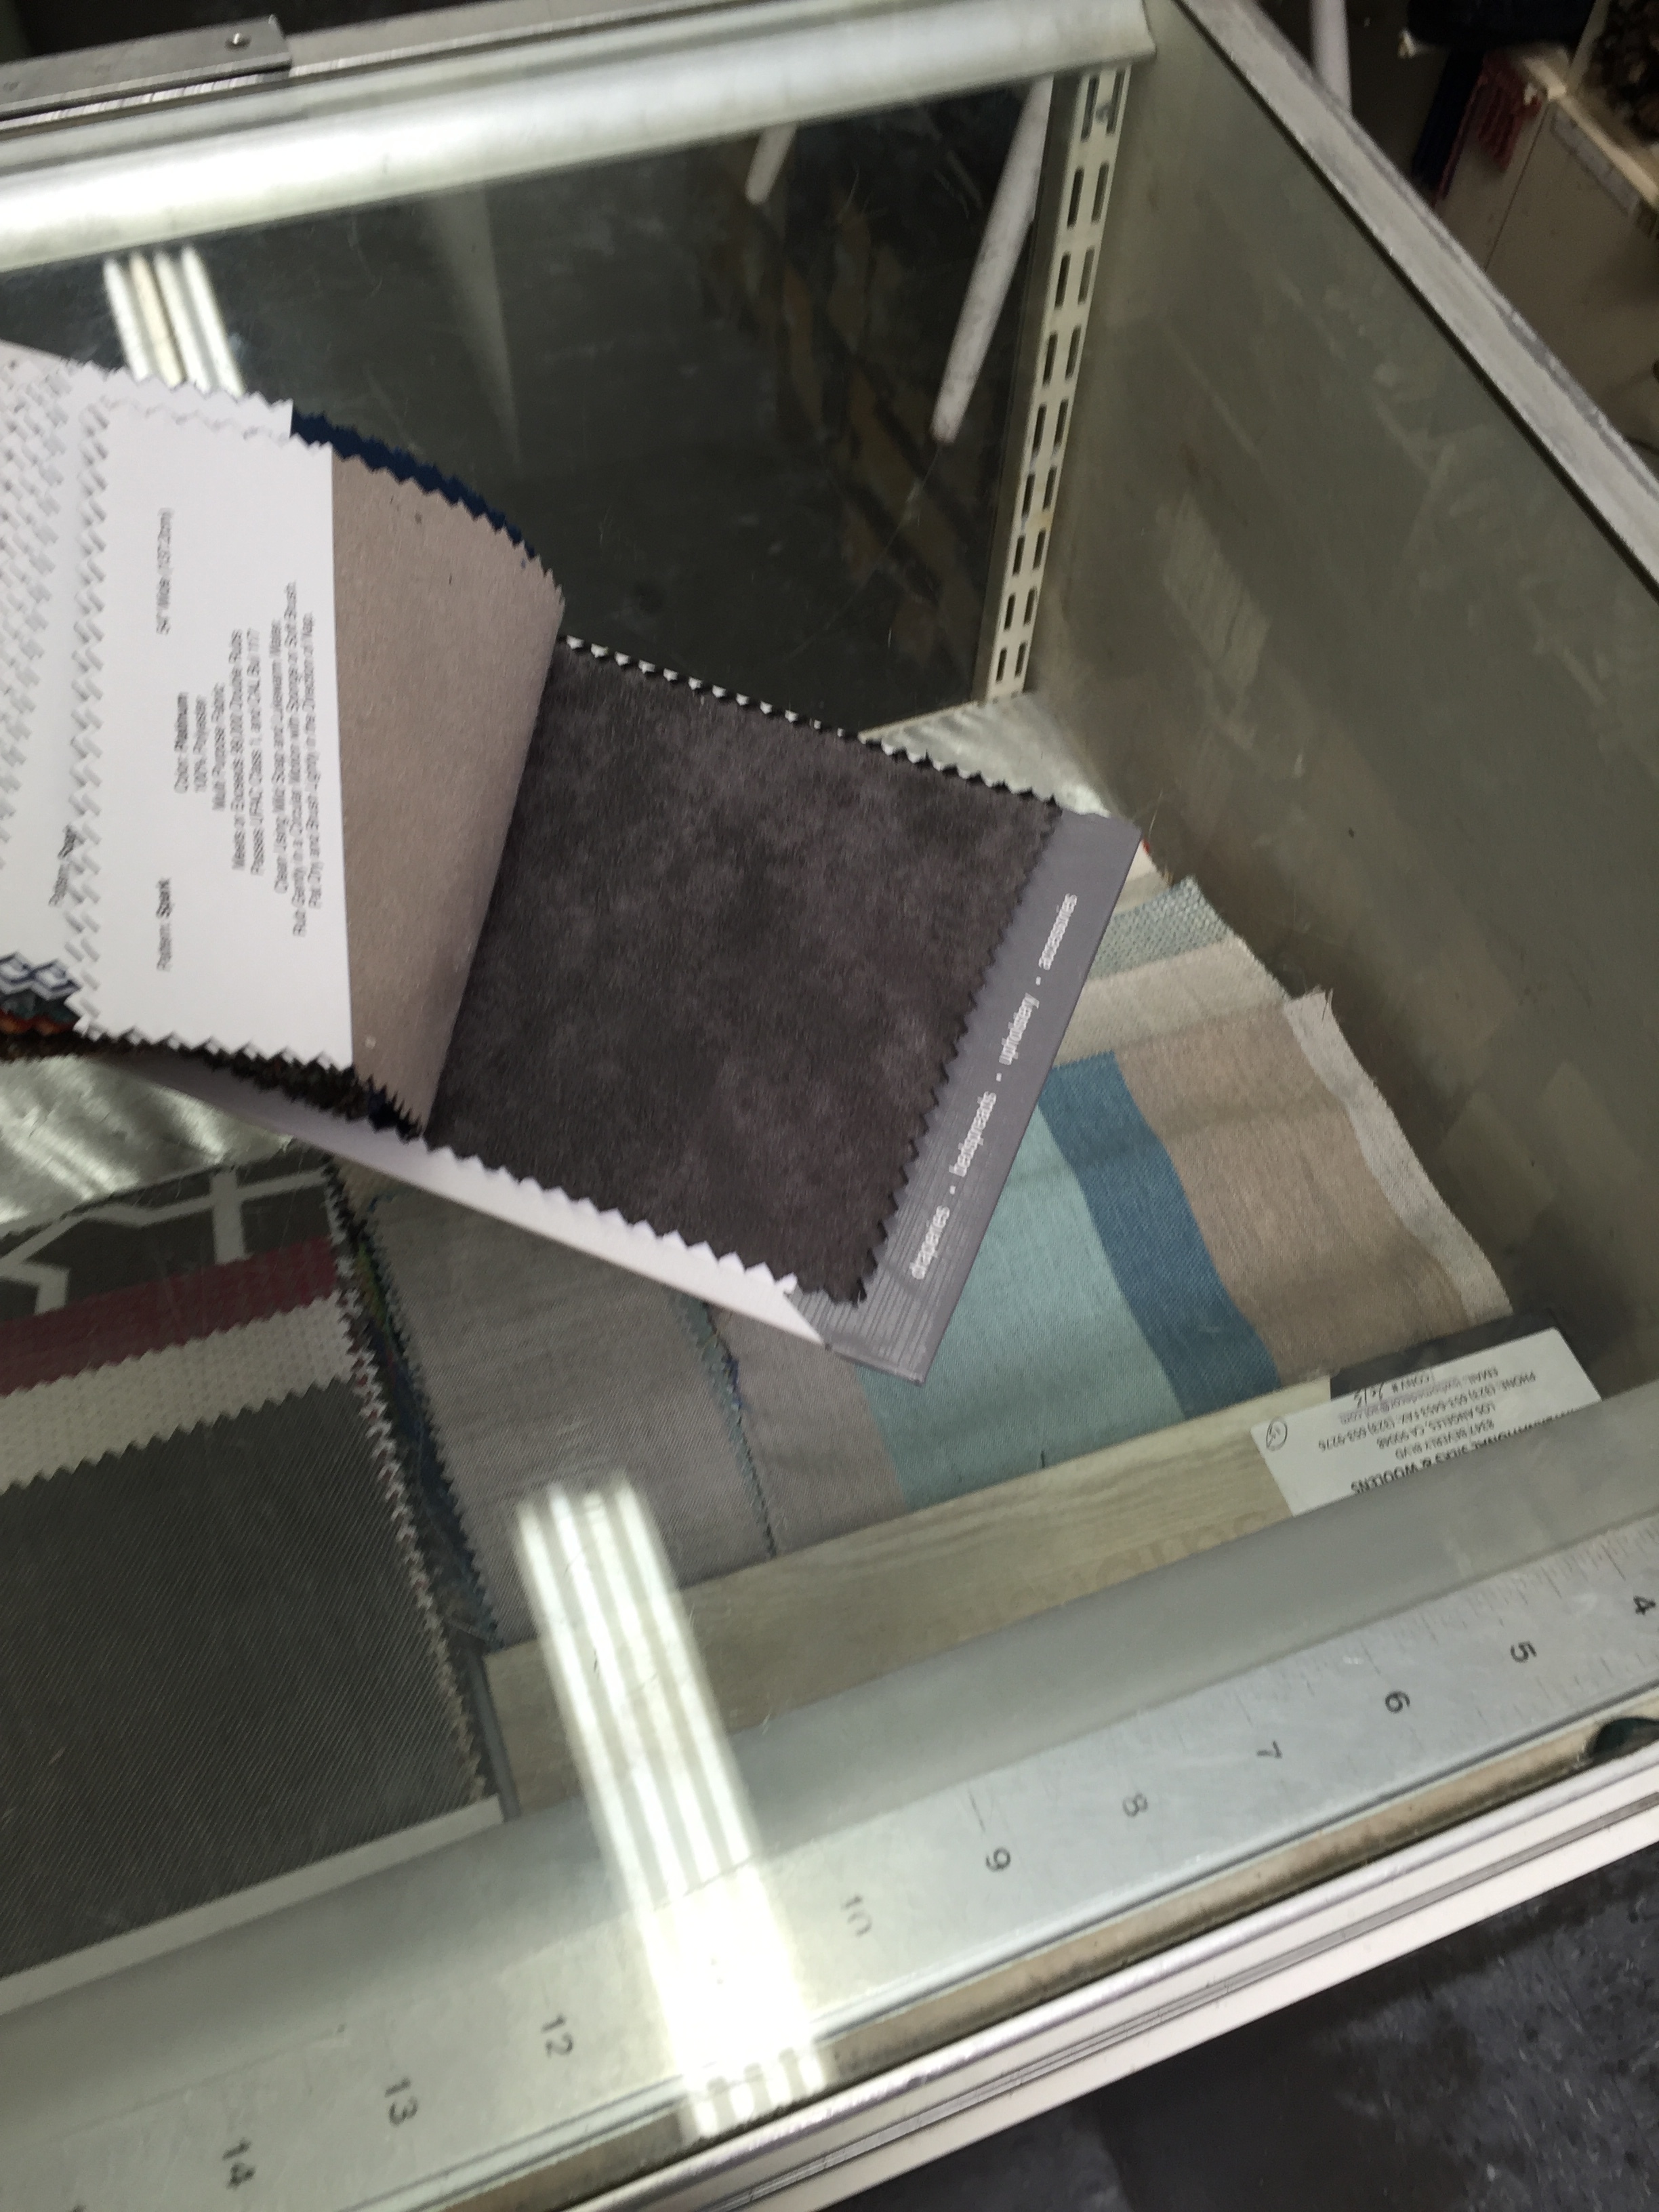
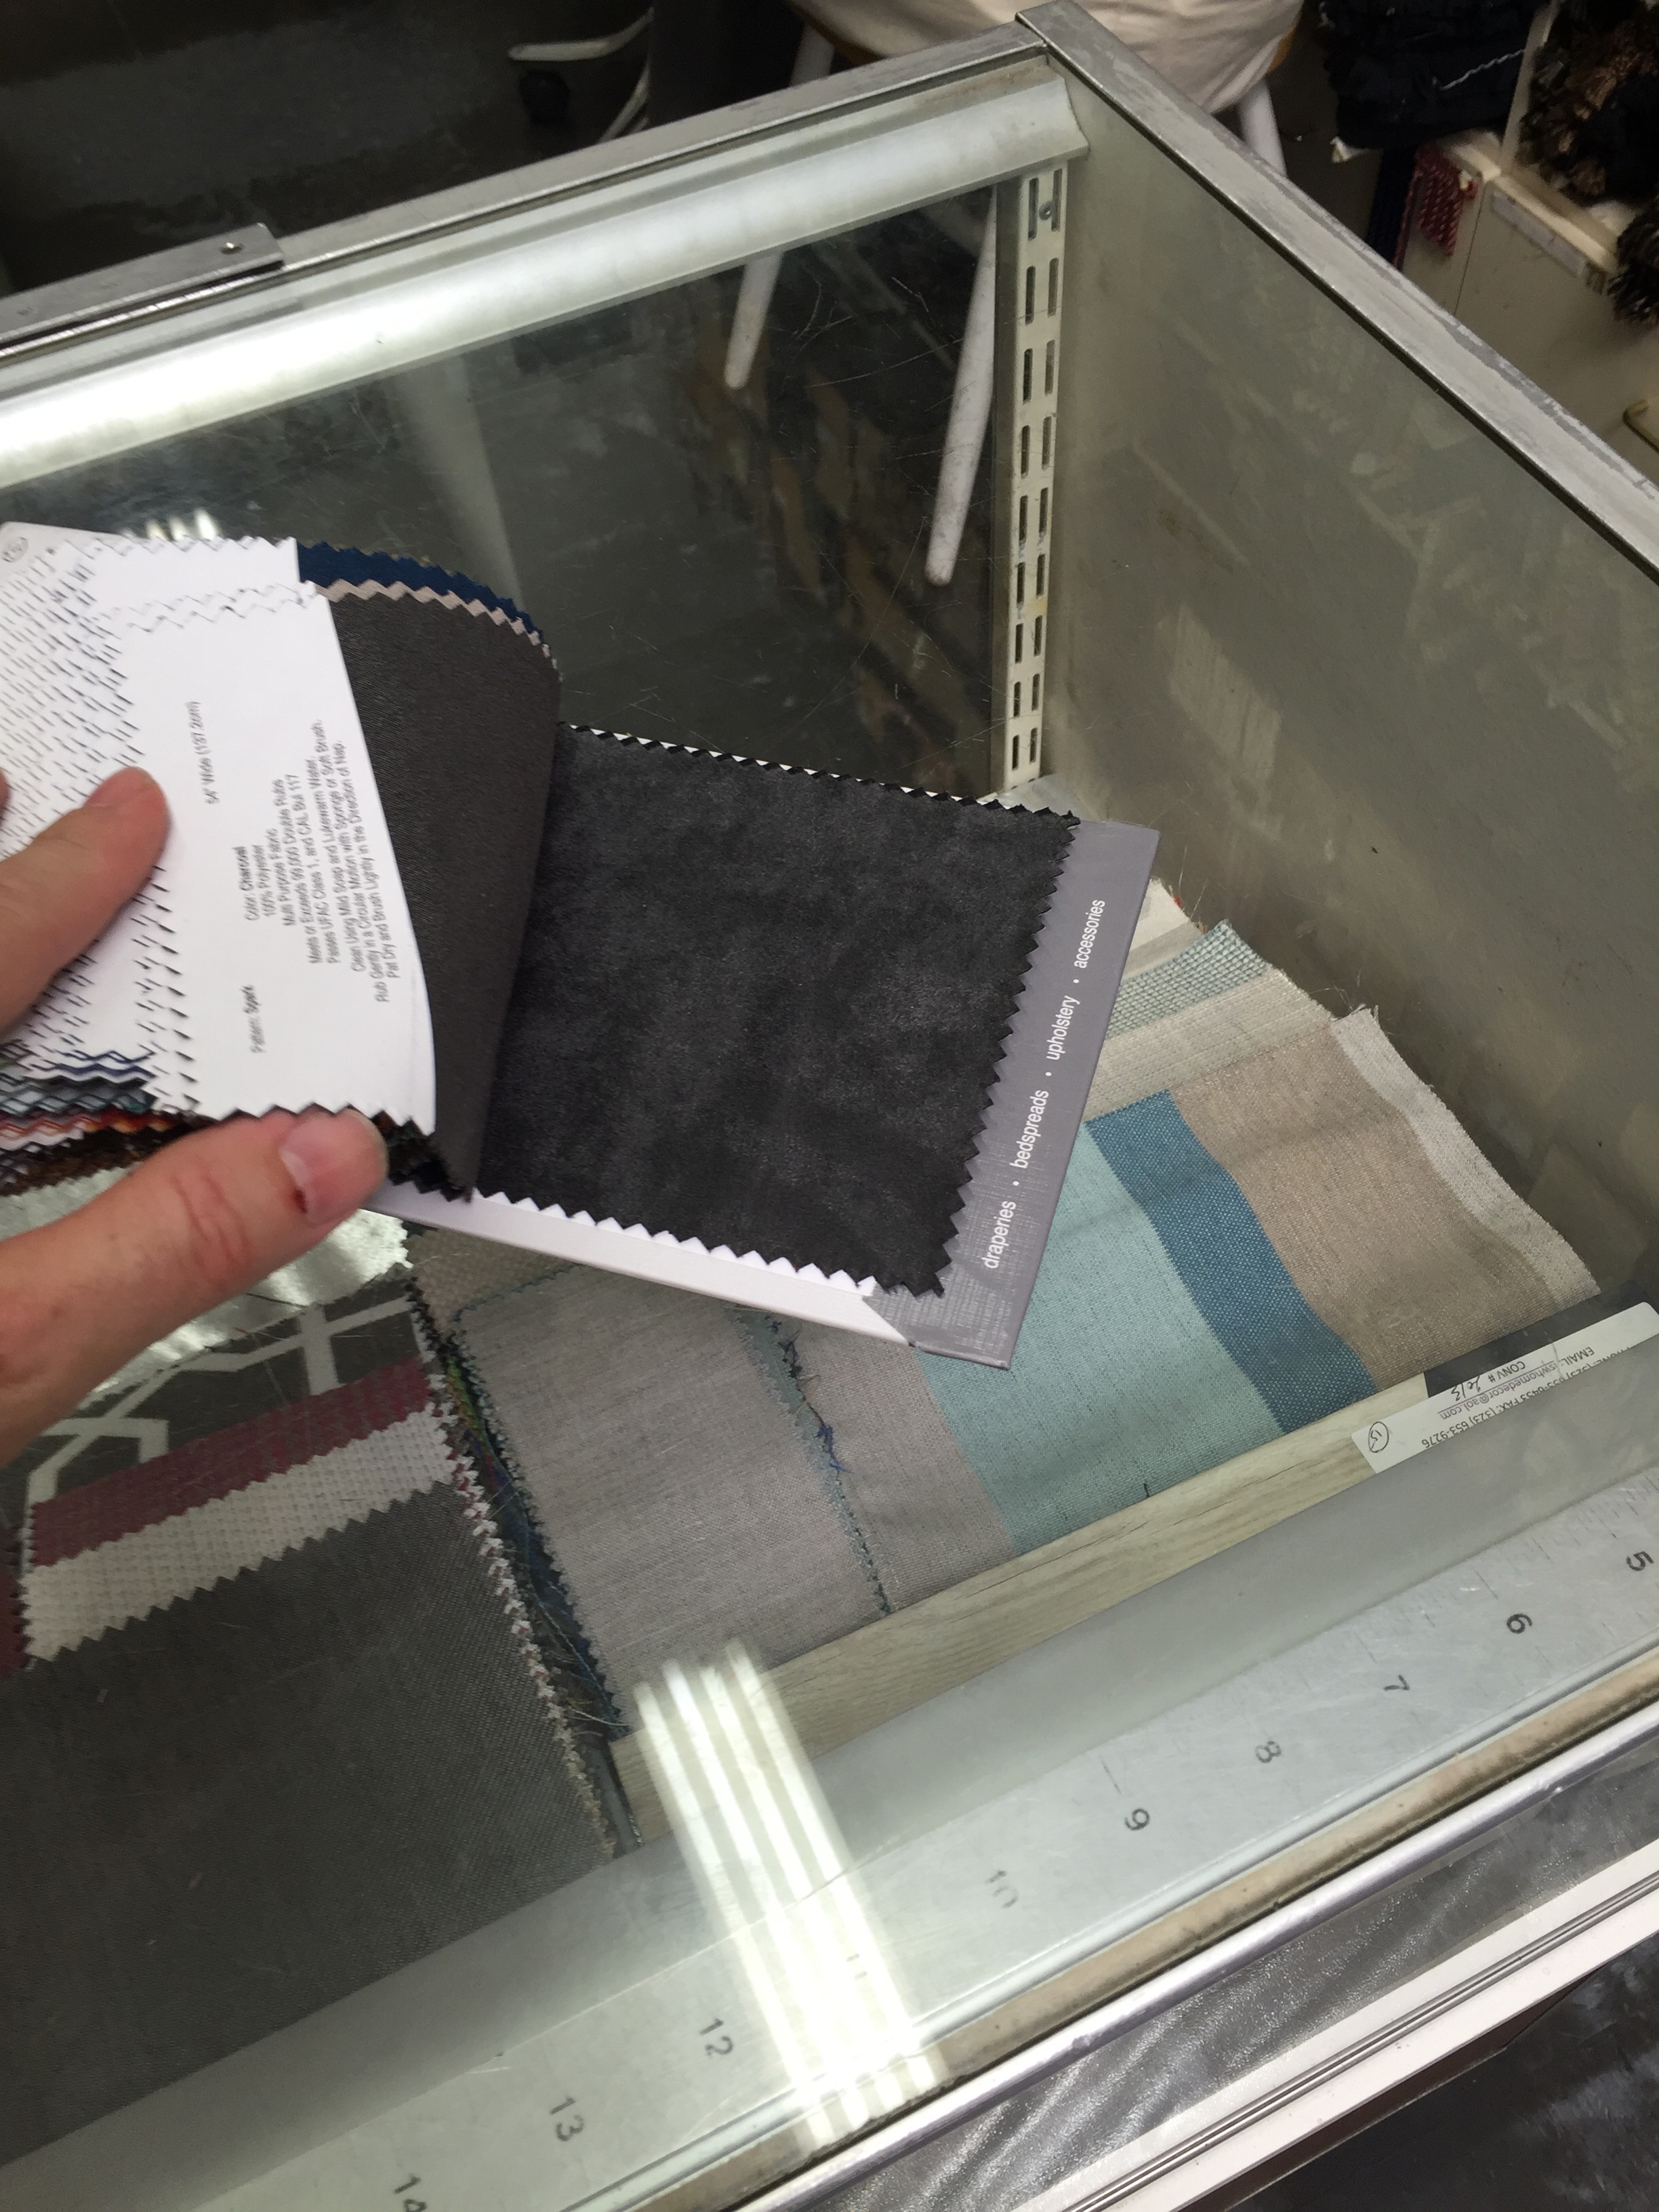
I tend to choose a medium type fabric that is darker with a neutral tone and which isn’t speaker fabric thin but which isn’t super thick either and will let sound pass through easy enough.
As a note: if you use the super thin speaker fabrics, you will see everything on the walls behind it so be prepared to paint everything to help hide it.
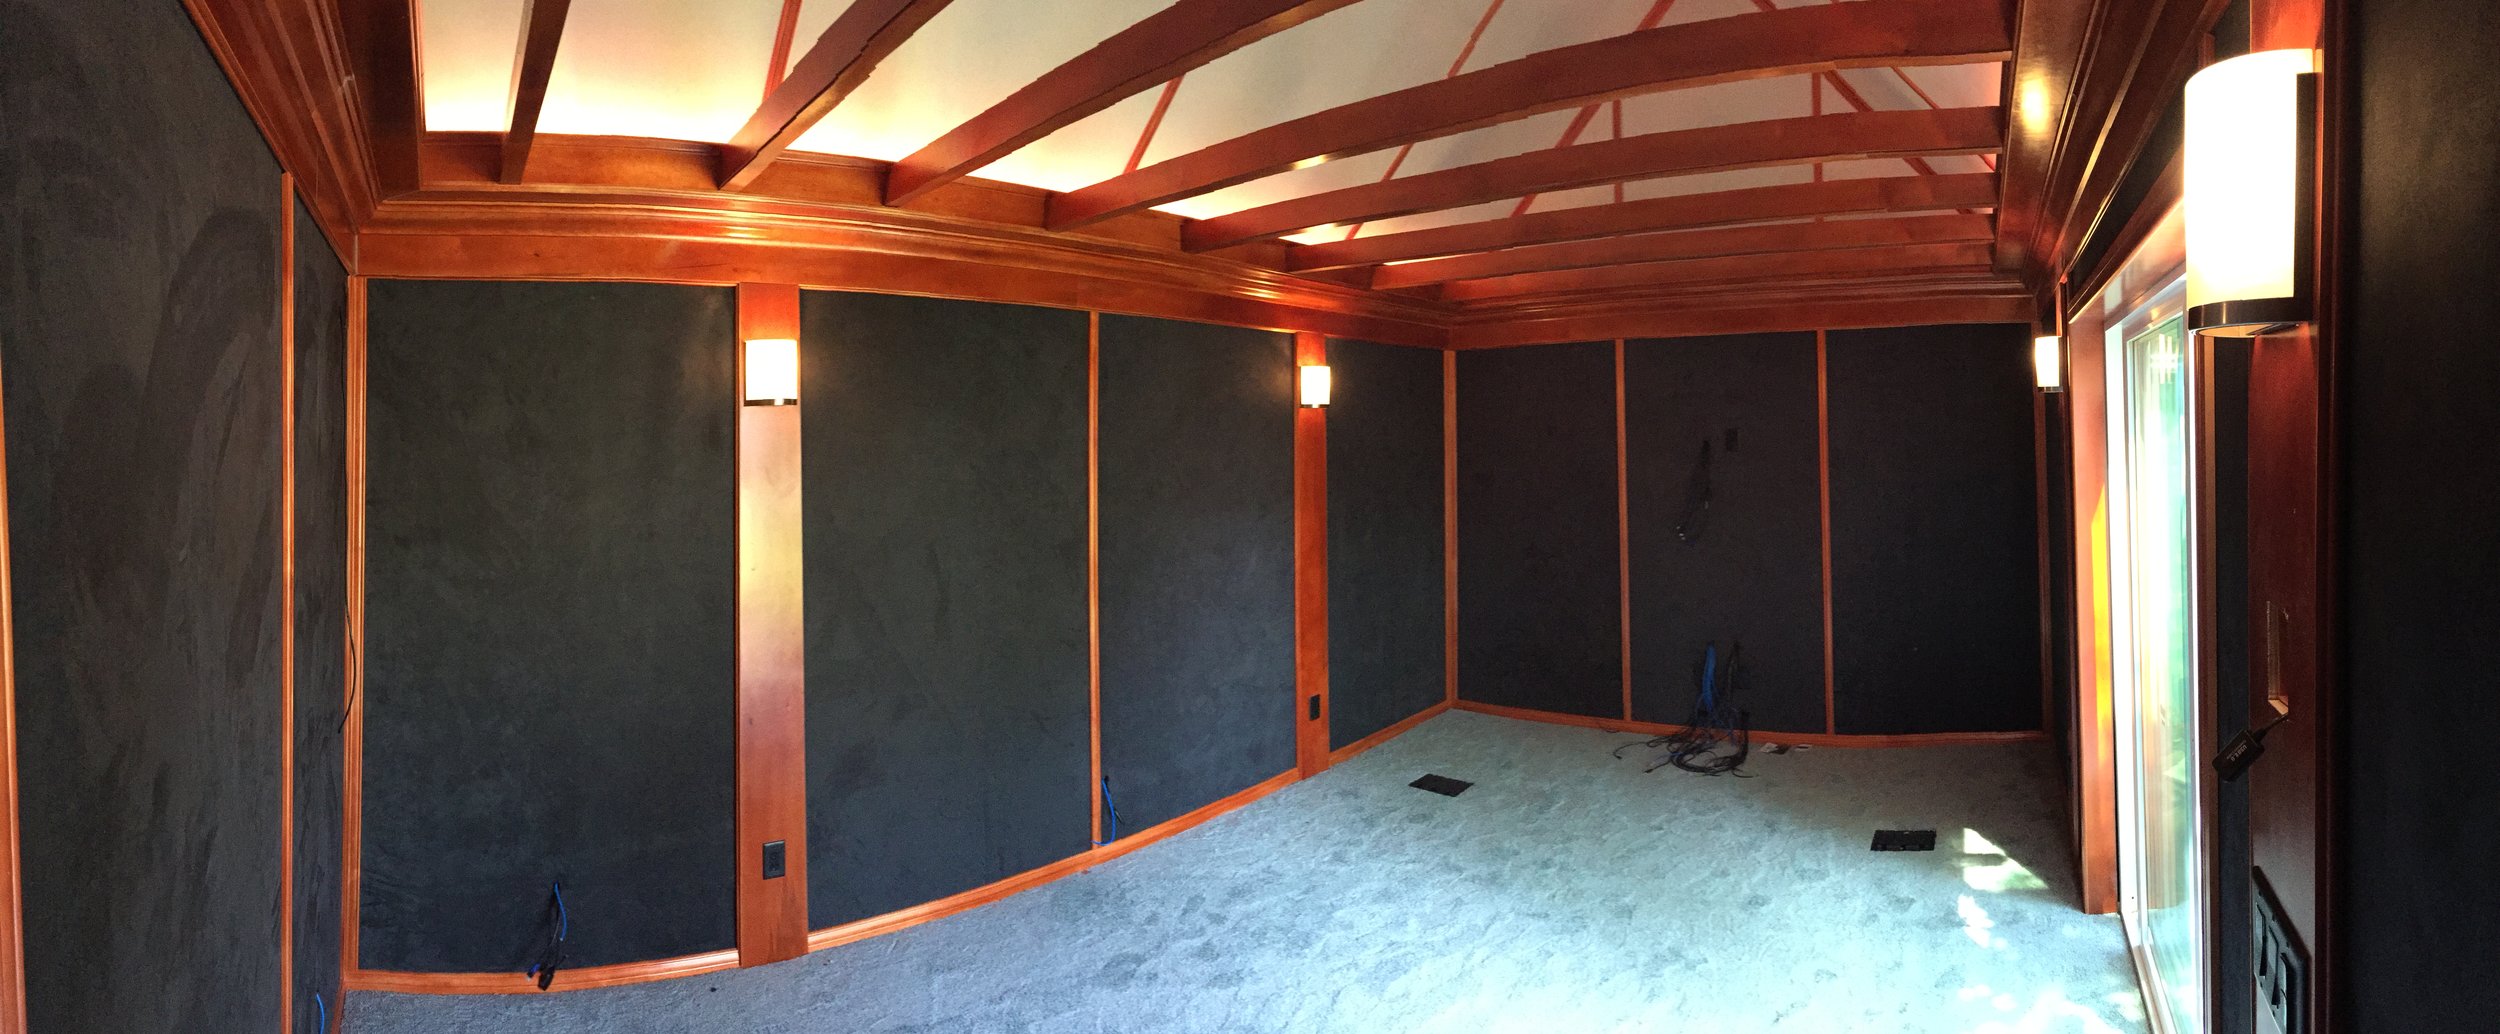
Muslin type fabrics are good for these types of studios and because I wanted the ceiling to provide ambient lighting via the cove lights I chose a natural muslin for the ceiling.
For the walls we tried a faux micro suede which was really nice. It looked beautiful, was a neutral gray with a slight green tinge which I knew would work well with the cherry colored wood I wanted to use.
I then used a small electrical or air powered staple gun (your arm will fall apart if you try to do it with a small manual upholstery stapler. I used those for years and trust me you lose too much time, get a powered stapler) and stapled up the fabric on the ceiling.
I recommend measuring and precutting the fabric panels so you have ample room to spare on all sides. This takes practice and can be frustrating so buy extra fabric for mess-ups and also replacement panels for the future.
Start in a corner of a panel and staple the corner and then work your way along one long side stapling every 2-3” as you go. Stretch it so that it is taut, but not so tight that it becomes like a drum. You just want it taut enough so that it doesn’t sag.
Then take the other side of the corner and staple it up. You should have a square corner now. Work your way along the other side and then cut off the excess. Keep moving methodically across the room.
If you forgot any backing you will suddenly find that you have nothing to staple to. Doh! It happens to us all. Put in the backing and continue.
Repeat this process for the walls. Sounds so easy to say in a sentence. Fabric installation is exhausting, especially when you are doing ceilings. But it looks great when it’s done.
When the fabric is fully installed, go ahead and put on all the cover plates including soldering the audio cables so that they connect to the audio cover plates and are ready for connections.
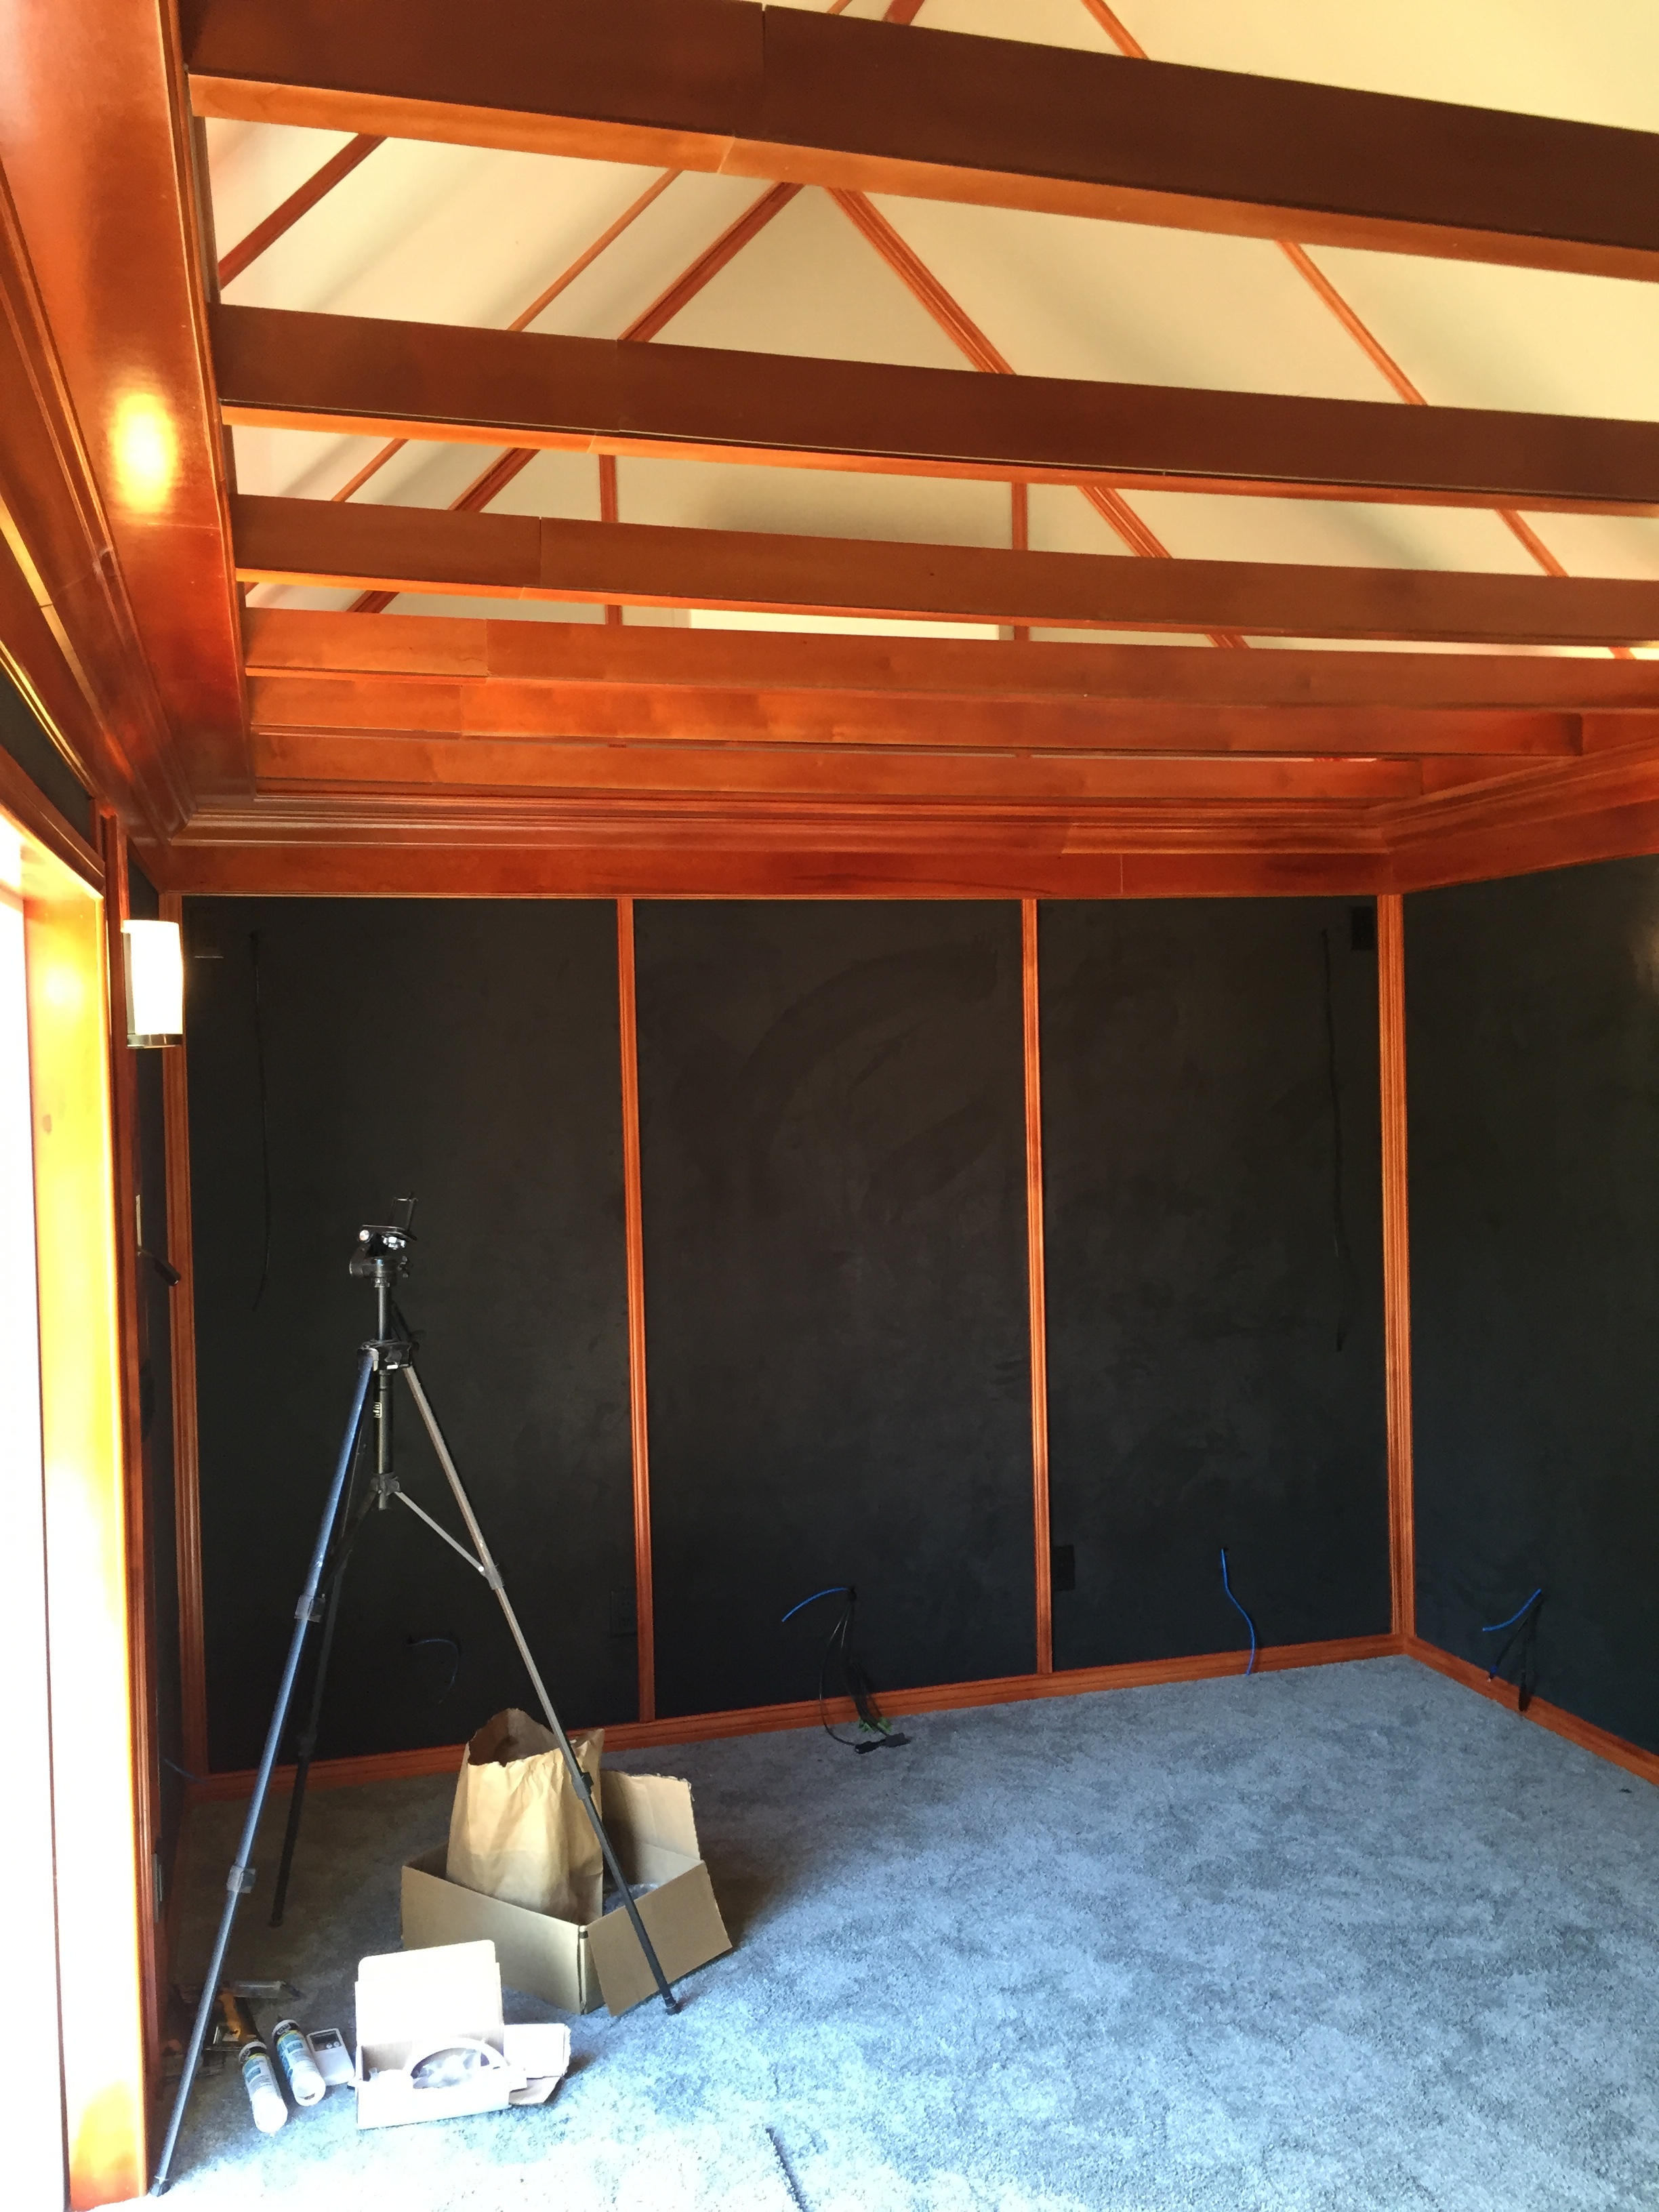
CARPENTRY PREPARATION

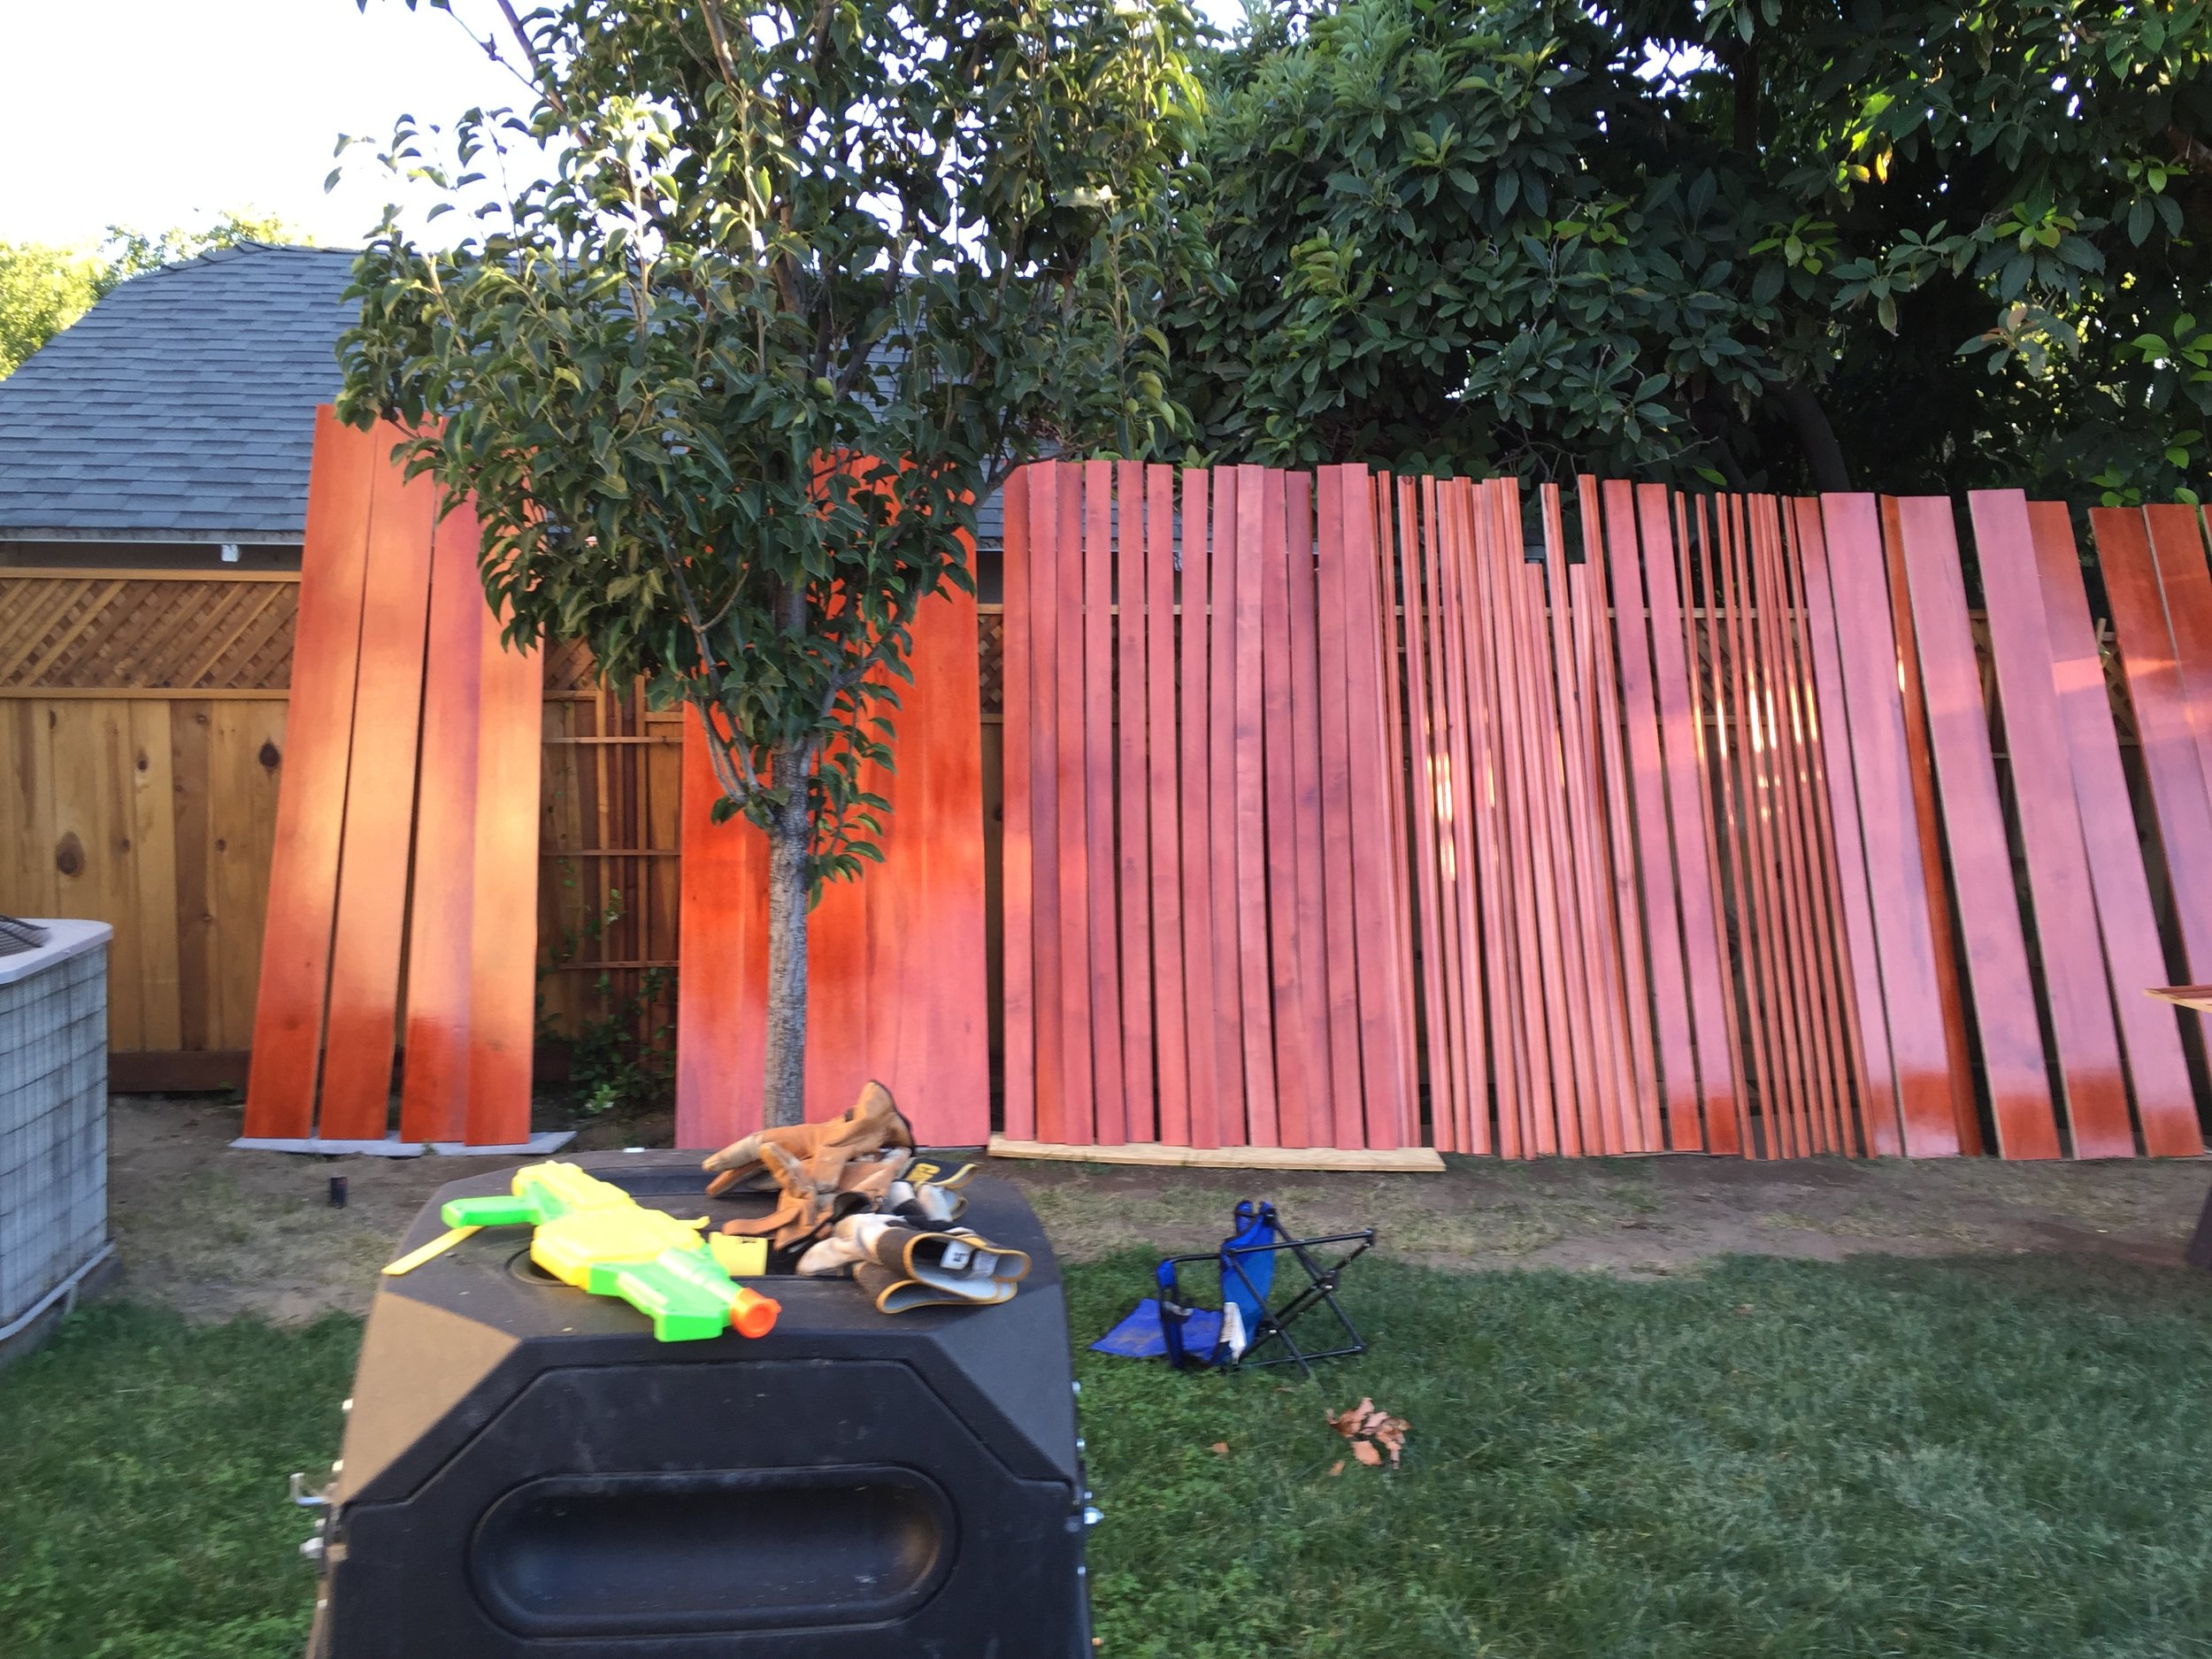
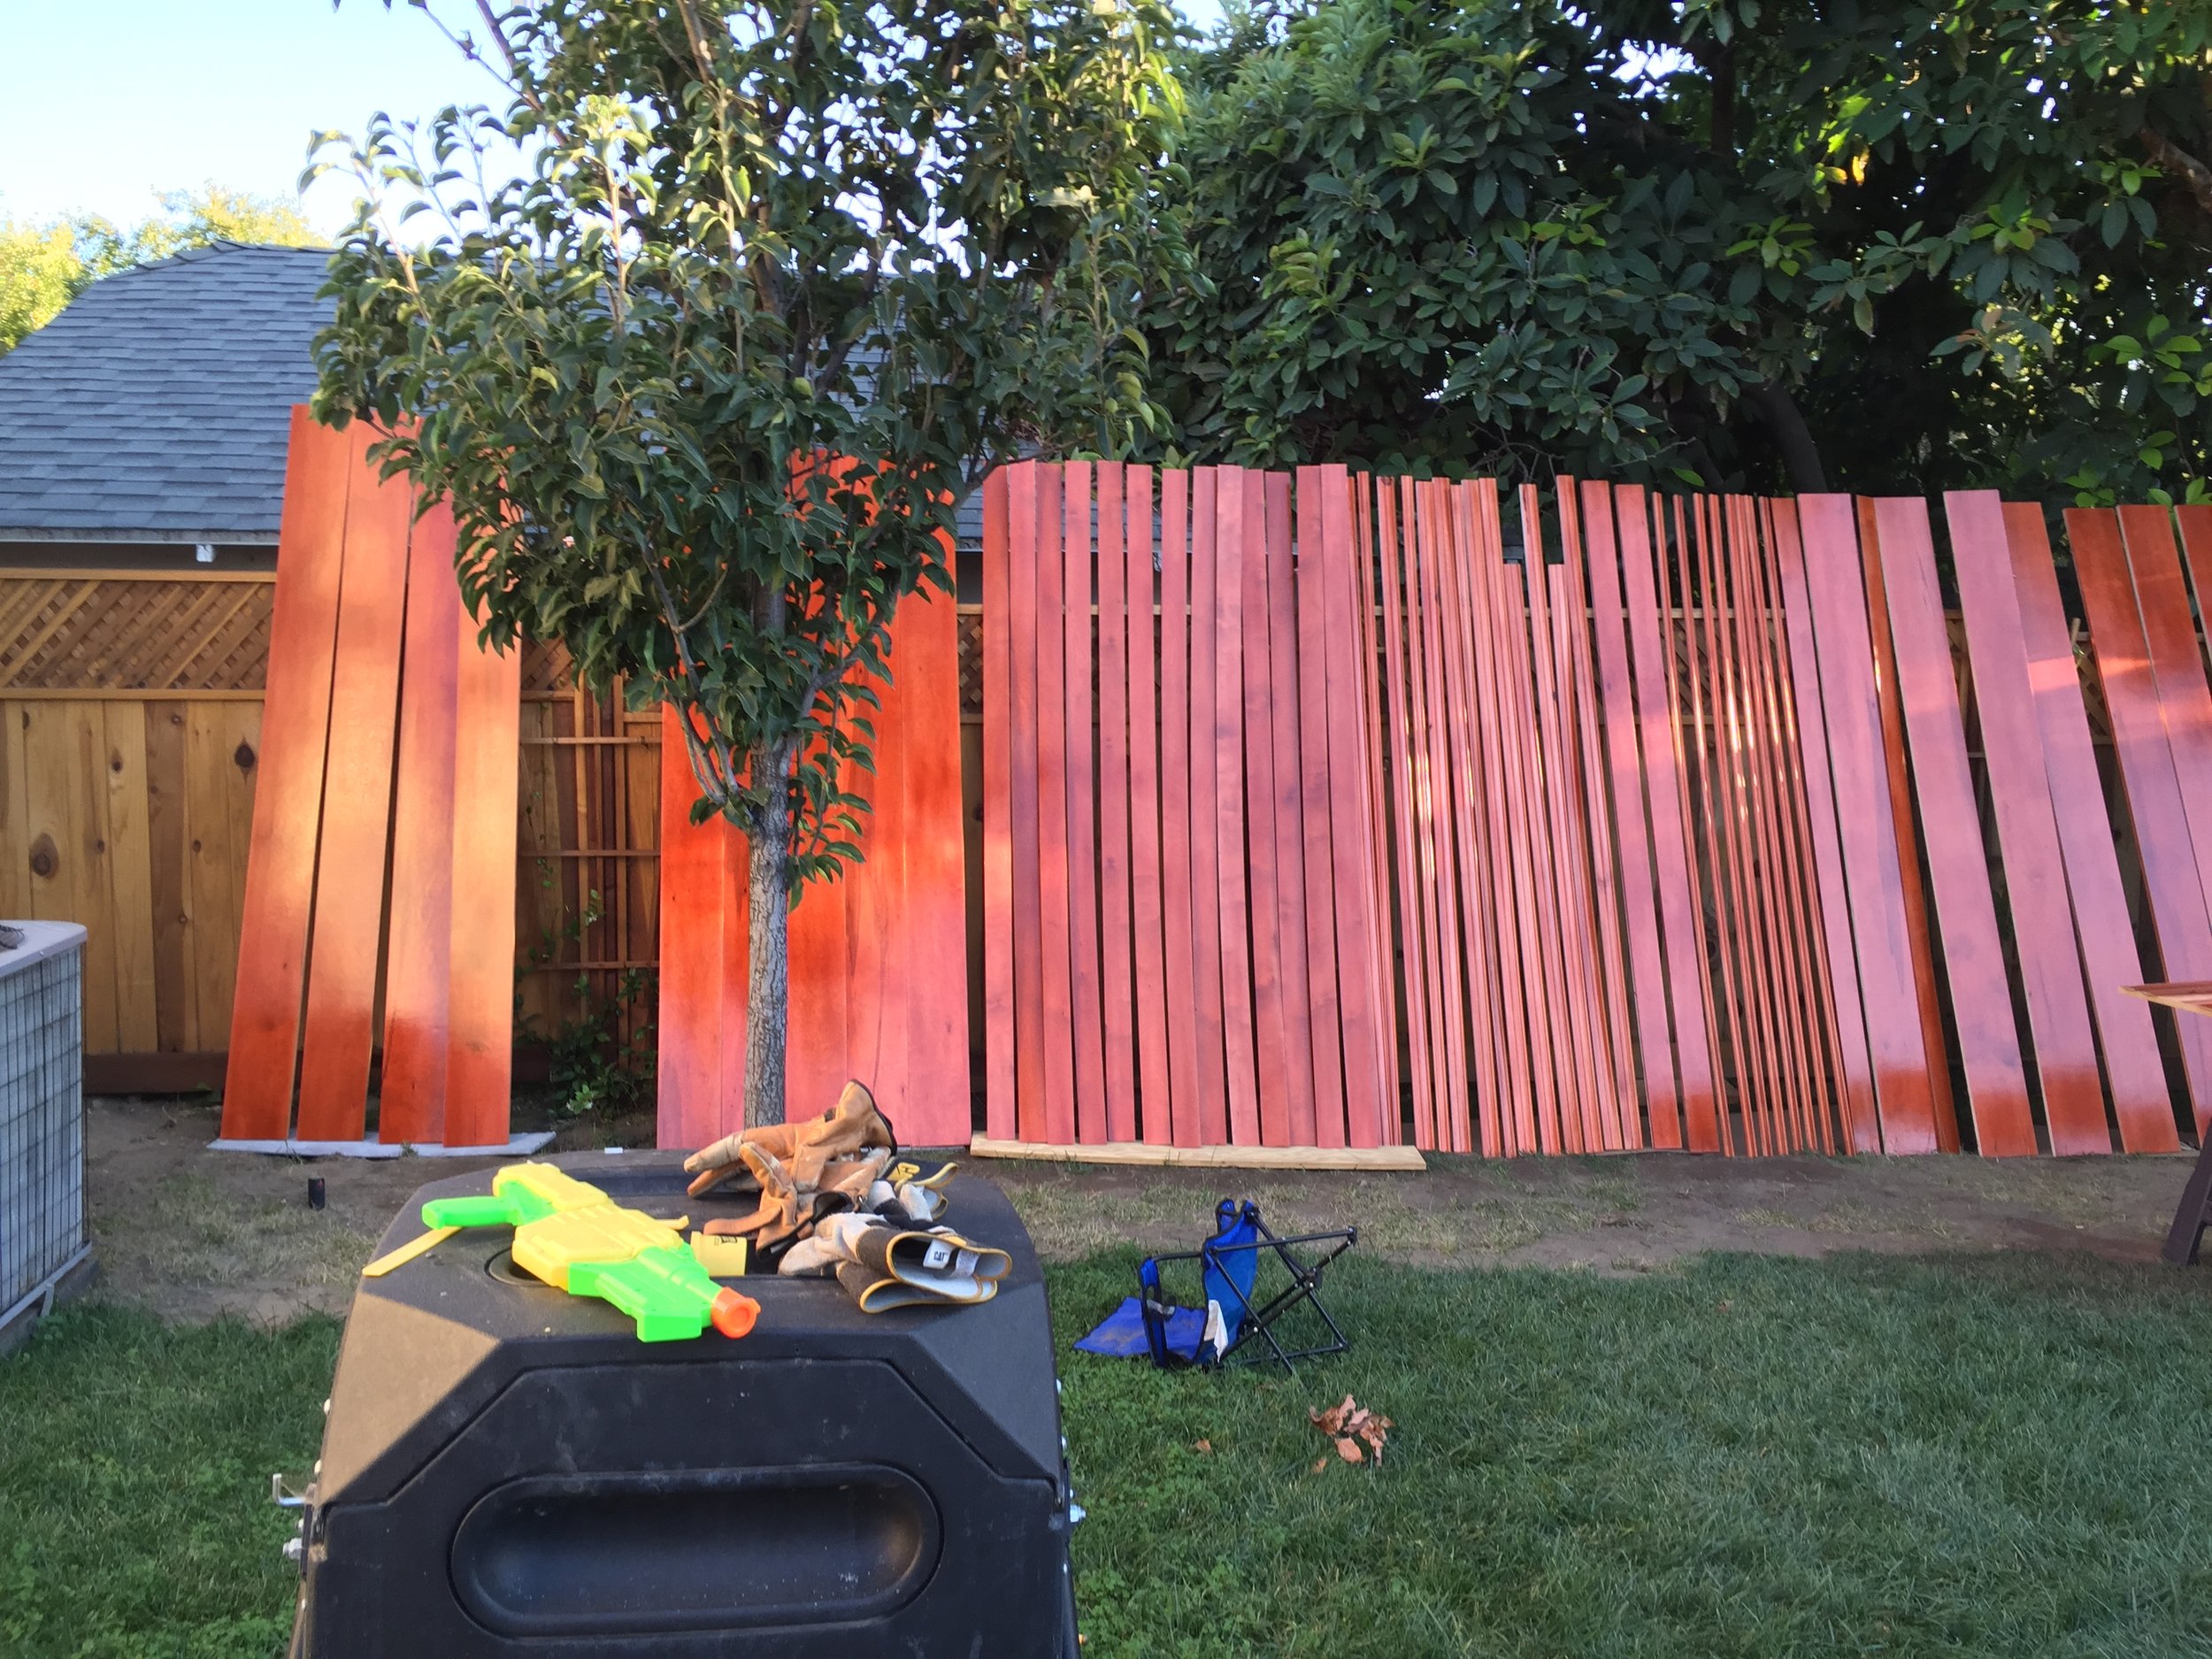
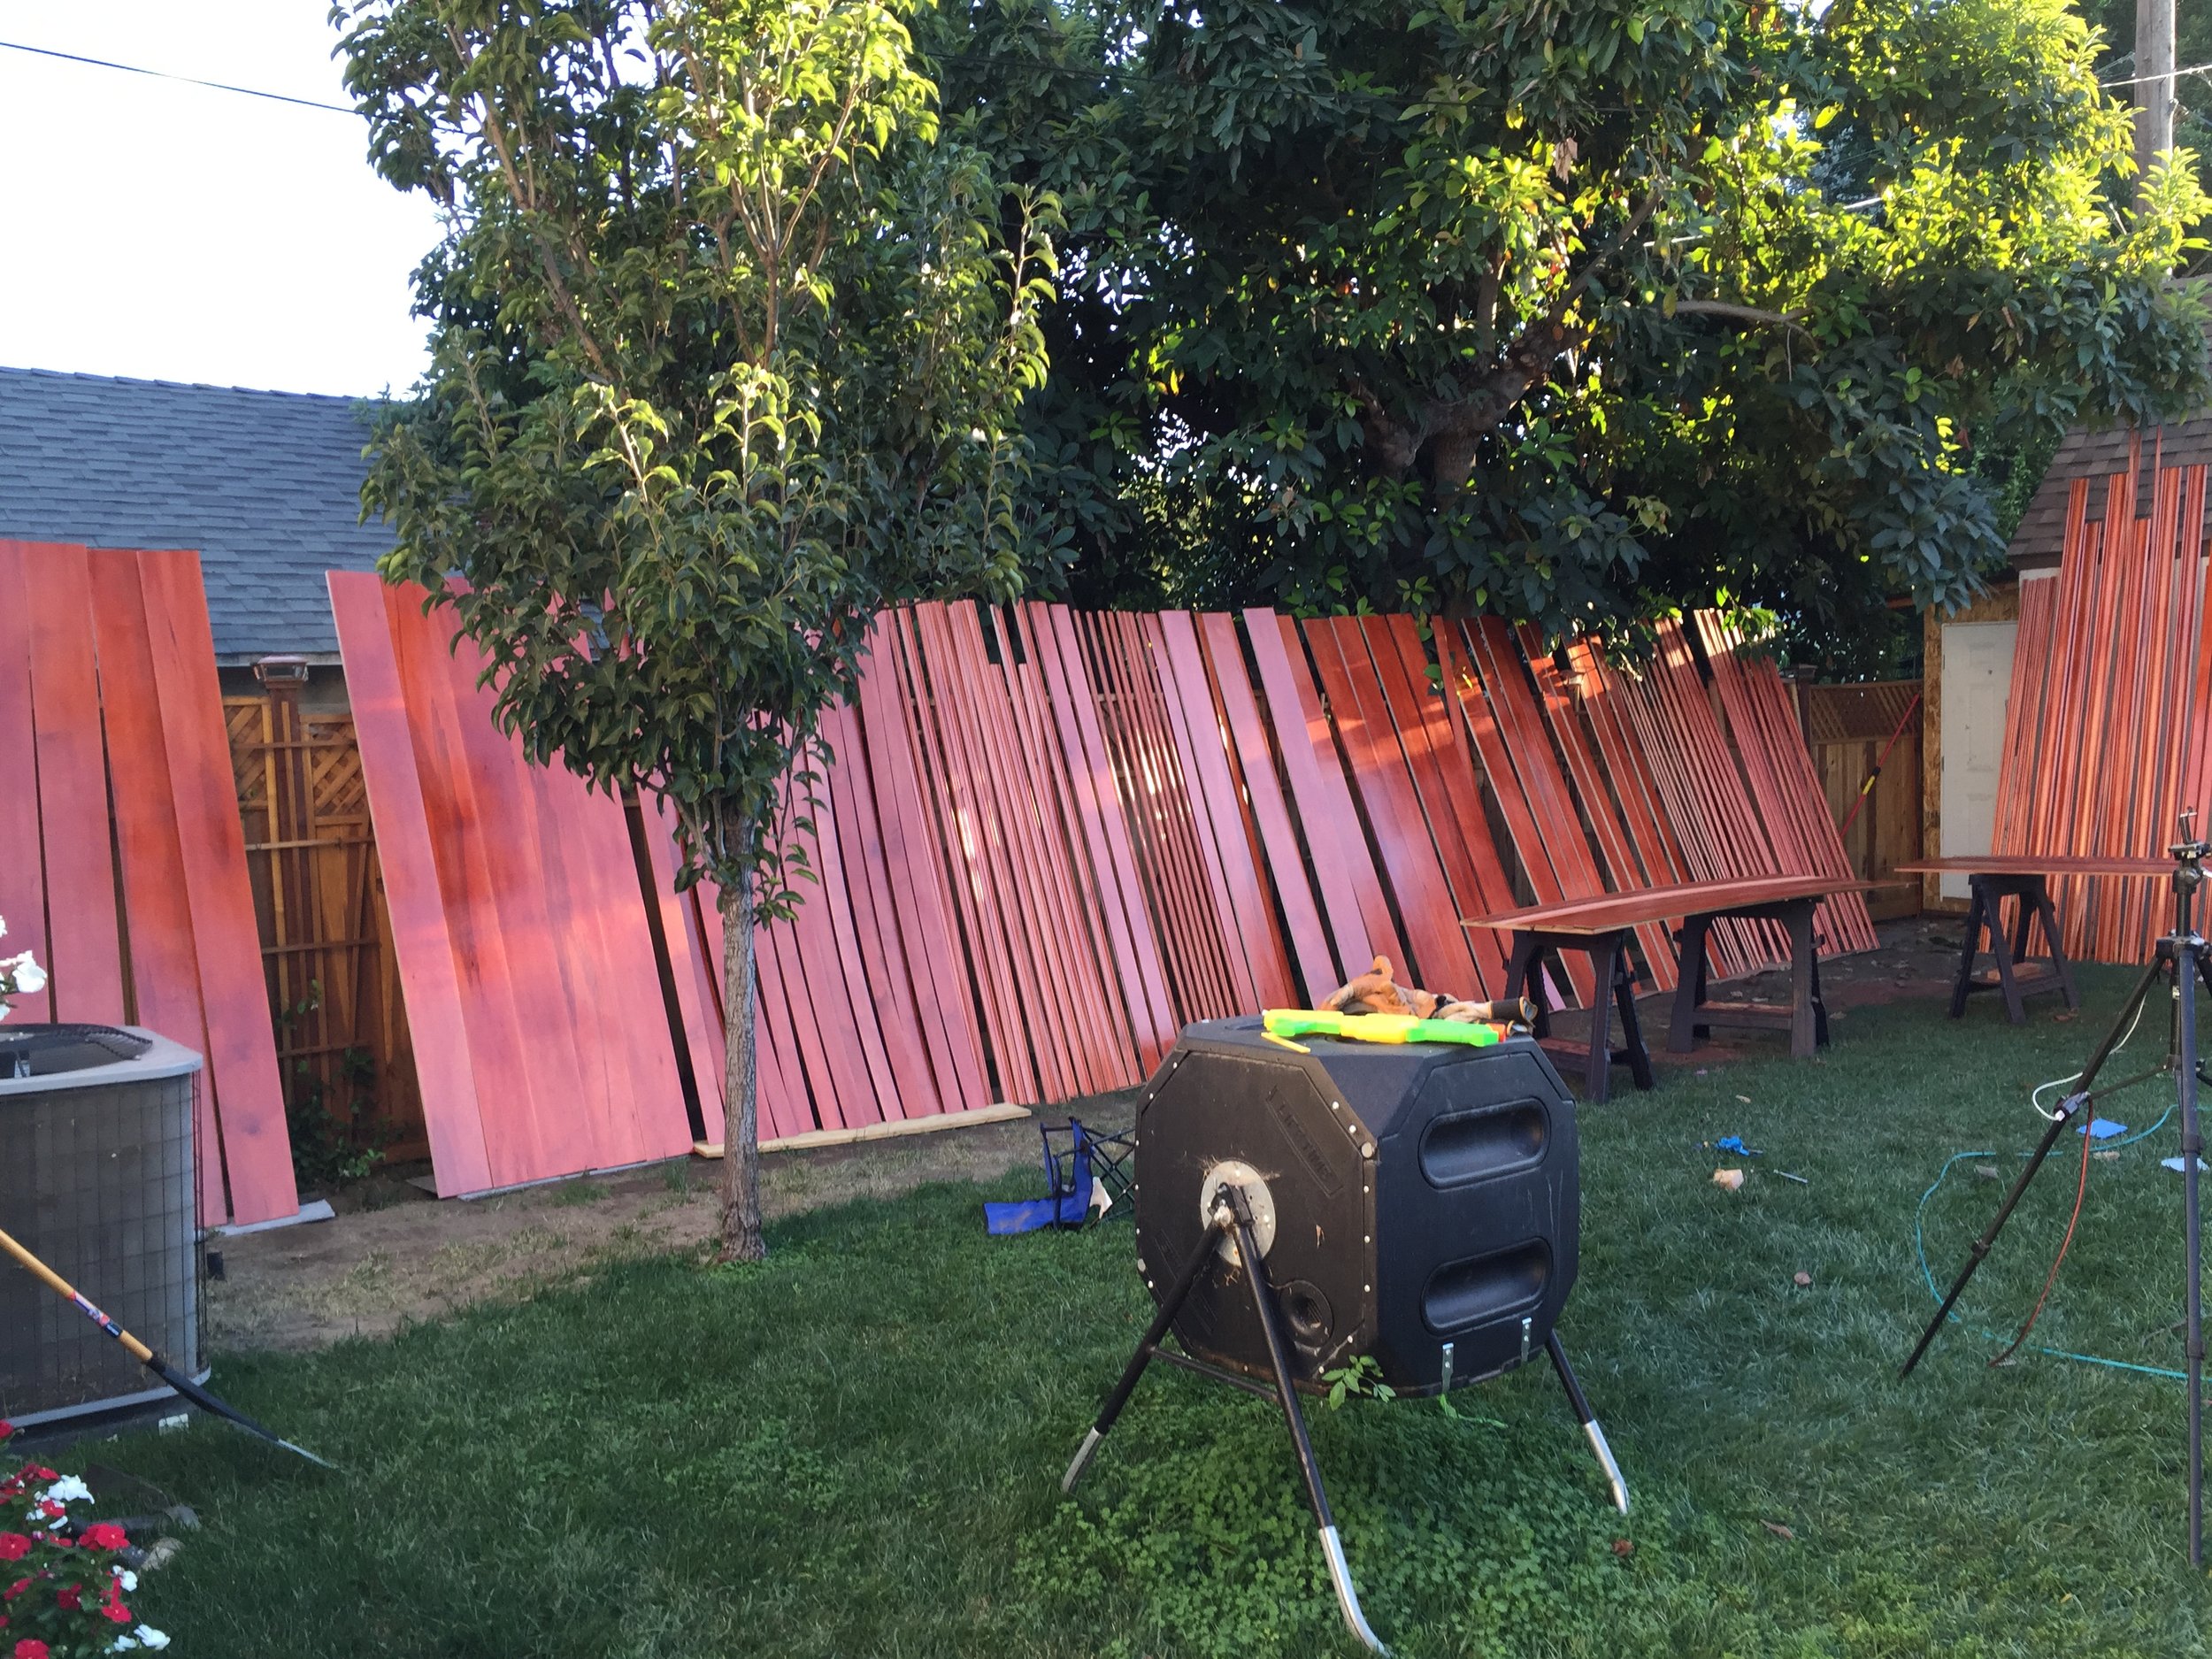
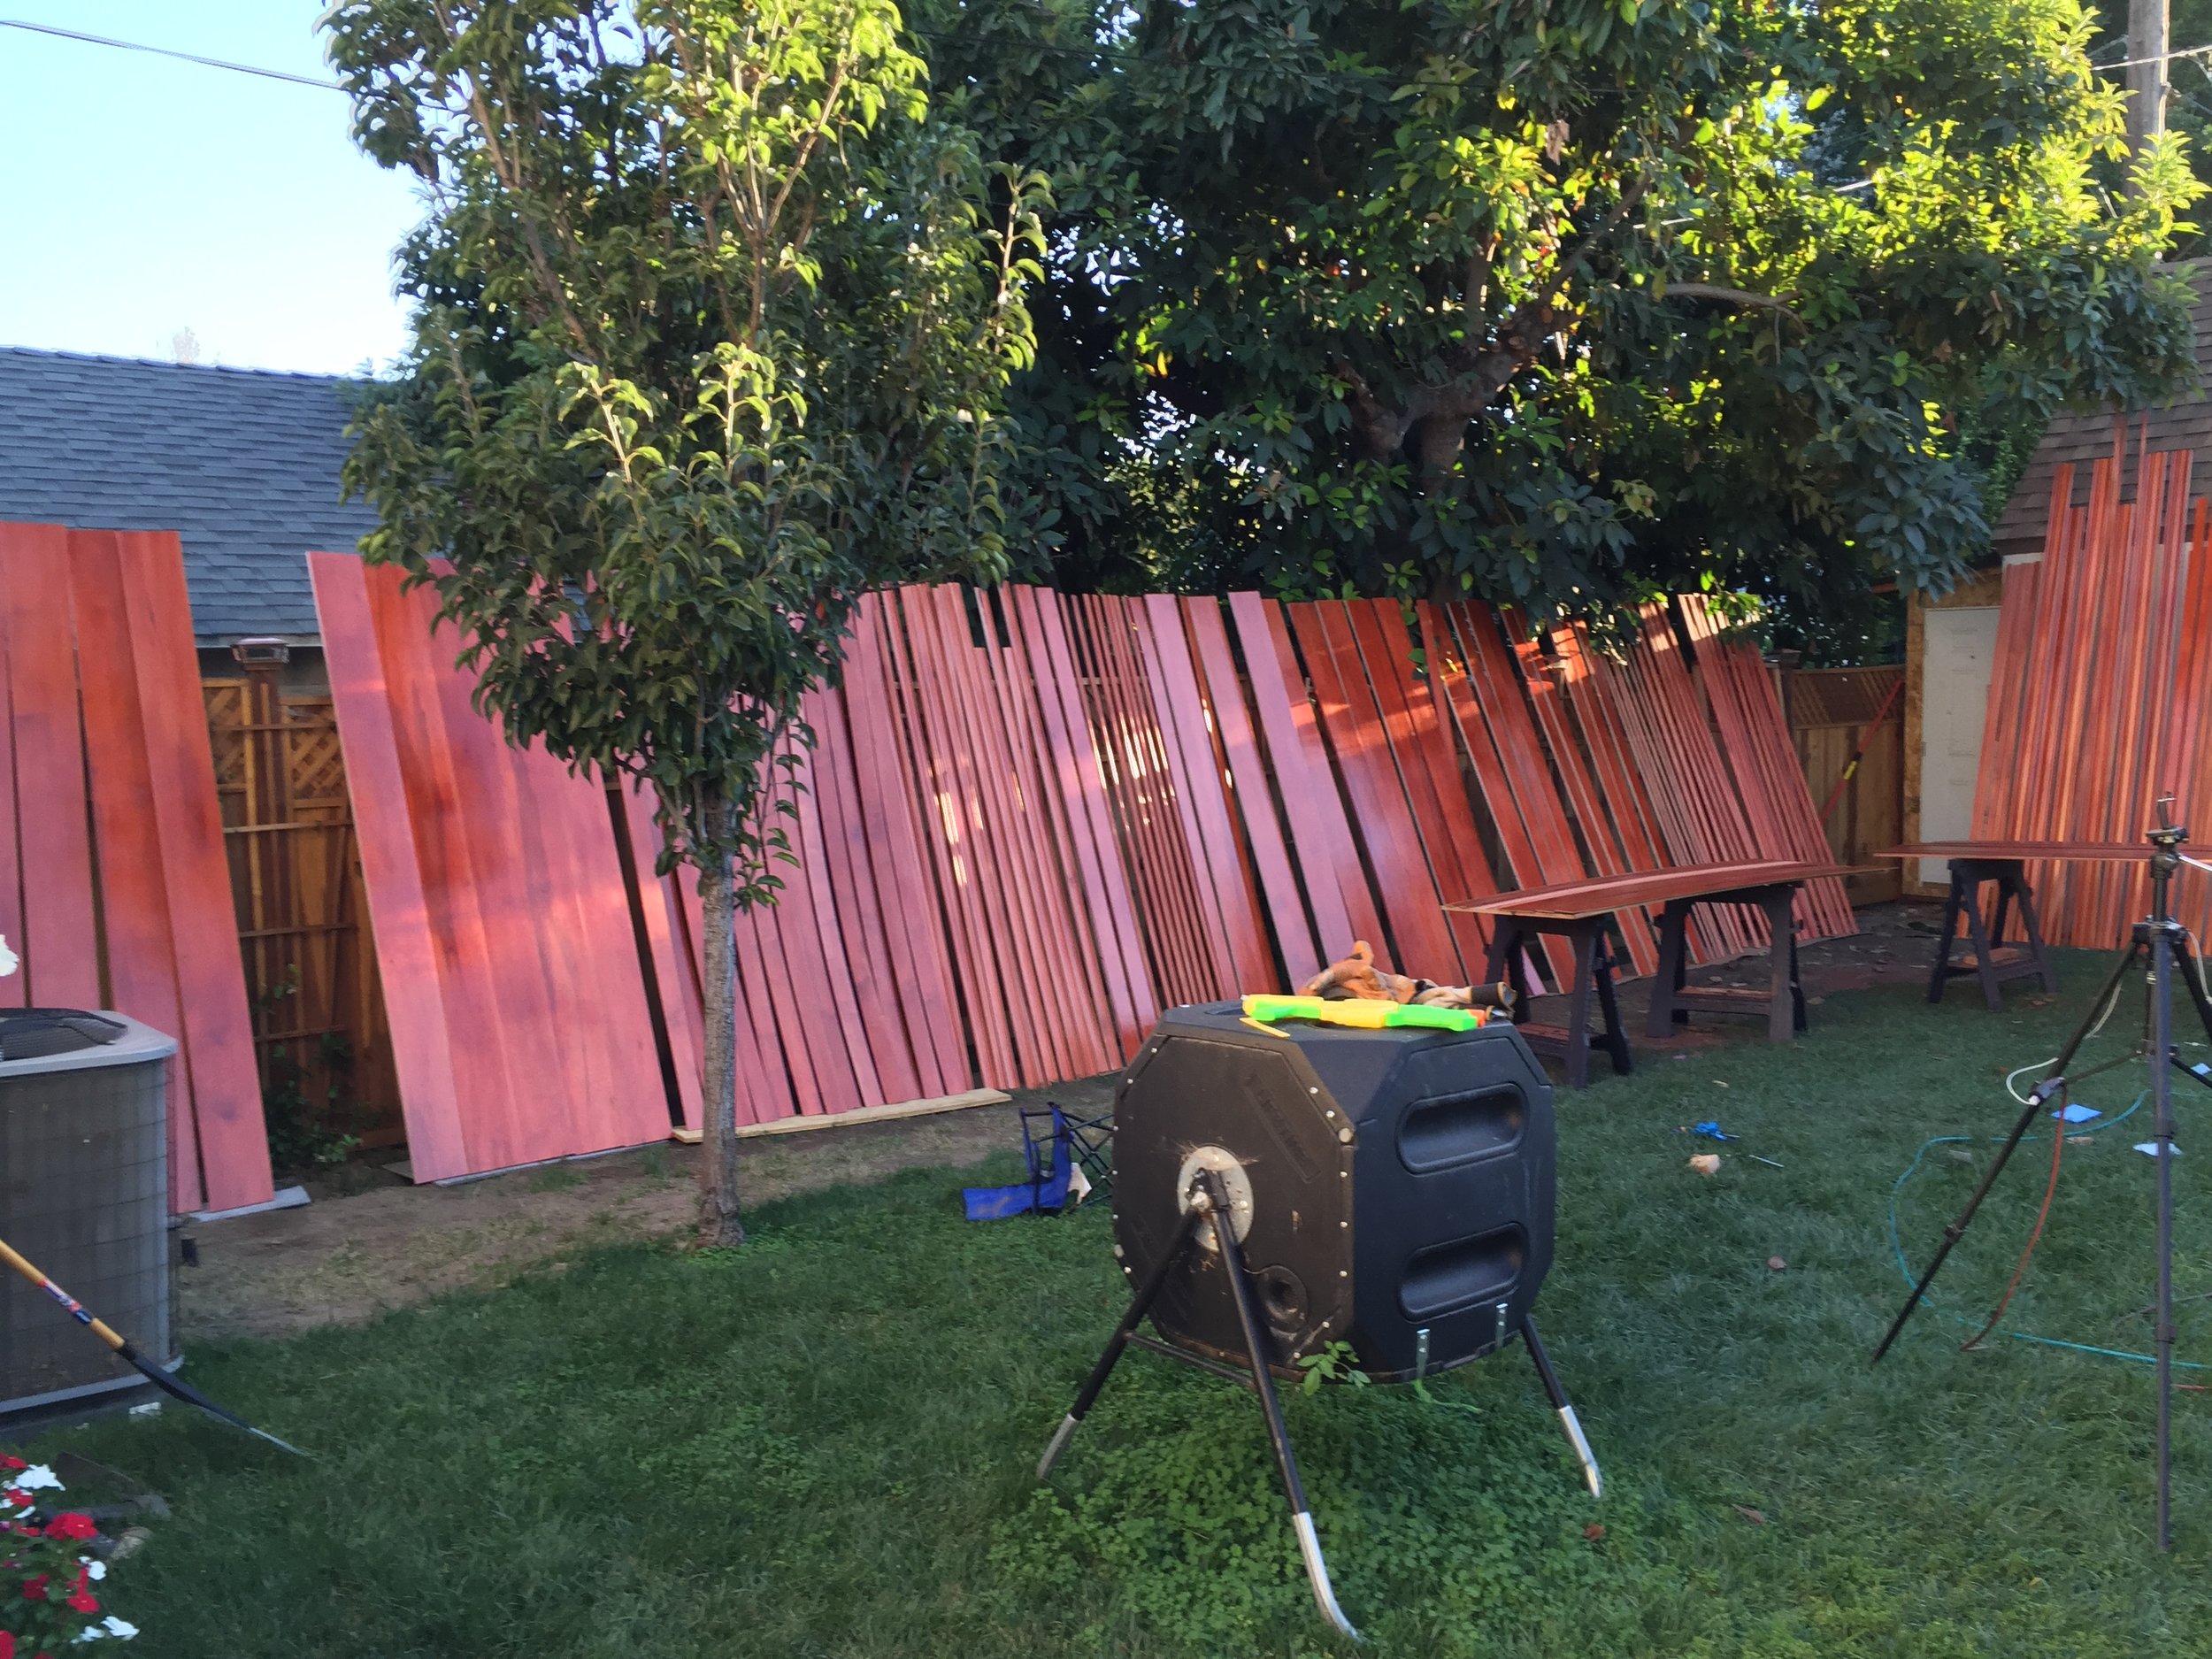
Wood...everywhere
I tend to go a bit more fancy on the trim and wood because well, I'm like that. So I usually go all out on the trims. The only problem was there wasn’t any money to go all out, so I had to use my experience working on low-budget film art department work to make something that looked nice but didn’t cost an arm and a leg.

More wood...everywhere.
If you aren’t a carpenter, you can hire one to help you with this, but it really isn’t that hard and is a lot of fun. You can go to a trim store and find some great trims already finished and ready to install. Just remember to get small samples and make sure that they go together well. People in trim stores or designers can help you match trims if you aren’t certain of it.
Aside from the usual baseboard, door casing and crown molding, everywhere you have a fabric seam with staples you need to cover this with some sort of trim so you don’t have exposed staples. One way to do it is to wrap ¼” x 2” wood strips with the fabric and use pin nails to put it up over the seams. This looks pretty cool and helps make the walls unobtrusive.
Also I wanted the light cove for the ceiling and wanted wall beams to put the wall sconces on so would need to build these out of plywood.

Trim had to be cut to 8' lengths so I could fit it all in my car. I looked like an idiot driving down the road with wood poking out every window and trunk. Oh well.
I bought:
- Small detailed trims to hide the plywood edges of the coves and vertical beams.
- Baseboard/Casing
- Crown
- Vertical trims for fabric seams.
- ¼” Birch plywood for the ceiling beams
- ¾” Shop Grade Birch plywood for the coves and sconce beams.
After buying everything I first measured and figured out the size of the cove moldings and vertical beams I wanted the light sconces to be on and then cut these up using a table saw into strips.
Next I measured the rough hewn ceiling beams and figured out the sizes of the pieces of wood I would wrap them in (sometimes called cladding).
That was the easy part, now I needed to finish everything. As I was using a mixture of pine and birch, I needed to do a finish that would look color consistent.
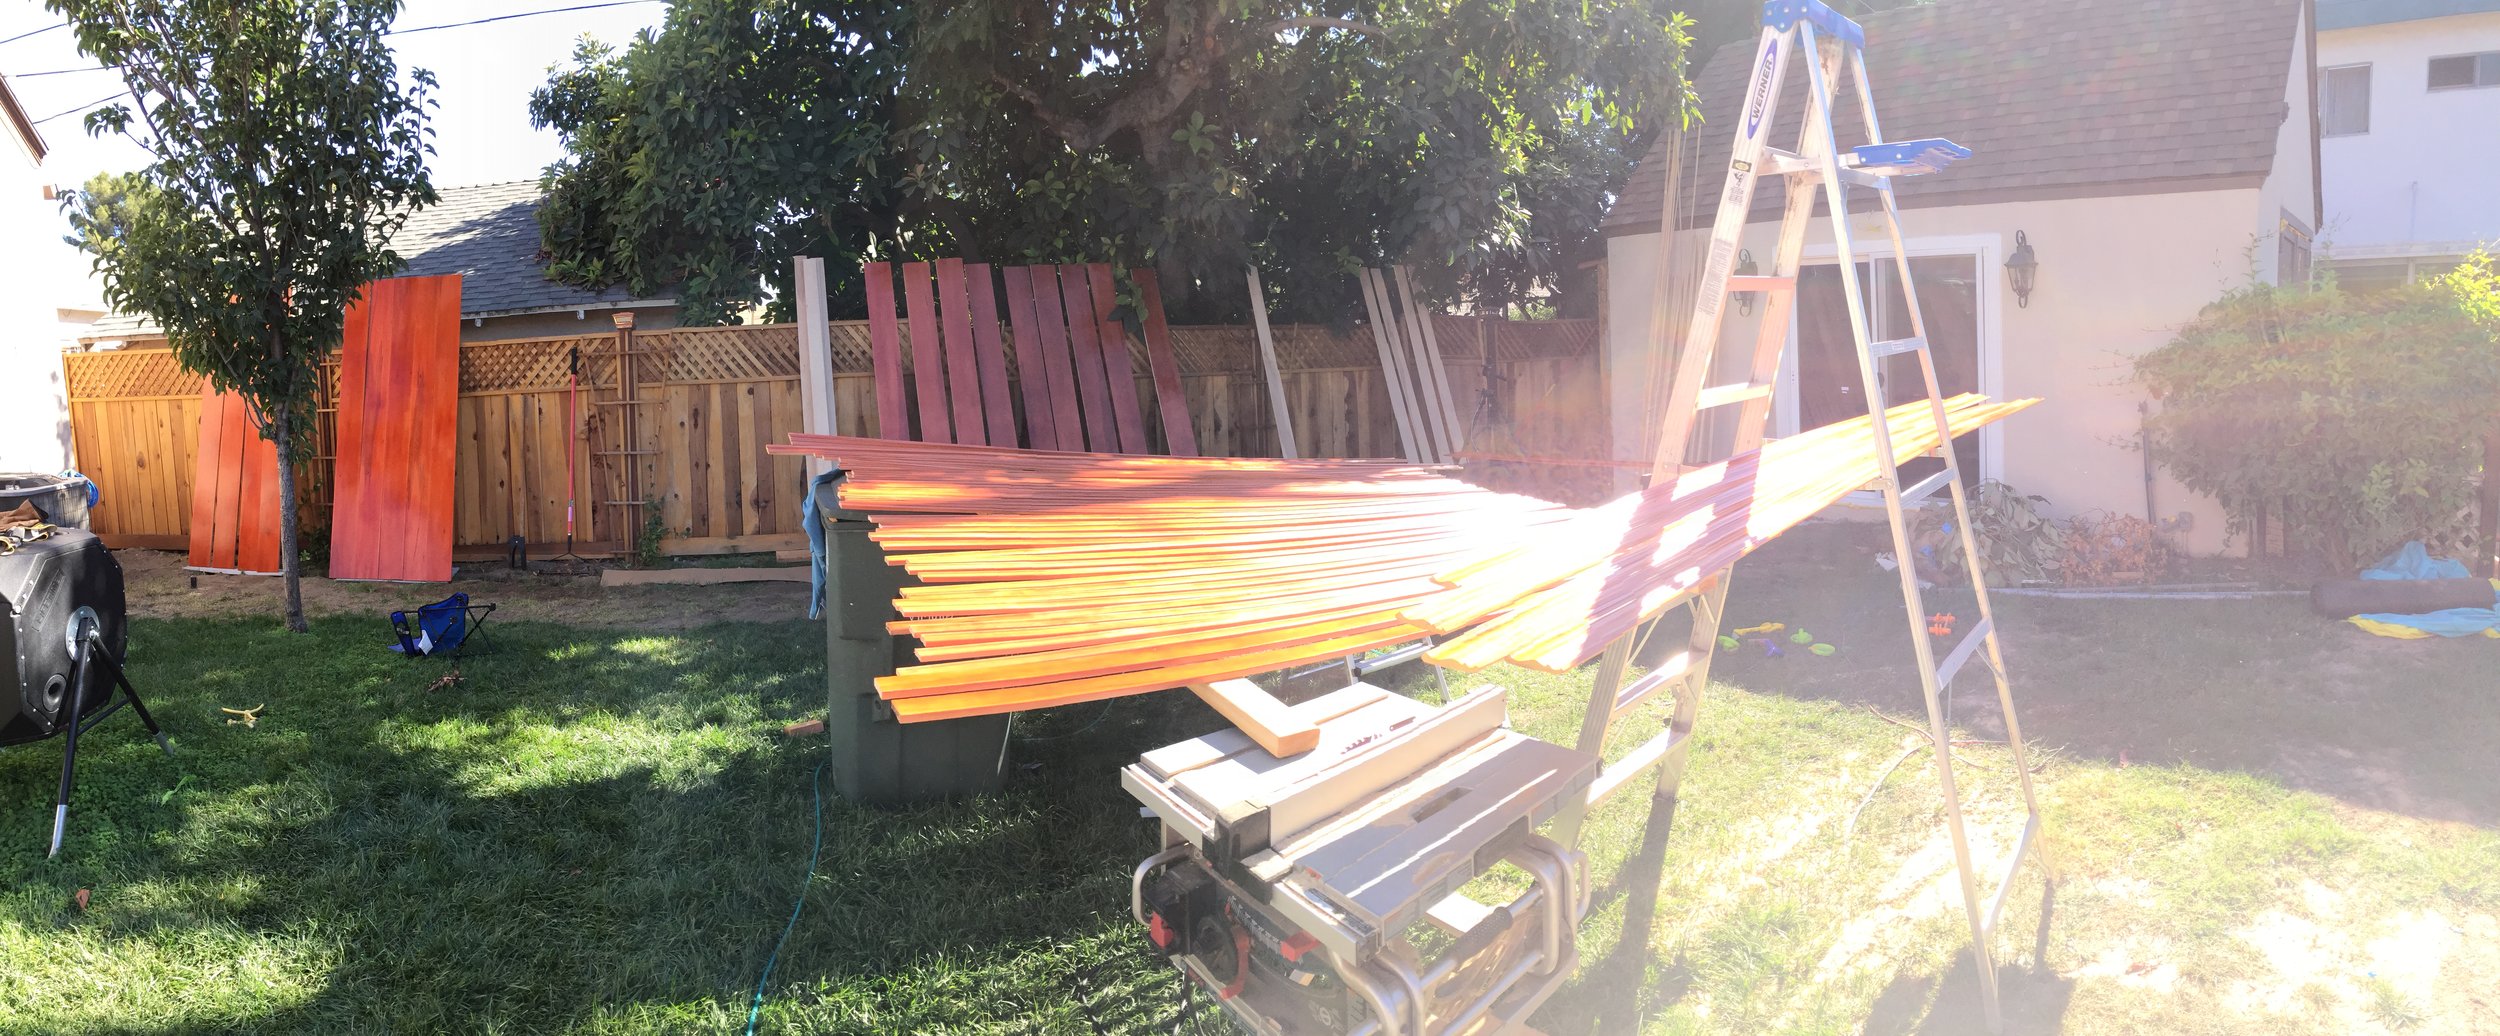
WOOD FINISHING
Now if this was a high-end job I would’ve gone with natural cherry wood trims, but that’s super expensive and this was more the low-budget end of things so I used pine and bought a tint for the lacquer to color it in the cherry/warm range.

Lacquer tint colors. I ended up mixing two tones to get the exact flavor I wanted.
It would go nicely with the wall colors and helps bring elegance to the space. It’s a good go to color combo.

Lacquer supplies...
Sanding sealers (basically a lacquer that is easy to sand which you put on first), lacquer tints and lacquers can be hard to locate because they are not for the average DIYers use. You really need to know what you are doing. When I was younger and thought I was invincible I ended up mishandling lacquer and almost got myself killed from fume exposure. So if you are going to go this route, get someone who knows how to do it. Otherwise you can also get great results with water based finishes which are far less toxic or you can buy pre-finished trims which will work for the needs pretty much 90% of the people out there.

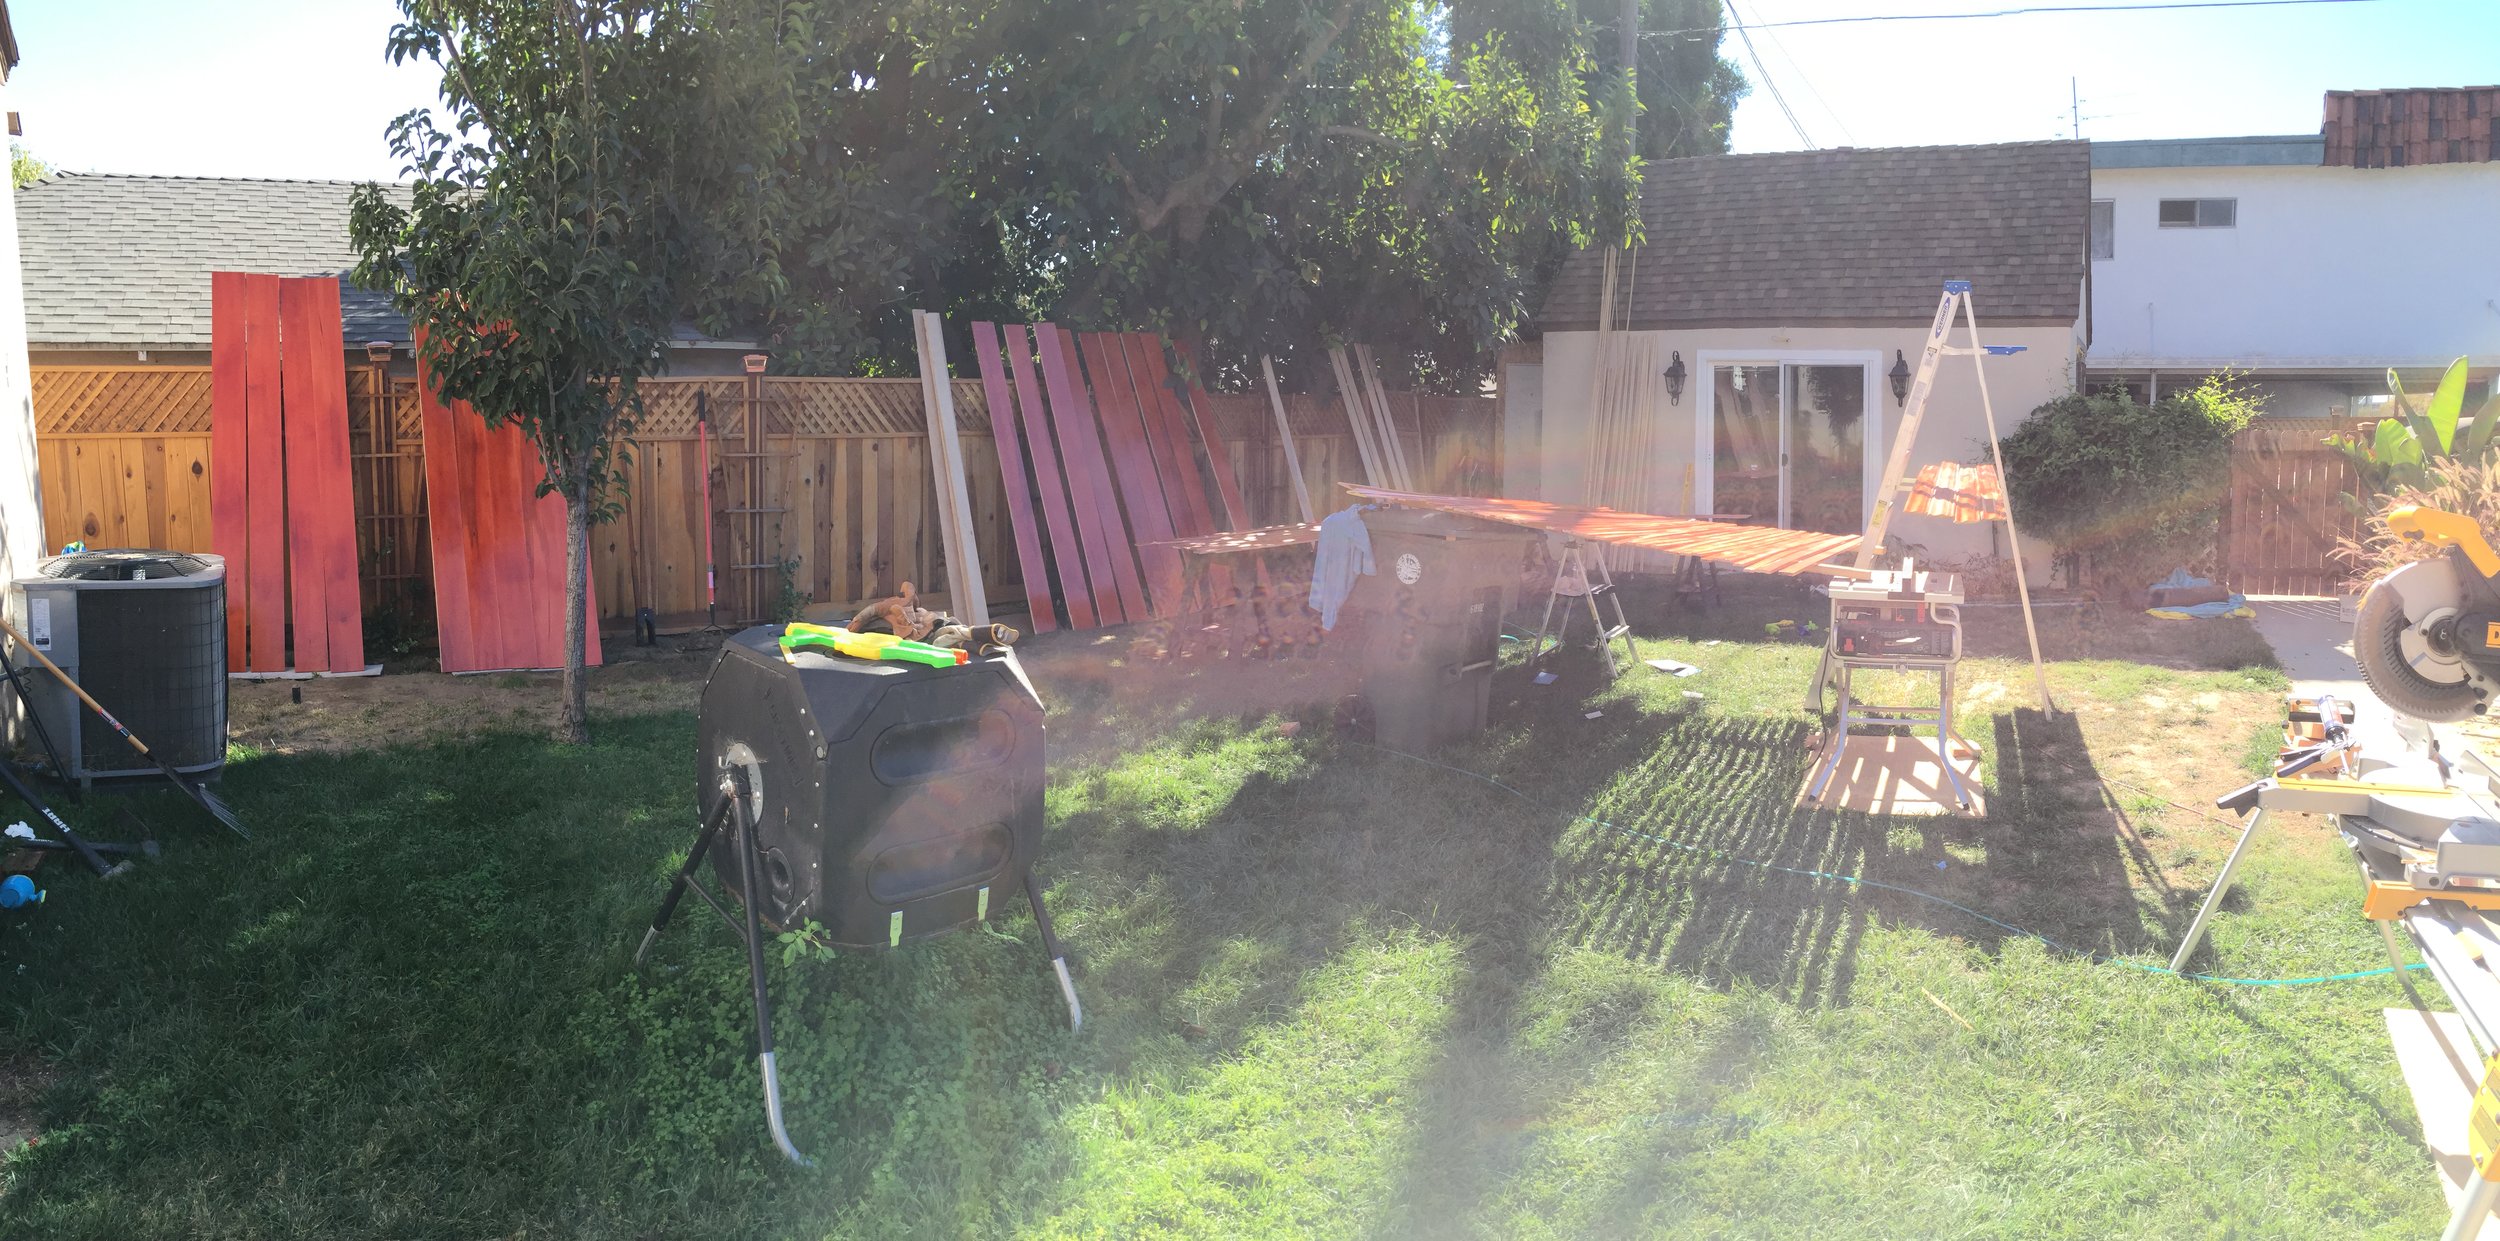
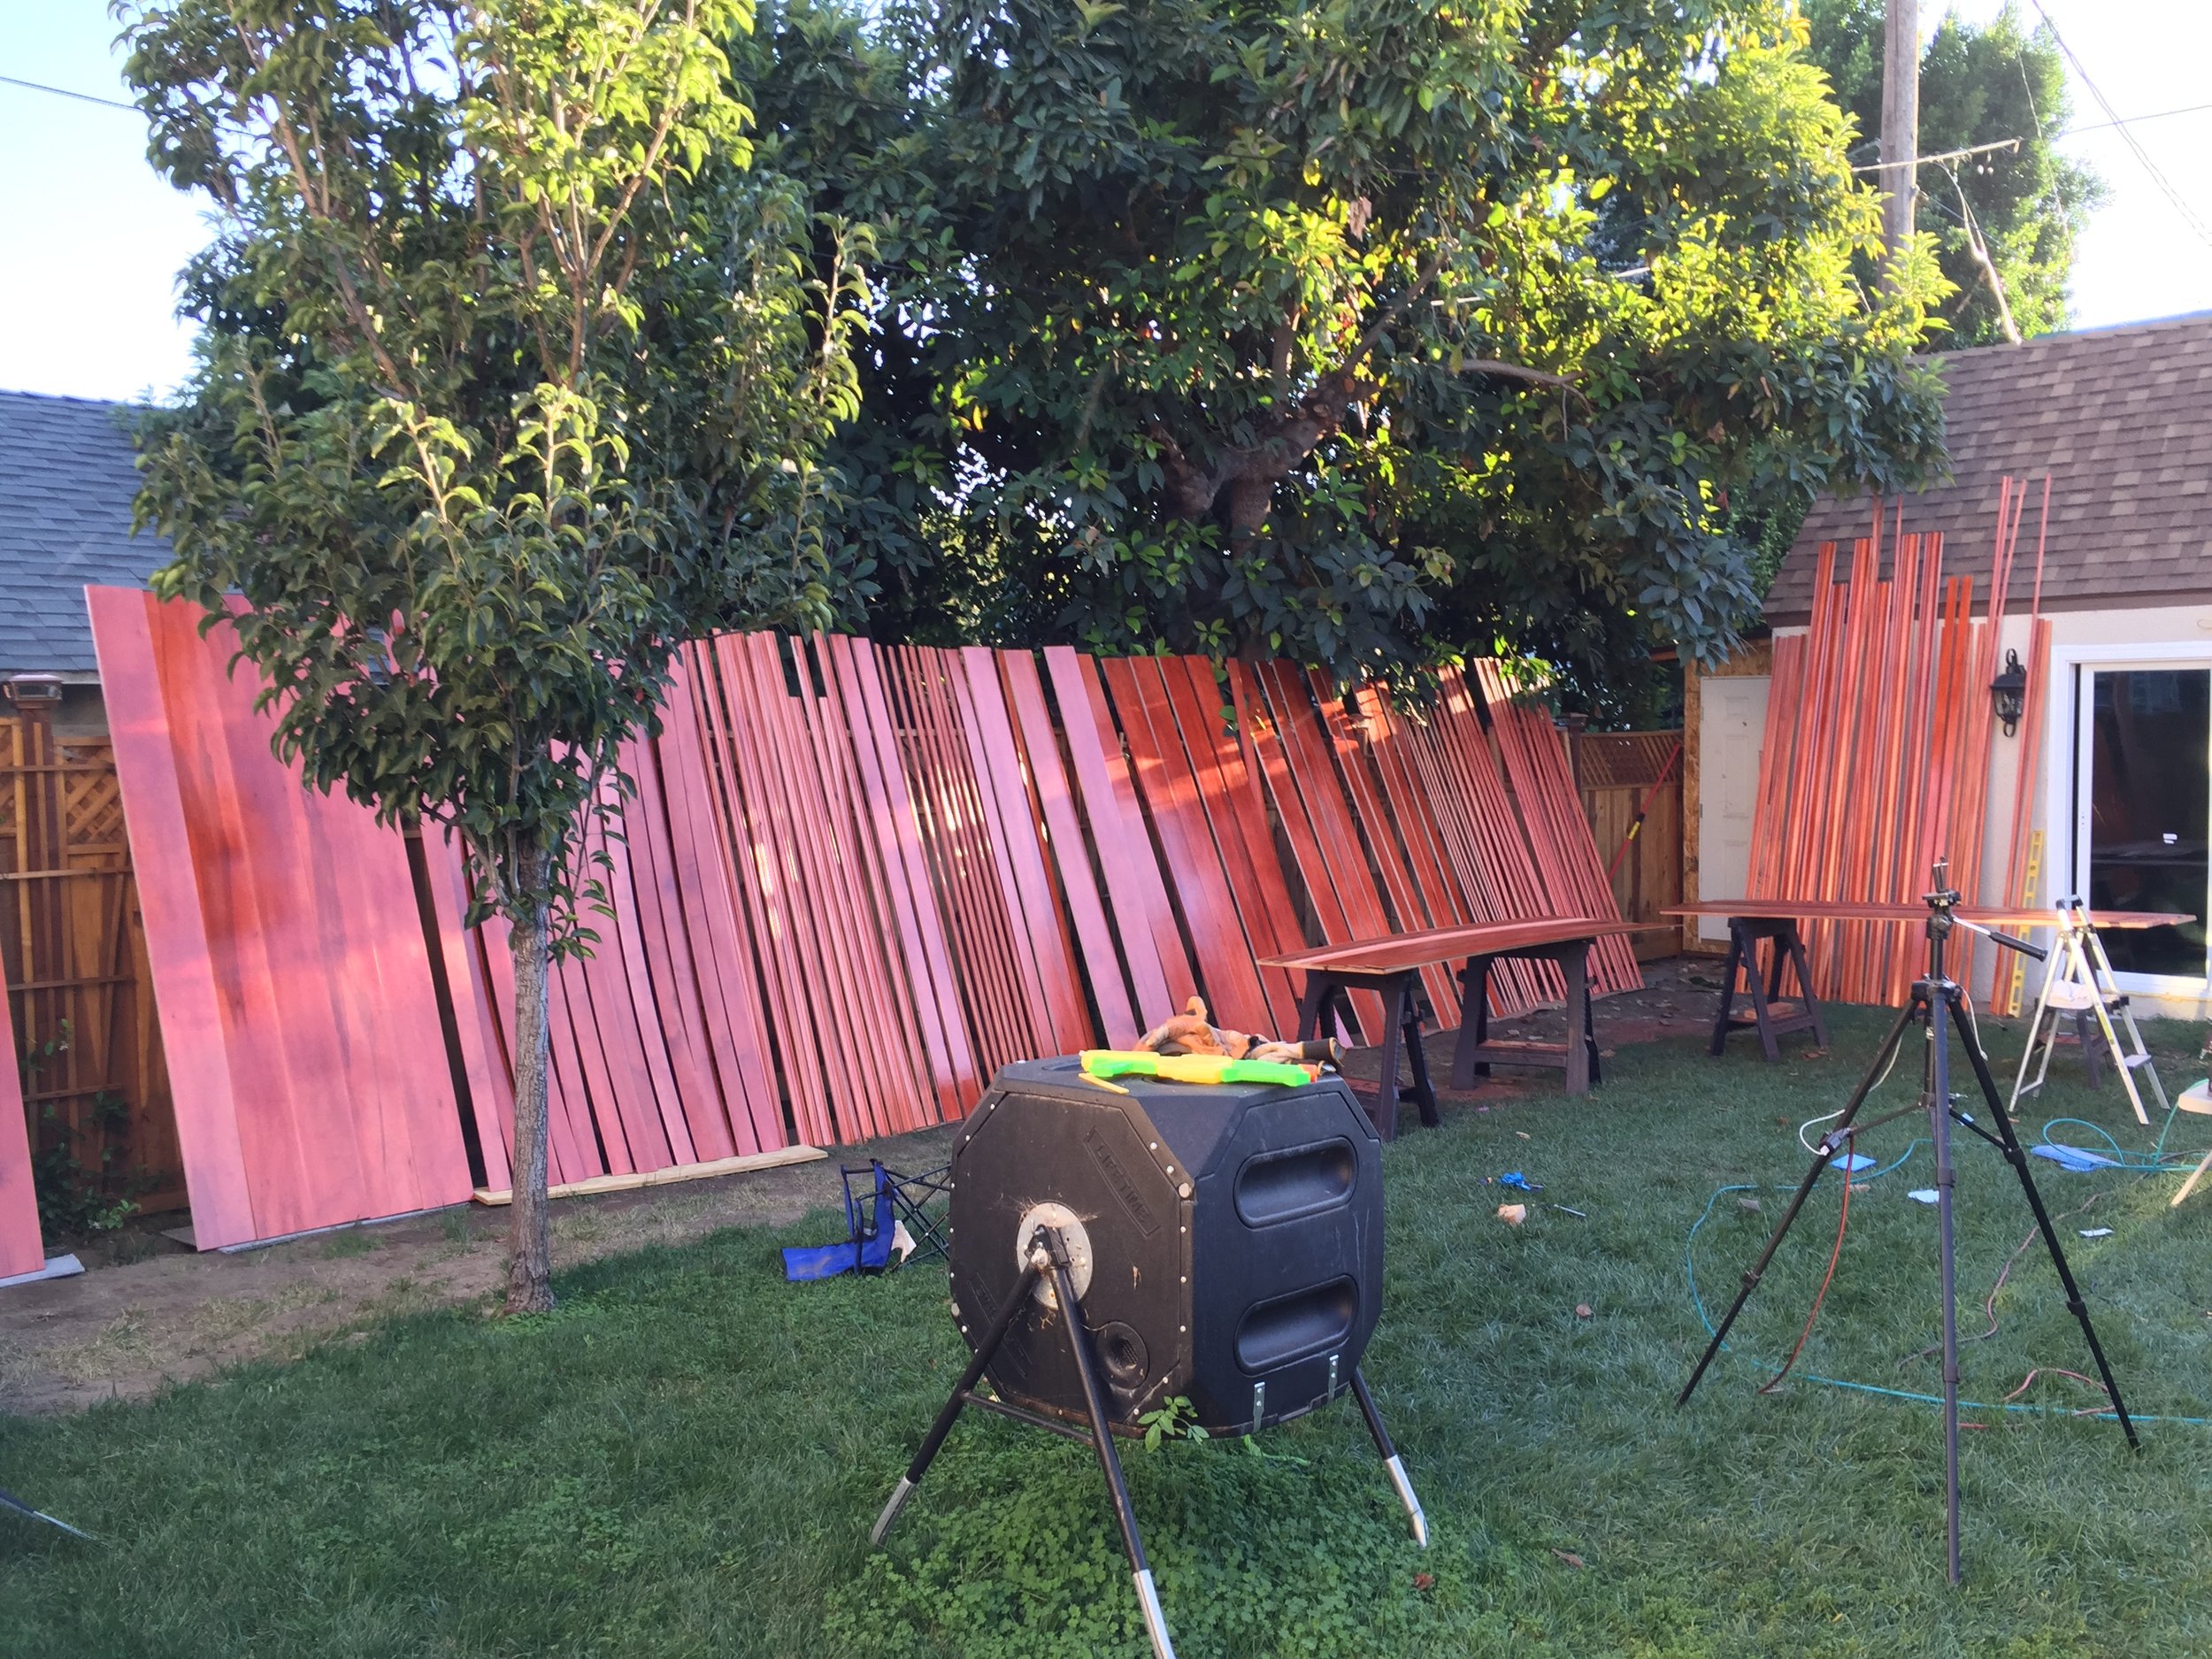
Finishing supplies for the wood trims.
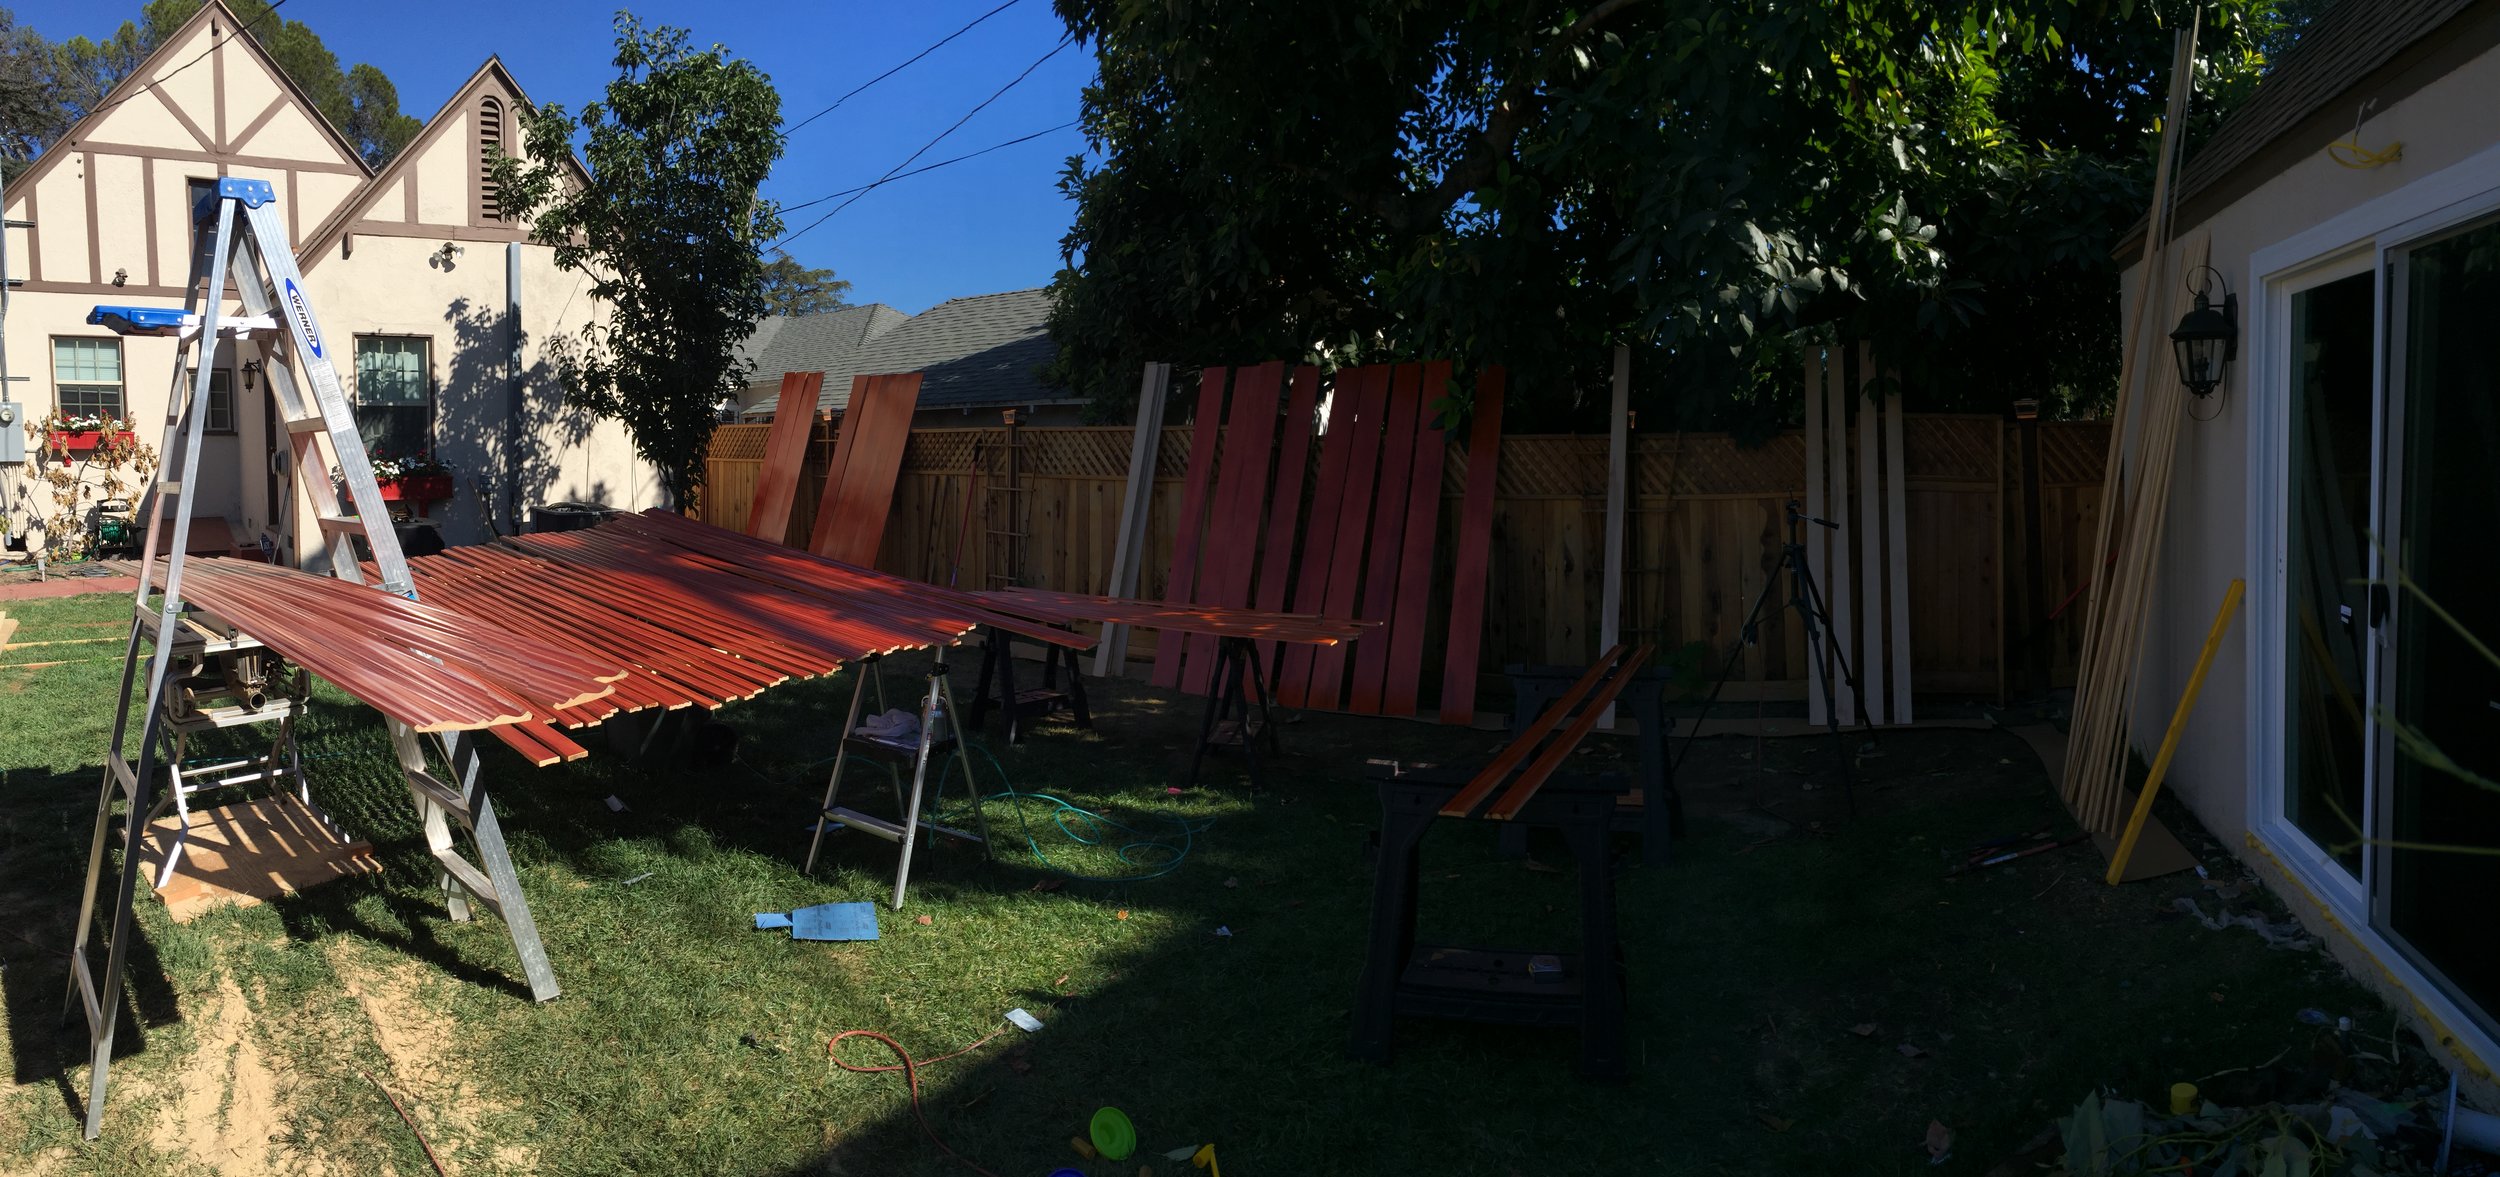
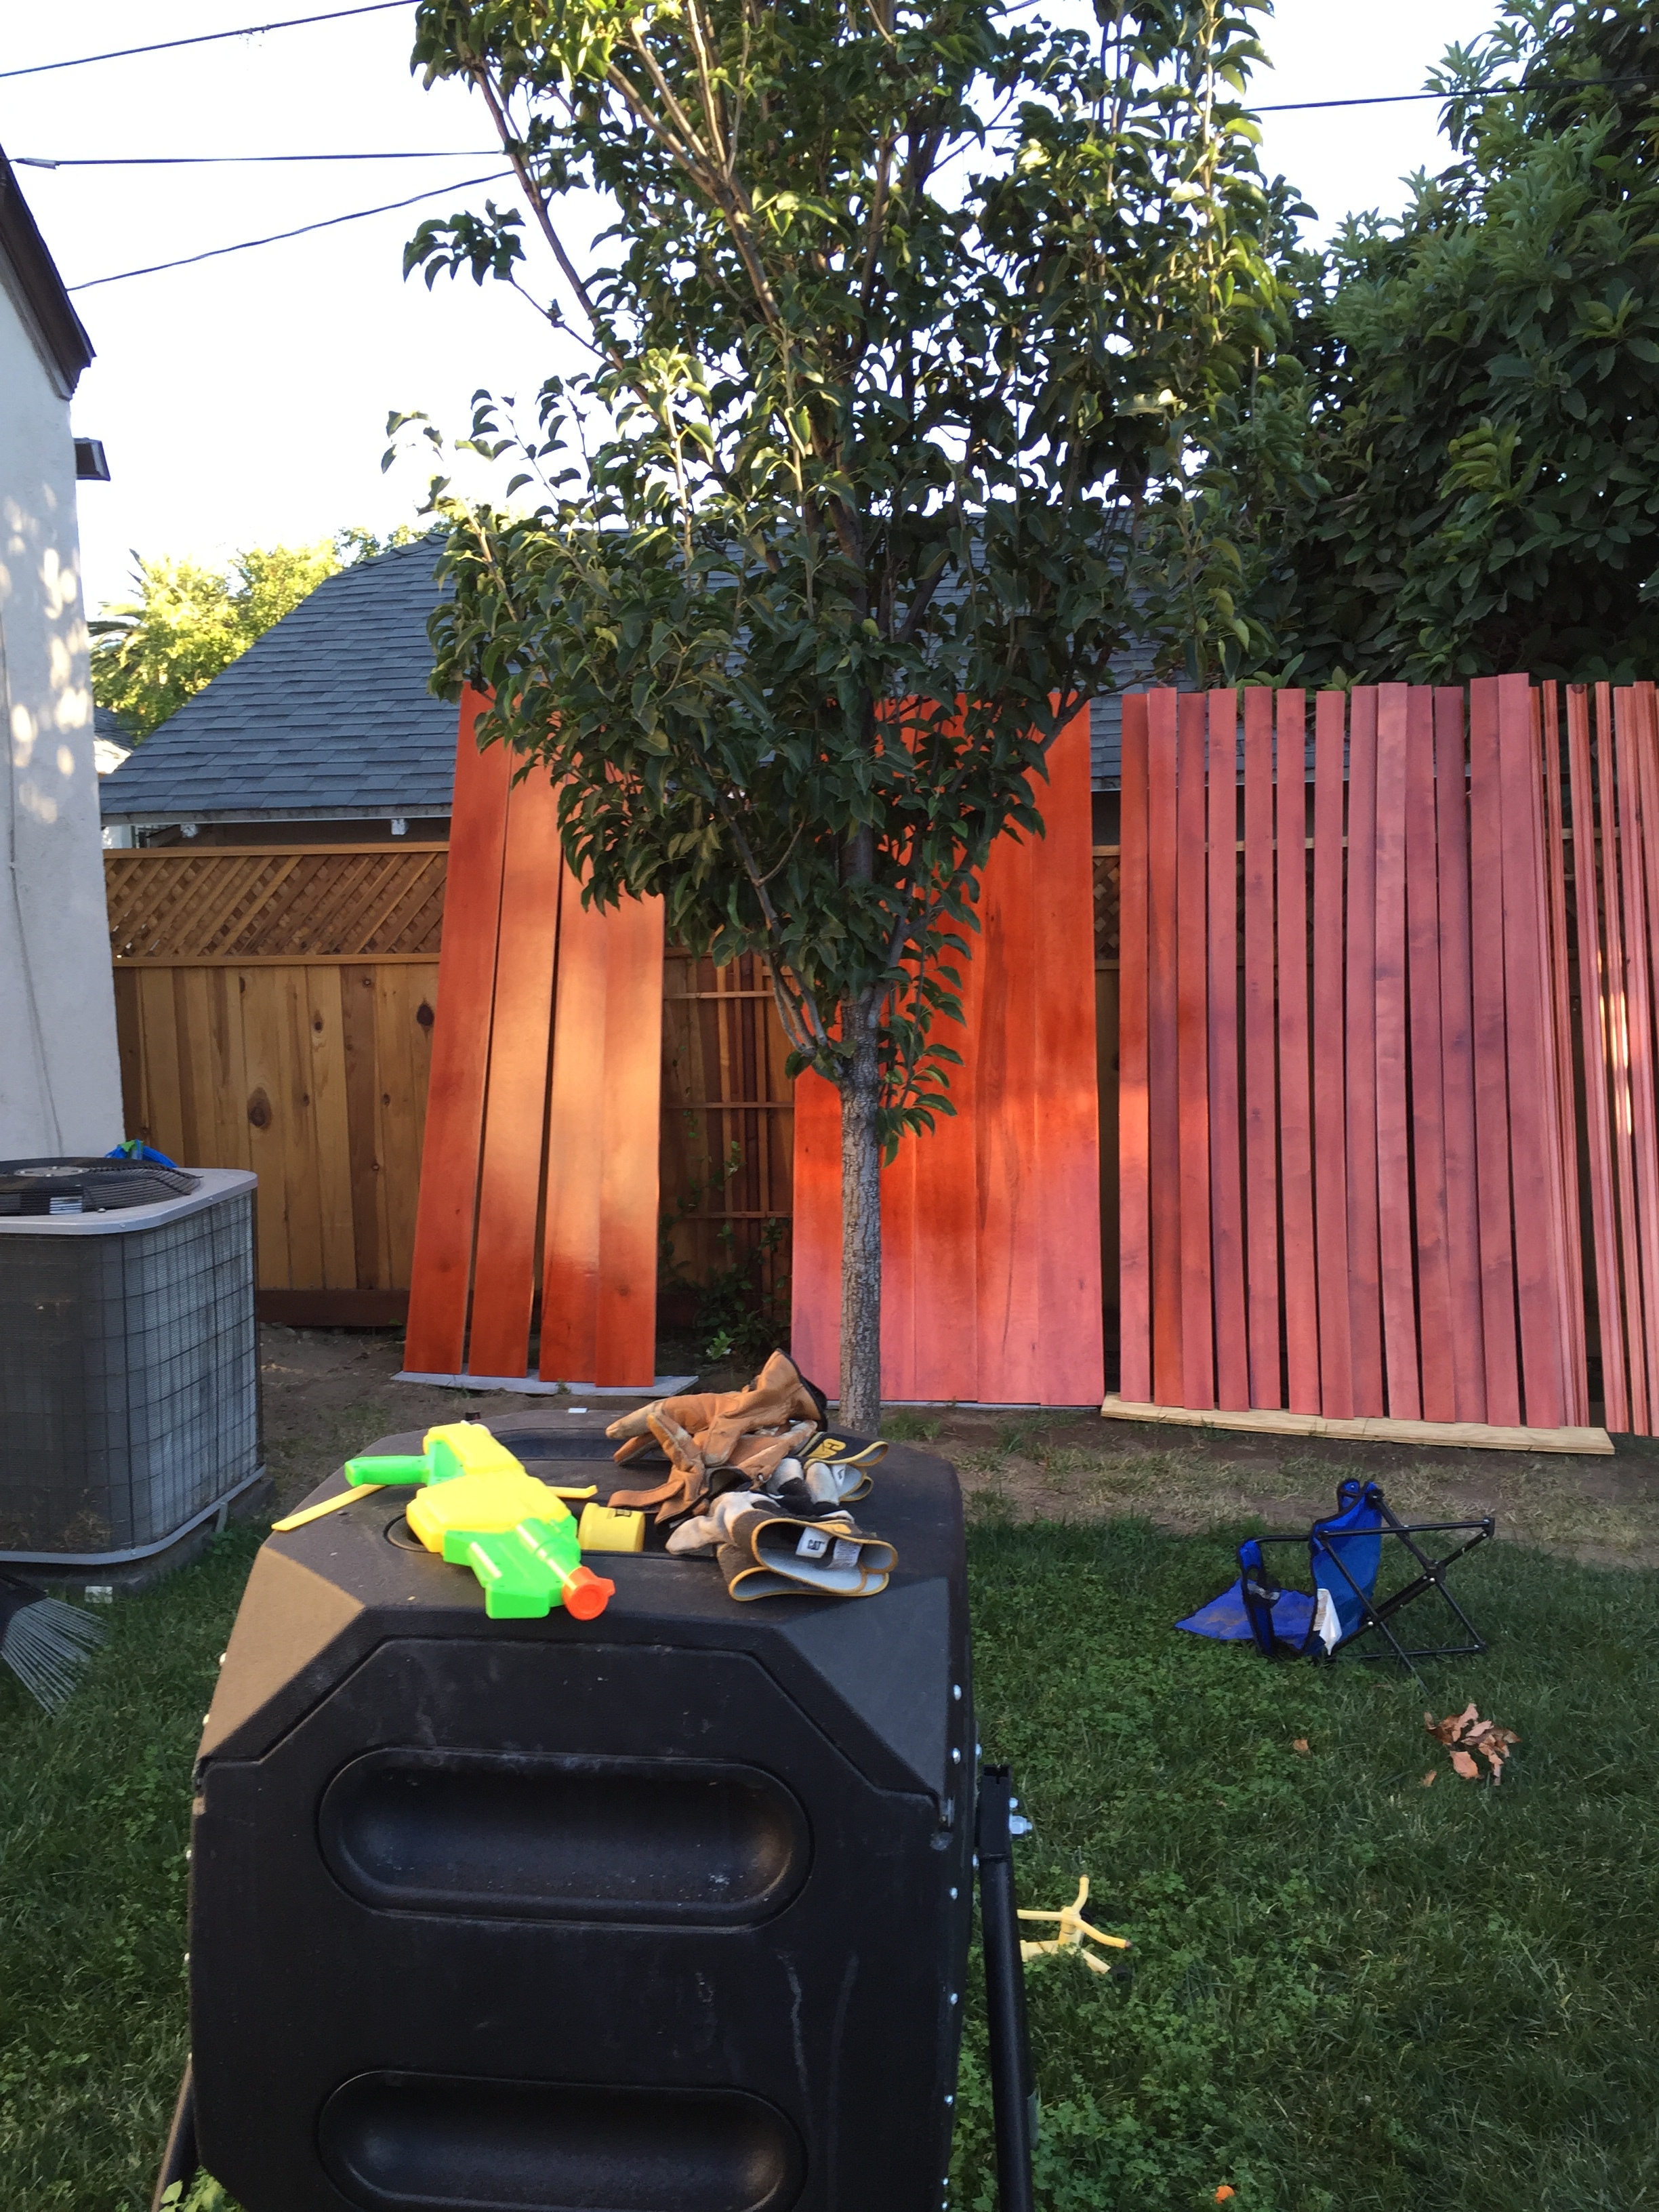
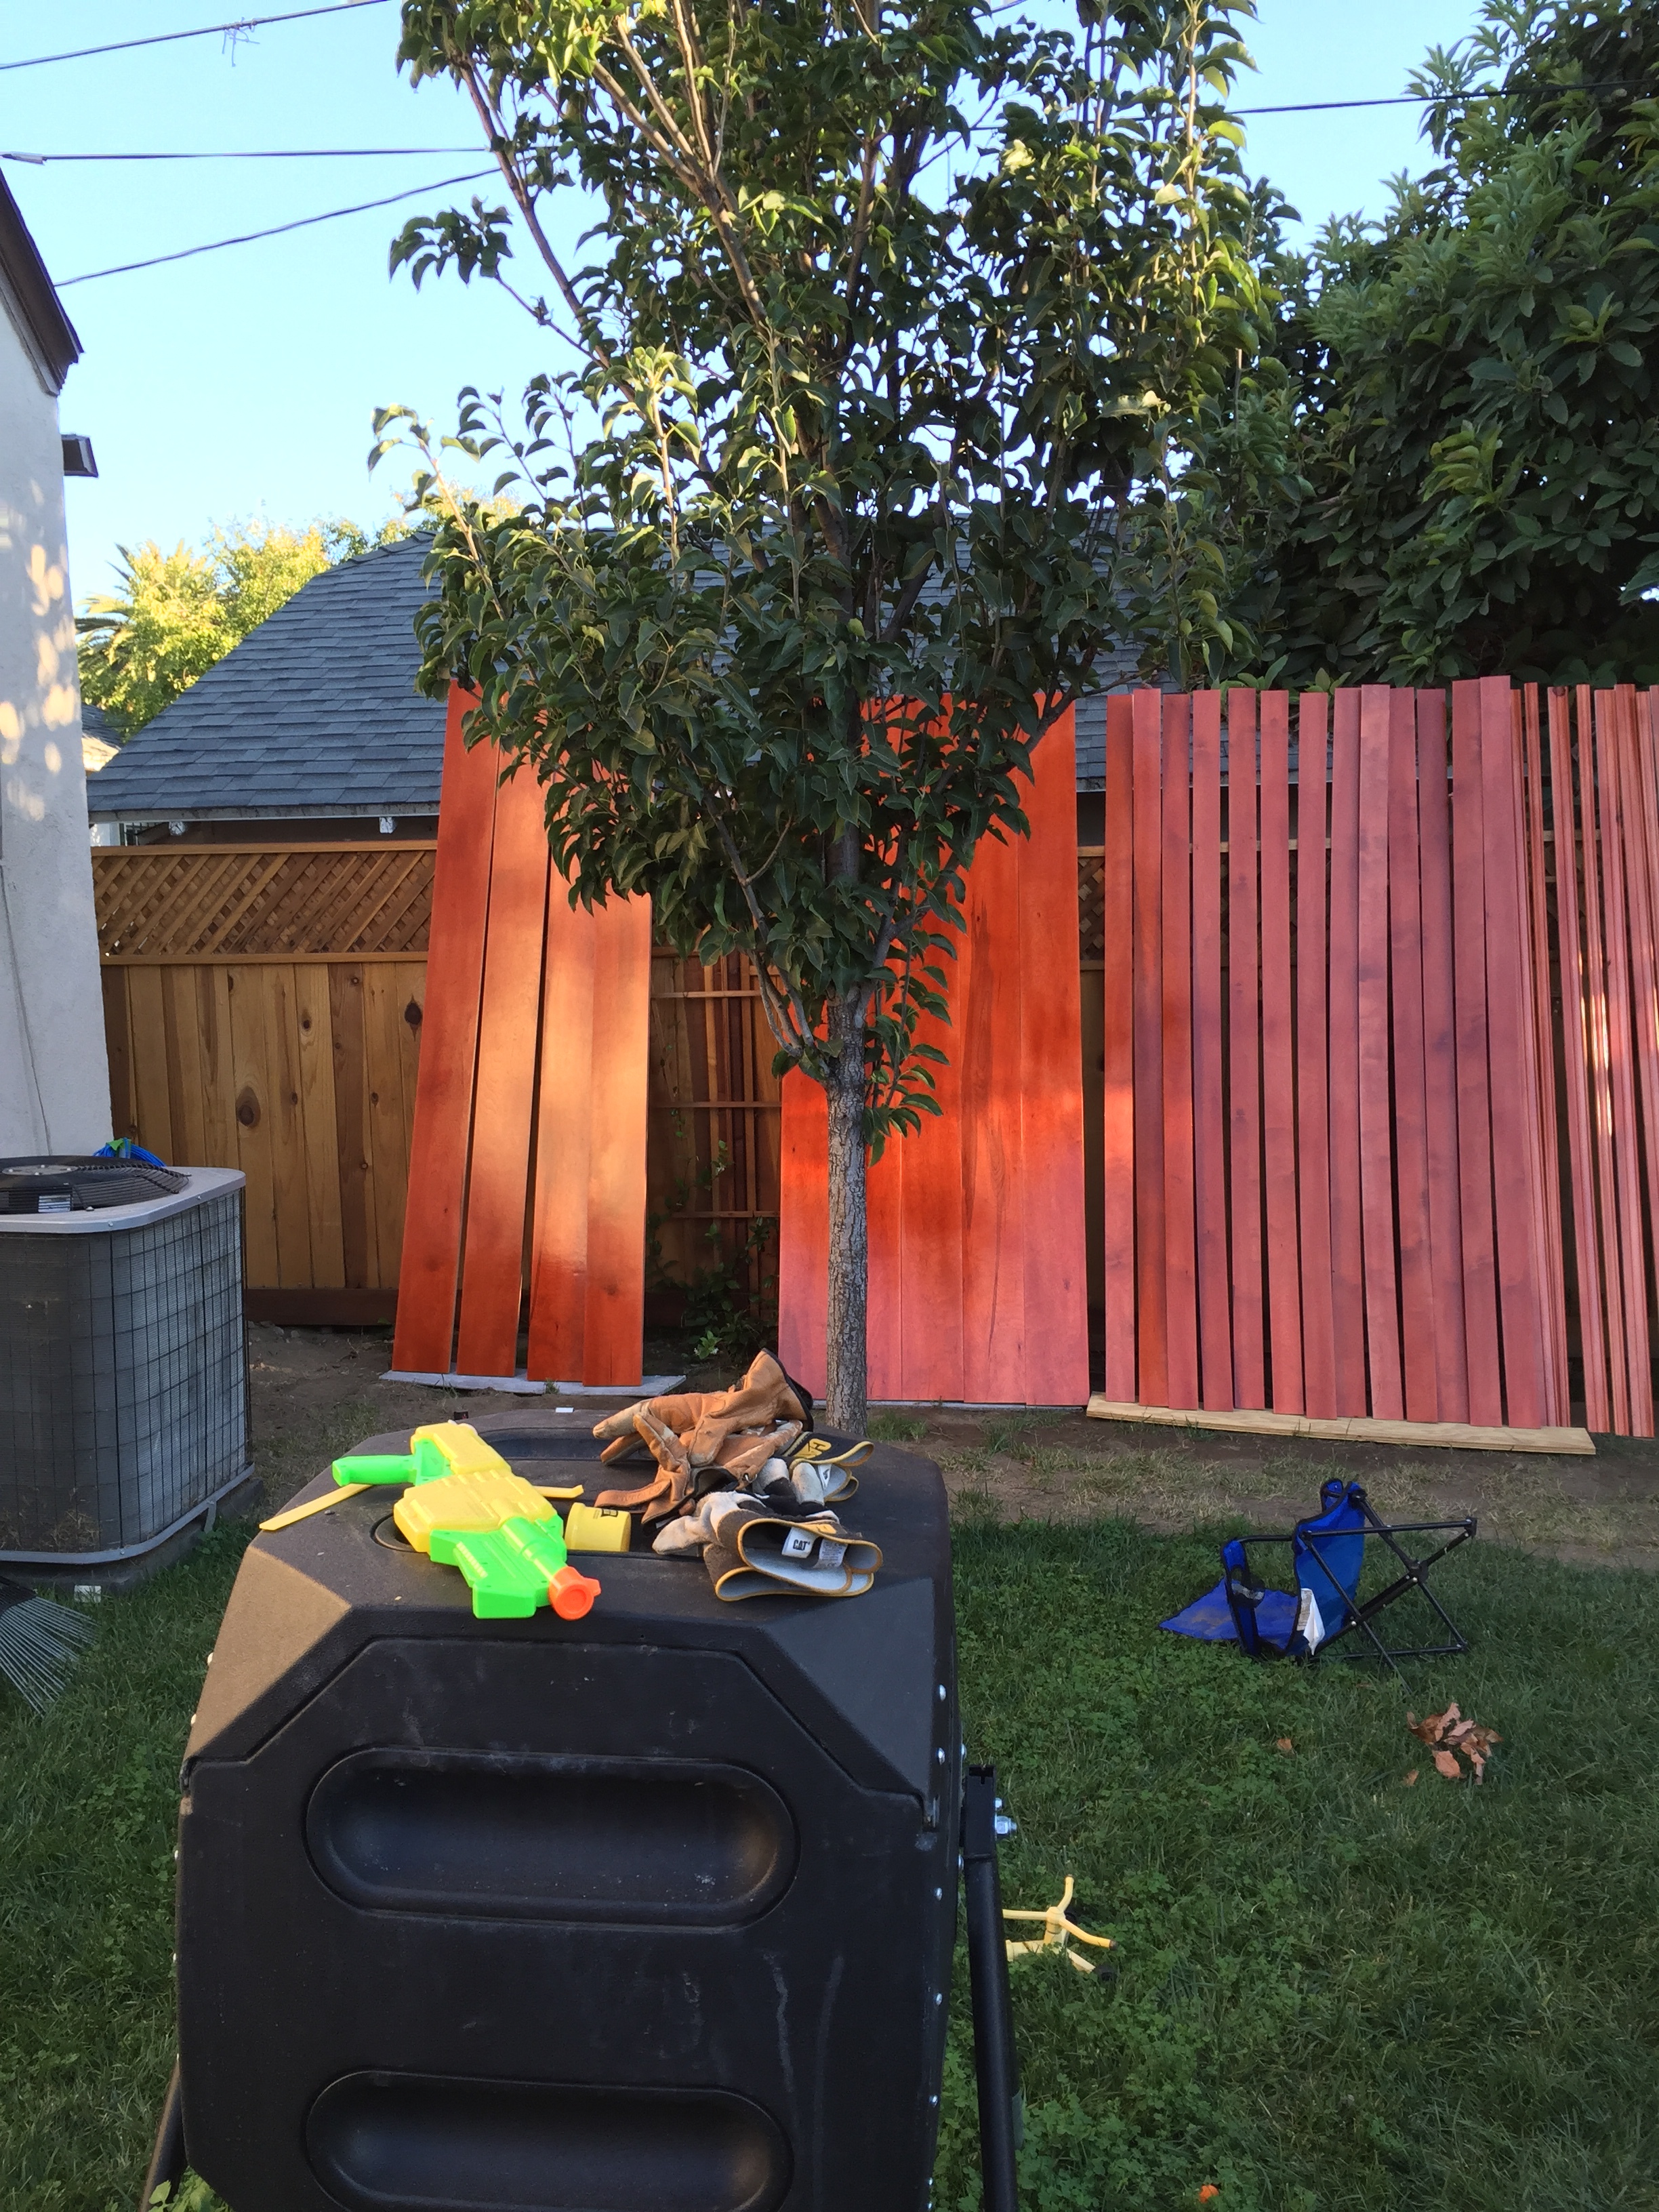
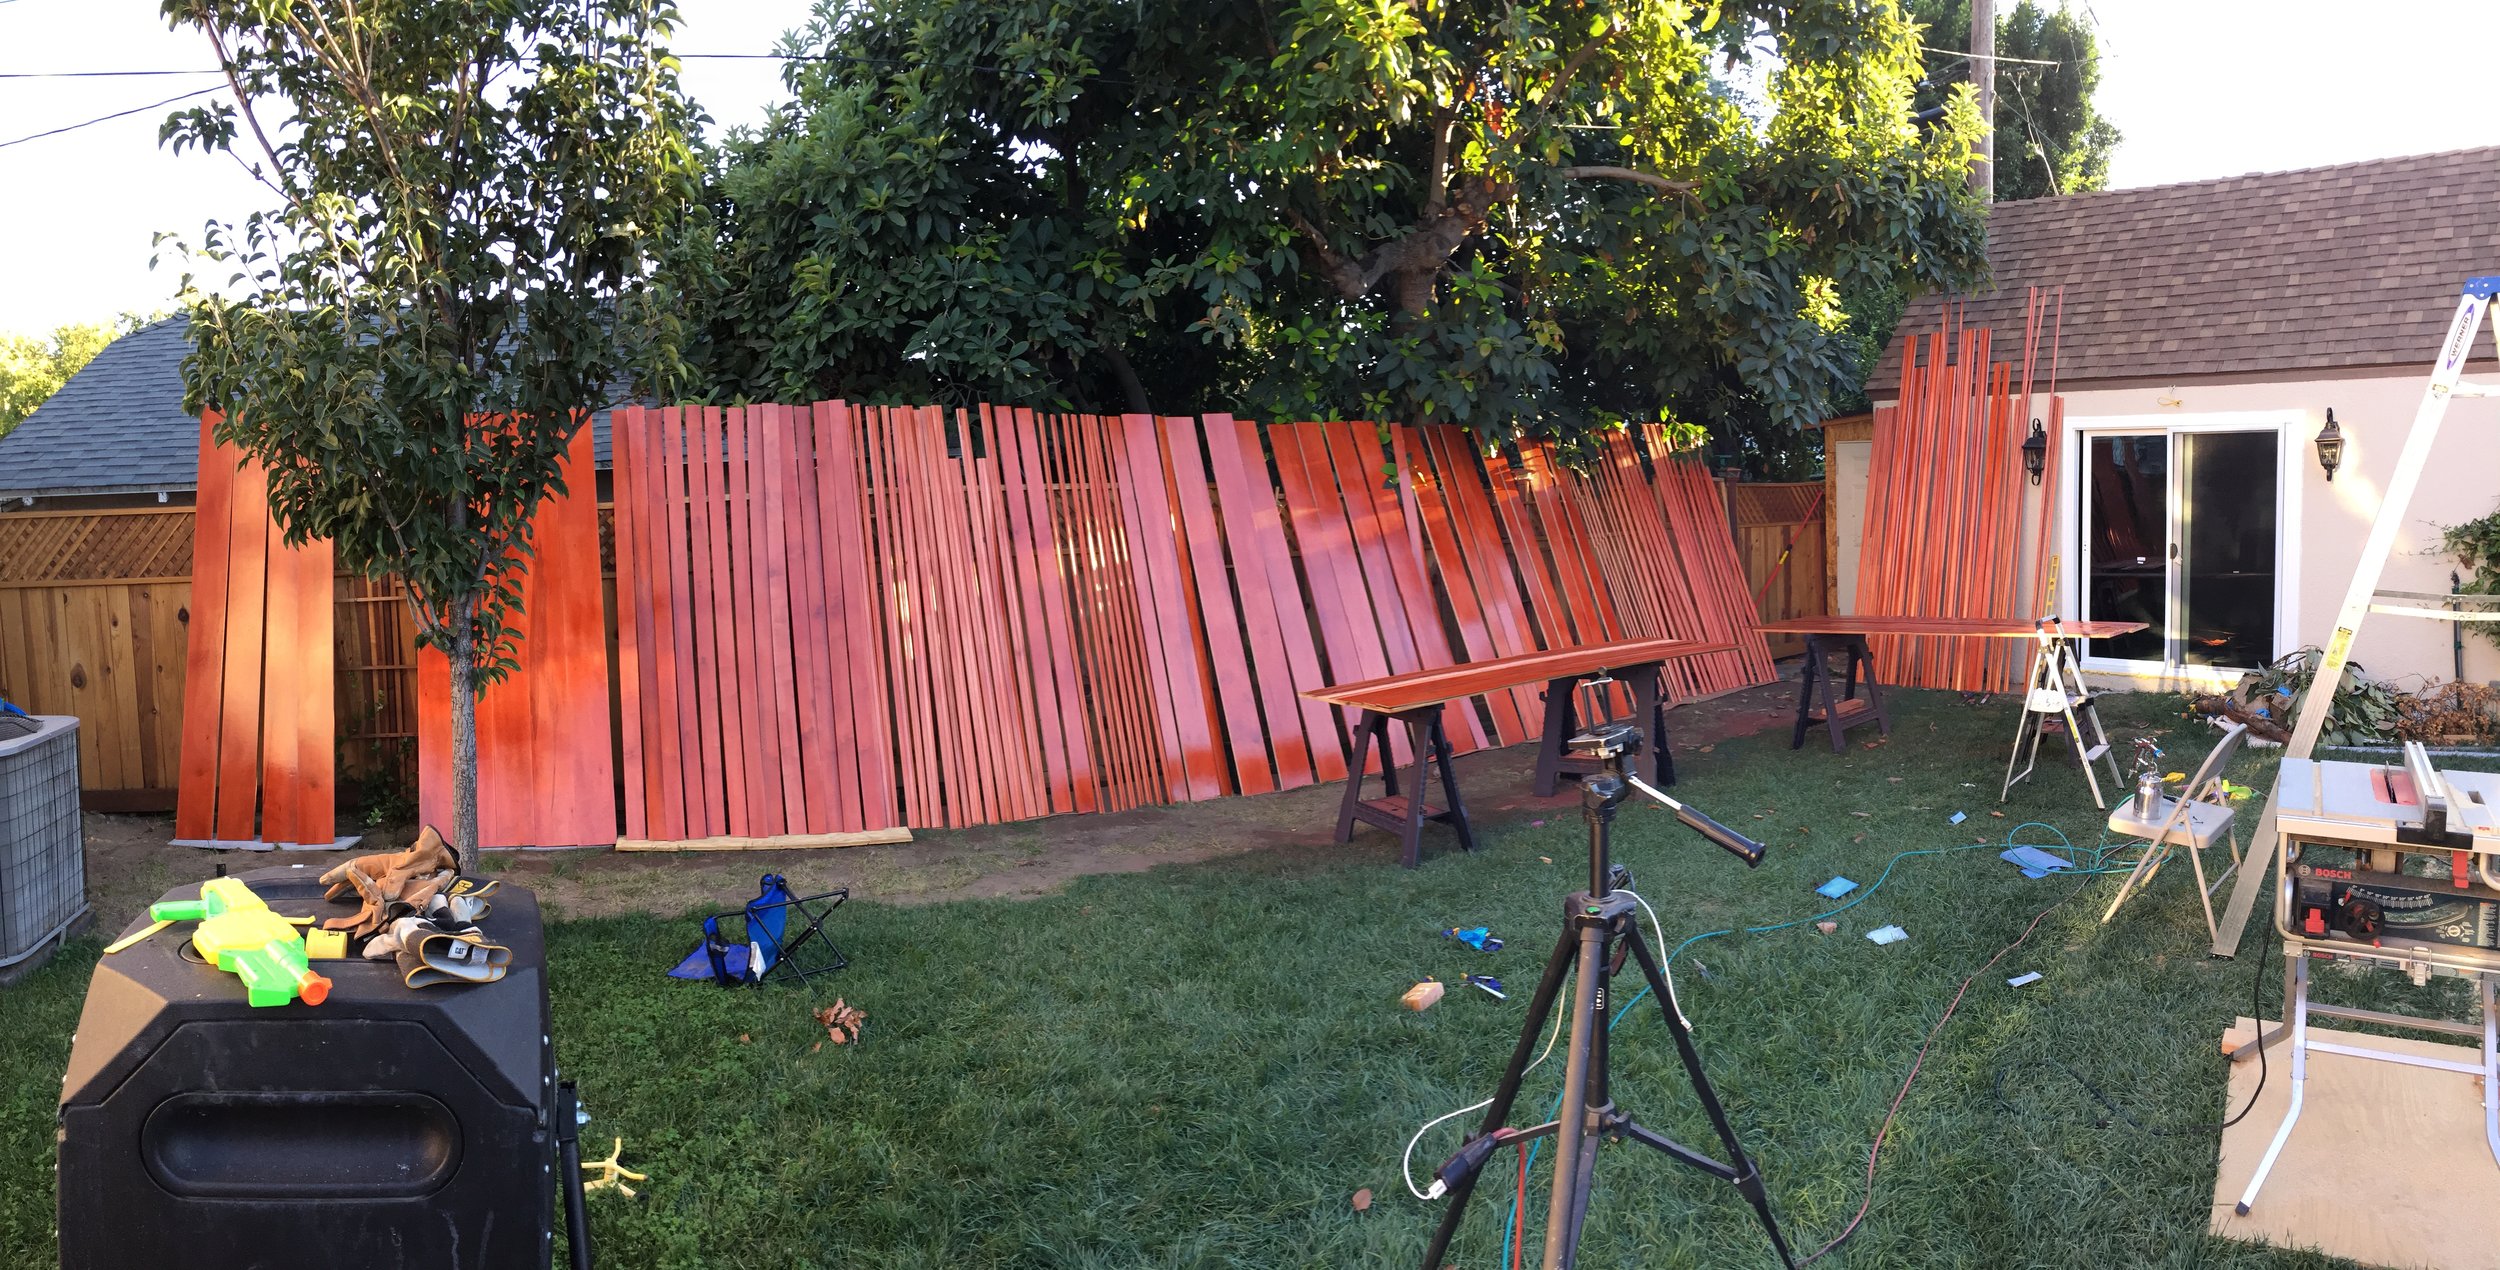
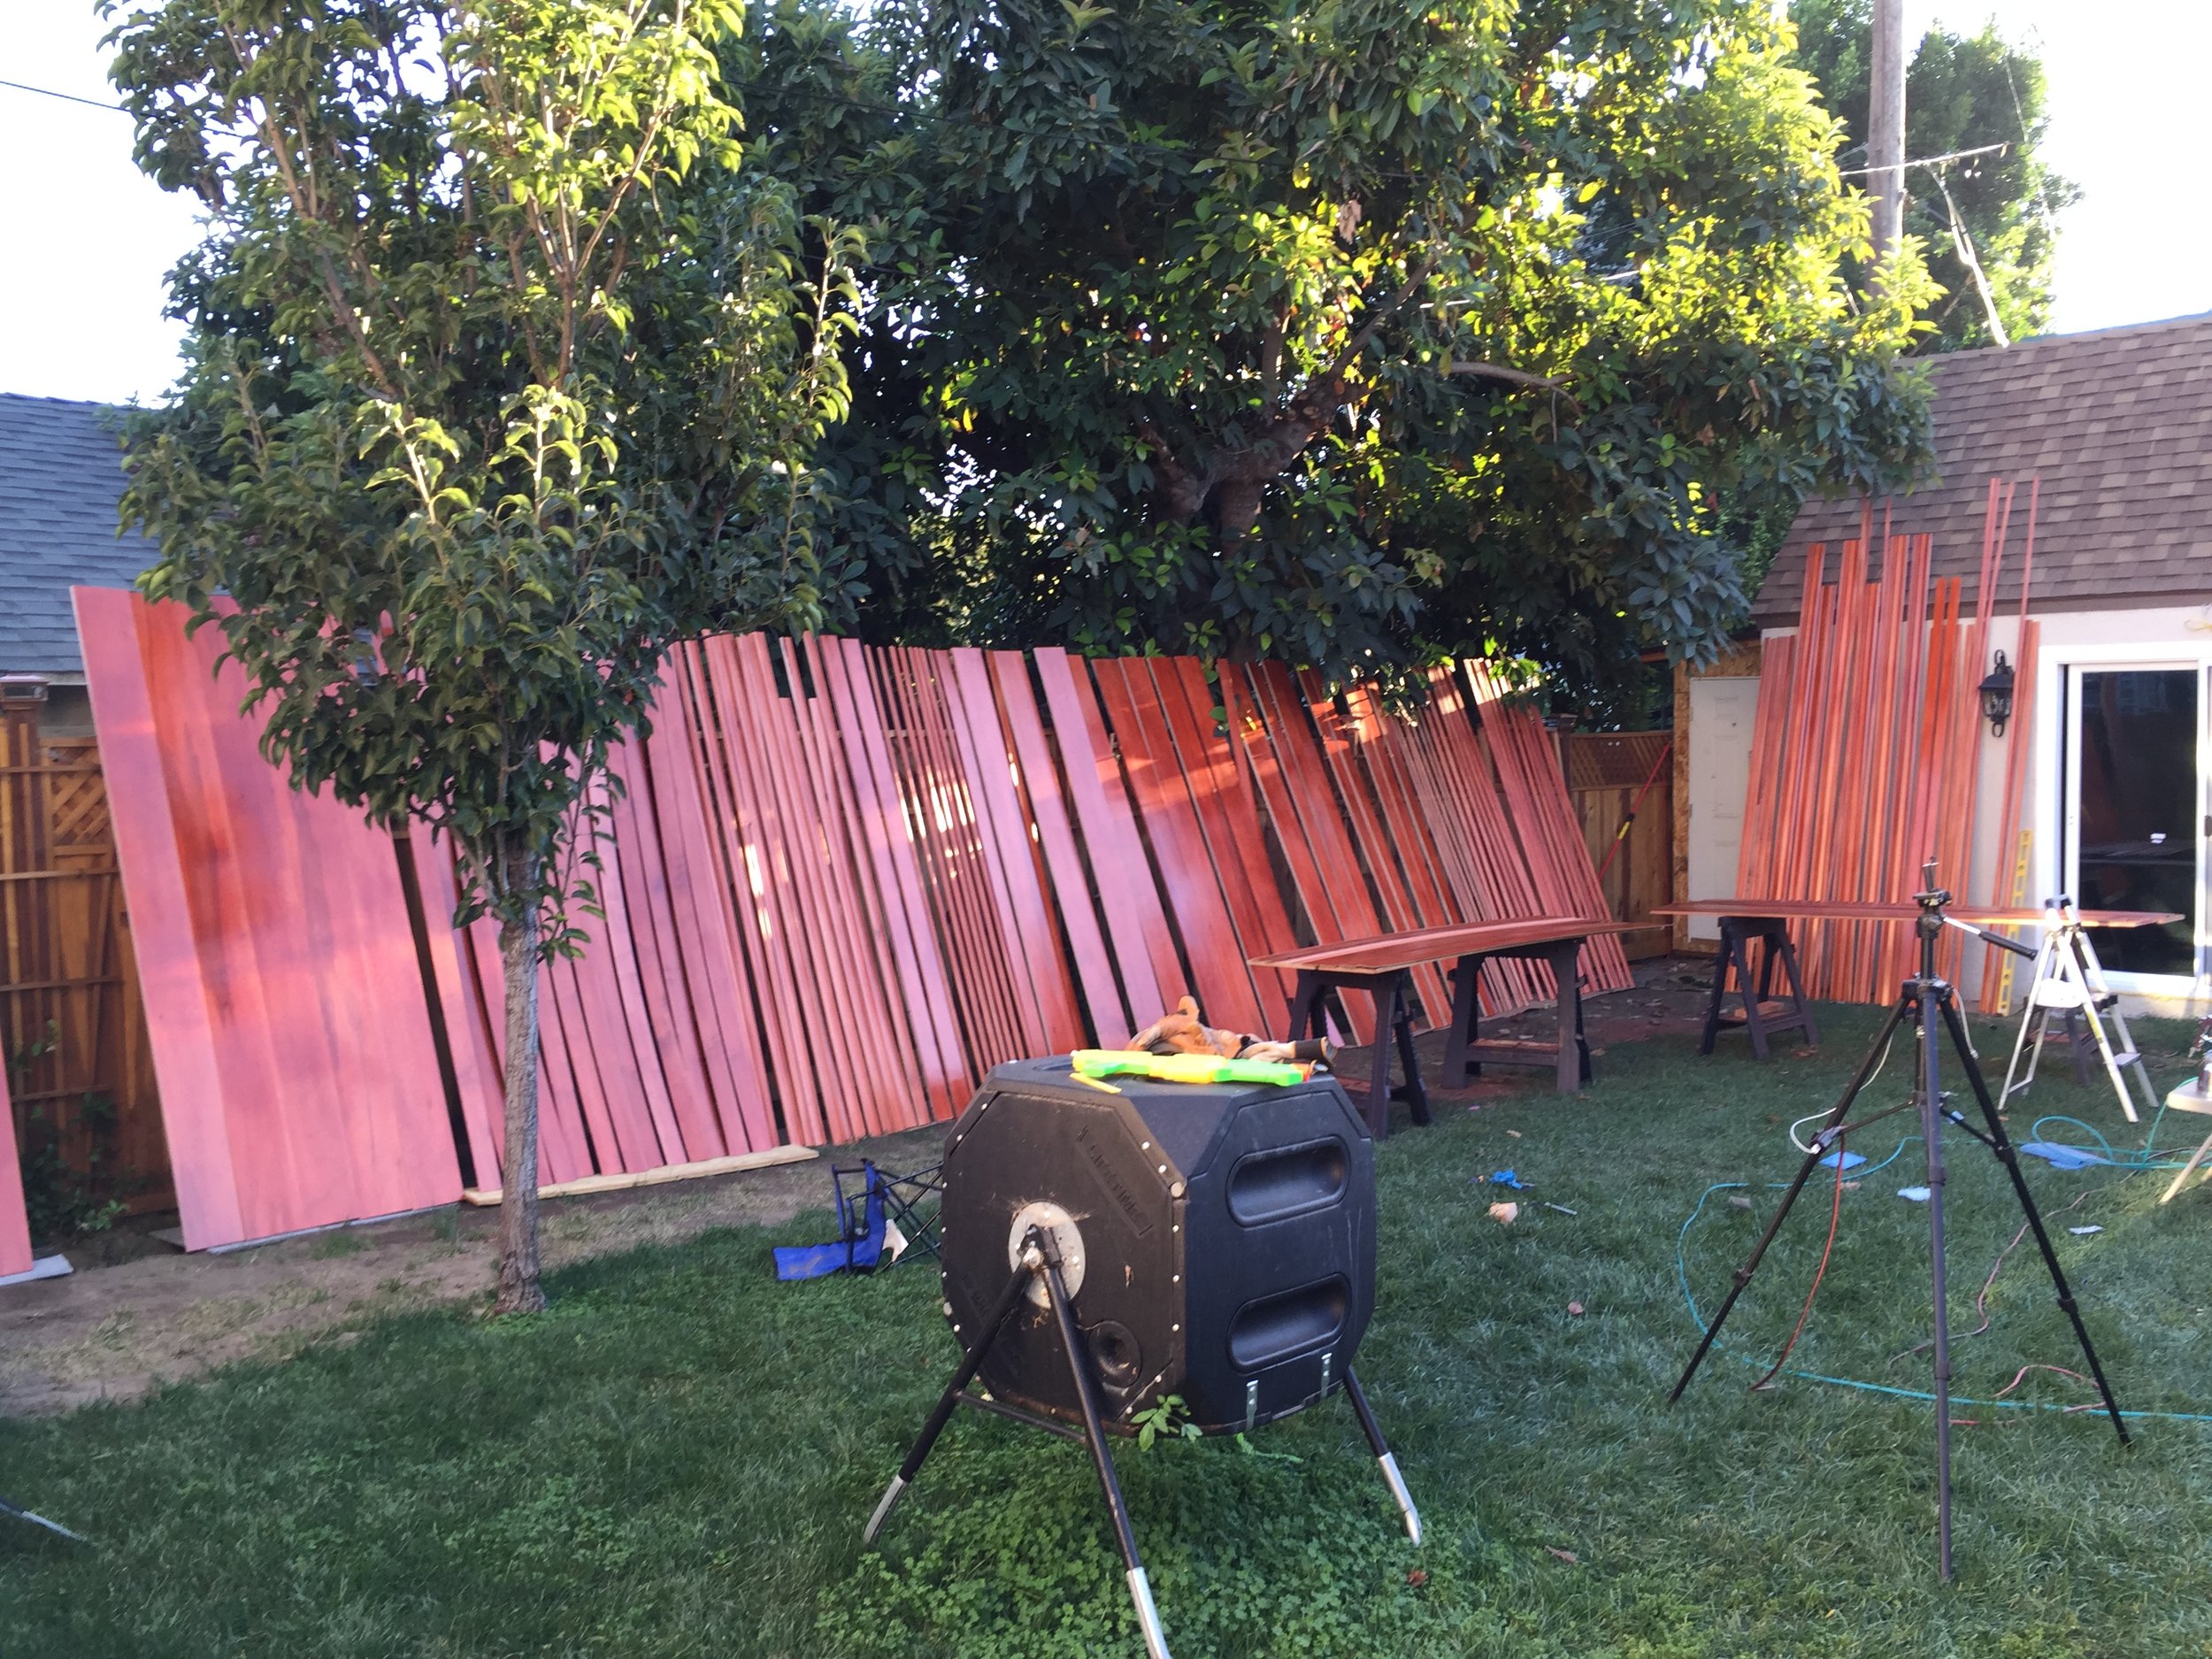
After cutting up all the wood I went ahead and laid everything out on sawhorses, ladders and pretty much everything else I could find and then I mixed the lacquer (which needs to be done with caution as it’s highly flammable and toxic).

Unfortunately damaged way too many brain cells spraying this stuff without caution as a teenager, these days I know better. Ensure you use protection!
I had a lacquer spray gun and a small compressor a friend owned. The small compressor rapidly failed and I had to go buy a larger one at my local hardware store. I then sprayed all the wood. And believe me, this ended up being a lot of wood.
It sort of goes like this:
- Spray a coat of sanding sealer on everything.
- Let it cure, in hot weather this happens in an hour or two (it was 105 degrees out).
- Sand it with fine grade sandpaper (no rougher than 220 grit)
- Spray coats of tinted lacquer until desired color level is achieved
- Seal it with one or two coats of clear lacquer.
Then I highly recommend letting anything sprayed with lacquer air out for a day or two before installation so that the smell of the chemicals doesn’t pollute the space it is going into.
TRIM INSTALLATION:
When installing trim, a pretty workable sequence is door casing, then baseboard, then crown, then vertical trims. You want to make sure you have a pin nailer also sometime referred to as a brad nailer and just go ahead and cut each piece to fit and nail it up.

Trim going up
If you did your backing well, every piece of trim will have wood behind the fabric to be nailed to. You want to ensure you use enough nails so that loud sound won’t cause them to rattle. One every foot or two should be fine.
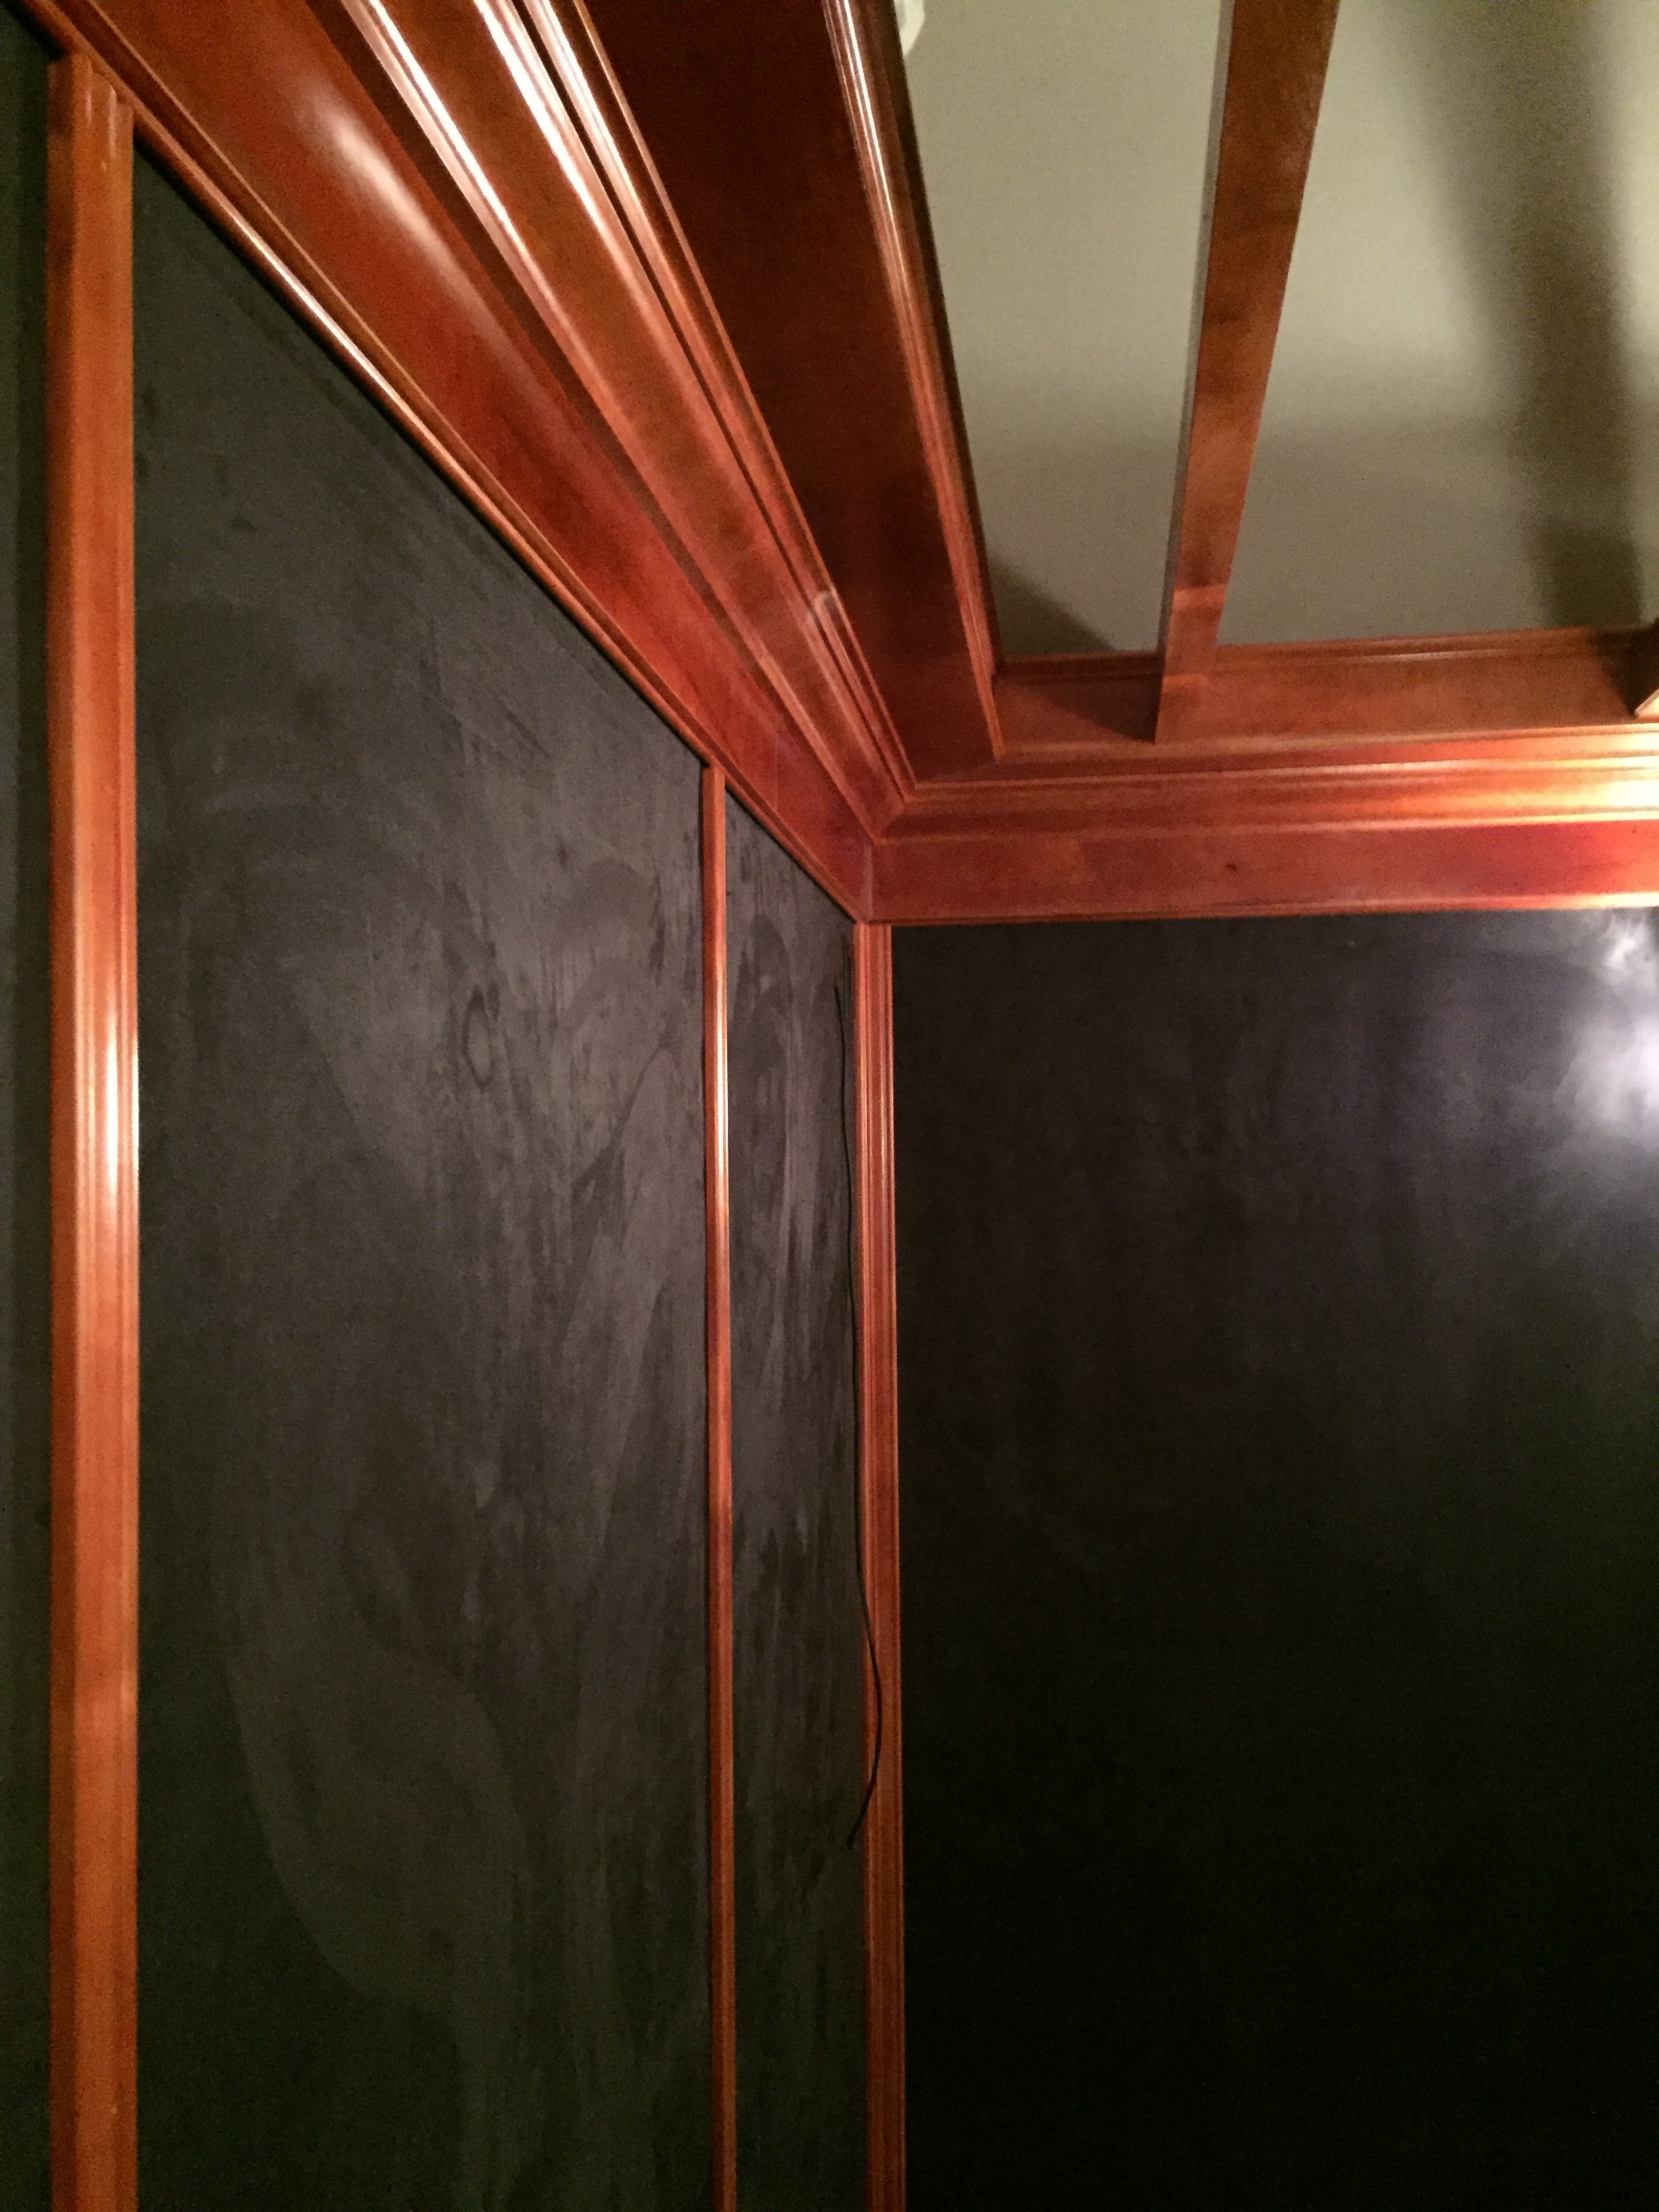
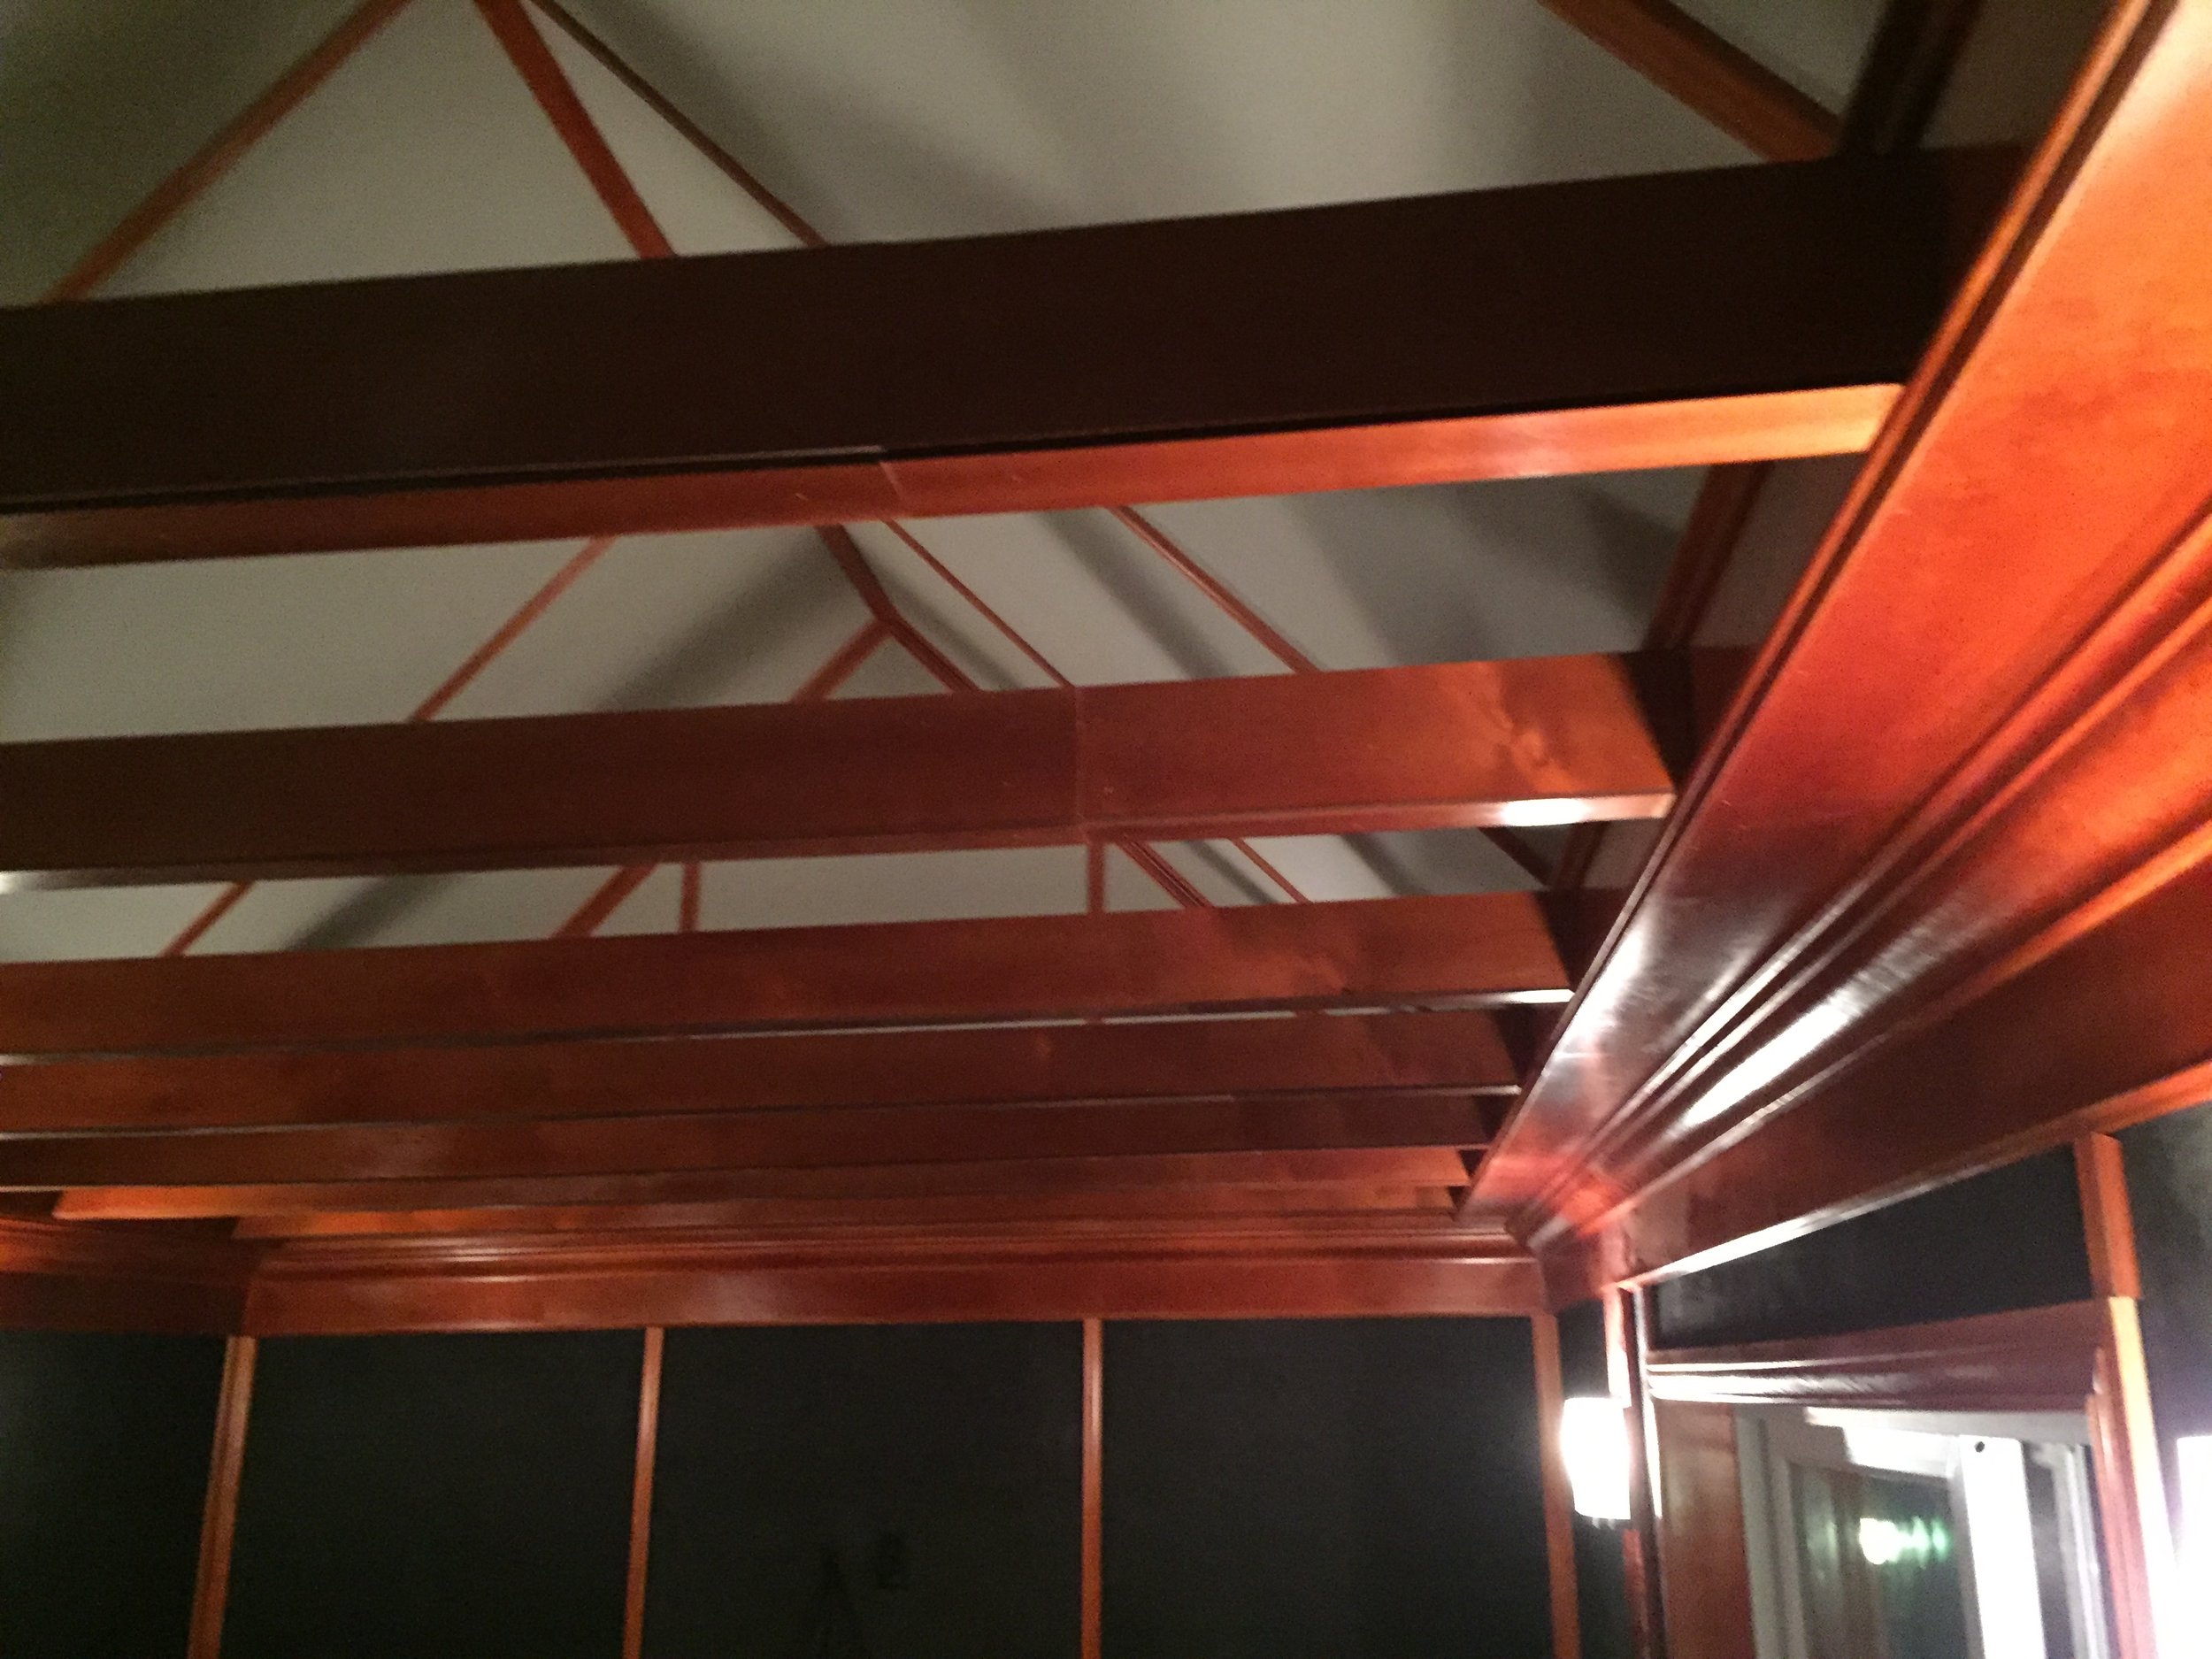
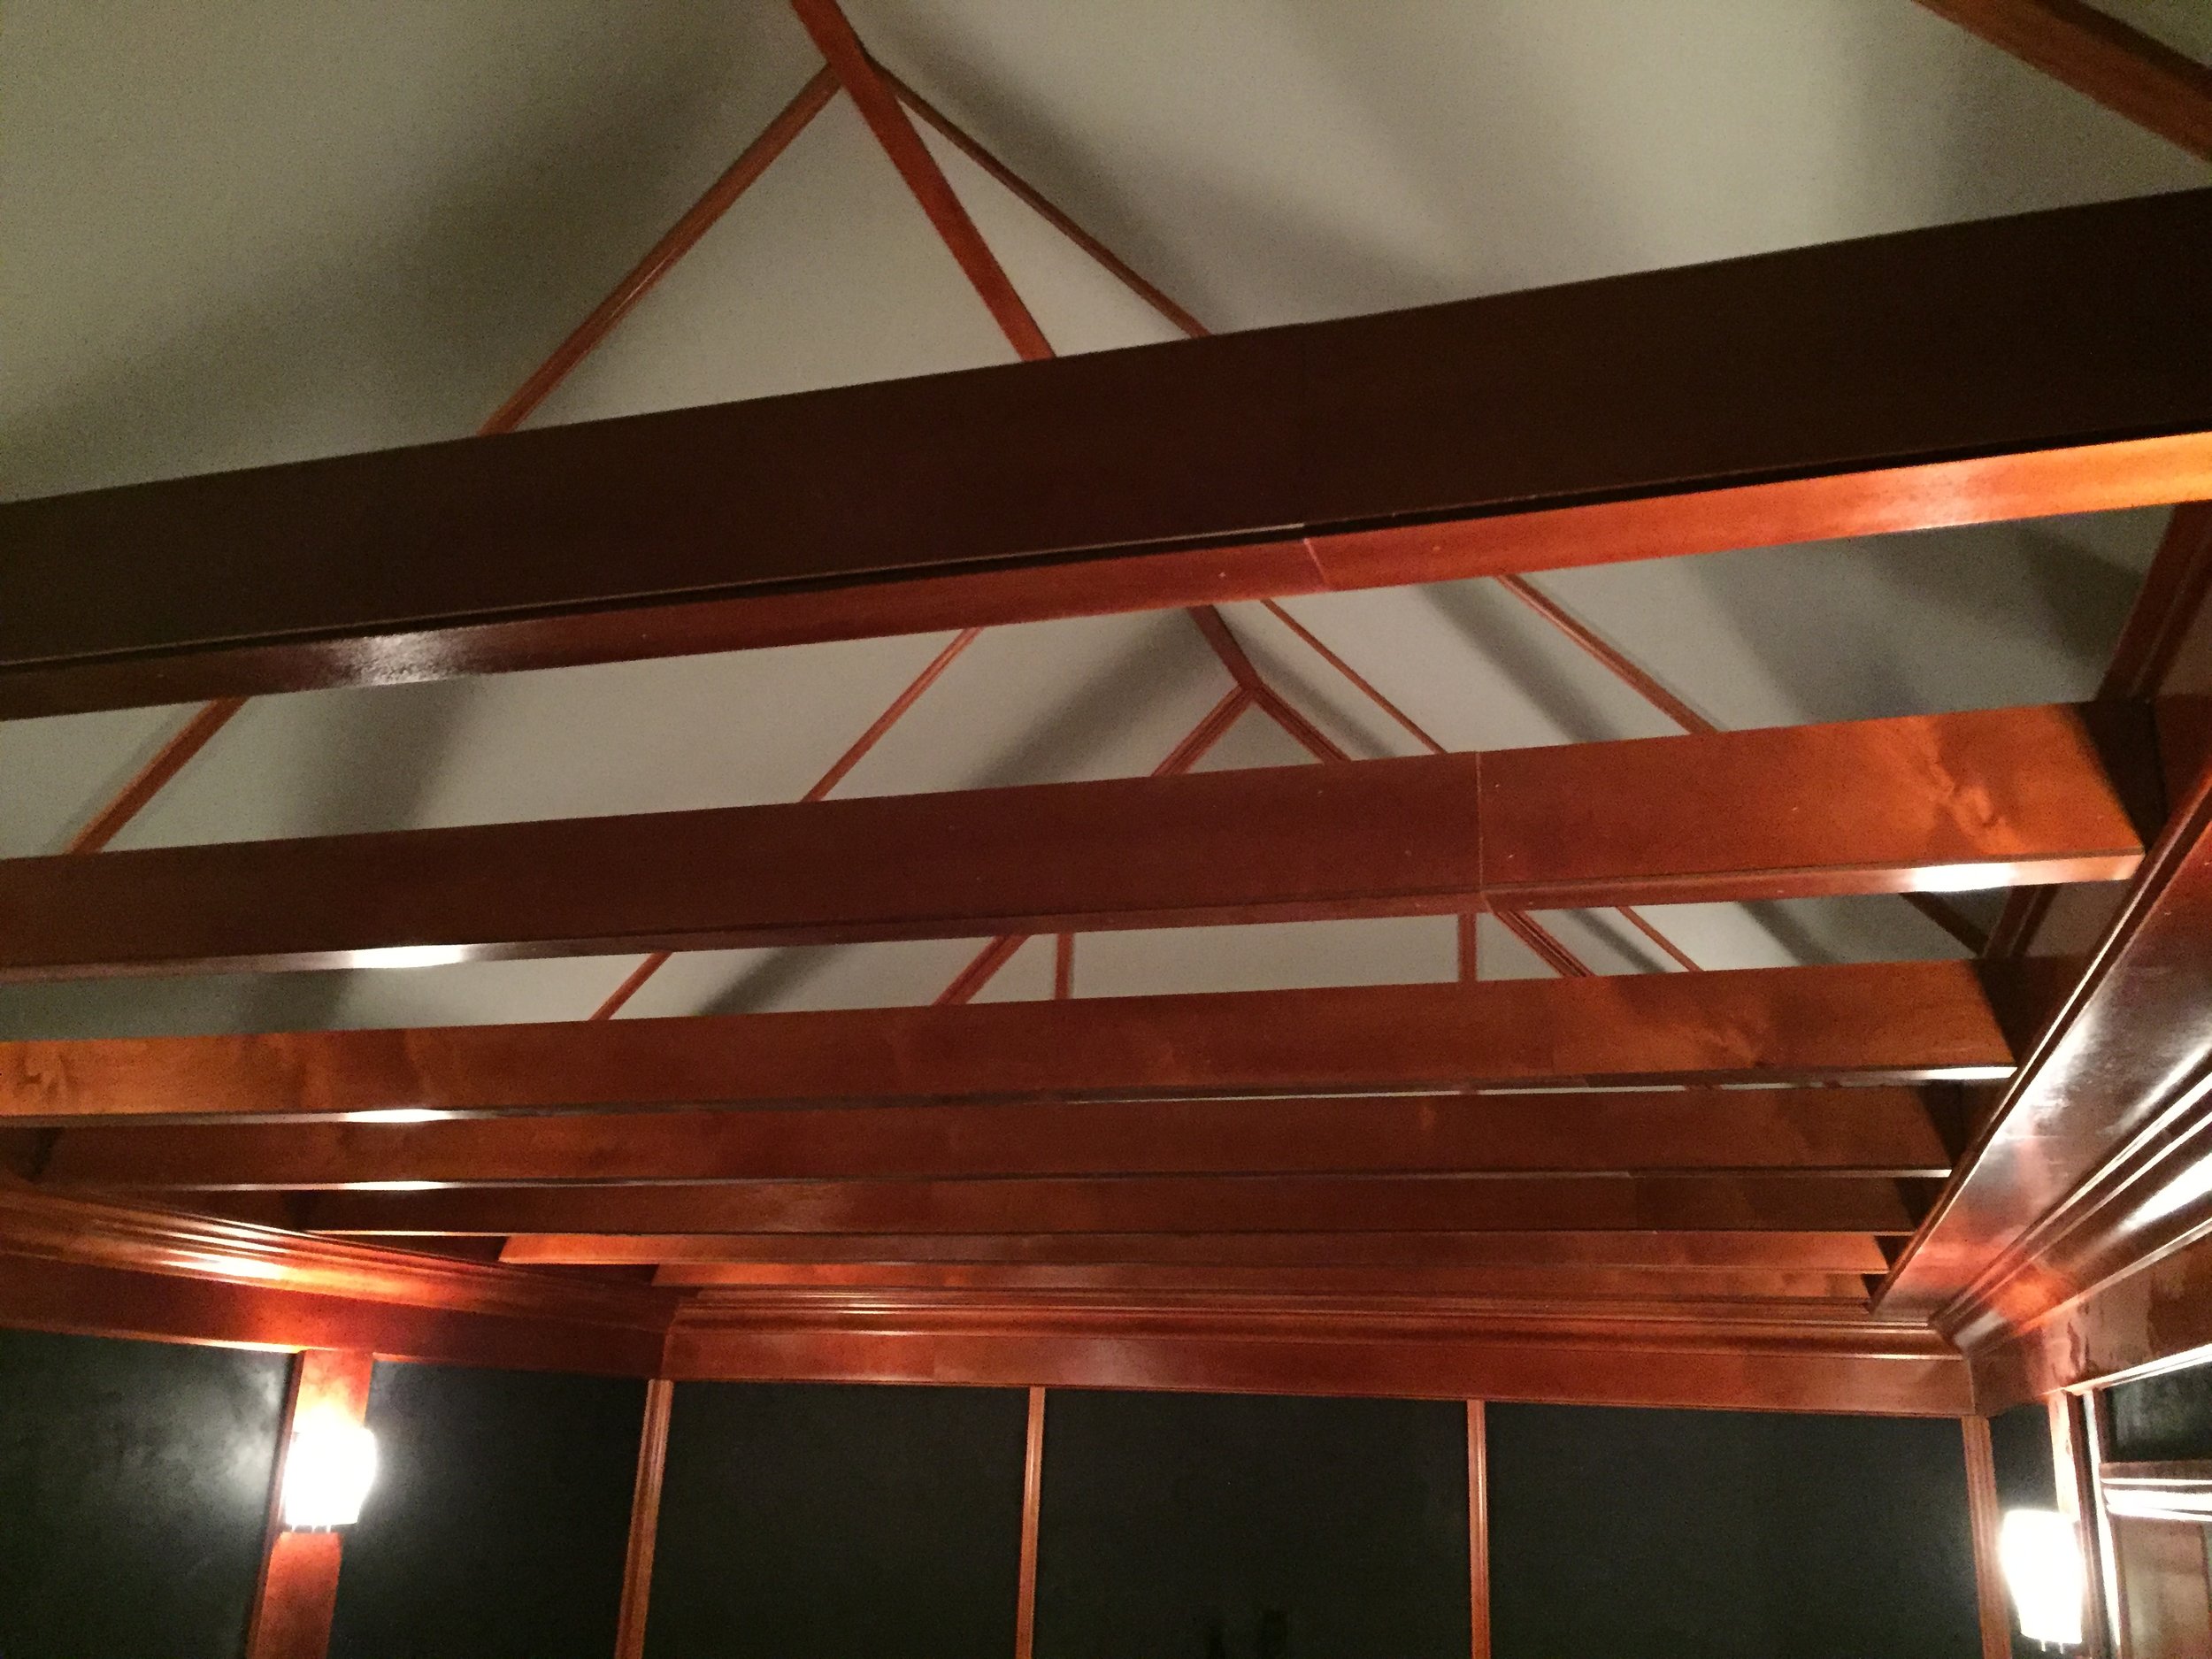
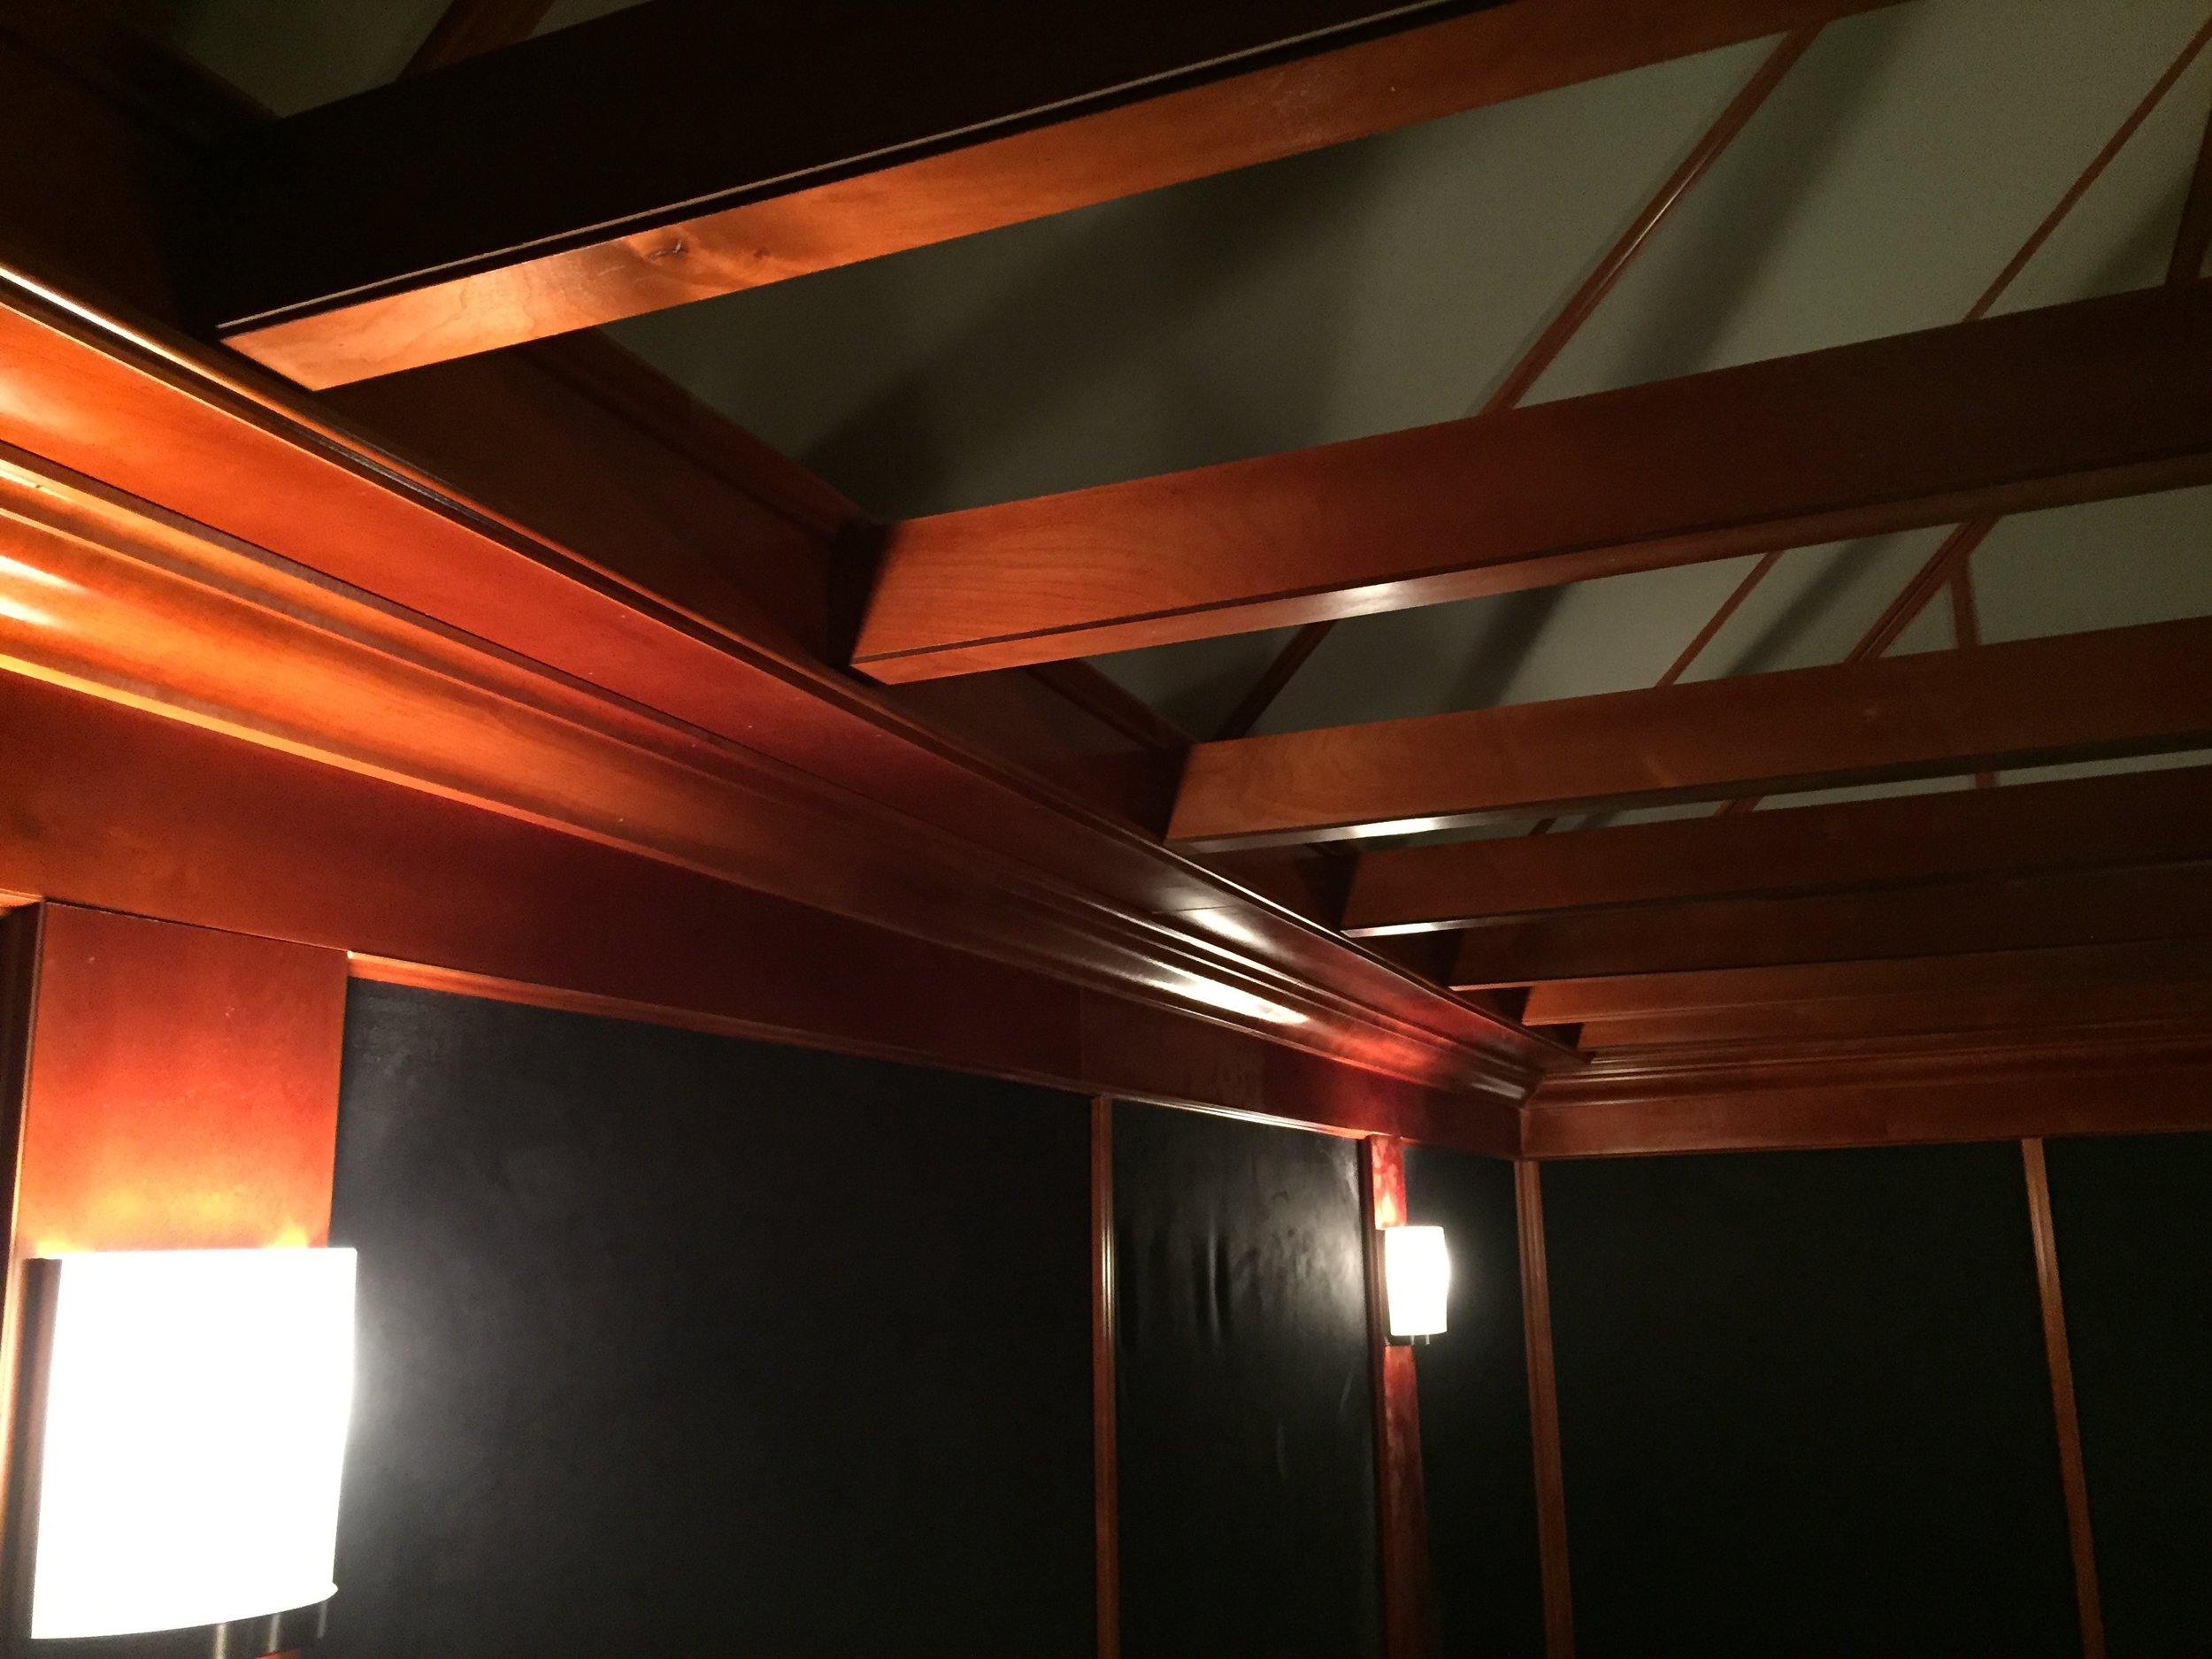
This garage had those ceiling beams which I needed to cover, so I simply glued and nailed finished ¼” wood onto the sides and the bottoms of the beam to make them look decent.


Also I had to hang a really heavy TV as well as the speakers in the room, so that support backing was critical to ensure they were structurally sound and wouldn't fall off with continual loud sounds/vibrations.

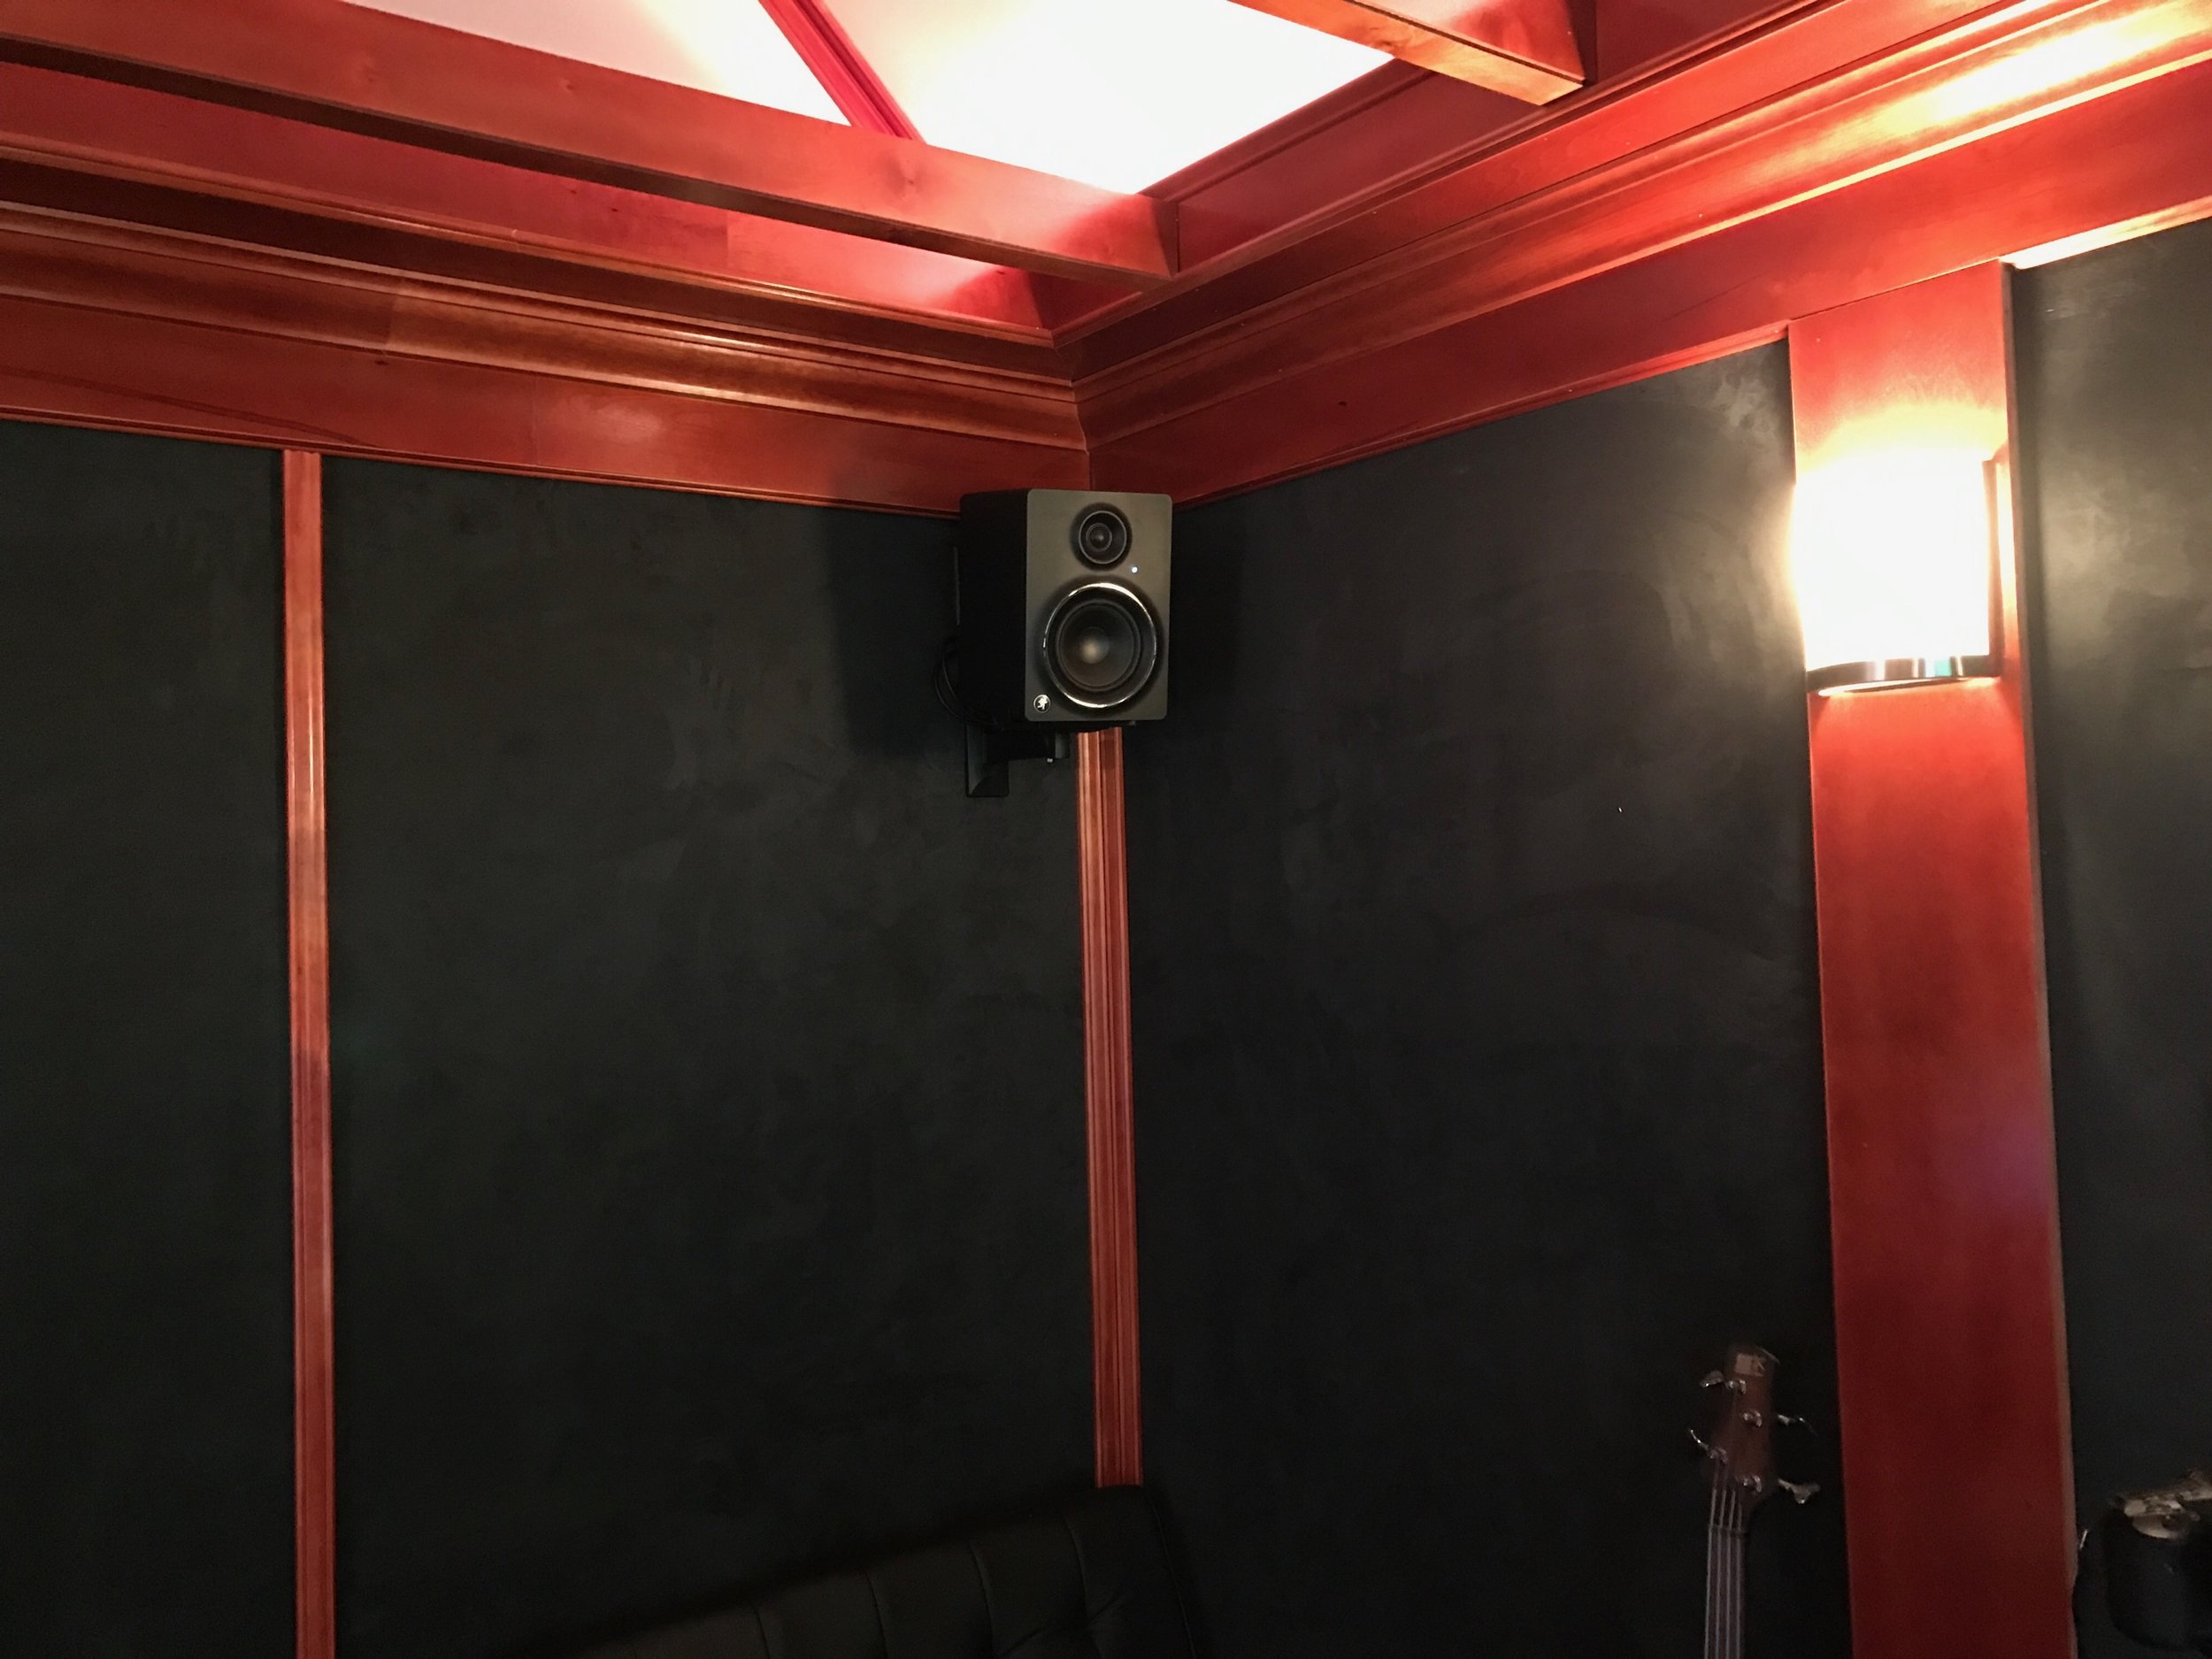
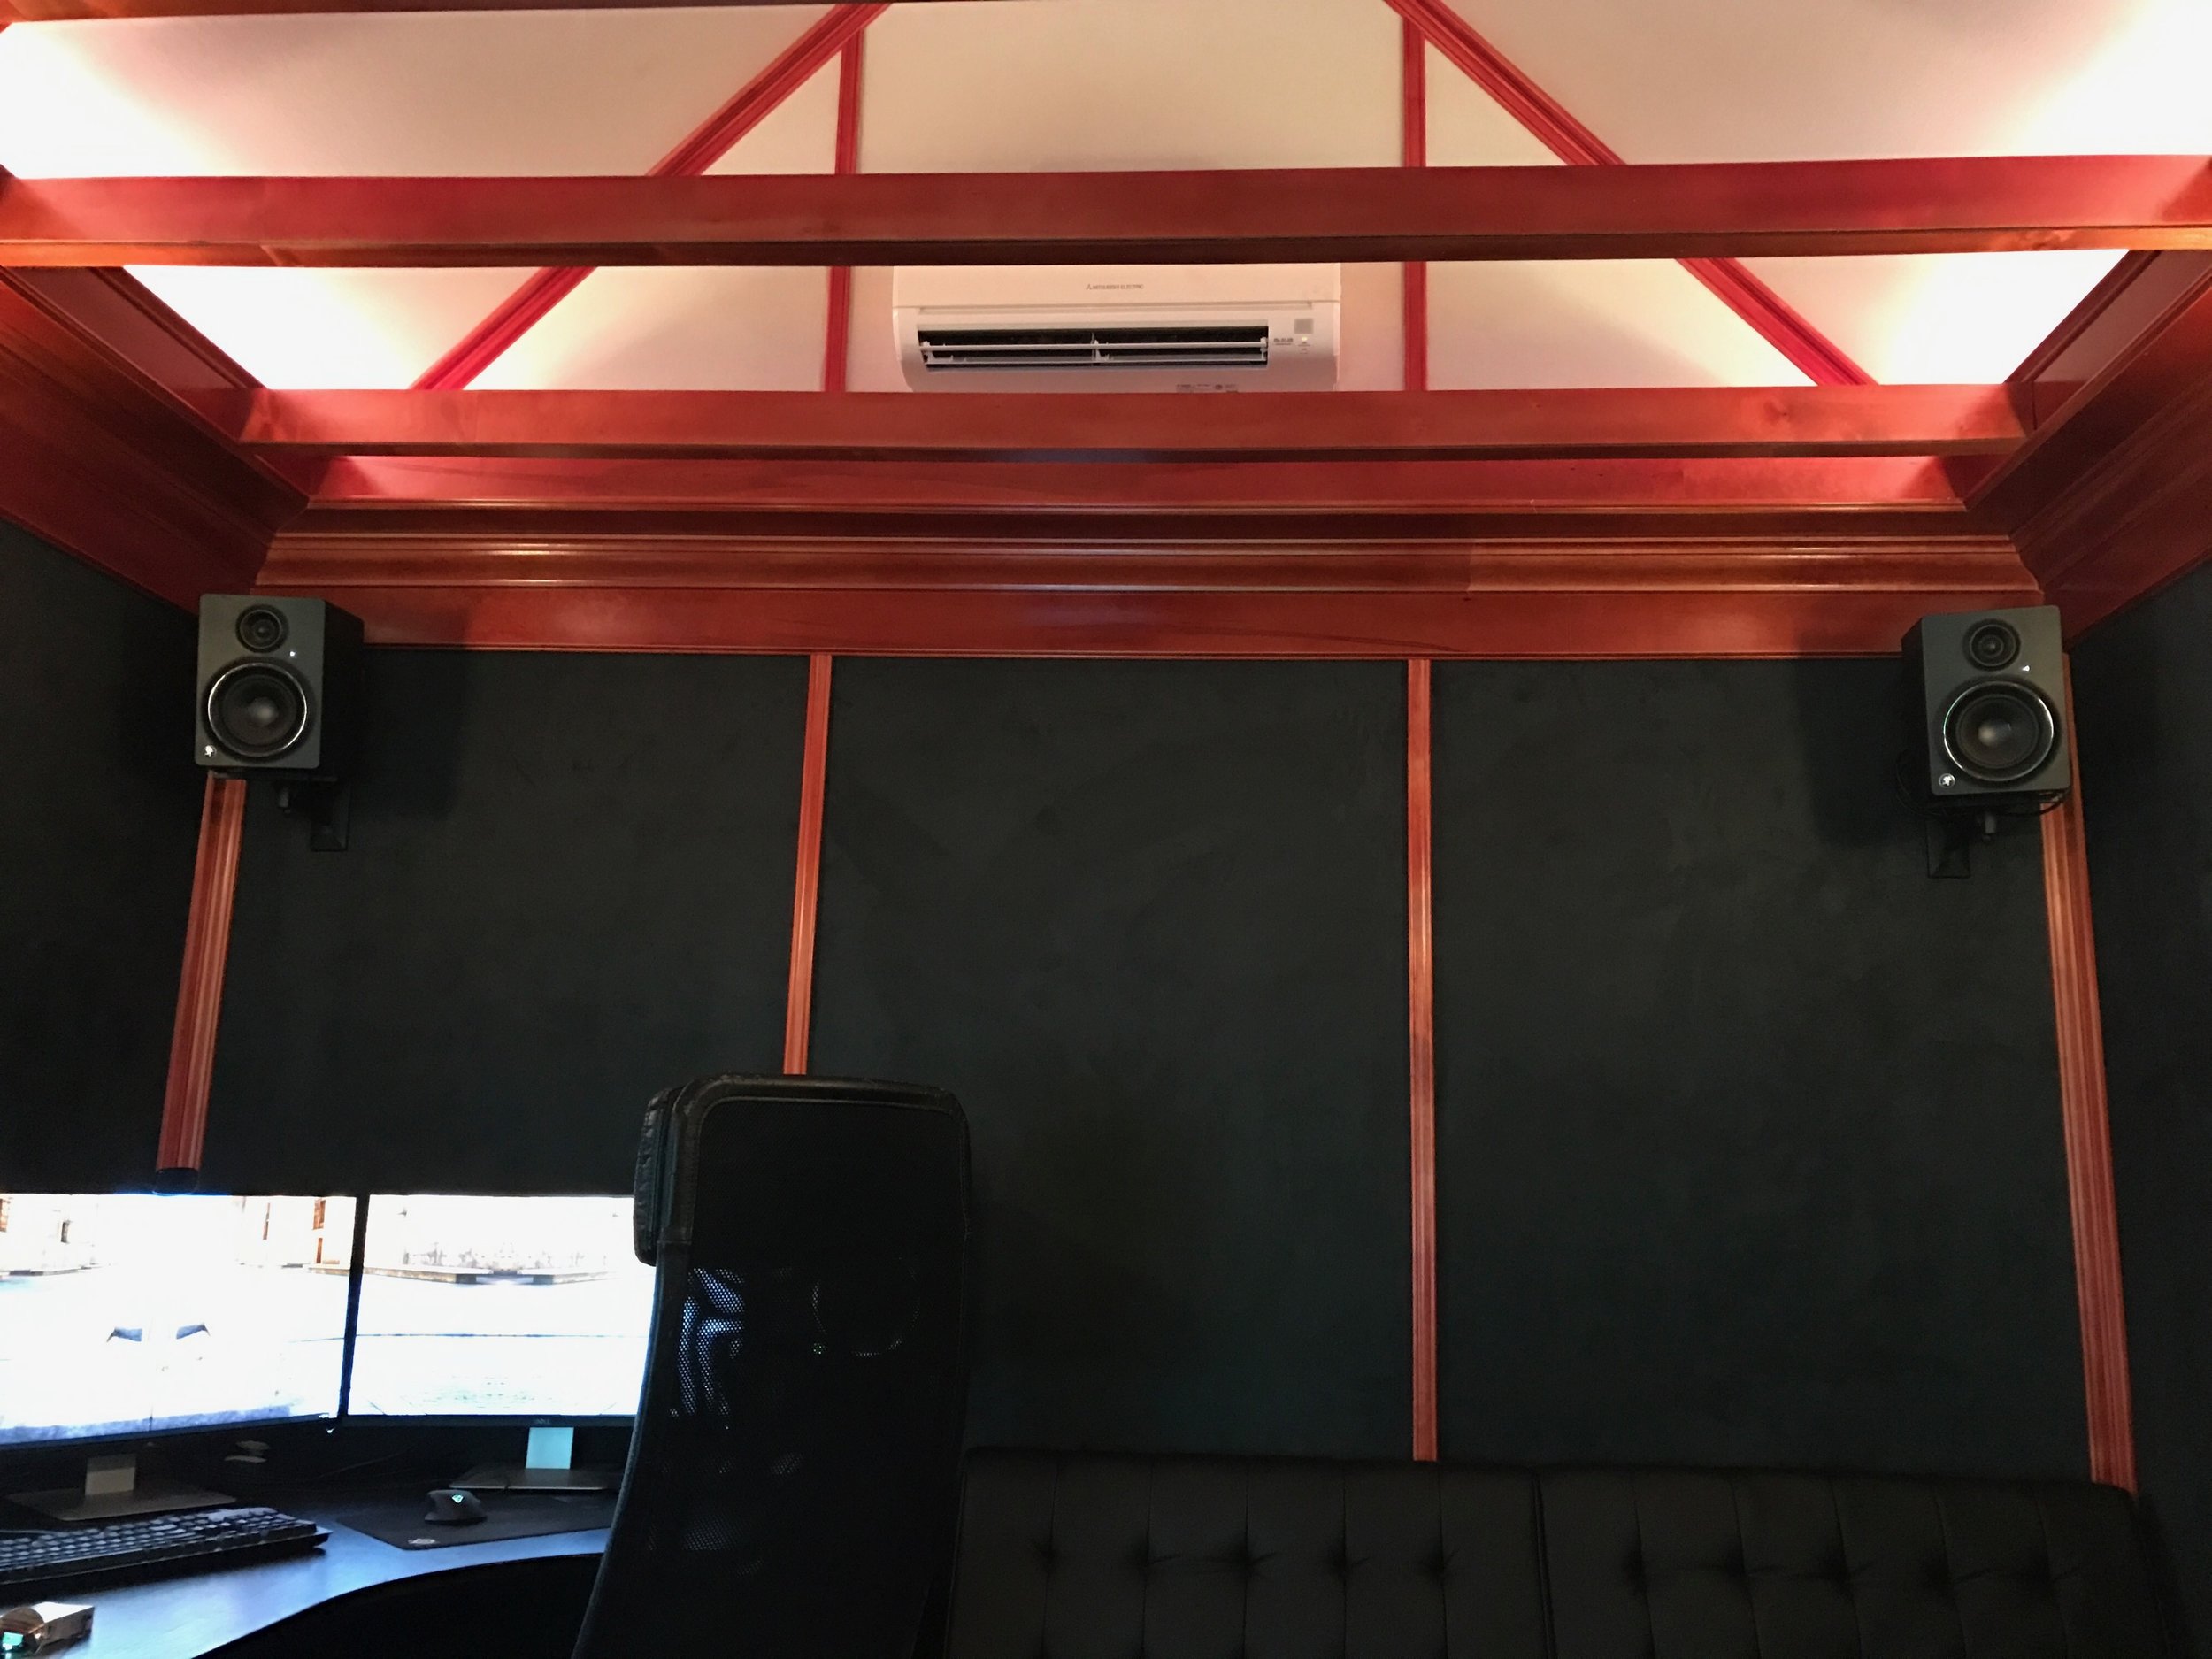
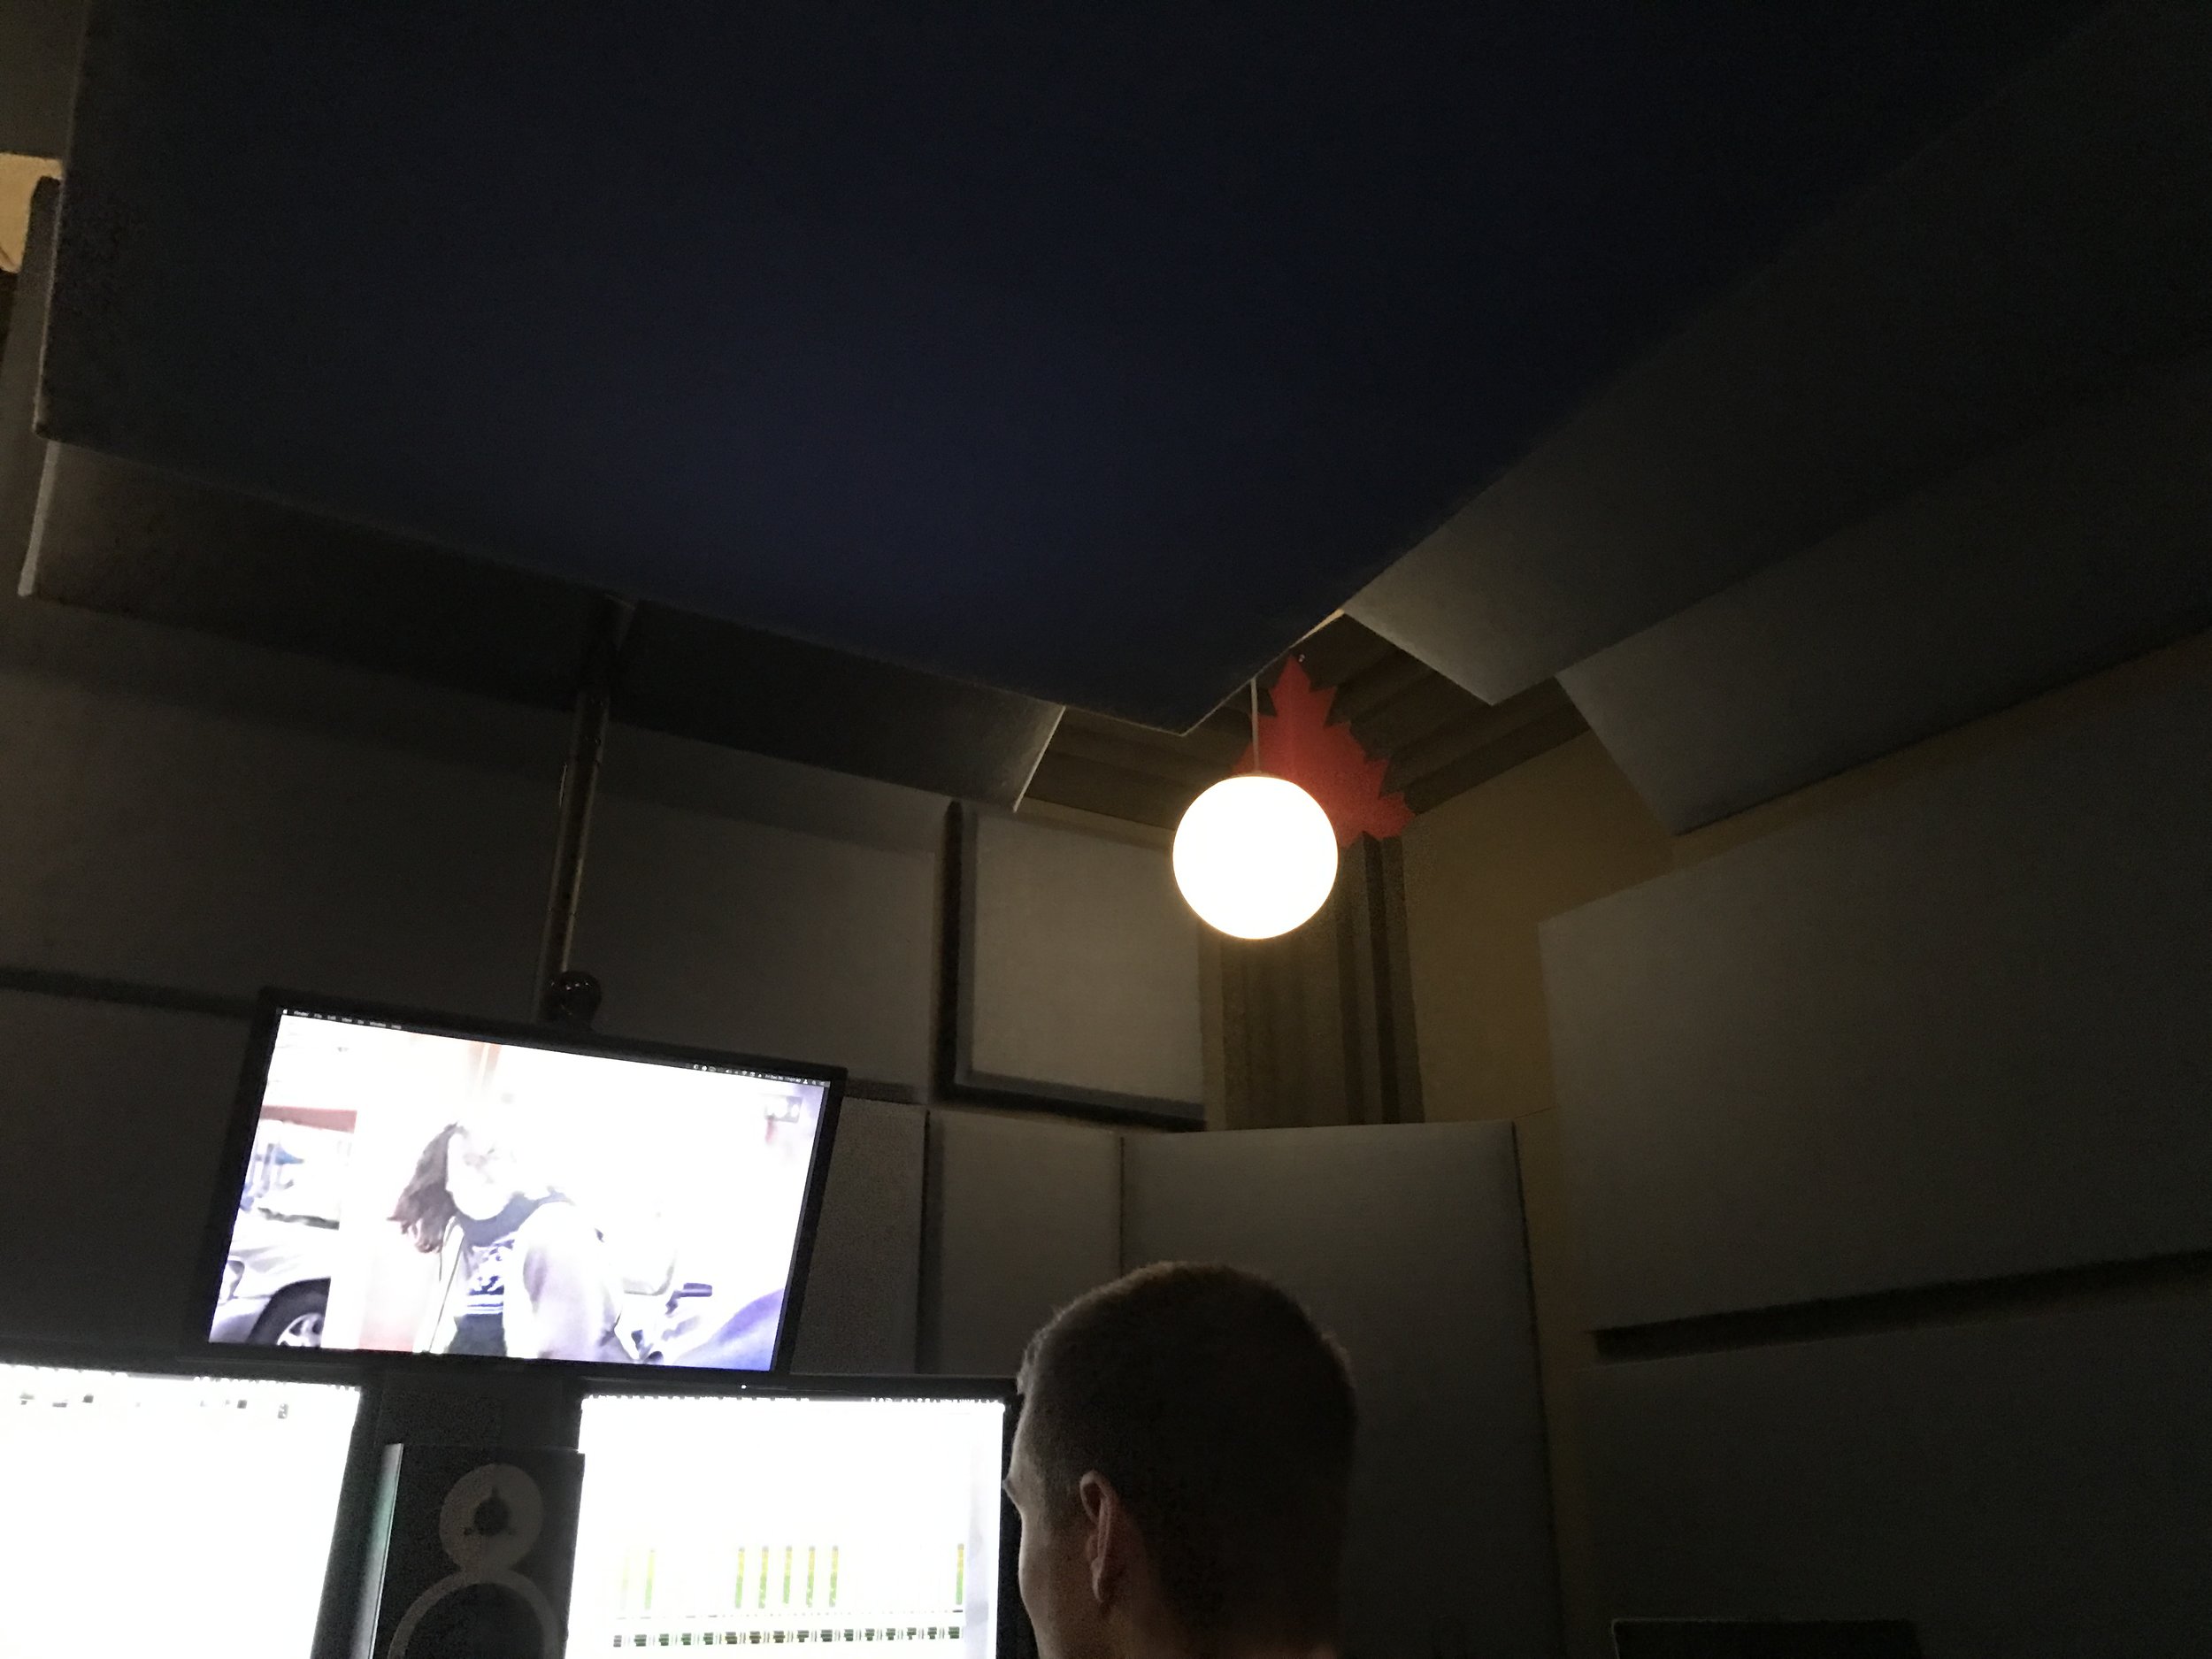
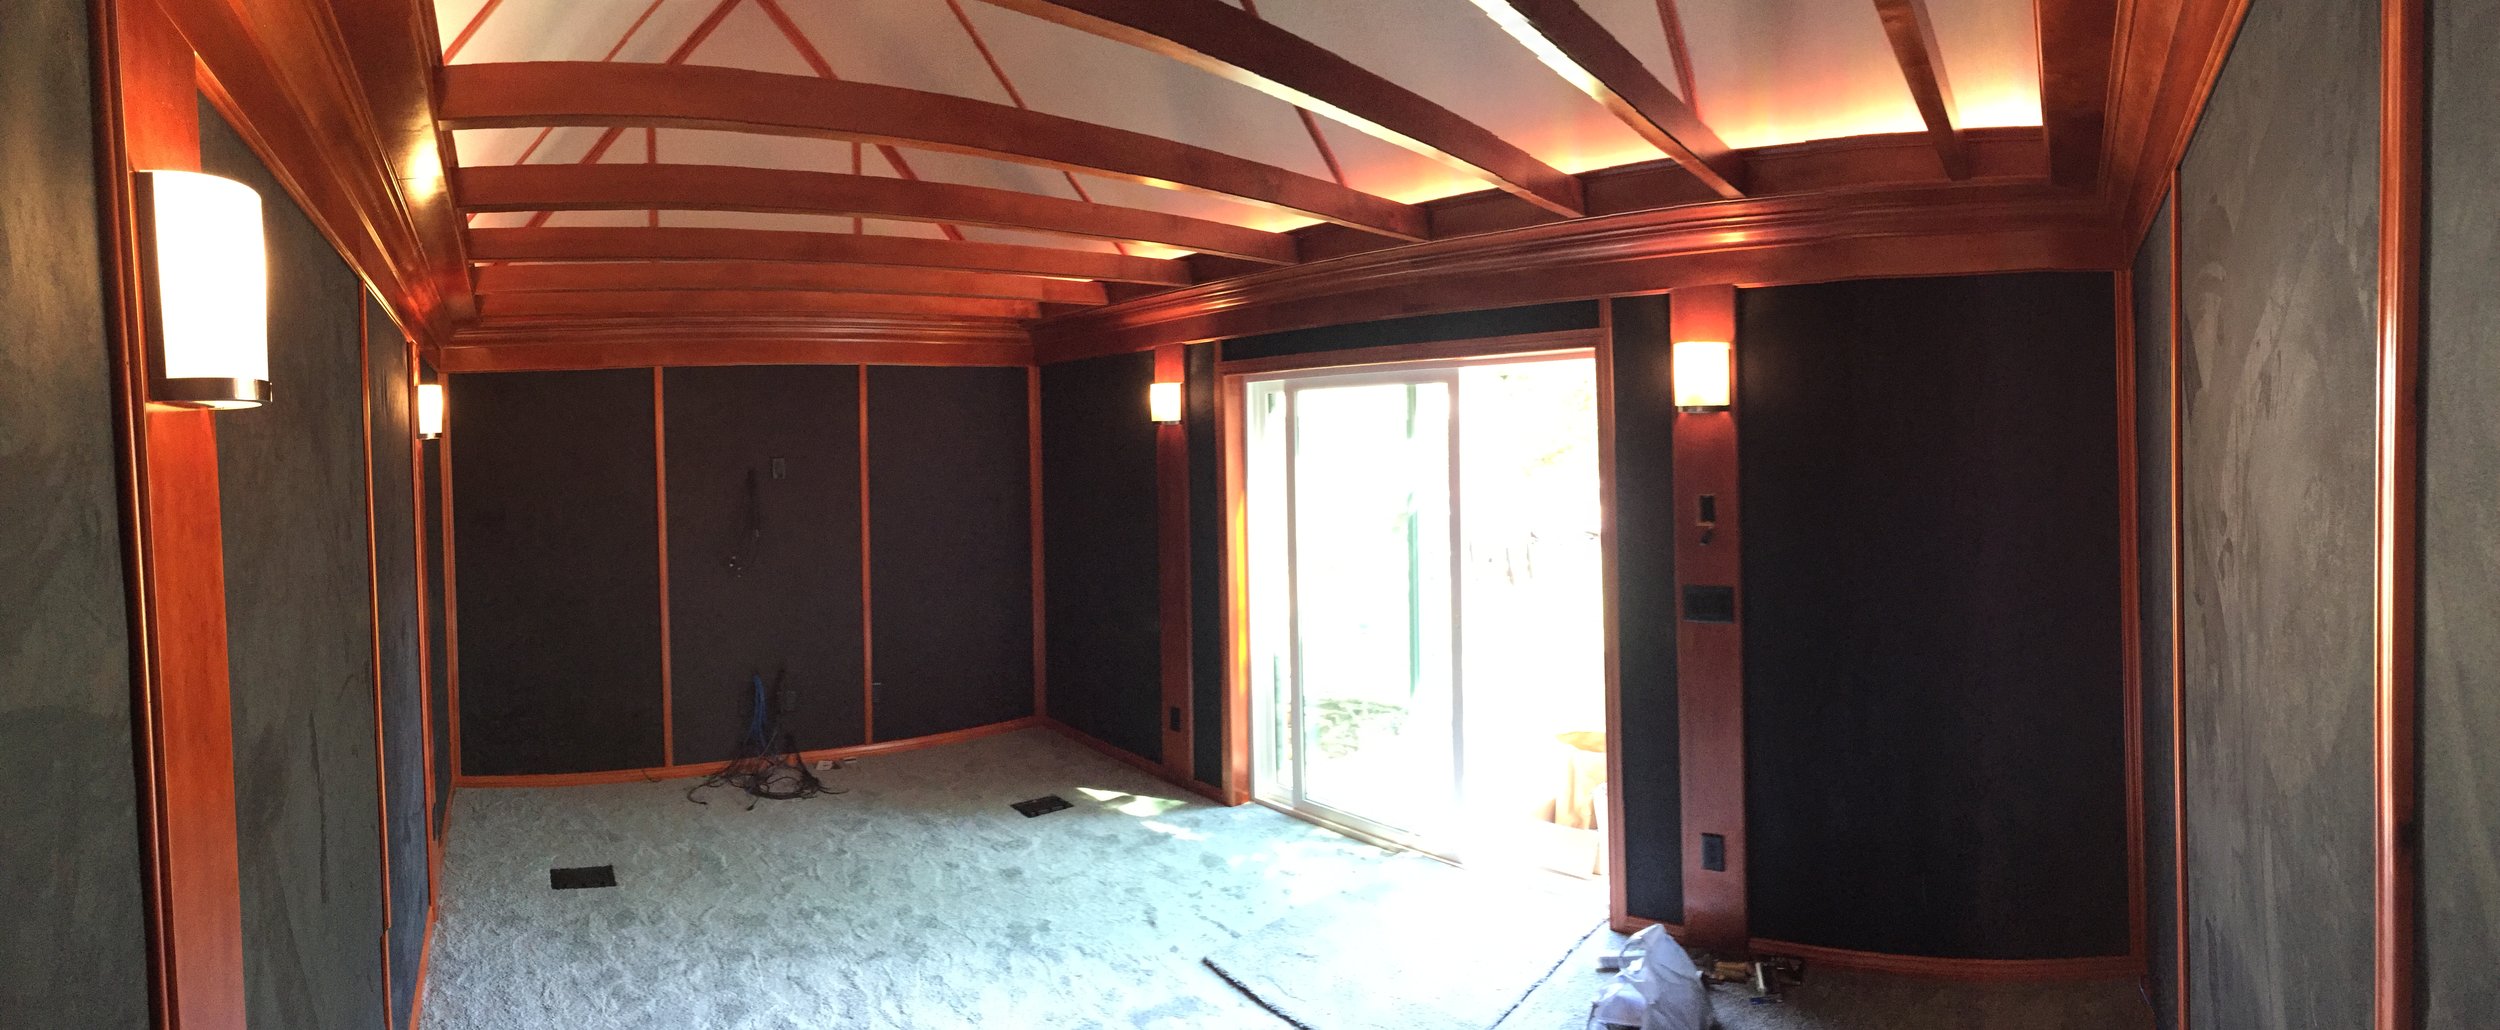
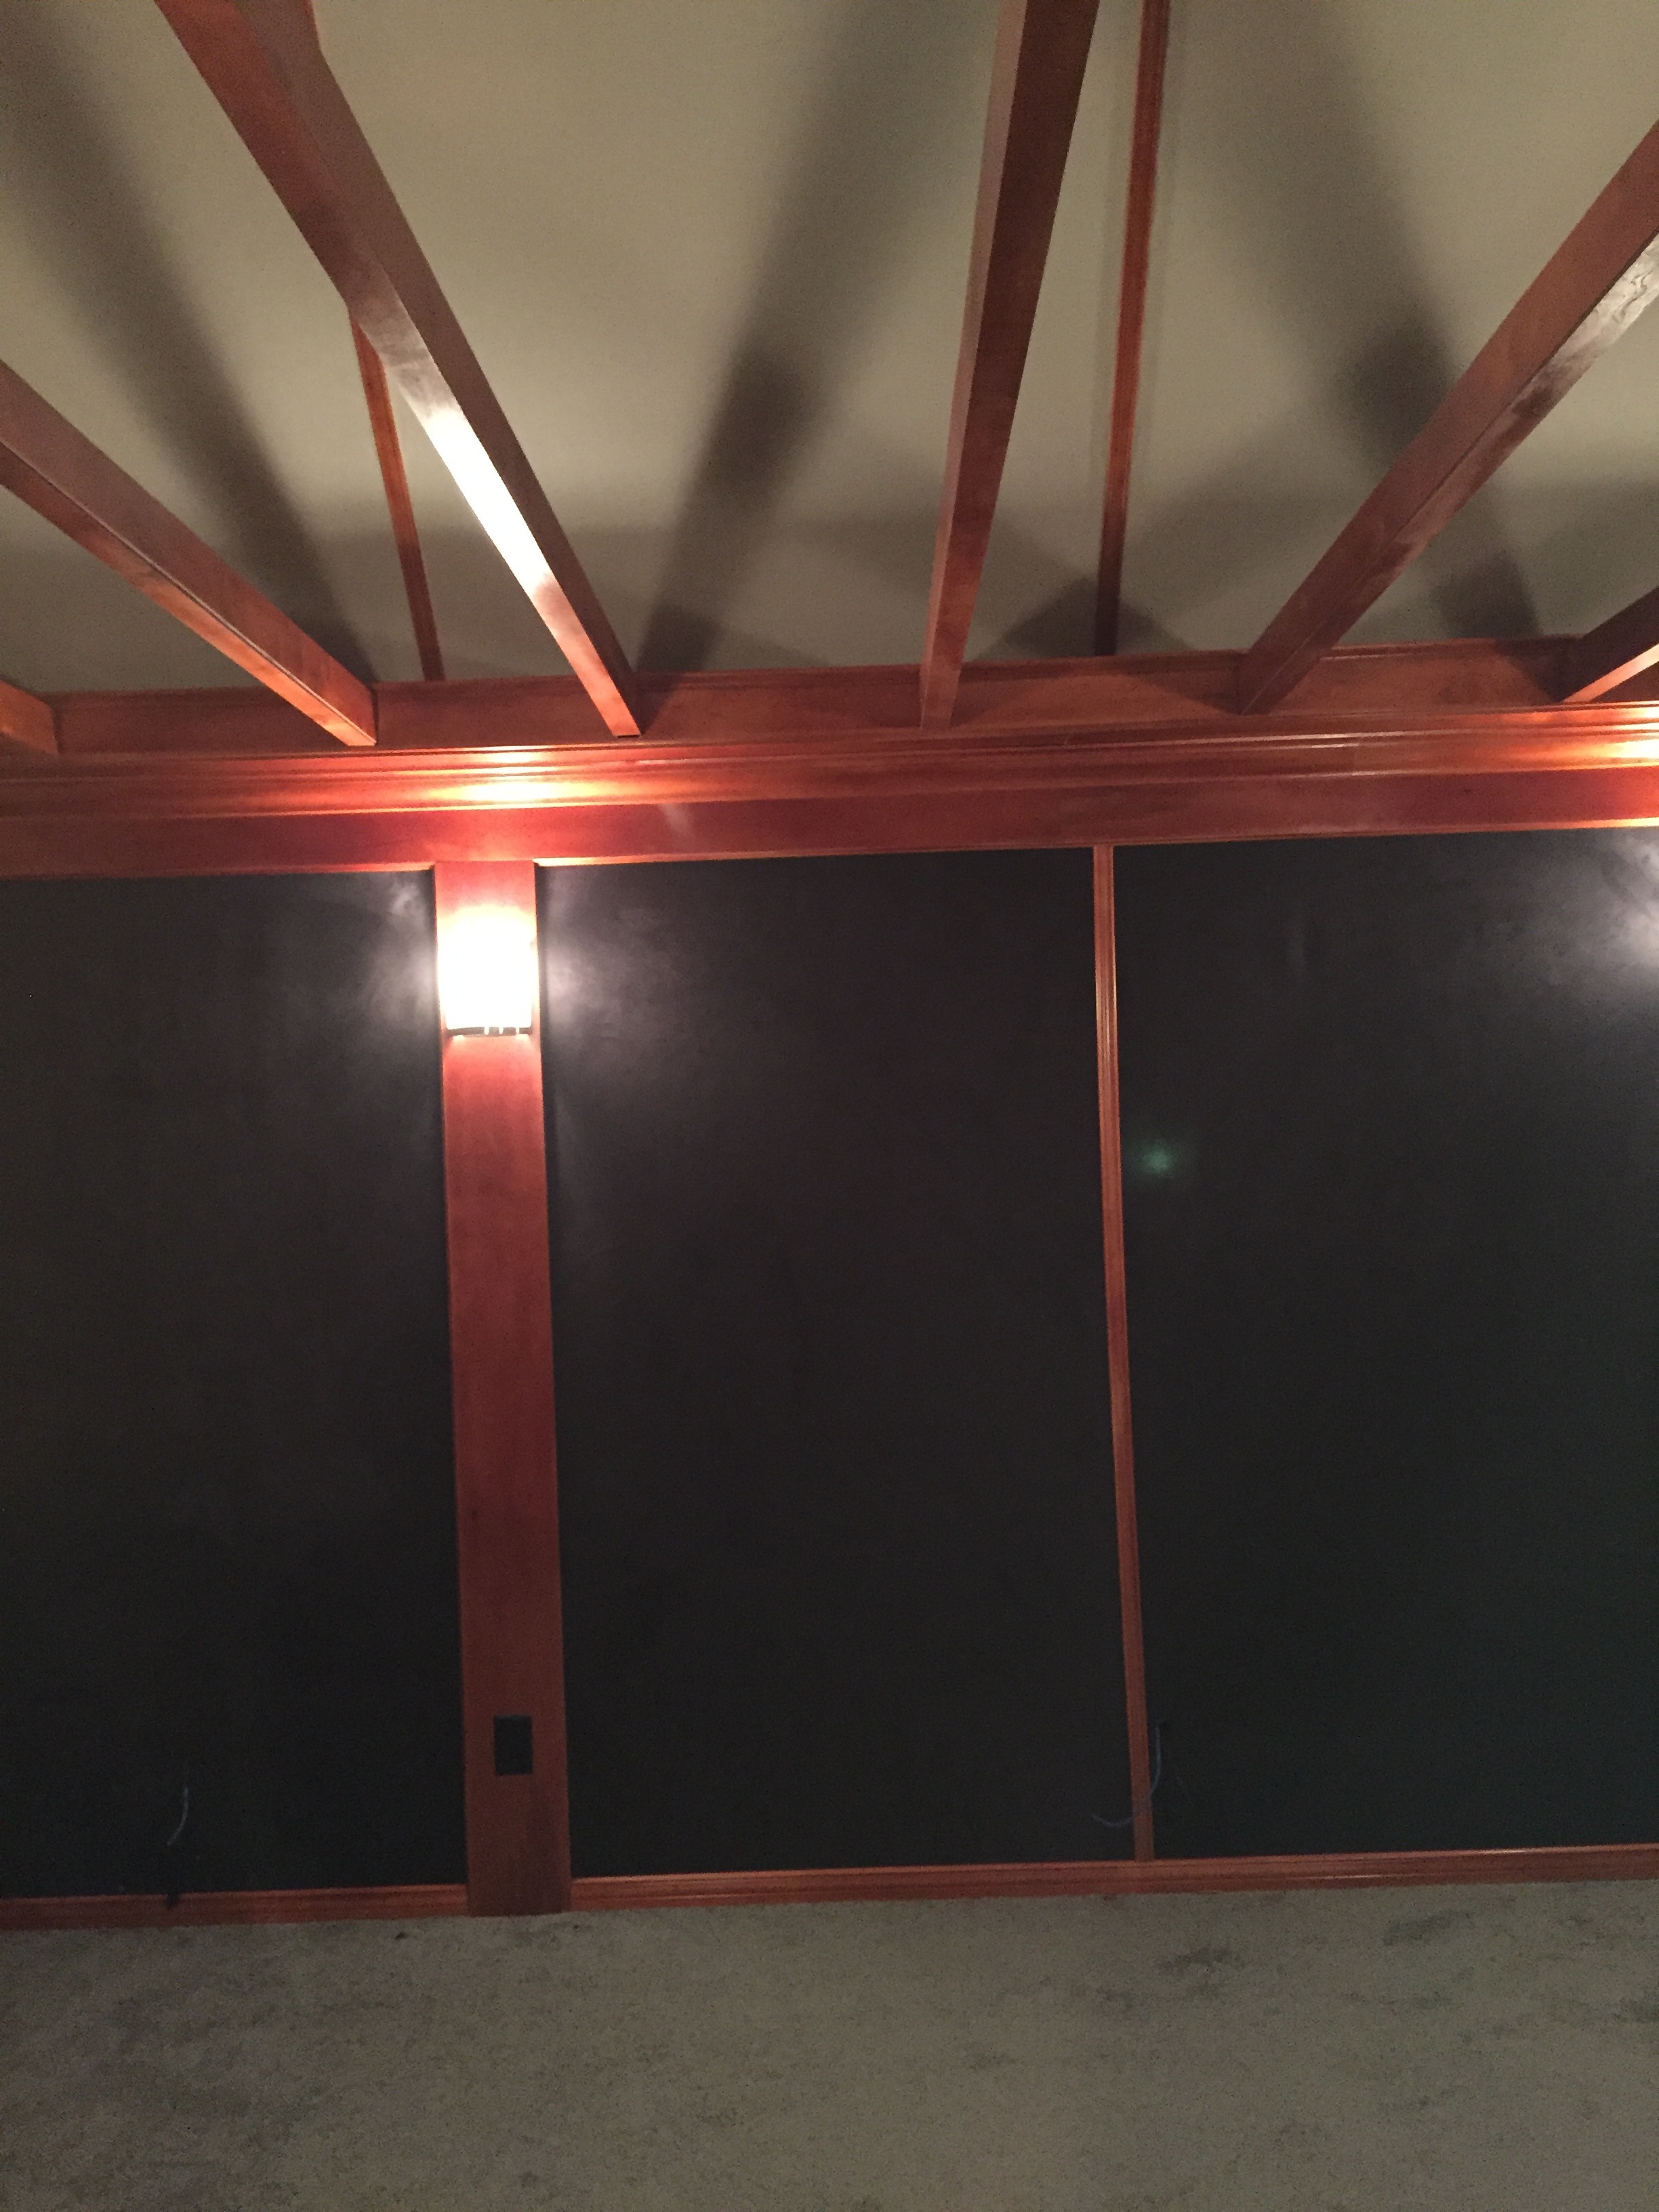
LIGHTING:
After putting up the vertical wood beams, the electricians were able to come put the wall sconces on them and finish wiring them to the dimmer.
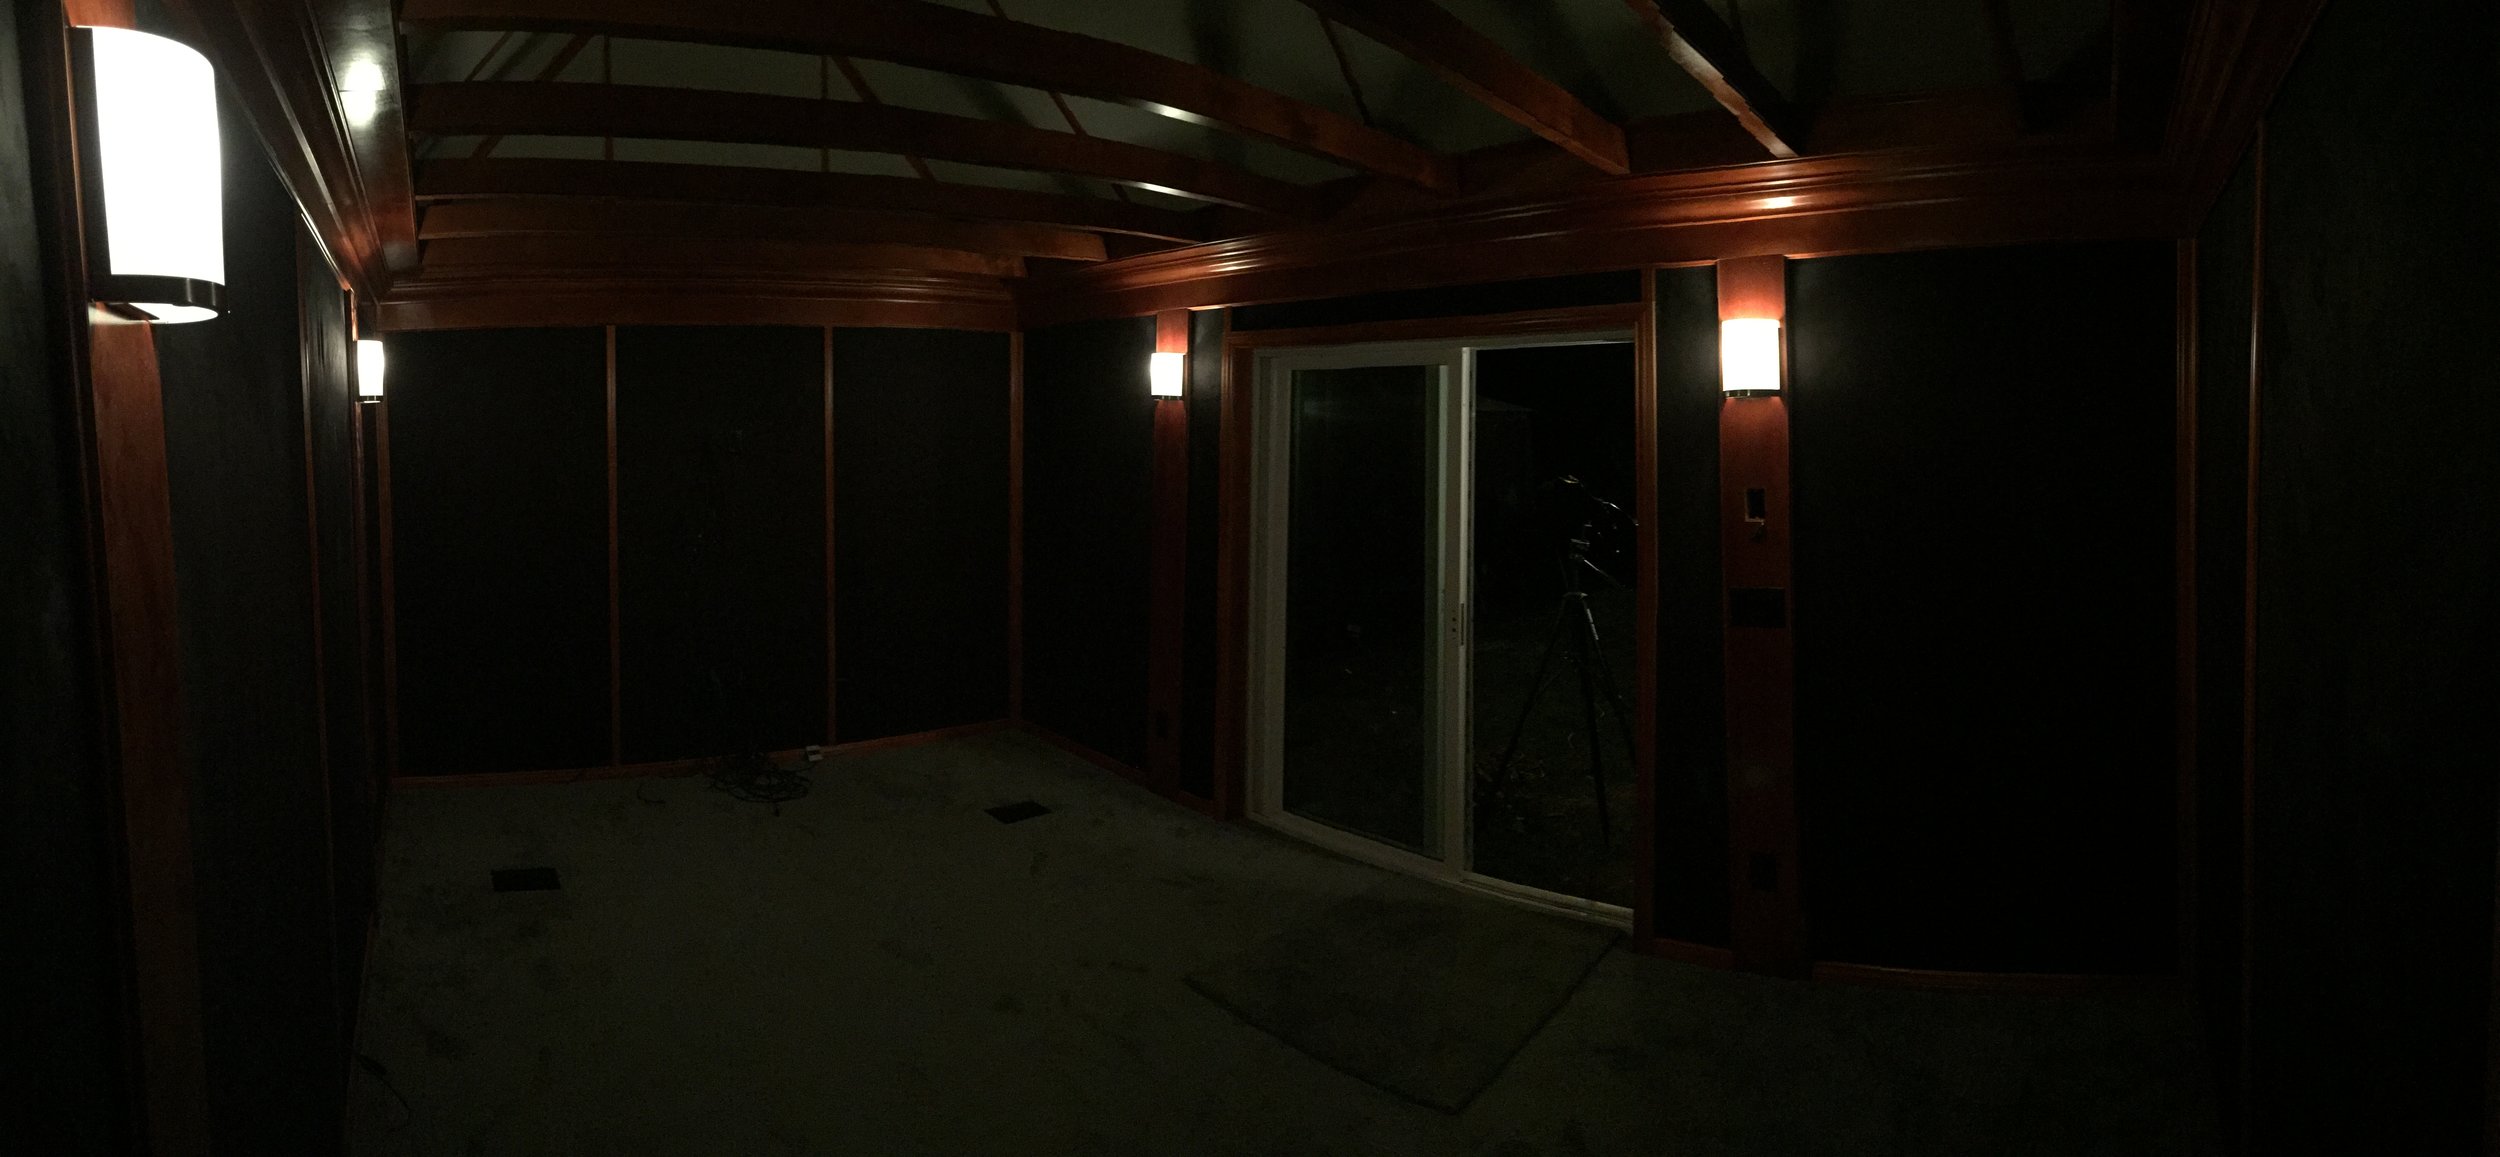
For studios, it’s always a good idea to have your lights on a dimmer to help control the mood and light level. We also did this for the LED lights we installed in the cove of the ceiling and we made that one of those new type LEDs that can change color. Remember that I made the ceiling natural muslin to essentially turn it into a giant lampshade to fill the room with diffuse light.
Having diffuse lights and lighting on the walls helps create a nice ambient mood in the room. And I’ve noticed that the usual ceiling mounted lights tend to glare in computer monitors and end up being frustrating especially if you have a large viewing screen.
The low voltage cables we ran earlier provided numerous places for internet connections, music equipment connections and camera connections.


We also installed blackout drapes over the door so that during the daytime the room could still be light controlled and these were also thick enough drapes to eliminate some of the sound reflection from the large glass door panes.
And because there was a lawn, I decided to build a small redwood deck so that dirt wouldn't get tracked inside the studio.

A little raised redwood deck to help keep the studio clean. Also we installed two lanterns and a red recording light above the doorway.
IN CONCLUSION:

For the few, the brave, the bored, who have made it all the way to the end of this article, I congratulate you! I do hope it was helpful in giving you some ideas.
There you go, a pretty decent studio space to make music in. I hope you enjoyed. Feel free to hit me up for questions, further details or advice.
For those of you who feel inclined, please watch the trailer and buy my movie on iTunes, and if you feel extra-inclined leave a positive rating and comment on the store, say something funny about carpentry, your thoughts on the trailer, or whatever crosses your mind. I thank you deeply for your support.
I wish you all an amazing 2017 where you make the world a better place through your creative endeavors and each get closer to acheiving your goals and dreams.
Best,
Dare

